This post contains affiliate links. This means that when you purchase through one of these links we will receive a small commission at no additional cost to you. Thank you for supporting Rich Texture Crochet!
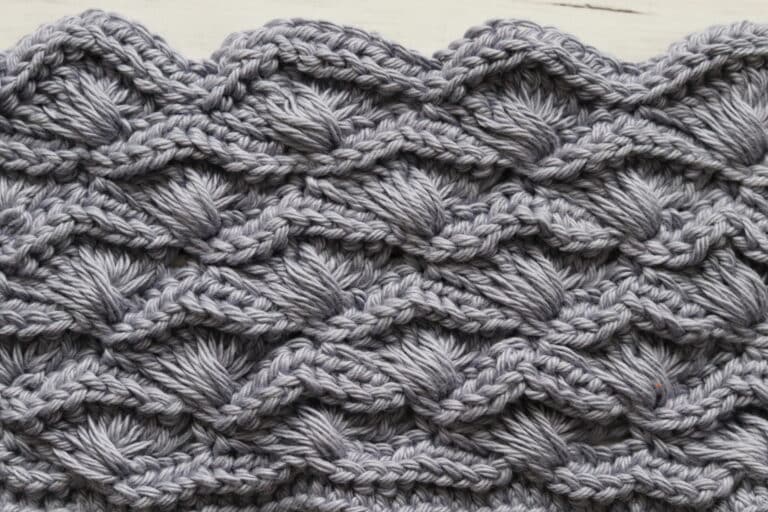
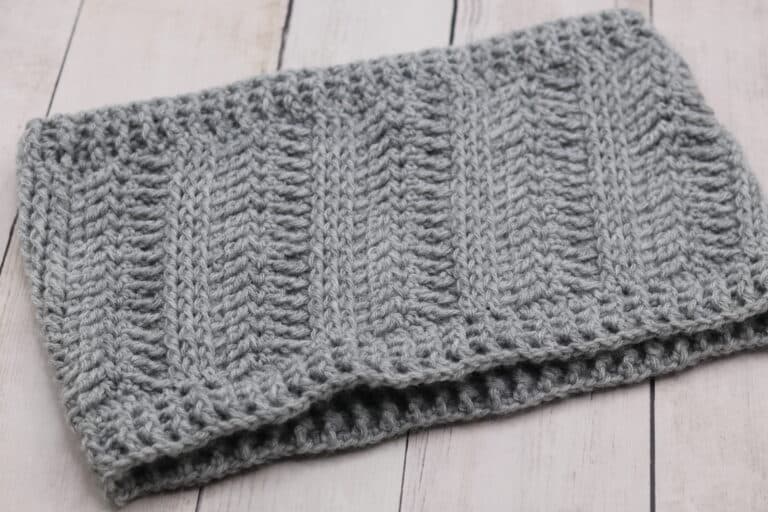
The Mountain Ridge Scarf pattern was designed to compliment the Mountain Ridge Beanie! This set has so much texture!
Welcome to the Friday scarf post of Week Three of the Wonderful Hats Crochet Along! For this crochet along you can find all of the details here: Wonderful Hats Crochet Along.
The previous weeks patterns are as follows:
Week One Beanie: Winterberry Hat Crochet Pattern
Week One Scarf: Winterberry Scarf Crochet Pattern
Week Two Beanie: Prairie Beanie Crochet Pattern
Week Two Scarf: Prairie Scarf Crochet Pattern
Week Three Beanie: Mountain Ridge Beanie Crochet Pattern
This post contains affiliate links. This means that when you make a purchase through one of these links, Rich Textures Crochet will earn a small commission at no additional cost to yourself. Thank you for supporting Rich Textures Crochet!

The Design:
This crochet scarf is worked all in one colour. It is worked end to end and the same ridged front and back post double crochet stitch pattern that is found in the Mountain Ridge Beanie Crochet Pattern continues throughout.
You may add a fridge to the end of the scarf if you would like, or leave it be! Both options look great!
The Materials:
For my hat today I have used the Wool Ease yarn by Lion Brand Yarn. It is a wool blended yarn that is medium/worsted weight. You are welcome to switch the yarn for another worsted weight, just be sure to check your gauge as it will affect the outcome of the size of your scarf.
Along with the yarn, I will be using a 5 mm crochet hook. You will see me working with a Wooden Streamline hook in Ebony by Furls Crochet in the video tutorial below.

PDF Downloads are Available:
The crochet pattern will be written out in full below. However, if you would like to add this pattern to your library or purchase an ad free PDF, you may do so from my Etsy and Ravelry shops linked below:
Click Here for the Mountain Ridge Scarf on Etsy
Click Here for the Mountain Ridge Scarf on Ravelry
Thank you so much for stopping by, don’t forget to check out the other patterns in the Wonderful Hats Crochet Along!
Happy Stitching!
Sarah

Mountain Ridge Scarf:
Skill Level: Intermediate
Gauge: 16 sts x 12 rows of raised double crochet = 4 inches
Finished Size: 6 x 65 inches laid flat
Yarn: Wool-Ease® by Lion Brand® Yarn (80% acrylic; 20% wool; 197 yds/180 m; 3oz/85 g; (4) Medium/worsted weight): 3 balls of Stillwater.
Hook: Size H/8 (5 mm) Hook. Adjust hook size if necessary to obtain correct gauge
OPTIONAL: Attach fringe to each end.
Stitches and Abbreviations:
Bpdc – Back Post Double Crochet
Ch – Chain
Dc – Double Crochet
Fpdc – Front Post Double Crochet
Rpt – Repeat
Sc – Single Crochet
Sk – Skip
Sl St – Slip Stitch
Yo – Yarn Over
Pattern Notes:
- Pattern is written in American English terms.
- Pattern is worked in rows.
- Ch 3 at beginning of row counts as stitch.
- Turn at the end of each row.
- Weave in ends as needed.
- OPTIONAL: Add fringe to each end of scarf.
- To change the size of your scarf, work a multiple of 4 plus 3 stitches for your foundation ch.
Free Crochet Pattern:
Ch 27.
Row 1: Sc in the 2nd ch from your hook and in each st across. Turn.
Row 2: Ch 3 (counts as a dc), dc in each st all the way across. Turn.
Row 3: Ch 3 (counts as a dc), * bpdc in each of the next 2 sts, fpdc in each of the next 2 sts; rpt from * across to the final st, dc in the top of the starting ch-3. Turn.
Row 4: Ch 3 (counts as a dc), bpdc in the next st, * fpdc in each of the next 2 sts, bpdc in each of the next 2 sts; rpt from * all the way across, dc in the top of the starting ch-3. Turn.
Row 5: Ch 3 (counts as a dc), * fpdc in each of the next 2 sts, bpdc in each of the next 2 sts; rpt from * all the way across and dc in the top of the starting ch-3. Turn.
Row 6: Ch 3 (counts as a dc), fpdc in the next st, * bpdc in each of the next 2 sts, fpdc in each of the next 2 sts; rpt from * all the way across, dc in the top of the starting ch-3. Turn.
Repeat rows 3-6 until your work from the beginning measures approximately 65 inches.
Next row: Ch 1, sc in each st across.
Fasten off and weave in your ends. Attach fringe to each end if desired.
Video Tutorial:
The photographs and pattern contained in this document are the property of Rich Textures Crochet.
This pattern is for personal use only.
No unauthorized reproduction, in whole or in part, or distribution of this pattern or content is permitted. ALL FINISHED PRODUCTS from this pattern can be used for local sales and sold online.
Thank you so much for supporting Rich Textures Crochet! To stay in touch or see more great products, be sure to visit me on Facebook and Instagram (Rich Textures Crochet). Thanks again! Happy Crocheting!