
This post contains affiliate links. This means that when you purchase through one of these links we will receive a small commission at no additional cost to you. Thank you for supporting Rich Texture Crochet!
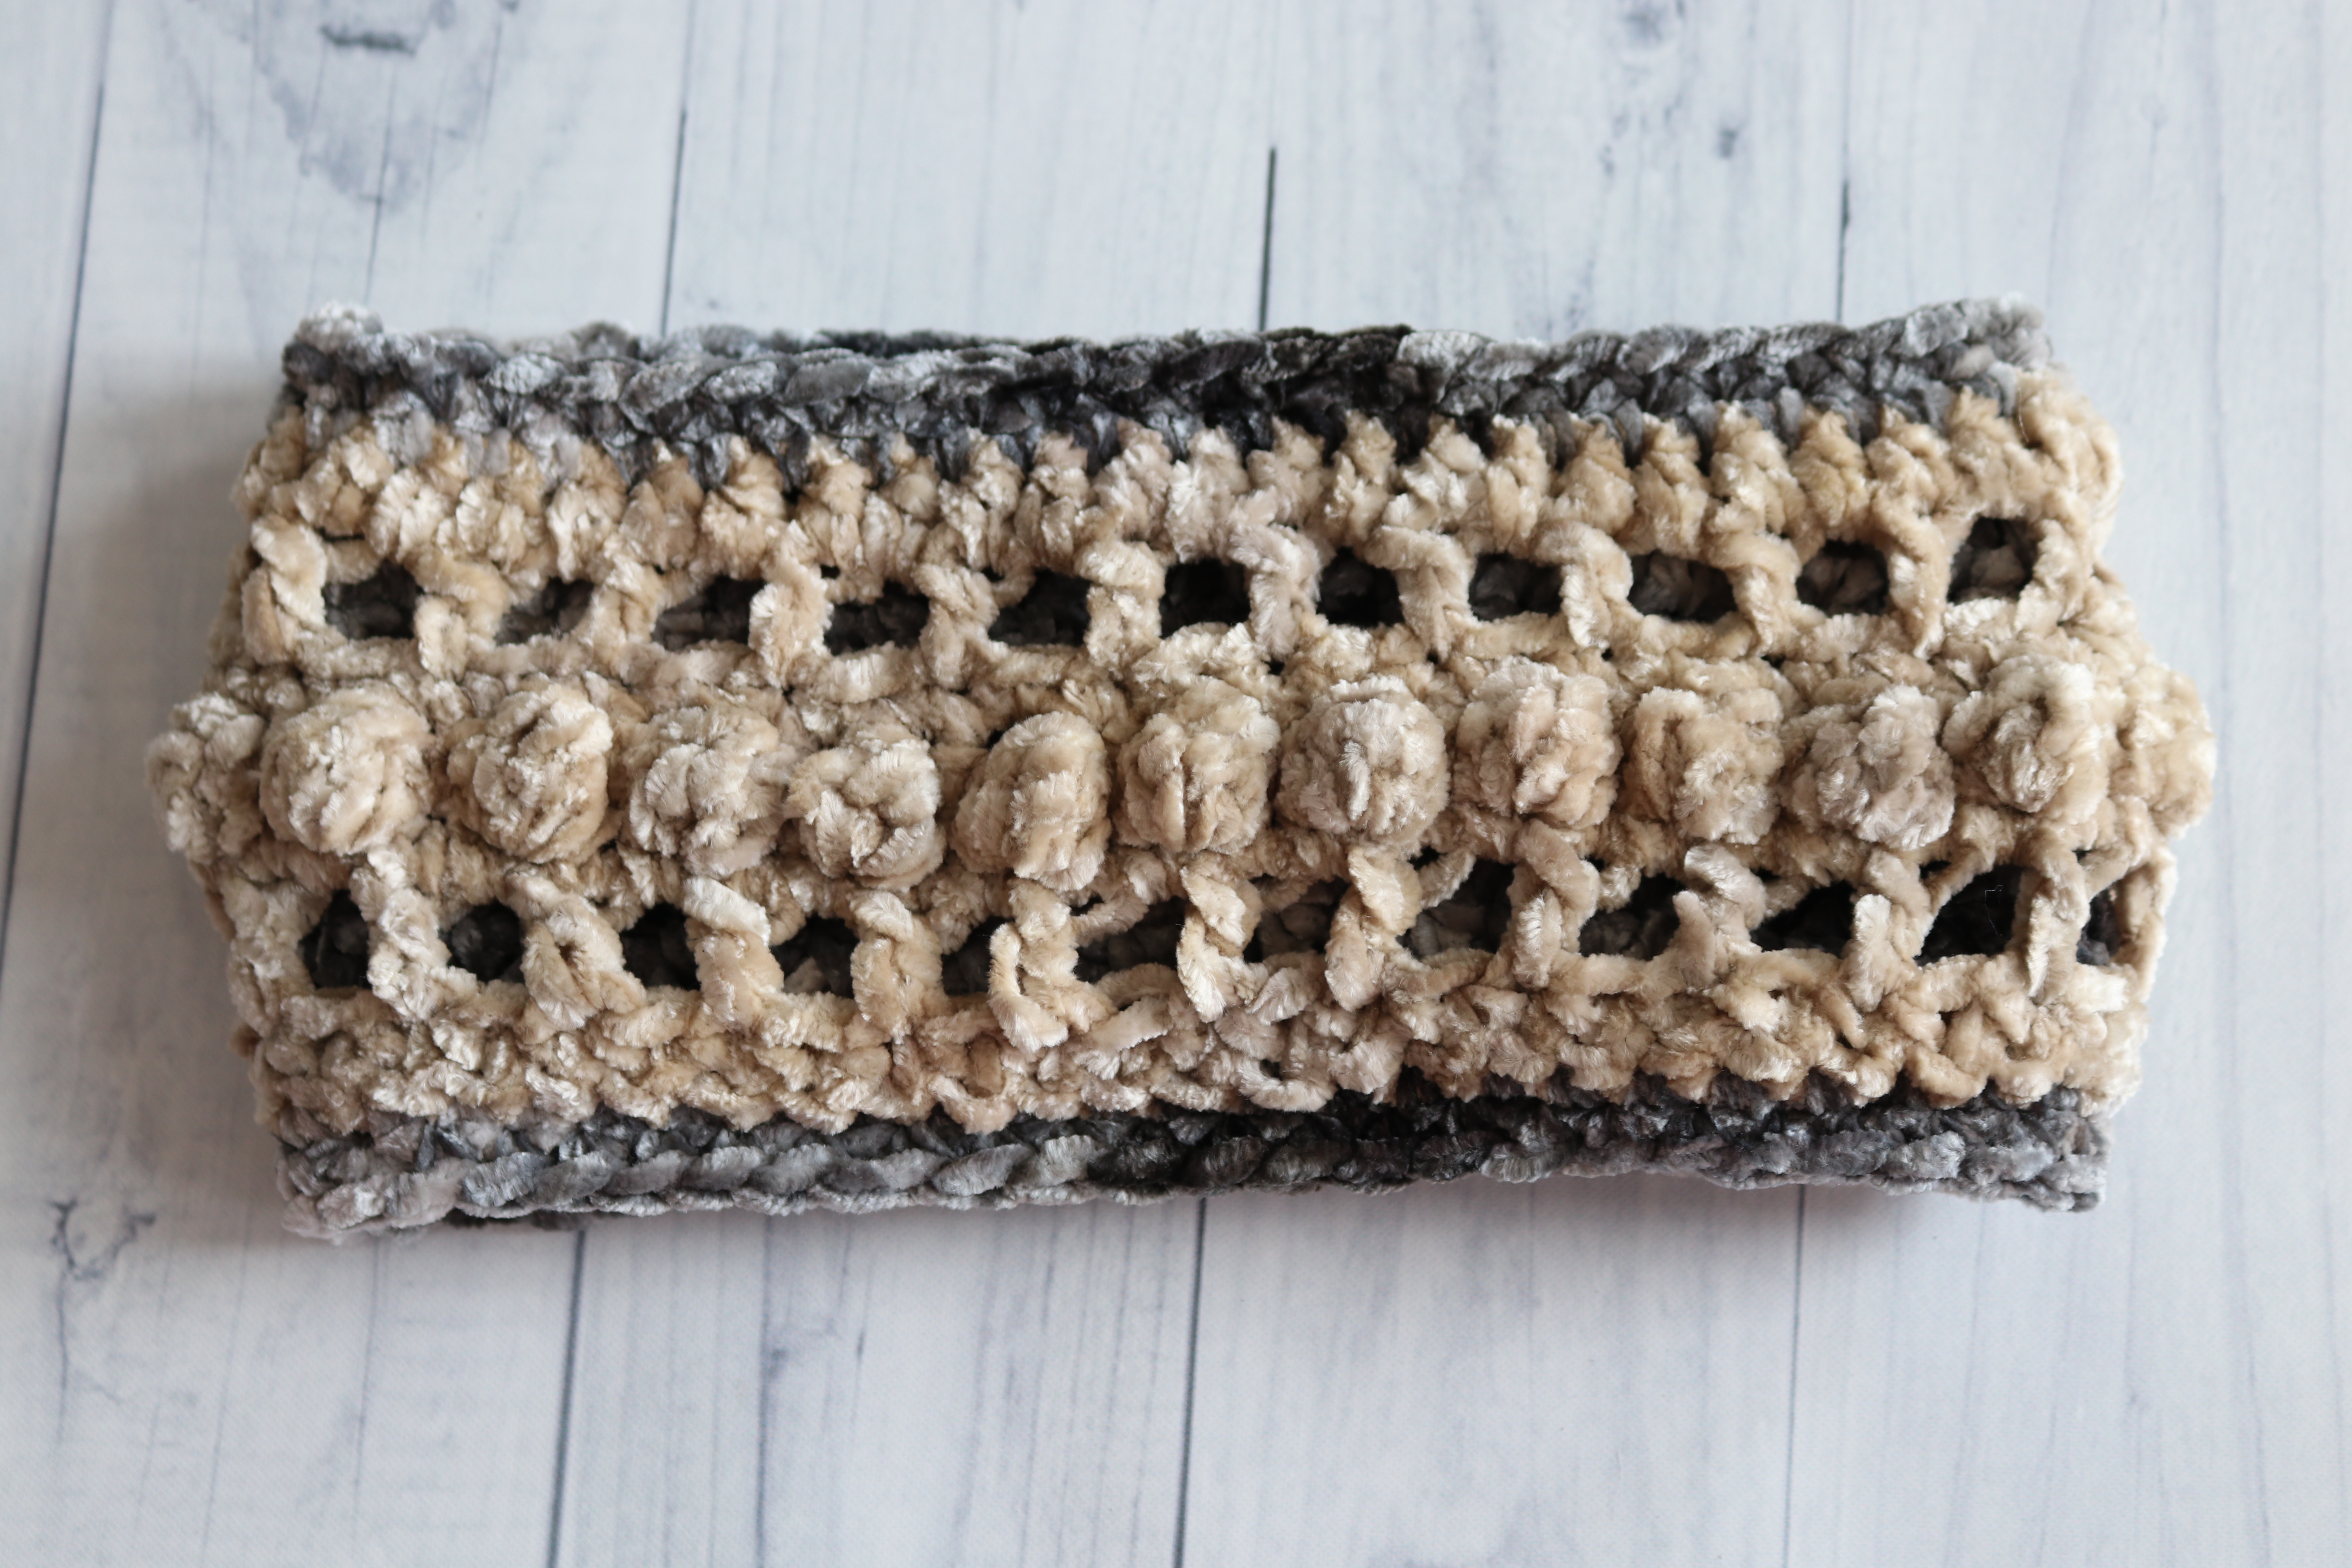
Once our deep freeze weather starts to subside in my corner of Canada, I like to set aside the full hat and switch to a headband! This year I’m enjoying my new Velvet Headband Crochet Pattern.
When I picked up the Bernat Velvet yarn from Yarnspirations, I will confess, I was itching to try it! I had heard so many mixed reviews of it, but was drawn to the variety of colours and how soft it is!
This post contains affiliate links. This means that when you make a purchase through the link I will earn a small commission at no additional cost to you. Thank you so much for supporting Rich Textures Crochet!
This Yarn is so soft!
I love its softness! And not too long after I brought it into the house even my kids were asking for a blanket from it. So stay tuned! one will probably be coming in the future!
After playing with the yarn for a bit I decided to try it out with a smaller project. I grabbed a couple of colours and set to work. Because of how soft it is I knew it would be a pleasure to wear. And being a particularly cold day that day, I had winter wear on my mind!

The Velvet Headband is now part of a set which includes a complementing pair of mittens. The mittens will be available hopefully with in the next week and I will be sure to link them back here.
Pattern Details and Construction:
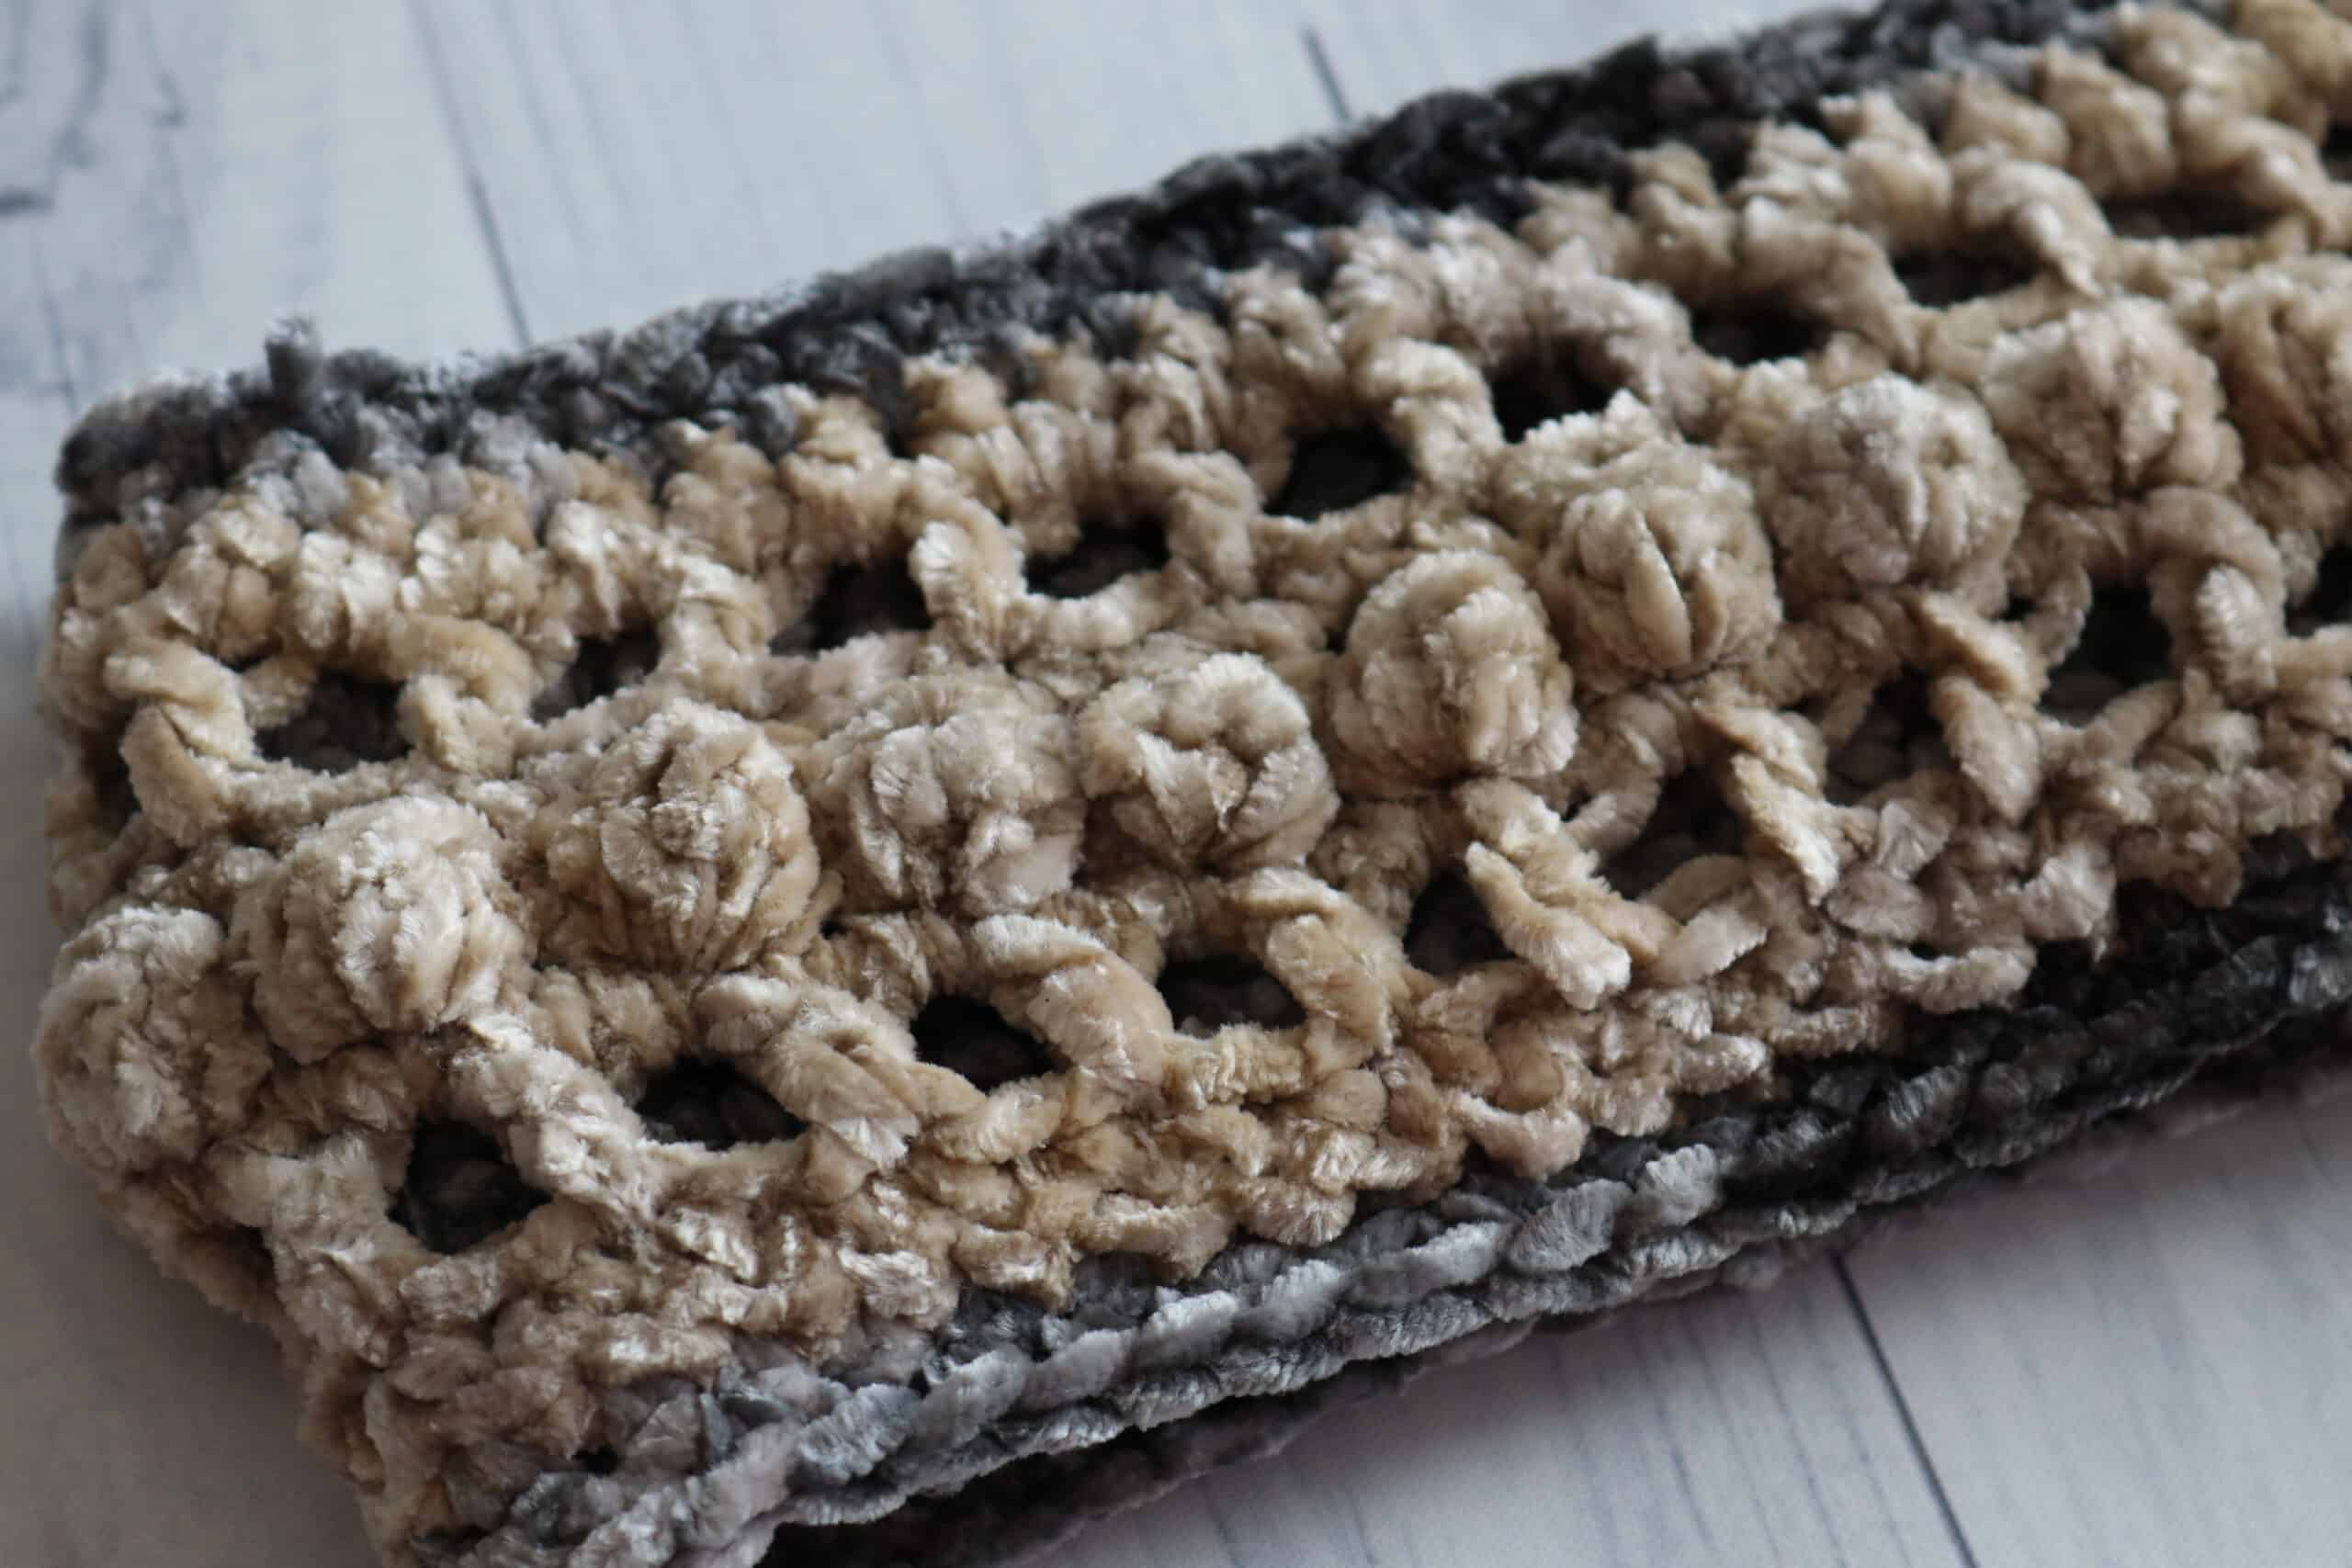
The pattern itself is worked in two parts. As the headband is double thick you will work the front and back separately, and then crochet them together.
It is a fairly easy pattern and works up quite quickly. You will need two different colours of yarn (about 75 yards of each) as well as a 6.5 mm crochet hook.
A full video tutorial can be found at the bottom of this post and on my YouTube Channel. While you’re there, please don’t forget to subscribe!
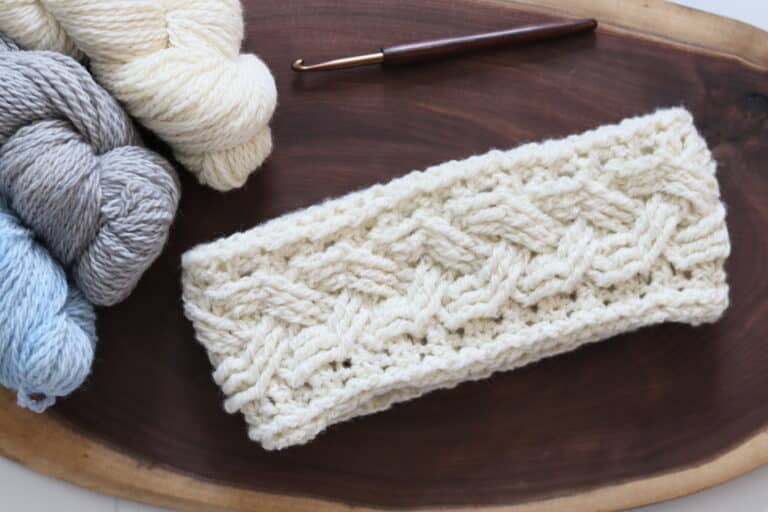
If you enjoy making this headband you may want to check out this one as well: Diamond in the Rough – Free Crochet Headband Pattern
PDF Pattern Download:
If you would like to add this pattern to your library or purchase an ad free PDF, you may do so from either my Etsy or Ravelry Shop linked below:
Click here for the Velvet Headband on Etsy
Click here for the Velvet Headband on Ravelry
Thank you so much for stopping by and I look forward to seeing you again soon!
Sarah
Velvet Headband Crochet Pattern:
Skill Level: Easy
Gauge: 9 hdc x 9 rows = 4 inches
Finished Size: Approximately 5 inches tall, 9 inches laid flat (20-21 inch circumference).
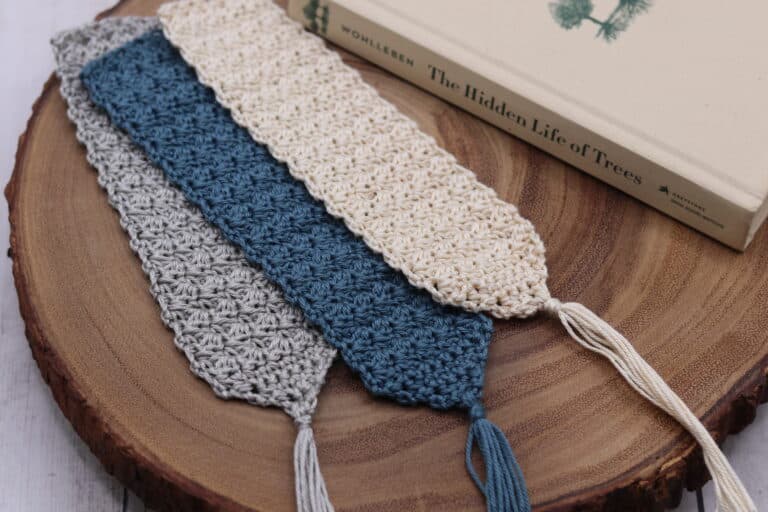
Yarn: Bernat Crushed Velvet® by Yarnspirations® (%100 Polyester; 10.5 oz/300 g; 315 yd/288 m). Colour A: Soft Grey; Colour B: Cream; 1 Ball each however you will only use 75 yards of each. BUY THE YARN NOW
Hook: Size J/10 (6.5 mm) hook.
Notions: Yarn Needle
Stitches and Abbreviations:
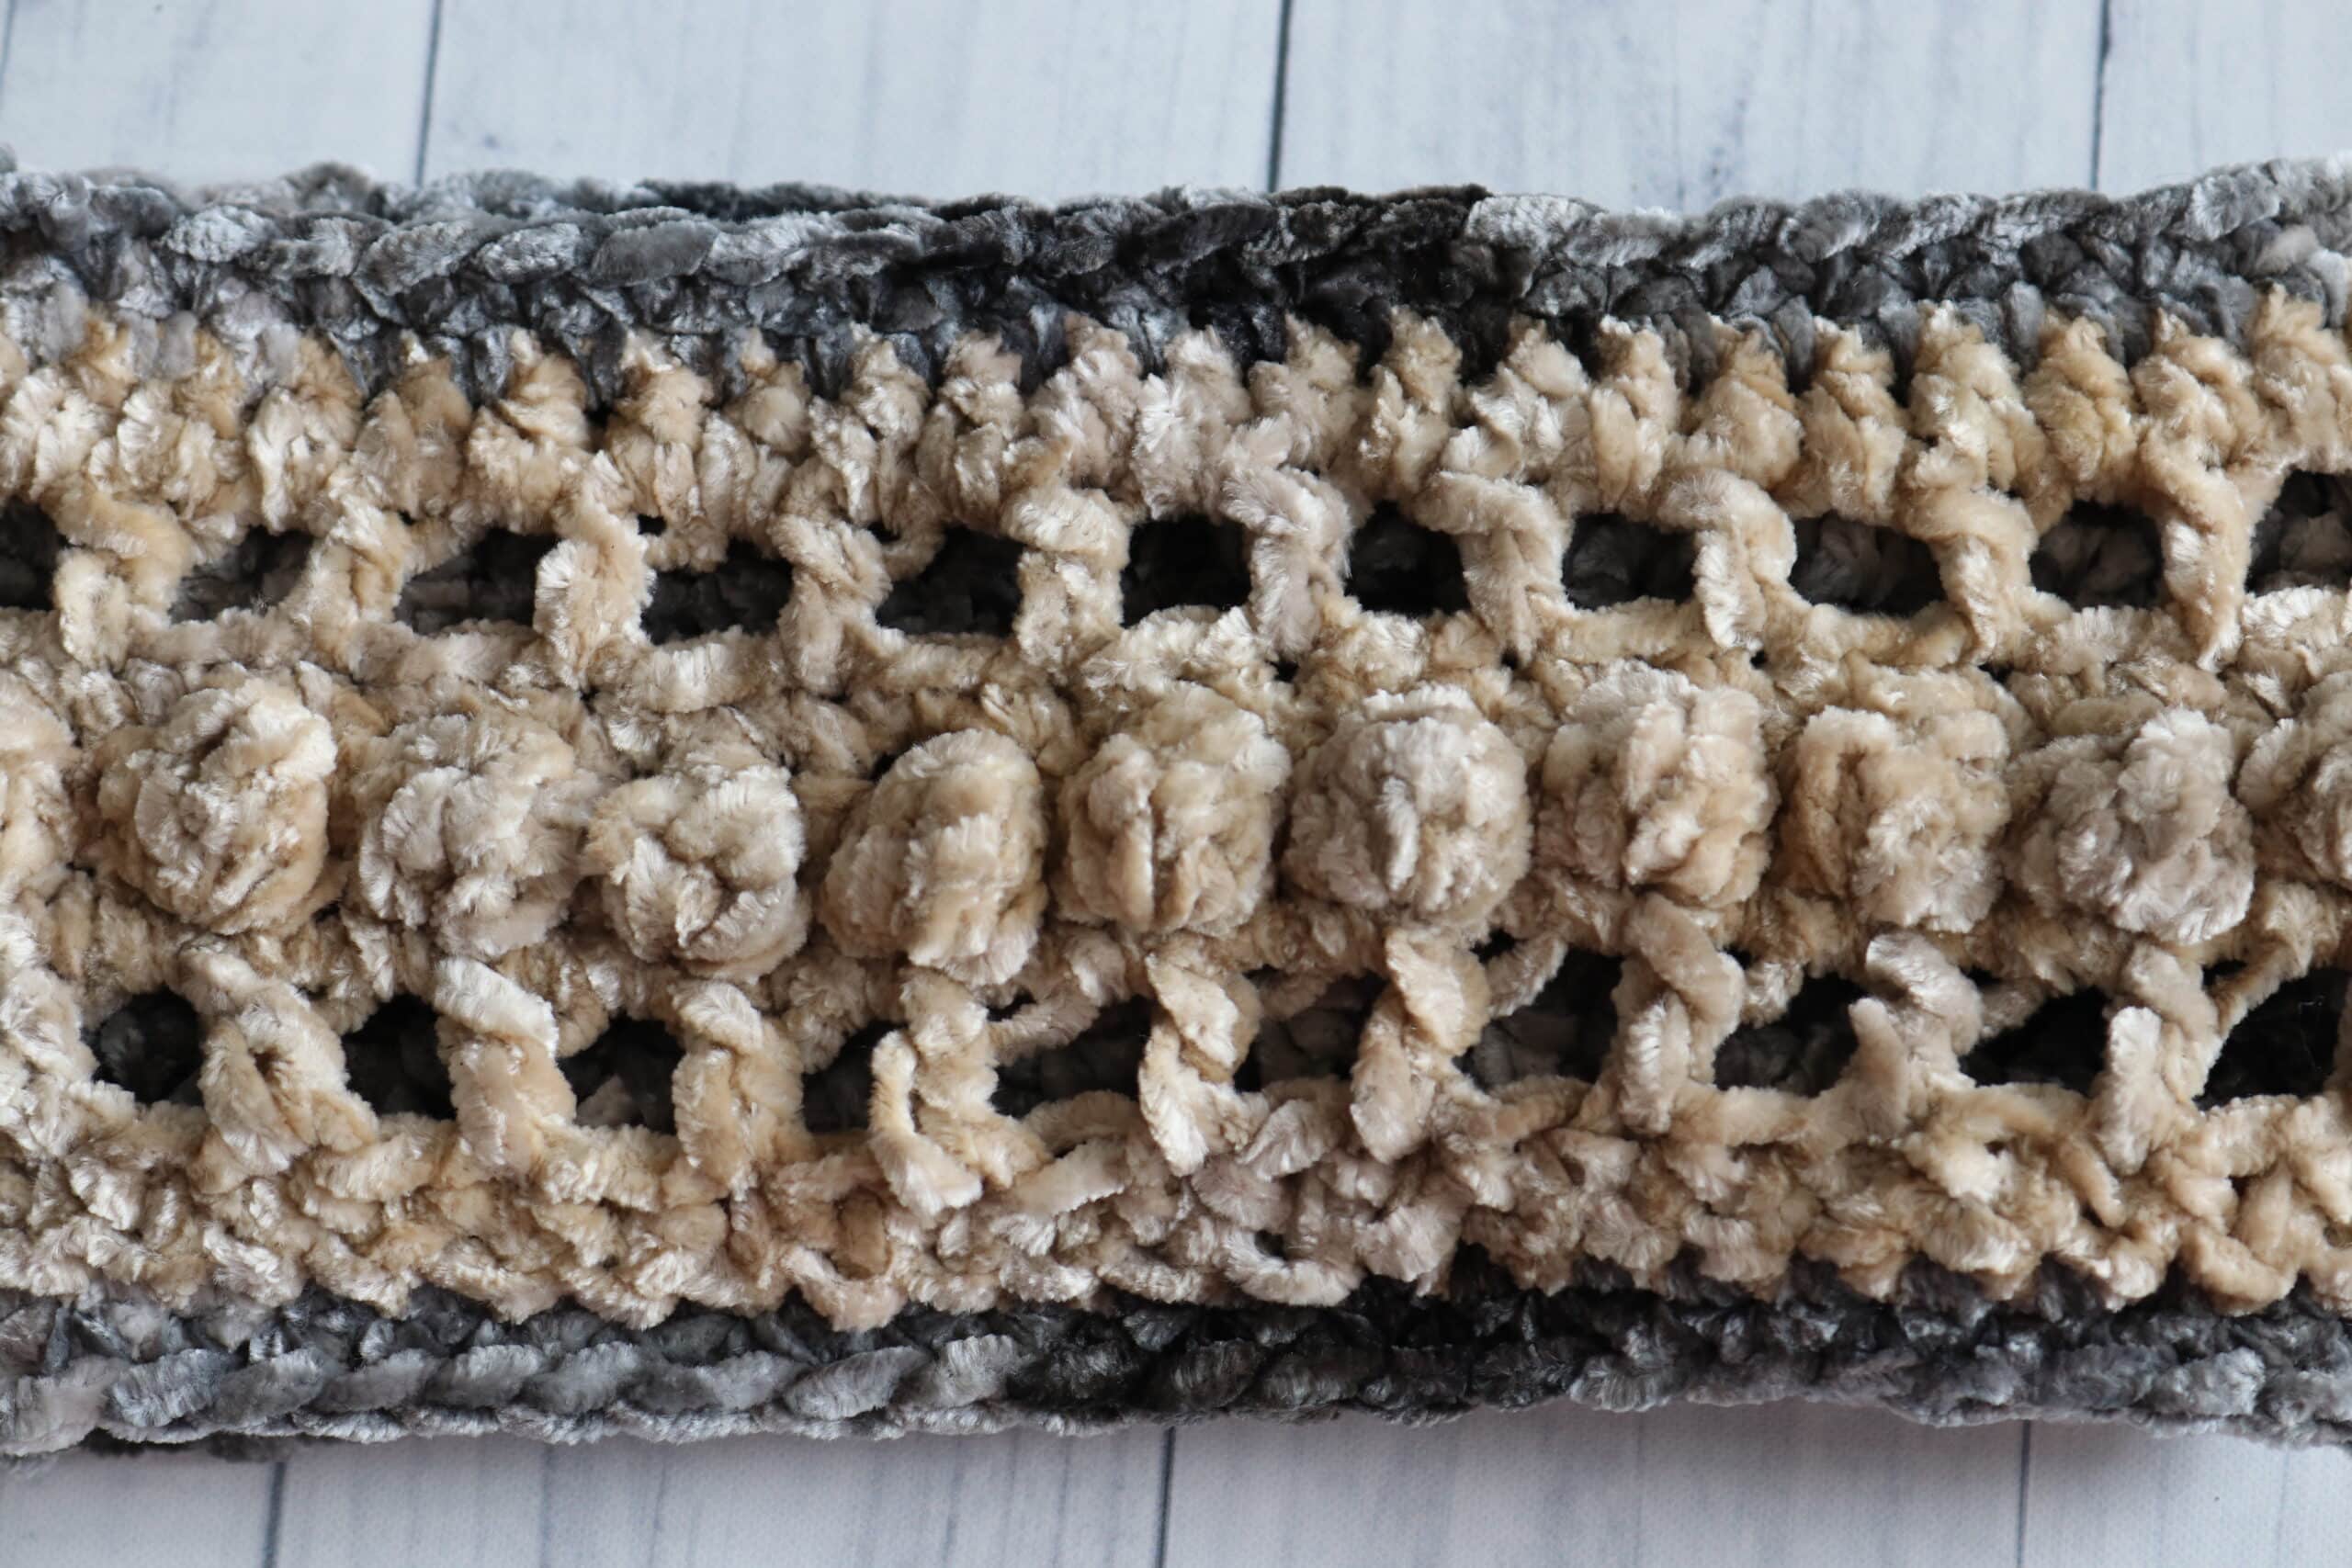
Bobble – [Yarn over, insert your hook in the stitch indicated, yarn over and draw up a loop, yarn over and draw through 2 loops] 4 times. Yarn over and draw through all the loops on hook.
Ch – Chain
Dc – Double Crochet
Hdc – Half Double Crochet
Lp – Loop
Lps – Loops
Rpt – Repeat
Sc – Single Crochet
Sk – Skip
Sl st – Slip stitch
Yo – Yarn over
Pattern Notes:
- Pattern is written in American English terms.
- Pattern is worked in rounds.
- Ch 1 at beg of row does not count as stitch.
- Ch 3 at beg of row always counts as a dc stitch.
- Weave in ends as needed.
Free Crochet Pattern:
Front:
With Colour B, ch 50, join yarn with a sl st to make a ring.
Rnd 1: Hdc in the 2nd ch from hook and in each ch around. Join yarn with sl st in the first st. (50 hdc)
(OR ALTERNATIVELY you may start with a round of 50 half double crochet foundation stitches, joining in the top of the first stitch)
Rnd 2: Ch 4 (counts as dc, ch 1), * sk the next st, dc in the next st, ch 1; rpt from * around, join with a sl st in the 3rd ch of starting ch-4.
Rnd 3: Ch 1, sc in same st as joining, and in each st and ch-1 sp all the way around, join with a sl st in the first st. TURN.
Rnd 4: Ch 1, sc in the same st as joining, bobble in the next st, * sc in the next st, bobble in the next st; rpt from * around and join with a sl st in the first st. TURN. (25 bobbles)
Rnd 5: Ch 1, sc in same st as joining, and in each st all the way around, join with a sl st in the first st. (50 sc)
Rnd 6: Ch 4 (counts as dc, ch 1), * sk the next st, dc in the next st, ch 1; rpt from * around, join with a sl st in the 3rd ch of starting ch-4.
Rnd 7: Ch 1, hdc in same st as joining, and in each st and ch-1 sp all the way around, join with a sl st in the first st.
Fasten off and weave in ends. Set aside.
Back:
With Colour A, ch 50, join yarn with a sl st to make a ring.
Row 1: Hdc in the 2nd ch from hook and in each ch around. Join yarn with sl st in the first st. (50 hdc)
(OR ALTERNATIVELY you may start with a round of 50 half double crochet foundation stitches, joining in the top of the first stitch)
Row 2: Ch 1, hdc in each st around, join with a sl st in the first st. (9 hdc)
Repeat row 2 until band measures approximately 4 inches across.
Do not fasten off.
Edging:
With Colour A:
Rnd 1: Take both sides of your headband and place one inside the other with the wrong sides together. Now working through both thickness, work 1 sc in each stitch all the way around. Join with a sl st in the first stitch. (50 sts)
Rnd 2: Ch 1, sc in the first st and in each st around, join with a sl st in the first st. (50 sts)
Fasten off, weave in your ends.
Repeat for the second side.
Video Tutorial:


2 Comments