
This post contains affiliate links. This means that when you purchase through one of these links we will receive a small commission at no additional cost to you. Thank you for supporting Rich Texture Crochet!
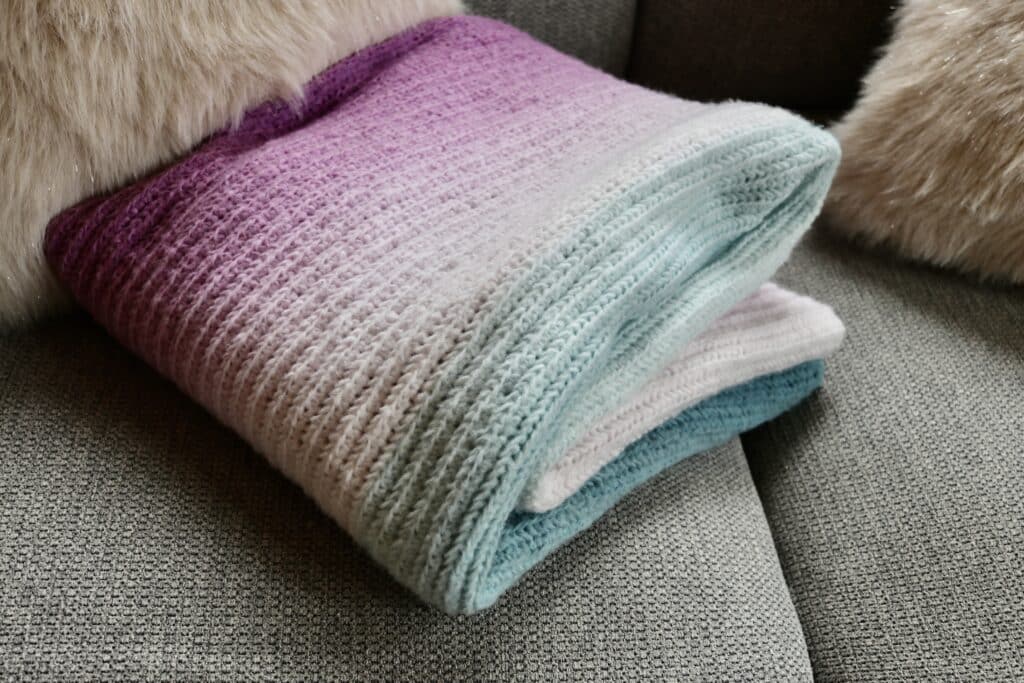
Wrap yourself in soft, cozy comfort with this easy Twilight Blanket Crochet pattern! You will love its solid, subtle texture.
Not too long ago I fell in love with the Caron Cloud Cakes by Yarnspirations. They are so soft and buttery and feature gorgeous, gradient hues and colour ways. I have already worked several free crochet patterns using the yarn including the Sweet as Honey Blanket and the Daydreamer Scarf.
Today I am excited to bring you the Twilight Blanket that I designed using my left over cakes from the other projects.
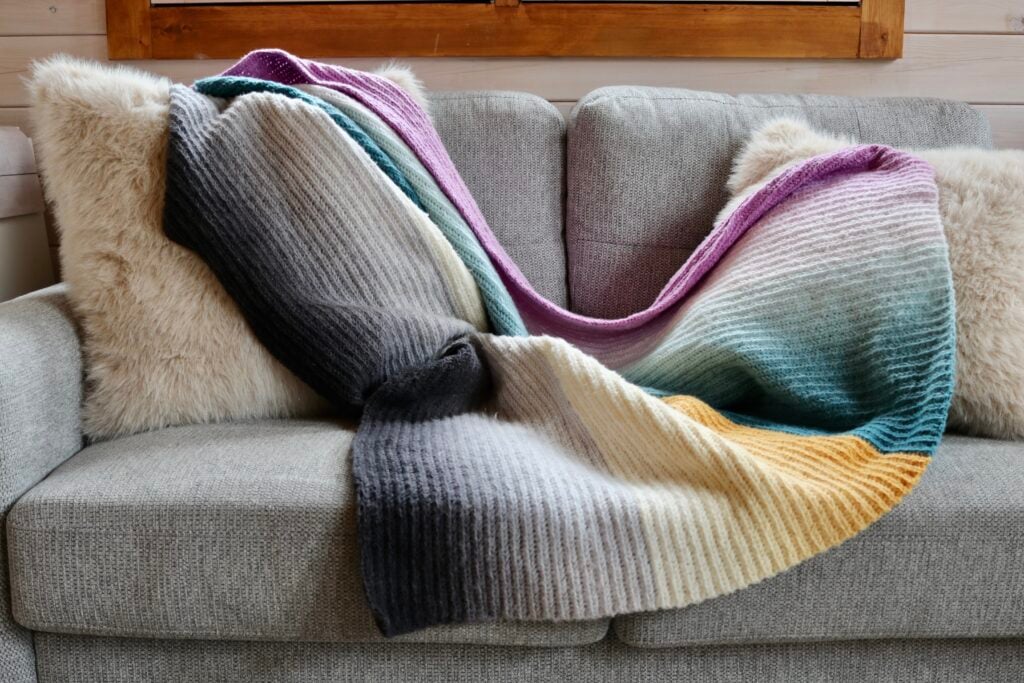
The Twilight Blanket crochet pattern is worked using four of the Caron Cloud Cakes. I used four different colours and design it so that the colours travelled from the darker shades into the lighter, then back to the darker again.
I really love the effect the colour transitions created and I also appreciated that I didn’t have to find a large amount of a single cake.

How to Work the Twilight Blanket:
This crochet blanket pattern is worked all as one piece and worked side to side lengthwise. This means that you will start with a very long foundation chain, but it also allows for the colours to change and fall as they do lengthwise in the blanket.
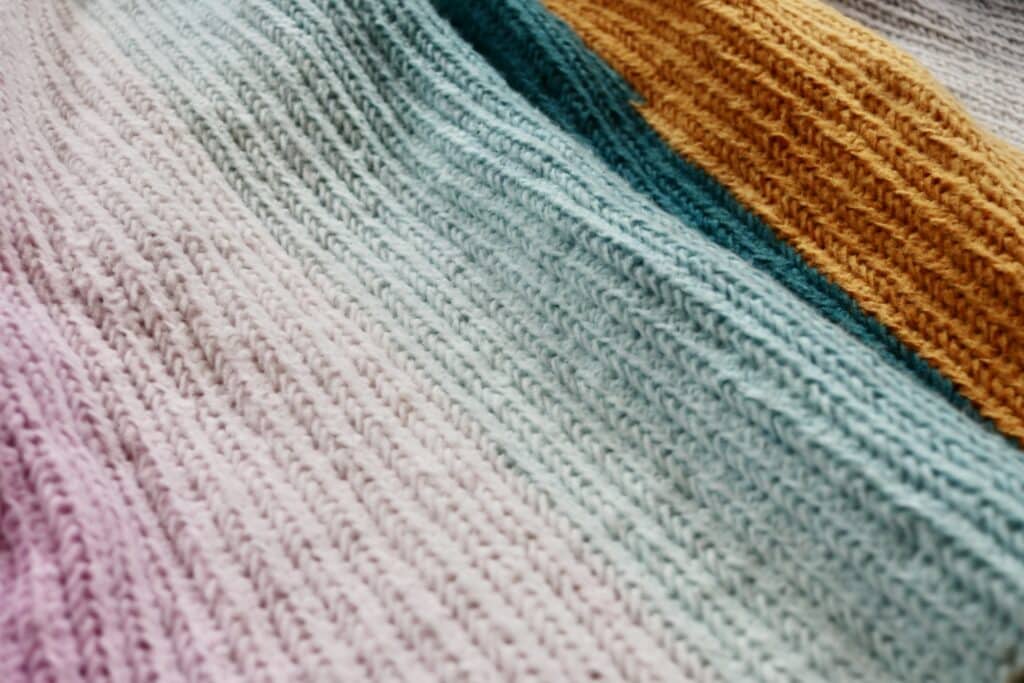
I love working blankets all as one piece, and I find the ones most comfortable at home are the ones worked in a subtle solid stitch pattern. For this blanket I have chosen to work it in a herringbone stitch. It’s a great project to work on while listen to a favourite audio book or podcast, or while streaming your favourite movie.
What Materials do you need to make this crochet blanket?
For the project, which measures approximately 48 inches by 55 inches, I used four of the Perfect Phasing Caron Cloud Cakes by Yarnspirations available at Michaels. The colour changes in the yarn is such that is flows smoothly from the dark shade to the light. The cakes are conveniently all structured the same way with the dark at the centre.
To start my blanket, I started first with the darker gold colour and moved to the light. When it came to joining the next cake, instead of pulling from the centre, I started at the outside edge so that the colours flowed smoothly from dark to light and then to dark again.
Along with the four cakes of yarn, I opted for a 5 mm crochet hook.
PDF Copies of this crochet pattern:
The Twilight Blanket crochet pattern will be written out in full below and it is free to follow here on Rich Textures Crochet. However, if you would like to add this pattern to your library or purchase an ad free PDF, you can do so from my Etsy and Ravelry shops linked below:
CLICK HERE TO PURCHASE THE PDF FOR THE TWILIGHT BLANKET CROCHET PATTERN ON ETSY
CLICK HERE TO PURCHASE THE PDF FOR THE TWILIGHT BLANKET CROCHET PATTERN ON RAVELRY
Thank you so much for stopping by! Don’t forget to sign up for my email newsletter below so that you never miss a new free crochet pattern. If you enjoy crocheting blankets and working with the Caron Cakes, you may also wish to try the Boardwalk Blanket crochet pattern.
Happy Crocheting!
Sarah
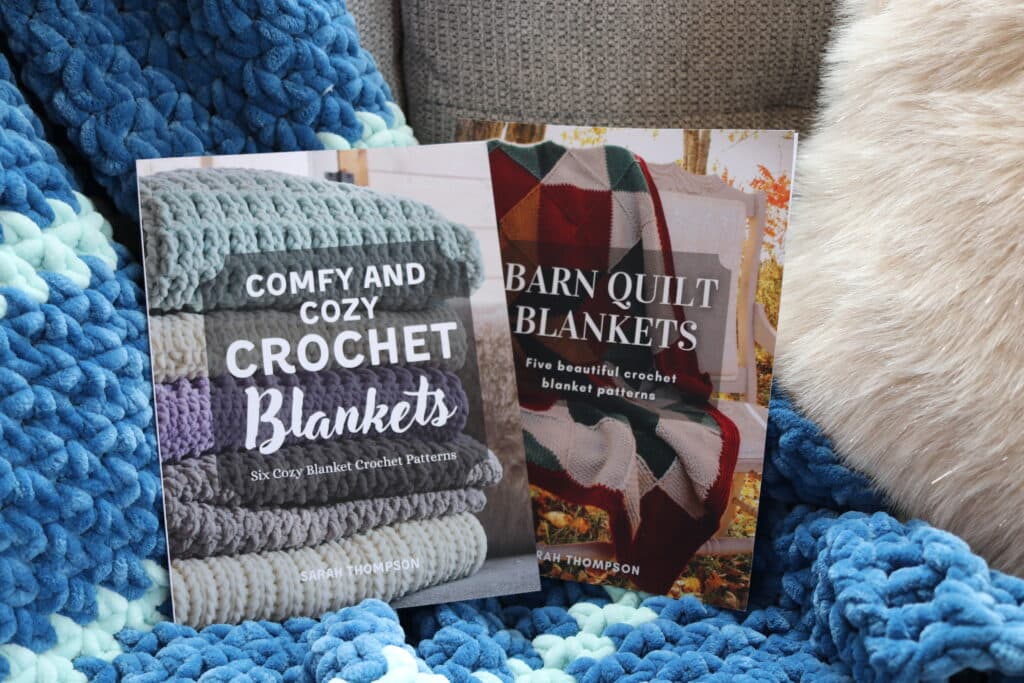
Check out my new books! I have three crochet books now available on Amazon in ebook and paperback format. These books include two books of blanket crochet patterns and one of my favourite crochet stitches. You can see them all by clicking HERE. Enjoy!
Twilight Blanket Crochet Pattern:
Skill Level: Easy
Gauge: 20 sts x 15 rows of pattern = 4 inches
Finished Size: 48.5 x 54 inches
Yarn: Caron Cloud Cakes Perfect Phasing ® by Yarnspirations ® (100% Polyester; 227 g/8 oz; Approx. 720 yds/658 meters). Medium (4). Colours Shown: Nightwatch, Golden, Lagoon and Orchid. You will need a total of 4 cakes.
Hook: Size H/8 (5.0 mm) Hook. Adjust hook size if necessary to obtain correct gauge.
Notions: Yarn Needle
Stitches and Abbreviations:
Ch – Chain
Dc – Double Crochet
Hdc – Half Double Crochet
Hsc – Herringbone Single Crochet (Insert your hook through loop on the front of the post of the previous st, insert your hook into the next stitch, yarn over and draw up a loop, yarn over and draw through all three loops on your hook. Herringbone Single Crochet made.)
Lp – Loop
Rpt – Repeat
Sc – Single Crochet
Sk – Skip
Sl St – Slip Stitch
Yo – Yarn Over
Pattern Notes:
- Pattern is written in American English terms.
- Pattern is worked in rows.
- Ch 1 at beginning of row does not count as stitch.
- Weave in ends as needed.
- This blanket is worked all as one piece and side to side.
- To change the size of your blanket you may use any multiple stitches for your foundation chain.
- NOTE ABOUT ADDING NEW BALL OF YARN: To achieve the colour phasing so that it moves from dark to light, to dark again, when adding the new ball of yarn you will continue from the end at the opposite end of the cake you started on. For example, you will crochet from dark to light, then on the next cake start at the light end and crochet to the dark end.
Free Crochet Pattern:
Ch 250
Row 1: Sc in the 2nd ch from your hook, hsc (see “stitches and abbreviations”) in the next st and in each st across. Ch 1, turn. (249 sts)
Row 2: Sc in the 1st st, working under both loops at the top of your stitches below, hsc in the next st and in each st across. Ch 1, turn.
Rows 3-onward: Continue to repeat row 2. Work until you come to the end of your yarn cake, then attach the next and continue working. You may change the width of your colour stripes. Simply make note of the change or number of rows for future colour changes.
Fasten off, weave in your ends.
NOTE: Sometimes I find that the sc at the start of the rows slips down on your return. If you are finding it challenging to keep your edges straight, it may help to use a stitch marker to mark the sc so that it is easier to find when you come back to it.
TIP: I did not add a fringe to the end of my blanket, but it would make a nice optional added touch if you have yarn remaining!