This post contains affiliate links. This means that when you purchase through one of these links we will receive a small commission at no additional cost to you. Thank you for supporting Rich Texture Crochet!
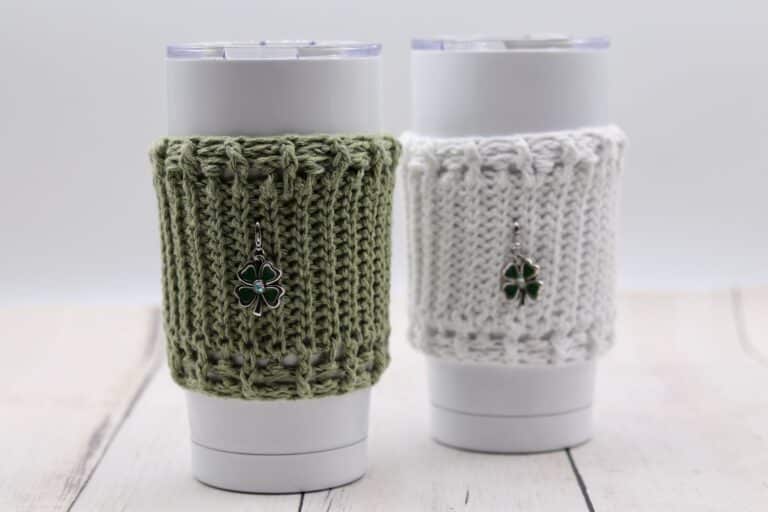
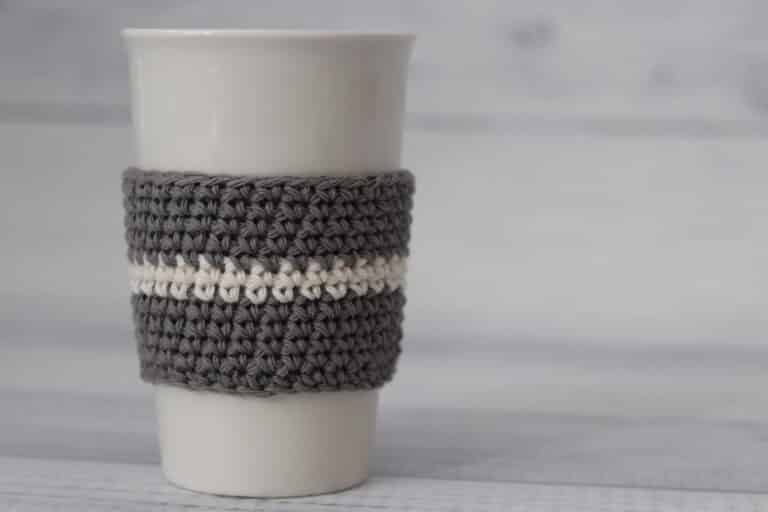
If you are looking for an easy crochet stitch pattern that looks like knit, the Herringbone Ribbing Crochet Pattern is it!
I love the knit look and feel. Knit stitches have a nice stretch and feel to them. They look cozy and have a homey feel. Sometimes it is hard to recreate that look in crochet and many times to get the look slip stitches are necessary.
Of, course slip stitches are not everyone’s favourite (although I will confess, they are one of mine!) because they can be tight and therefore more challenging to work. But in this Herringbone Ribbing Stitch, no slip stitches are necessary!

Using a herringbone ribbing stitch pattern you can get that knit look, without having to work all of those tiny slip stitches.
To work the Herringbone Ribbing you will work herringbone single crochet stitches in the back loop only. These herringbone stitches are neat because they begin by inserting and working into the previous stitch, before ending in the next stitch. You will see what I mean in the video below!
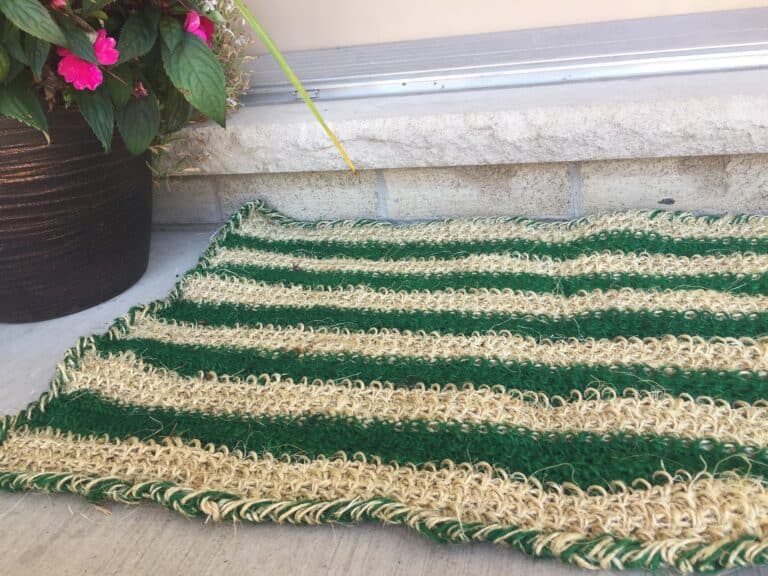
I would use this stitch pattern in a variety of different projects – from blankets to scarves to hat, the sky is the limit. In fact, I most recently used this stitch in the Cameron Beanie and in the Aspen Beanie crochet patterns.
The Materials:
For this tutorial today I will be using a small amount of the Basic Stitch Anti Pilling yarn by Lion Brand in a single colour. It is a soft worsted weight 100% acrylic yarn. The hook shown in the video below is a 5 mm Furls Metal Streamline Hook in the colour Blush. You may use any hook and yarn combination you choose.
Thank you so much for stopping by! If you enjoy the tutorial below, be sure to also check out some of the many other crochet stitch tutorials on my site and pin this for later! You may wish to start with the Ember Stitch | How to Crochet.
Herringbone Ribbing Stitch Crochet Pattern:
Ch – Chain Stitch
Hsc – Herringbone Single Crochet (Insert your hook through loop on the front of the post of the previous st, insert your hook into the next stitch, yarn over and draw up a loop, yarn over and draw through all three loops on your hook. Herringbone Single Crochet made.)
Rpt – Repeat
Sc – Single Crochet Stitch
Sl St – Slip Stitch
Yo – Yarn Over
Pattern Notes:
This stitch is worked in rows in this tutorial and it may be worked in one colour or many. I will be working this pattern in a single colour.
This pattern is written using American crochet terms.
To begin make a slip knot and make a foundation chain. For this stitch you may use any number of stitches for your foundation chain.
For example, ch 31.
Row One:
Sc in the 2nd ch from your hook, hsc (see “stitches and abbreviations”) in the next st and in each st across. Ch 1, turn.
Row Two:
Sc in the 1st st, working in the blo hsc in the next st and in each st across. Ch 1, turn. (NOTE: in the final st, you may work under the blo or under both loops. This is really up to you!)
And that’s it!
For the rest of the pattern simply repeat row two. Fasten off, weave in your ends.