
This post contains affiliate links. This means that when you purchase through one of these links we will receive a small commission at no additional cost to you. Thank you for supporting Rich Texture Crochet!
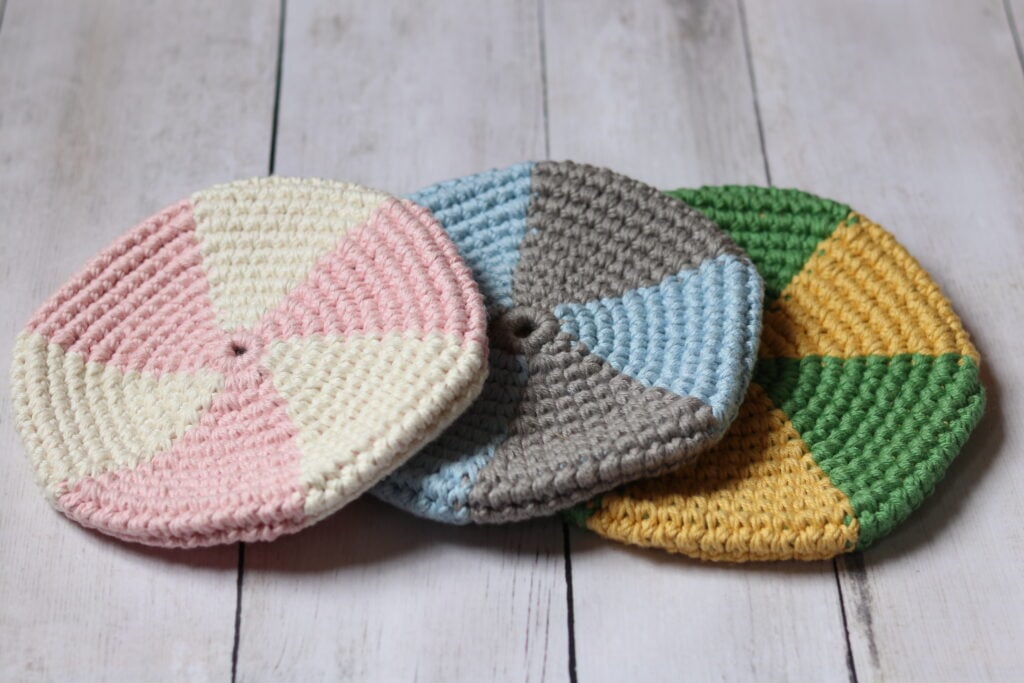
Unleash some crochet fun with this easy, Pocket Flying Disc crochet pattern worked with cotton yarn in fun, bright colours!
Are you looking for a fun activity to keep the kids busy, or perhaps an easy stocking stuffer or craft fair make? Check out this Easy Pocket Flying Disc crochet pattern.
The Easy Pocket Flying Disc works much like a Frisbee! Toss it in the air and watch it glide across a yard or field. When finished, the disc can be easily folded up and stashed in a pocket. I also love that, when it gets dirty, you can simply toss it in the washing machine.
These little Easy Pocket Flying discs would make a great gift or stocking stuffer. They are also great sellers at craft fairs and craft markets!
How to crochet a pocket flying disc?
The Easy Pocket Flying Disc Crochet pattern is easy to work! I prefer to make mine with cotton yarn and, in this case, I have selected a worsted weight cotton yarn. You will need approximately 150 yards of yarn to make this pattern.
When working the flying disc, you will hold two strands of yarn together. This will make the fabric a little thicker and less flimsy – it’s perfect for flying! To make it a little easier I divided my yarn into smaller balls to work with at the same time.
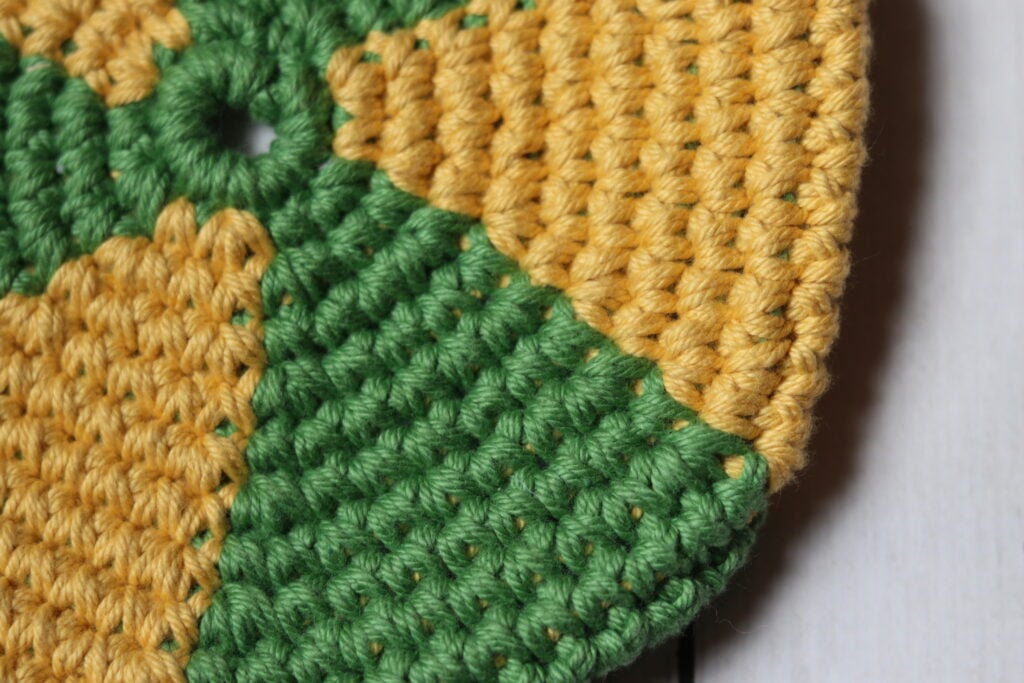
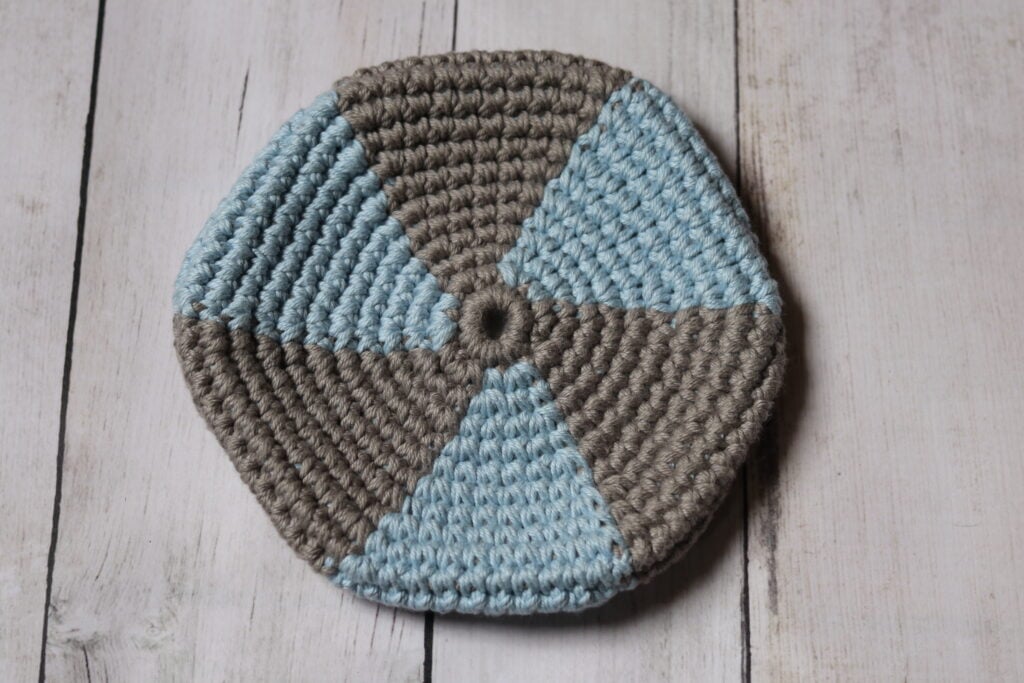
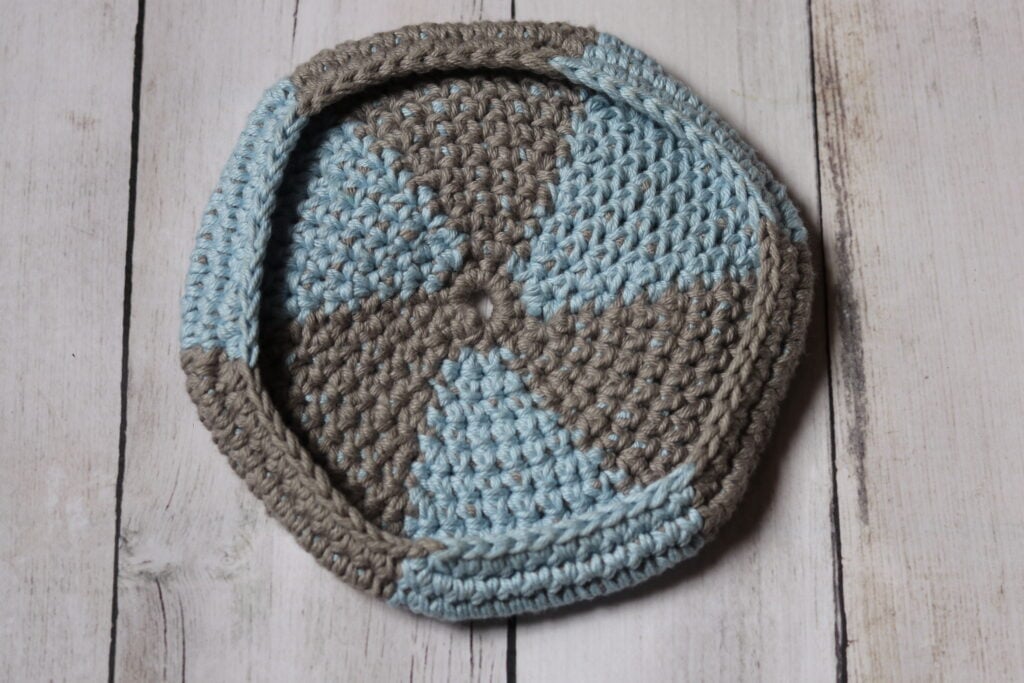
To add a little interest to mine, I worked them in two colours giving it a pinwheel effect. You could certainly work it however in a solid colour or more.
To begin the pattern you will start at the centre of the disc and work your way outward. The outer edge of the disc features a bit of a ridge that helps to capture the air.
The finished size is about a seven inch diameter. This is not too large and great for taking with you wherever you go.
Enjoy and have a little fun with it!
PDF Copies are also Available:
The crochet pattern for this flying disc will be written out in full below and will forever remain free when viewed here on Rich Textures Crochet, and the written instruction will be followed by a free video tutorial. However if you would like to add this pattern to your library or purchase an ad free PDF, you may do so from either my Etsy or Ravelry Shop linked below:
CLICK HERE FOR THE EASY POCKET FLYING DISC CROCHET PATTERN ON ETSY
CLICK HERE FOR THE EASY POCKET FLYING DISC CROCHET PATTERN ON RAVELRY
Thank you for stopping by and I look forward to seeing you again soon! If you have not already, I invite you to sign up for my e-newsletter so that you will be notified each time I release a new free crochet pattern or stitch tutorial. Are you looking for more great craft fair ideas? Check out this free crochet pattern for a teddy bear key chain!
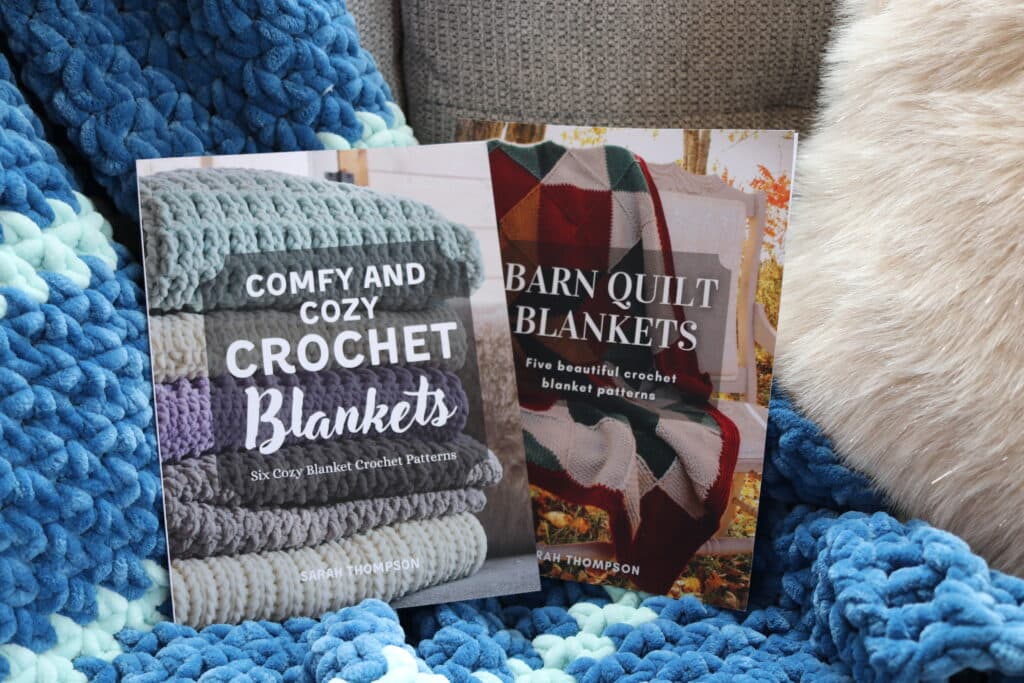
Check out my crochet books! I have three crochet books now available on Amazon in ebook and paperback format. These books include two books of blanket crochet patterns and one of my favourite crochet stitches. You can see them all by clicking HERE. Enjoy!
Easy Pocket Flying Disc Crochet Pattern:
Skill Level: Easy
Gauge: 16 sts x 20 rounds of pattern = 4 inches
Finished Size: Approximately 7 x 7 inches
Yarn: Dishie Worsted Weight by KintPicks/WeCrochet ® (190 yds; 100g; 100% cotton; (4) worsted weight). You will need approximately 150 yards per flying disc in two colours. NOTE: This pattern will be worked holding two strands of yarn together and you will be working with 2 colours at the same time. For my Flying Disc, I worked with 4 small balls of yarn: 2 in colour A and 2 in colour B.
Hook: Size G/6 (4 mm) hook.
Notions: Yarn Needle, stitch marker.
Stitches and Abbreviations:
Ch – Chain
Rpt – Repeat
Sc – Single Crochet
Sc2tog – Single Crochet Two Stitches Together
Sk – Skip
Sl st – Slip stitch
Yo – Yarn over
Pattern Notes:
- Pattern is written in American English terms.
- Pattern is worked in rounds
- Ch 1 at beginning of round does not count as stitch.
- Weave in ends as needed.
- Using a stitch marker, mark the 1st st and move your stitch marker as your work progresses. Do NOT join at the end of each round but work continuous rounds.
Free Crochet Pattern:
When working this pattern you will always work holding two strands of yarn together.
With colour A, make a magic ring OR chain 2 and work into the 2nd ch from your hook (NOTE: If using the second method, you may notice a small hole that you will want to tie closed before completing).
Rnd 1: Ch 1, work 12 sc into the ring. Do not join, but use a stitch marker to mark the 1st st and move as your work progresses. Do not turn (here and throughout) (12 sts)
Rnd 2: *With colour A sc in the next st, 2 sc in the next and switch to colour B, with colour B sc in the next st, 2 sc in the next and switch to colour A; Rpt from * around. (18 sts)
Rnd 3: *With colour A 2 sc in the next st, sc in each of the next 2 sts and switch to colour B, with colour B 2 sc the next st, sc in each of the next 2 sts and switch to colour A; Rpt from * around. (24 sts)
Rnd 4: *With colour A sc in each of the next 3 sts, 2 sc in the next and switch to colour B, with colour B sc in each of the next 3 sts, 2 sc in the next and switch to colour A; Rpt from * around. (30 sts)
Rnd 5: *With colour A 2 sc in the next st, sc in each of the next 4 sts and switch to colour B, with colour B 2 sc the next st, sc in each of the next 4 sts and switch to colour A; Rpt from * around. (36 sts)
Rnd 6: *With colour A sc in each of the next 5 sts, 2 sc in the next and switch to colour B, with colour B sc in each of the next 5 sts, 2 sc in the next and switch to colour A; Rpt from * around. (42 sts)
Rnd 7: *With colour A 2 sc in the next st, sc in each of the next 6 sts and switch to colour B, with colour B 2 sc the next st, sc in each of the next 6 sts and switch to colour A; Rpt from * around. (48 sts)
Rnd 8: *With colour A sc in each of the next 7 sts, 2 sc in the next and switch to colour B, with colour B sc in each of the next 7 sts, 2 sc in the next and switch to colour A; Rpt from * around. (54 sts)
Rnd 9: *With colour A 2 sc in the next st, sc in each of the next 8 sts and switch to colour B, with colour B 2 sc the next st, sc in each of the next 8 sts and switch to colour A; Rpt from * around. (60 sts)
Rnd 10: *With colour A sc in each of the next 9 sts, 2 sc in the next and switch to colour B, with colour B sc in each of the next 9 sts, 2 sc in the next and switch to colour A; Rpt from * around. (66 sts)
Rnd 11: *With colour A 2 sc in the next st, sc in each of the next 10 sts and switch to colour B, with colour B 2 sc the next st, sc in each of the next 10 sts and switch to colour A; Rpt from * around. (72 sts)
Rnds 12-13: *With colour A sc in each of the next 12 sts and switch to colour B, with colour B sc in each of the next 12 sts and switch to colour B; Rpt from * around. (72 sts)
Rnd 14: *With colour a, sc in each of the next 10 sts, sc2tog and switch to colour B, with colour B sc in each of the next 10 sts, sc2tog and switch to colour A; Rpt from * around. (66 sts)
Fasten off and weave in your ends.
Video Tutorial: