This post contains affiliate links. This means that when you purchase through one of these links we will receive a small commission at no additional cost to you. Thank you for supporting Rich Texture Crochet!
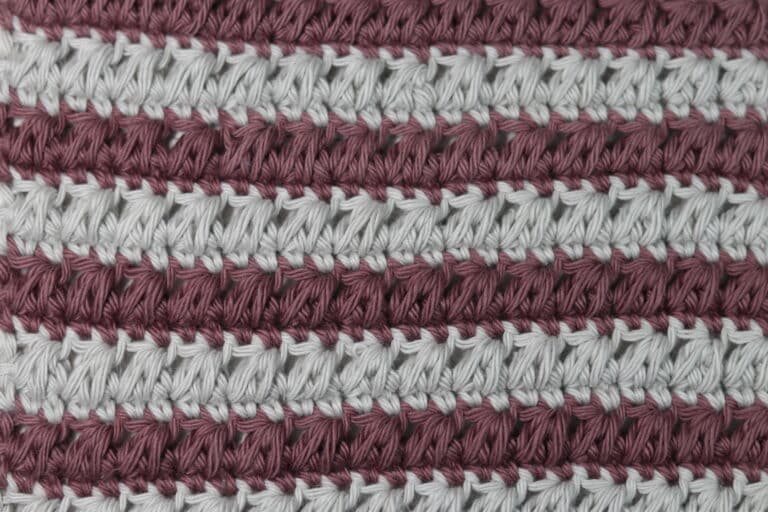
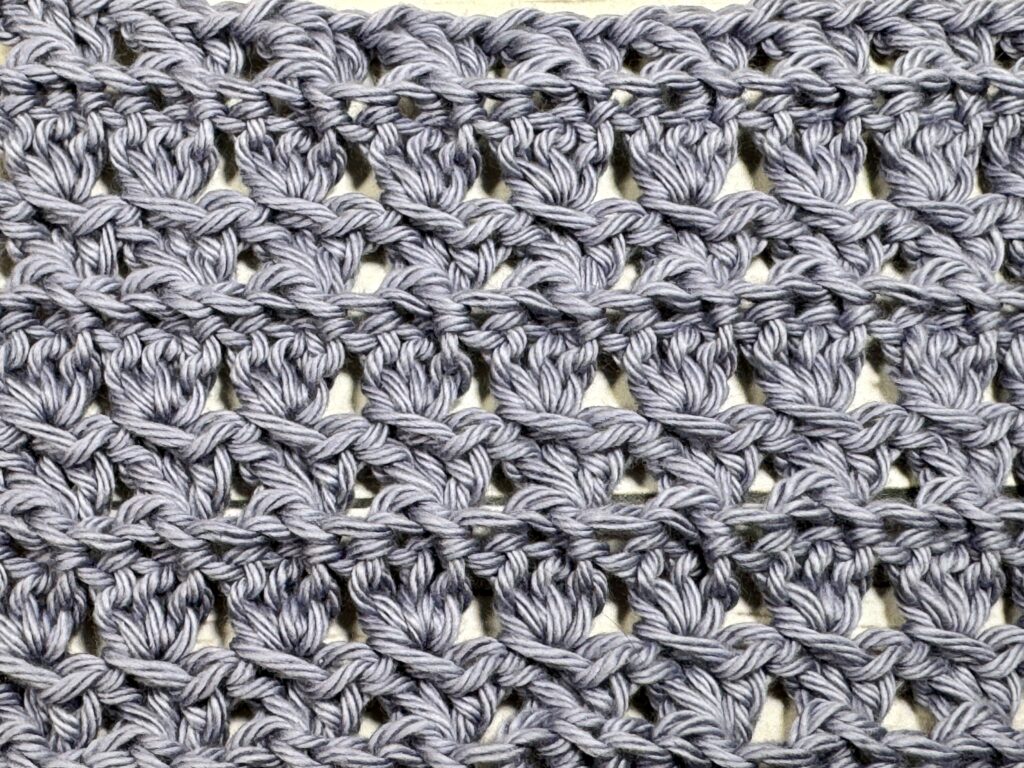
The texture in this Timber Stitch crochet pattern is absolutely beautiful! And, even though it looks complicated, it is so easy to work.
There may be another name floating around out there for this crochet stitch and if you happen to know it, please let me know! When I came across it, it was not labeled with a name. I felt it reminded me of tree bark and so I’ve come to call it the Timber Stitch.
The stitch pattern is quite easy to work being a two row repeat. And really, the two rows are even almost the same! The only difference between them is whether you insert your hook from the front of your work, or from the back. You will see what I mean in the written and video tutorials below!
The Materials:
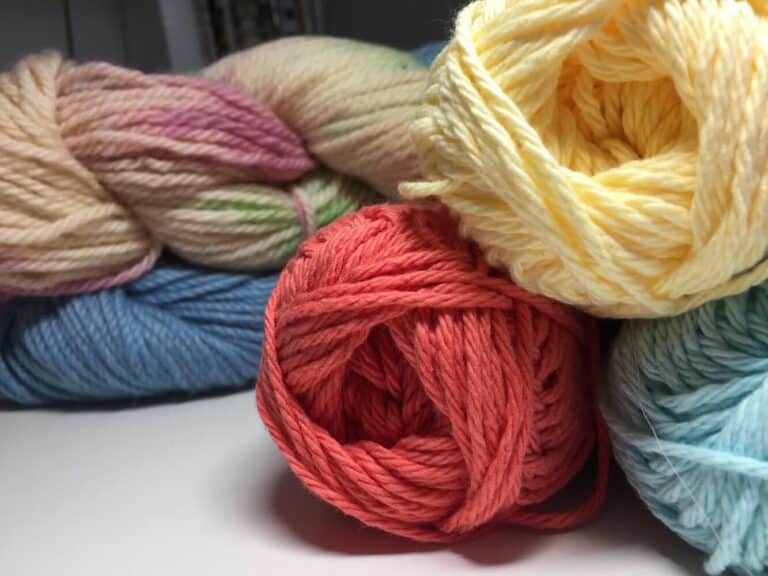
For this tutorial today I will be using a small amount of cotton yarn. This yarn is a worsted weight yarn called Pima Cotton by Lion Brand Yarn. I will also be using a 5 mm crochet hook. The hook you will see me using in the video tutorial below is a Wooden Streamline Hook by Furls Crochet.
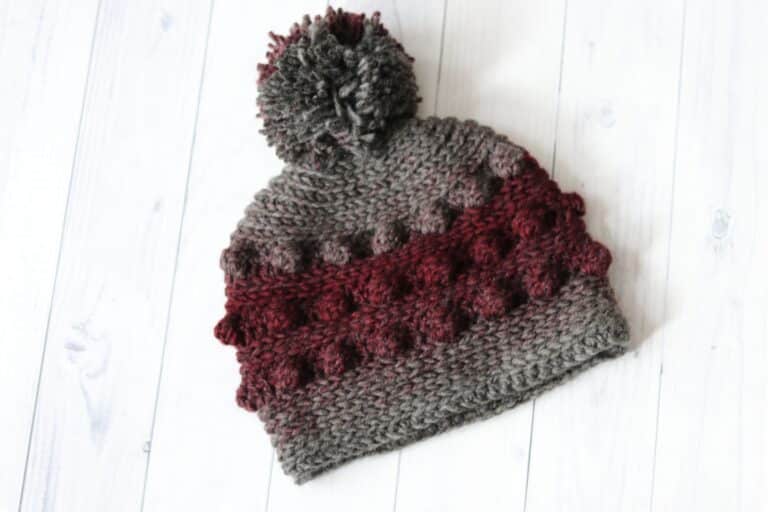
Thank you so much for stopping by! If you enjoy learning new crochet stitches, you will find many more in the “Crochet Stitches” category here on Rich Textures Crochet, or you may wish to check out the Climbing Shell Stitch. I update this website with a new crochet stitch every week!
The Timber Stitch:
Stitches and Abbreviations:
Ch – Chain
Dc – Double Crochet
Rpt – Repeat
Sl St – Slip Stitch
Yo – Yarn Over
Notes:
This stitch is worked in rows in this tutorial and it may be worked in one colour or many. I will be working this pattern in one colour.
To begin make a slip knot and make a foundation chain. For this stitch you will need a multiple of three chains (3+3) for your foundation chain.
For example, ch 33.
Row One:
3 dc in the 5th ch from your hook, *sk the next 2 sts, 3 dc in the next st; Rpt from * across, dc in the final st. Ch 3, turn.
Row Two:
Sk the 1st st, *3 dc around the tops of the next 2 sts inserting your hook under the top two loops from the front and around the post in back and out through the front, sk the next 2 sts; rpt from * across, dc in the top of your turning ch, ch 3, turn.
Row Three:
Sk the 1st st, 3 dc around the tops of the next 2 sts inserting your hook under the top two loops from the back and around the post in front and our through the back, sk the next 2 sts; rpt from * across, dc in the top of your turning ch, ch 3, turn.
And that’s it!
For the rest of the pattern simply repeat rows two and three. Fasten off, weave in your ends.