This post contains affiliate links. This means that when you purchase through one of these links we will receive a small commission at no additional cost to you. Thank you for supporting Rich Texture Crochet!
If you have been following the crochet along for the Crazy for Cables Blanket, today we are going to join our squares together and work a simple blanket edging!
You’ve made it! And what a wonderful six weeks it has been! This week marks the conclusion of our Crazy for Cables Blanket Crochet Along. I hope you have enjoyed this time learning how to work crochet cables and learning a variety of cabled designs. Beyond blankets, crochet cables can be worked into many different crochet projects like hats, scarves and sweaters! In fact, if you would like to try some crochet cables in a hat, you may wish to check out the Twisted Cable Beanie crochet pattern or the Braided Cable Ear Warmer Crochet Pattern.
For the crochet along, if you are a little bit behind (or just hearing about the crochet along for the first time), don’t worry. The crochet patterns for the squares will remain free to follow here on Rich Textures Crochet and the ad free PDF will be available for the entire blanket on my Etsy and Ravelry Shops below.
CLICK HERE FOR WEEK ONE: NARROW CABLE BLANKET SQUARE
CLICK HERE FOR WEEK TWO: CRINKLE CABLE BLANKET SQUARE
CLICK HERE FOR WEEK THREE: ROPE CABLES BLANKET SQUARE
CLICK HERE FOR WEEK FOUR: LATTICE CABLES BLANKET SQUARE
CLICK HERE FOR WEEK FIVE: WINDING CABLES BLANKET SQUARE
Let’s start joining!
Now that you have worked all 20 squares worked for your blanket, you will want to join them together.
To join the squares together you will proceed as follows:
Arrange squares in the desired order in a 4 block by 5 block grid. Join colour A with a sl st at the end of any row.
Working through both thickness, with the right side of your squares facing, sc in the blo of each st (Picking up the blo of each st across from each other in each square) all the way across.
Repeat this until all squares have been joined, both horizontal rows and vertical rows.
Work a Simple Edging:
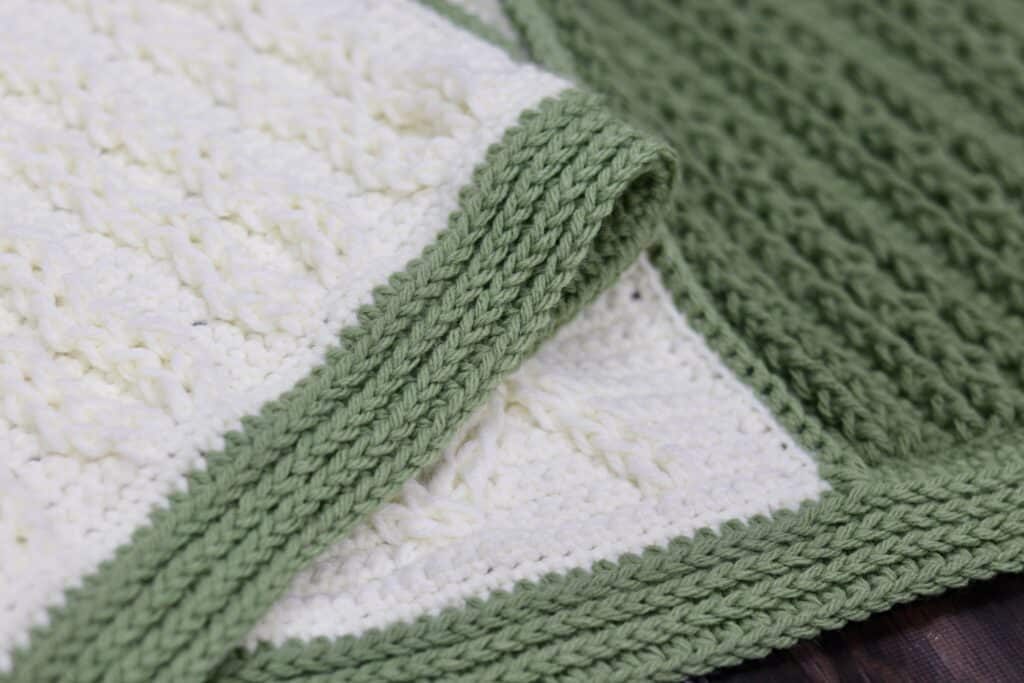
When completing this blanket, I wanted to work a simple edging that would look good and really make the cabled texture in the squares stand out! This is why I opted for a hdc in the 3rd loop edging.
This is one of my favourite edgings to work. You don’t have to worry about stitch multiples and complicated patterns. You can work as thick of a boarder as you desire and you can work it as a solid colour or in multiples. It’s really up to you!
To work the final blanket edging, proceed as follows (this edging is worked in rounds):
Join colour A anywhere along the blanket edge.
Rnd 1: Hdc in each st around the outer edge of your blanket, working 3 hdc in each corner st. Join with a sl st in the 1st st. Ch 1. Do not turn.
Rnds 2-4: Working in the 3rd lp of each st around, hdc in each st around working 3 hdc in each corner st. Join with a sl st in the 1st st. Ch 1, do not turn.
Fasten off, weave in your ends. Block if desired.
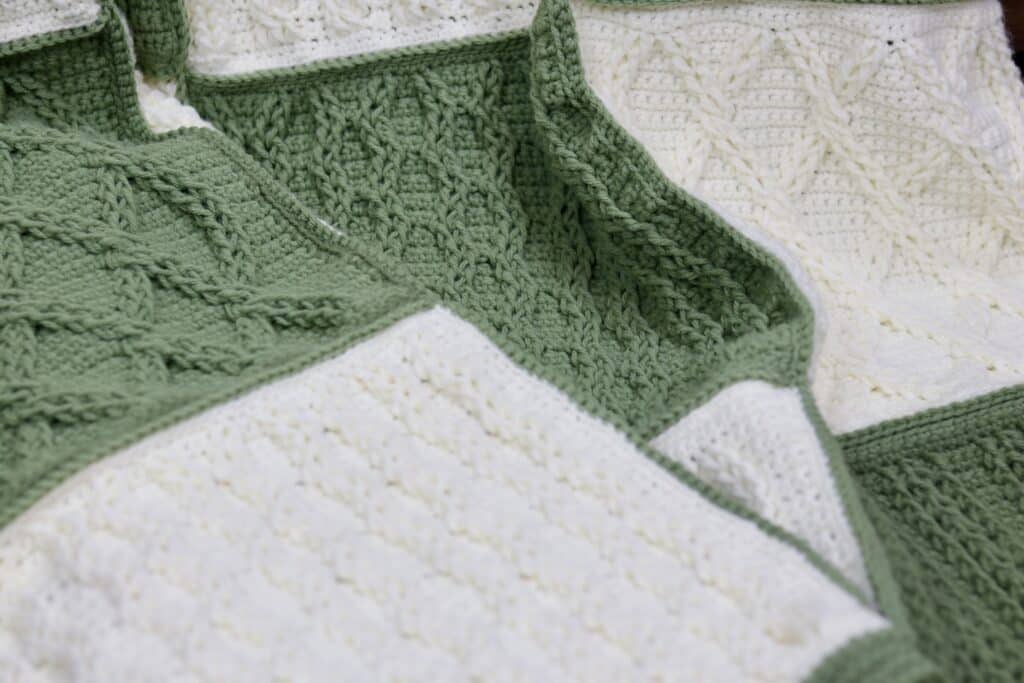
And that’s it!
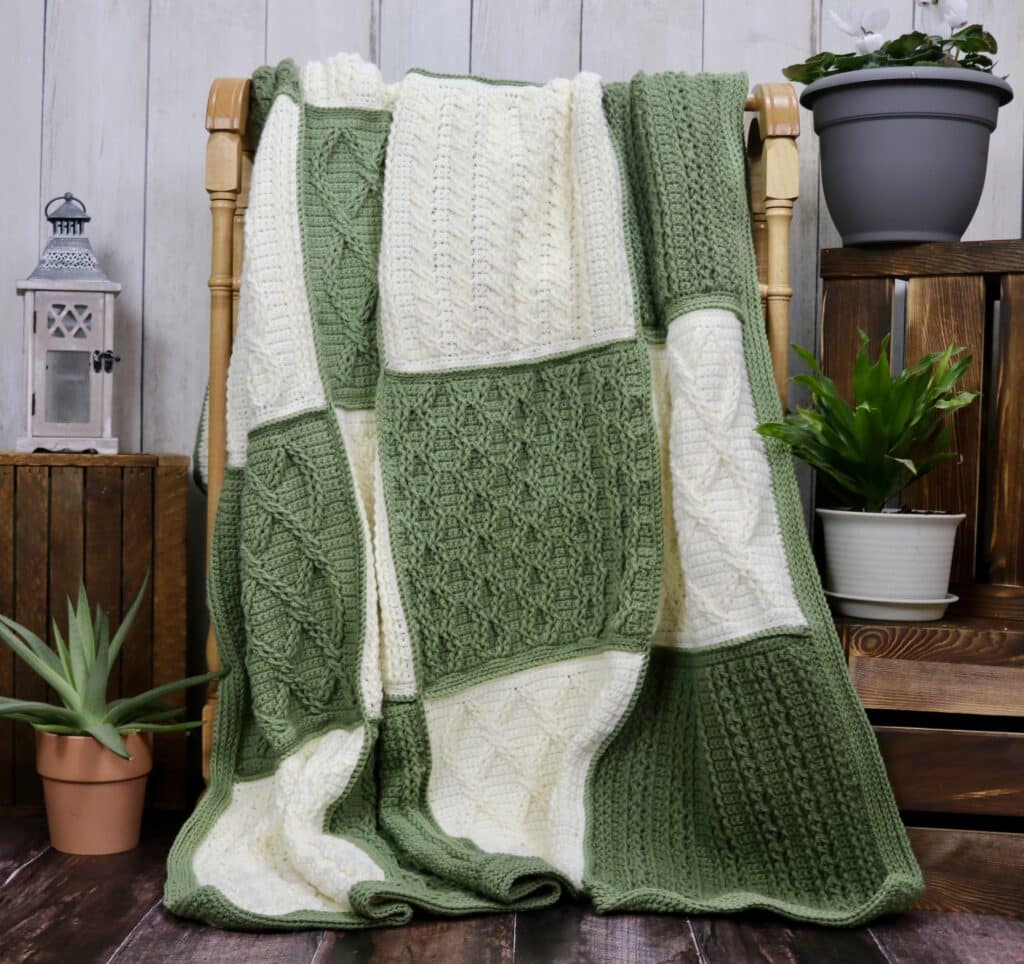
After completing the edging you will have a gorgeous blanket to enjoy!
Once again, thank you so much for joining me on this crochet along adventure. I host crochet alongs regularly throughout the year so stay tuned for the next one and don’t forget to sign up for my email newsletter!
Happy Crocheting!
Sarah