This post contains affiliate links. This means that when you purchase through one of these links we will receive a small commission at no additional cost to you. Thank you for supporting Rich Texture Crochet!
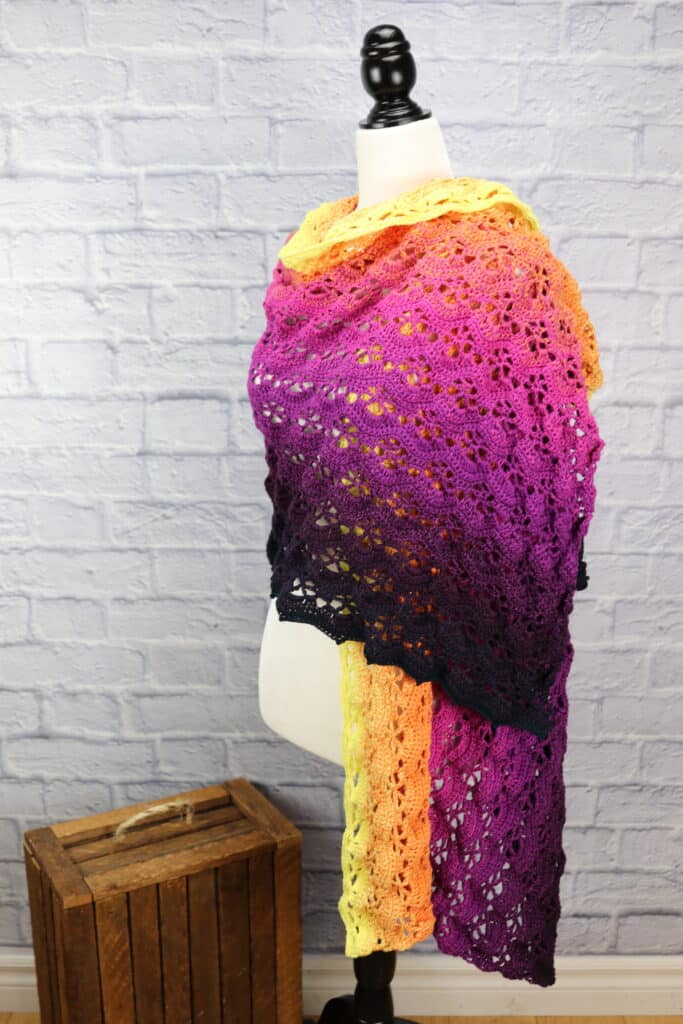
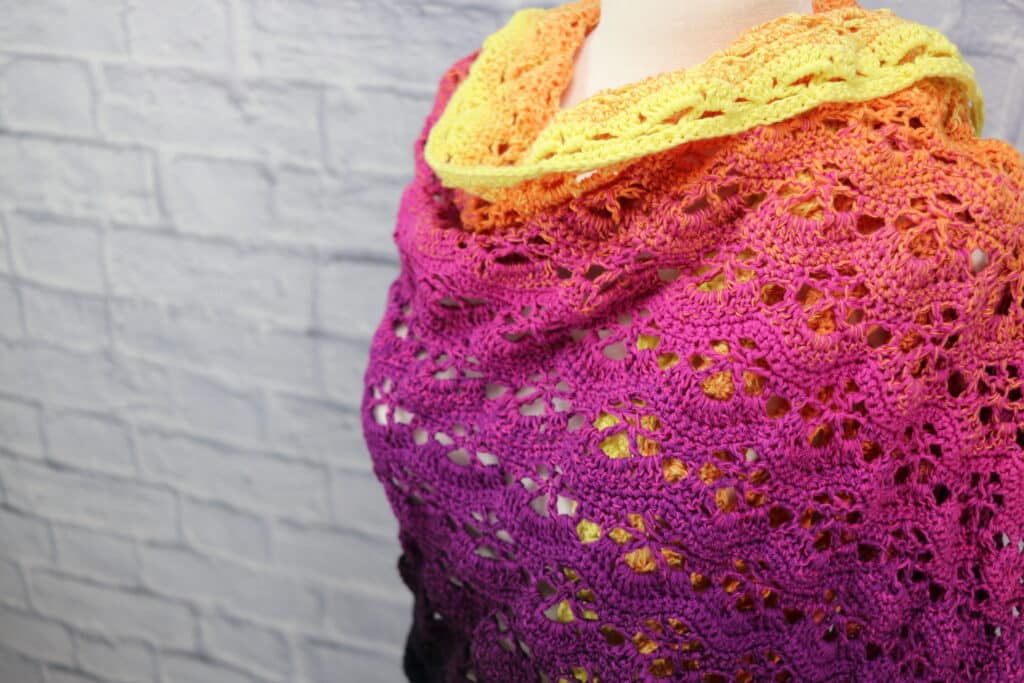
The Mountains Shawl is a beautiful lace design worked in a stunning gradient yarn cake.
The design is worked lengthwise from top to bottom. This allows you to work the design as a continuous, solid piece right down to the final edging at the bottom. The use of the gradient yarn cake allows you to add colour easily and seamlessly!
This post contains affiliate links. This means that when you make a purchase through one of these links, Rich Textures Crochet will earn a small commission at no additional cost to yourself. Thank you for supporting Rich Textures Crochet.
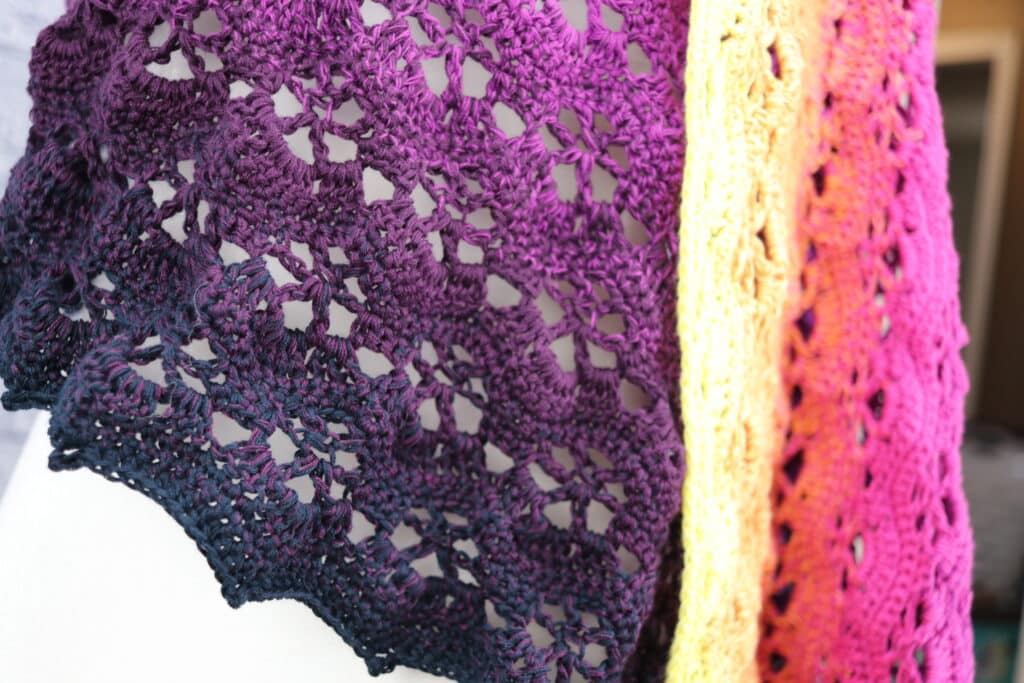
The Mountains Shawl is rated as an Intermediate crochet pattern. However if you are having difficulty, be sure to check out the full free video tutorial below. The design features a variety of stitches that create waves of open work situated between waves of solid stitches. It is finished off with a simple picot edging.
I am sure you are going to love this shawl! Wear it as a comfort item around the house or out on the town, perhaps to that special event or wedding that is soon approaching! If you enjoy this design, you may also wish to check out several other designs that I have done in this particular type of gradient yarn including the Oceans Shawl Crochet Pattern and the Meadows Shawl Crochet Pattern (Yes! There is a nature theme happening here!
PDF Copies of this Pattern:
This pattern will be written out in full followed by a full video tutorial below. If you would like to add this pattern to your library, or purchase an ad free PDF, you may do so from either my Etsy or Ravelry Shop linked below:
Click Here for the Mountains Shawl on Etsy
Click Here for the Mountains Shawl on Ravelry
Thank you so much for stopping by, enjoy and happy crocheting!
Sarah
The Mountains Shawl Crochet Pattern
kill Level: Intermediate
Gauge: 20 sc x 20 rows of pattern = 4 inches
Finished Size: 24 inches x 80 inches
Yarn: 1 Gradient Cake by Panda Yarns (100% Cotton; 5 ply, 1600 yards). Colour: Another Way to Fly.
Hook: Size G (4 mm) Hook. Adjust hook size if necessary to obtain correct gauge. (In the video below I will be using a Birchwood Crochet Hook by Rowan Yarns)
Notions: Yarn Needle.
Stitches and Abbreviations:
Ch – Chain
Dc – Double Crochet
Dc2tog – Double Crochet two stitches together working in the stitches indicated.
Hdc – Half Double Crochet
Picot – Ch 3, sl st into the base of the ch-3.
Rpt – Repeat
Sc – Single Crochet
Sk – Skip
Sl st – Slip stitch
Sp – Space
Yo – Yarn over
Pattern Notes:
- Pattern is written in American English terms.
- Pattern is worked in rows.
- Ch 1 at the beginning of the row does not count as a stitch.
- Ch 3 at the beginning of the row counts as a double crochet stitch.
- To change the length of you shawl you will need a foundation chain with a multiple of 11 + 1.
- Weave in ends as needed.
Free Crochet Pattern:
Ch 353.
Row 1: Sc in the 2nd ch from your hook and in each st across. Turn. (352 sts)
Row 2: Ch 1, sc in each of the 1st 2 sts, *ch 2, sk the next 3 sts, [dc, ch 5, dc] in the next st, ch 2, sk the next 3 sts, sc in each of the next 4 sts; rpt from * across ending with a ch 2, sk the next 3 sts, [sc, ch 5, dc] in the next st, ch 2, sk the next 3 sts, sc in each of the final 2 sts. Turn.
Row 3: Ch 1, sc in each of the 1st 2 sts, *3 dc in the next ch-2 sp, 6 dc in the next ch-5 sp, 3 dc in the next ch-2 sp, sk the next 4 sc; rpt from * across ending with 3 dc in the next ch-2 sp, sc in each of the final 2 sc. Turn.
Row 4: Ch 1, sc in the 1st st and in each st across. Turn.
Row 5: Ch 1, in the 1st st and in each st across. Turn.
Row 6: Ch 3 (counts as a dc), sk the 1st 4 sc, dc in the next st, * ch 2, sk the next st, sc in each of the next 4 sts, ch 2, sk the next sc, dc2tog (working the first part of the st in the next st, sk the next 4 sts and work the second part of the st in the next st); Rpt from * across ending with a ch 2, sk the next sc, sc in each of the next 4 sts, ch 2, sk the next sc, dc2tog (working the first part of the st in the next st, sk the next 3 sts and work the second part of the st in the next st). Turn.
Row 7: Ch 5 (counts as a dc, ch 2), dc in the next dc2tog, *ch 2, sc in each of the next 4 sim ch 2, [dc, ch 5, dc] in the next dc2tog; rpt from * across ending with ch 2, sc in each of the next 4 sts, ch 2, [dc, ch 2, dc] in the top of the Turing ch-3. Turn.
Row 8: Ch 3, sk the 1st dc, 2 dc in the next ch-2 sp, *3 dc in the next ch-2 sp, sk the next 4 sc, 3 dc in the next ch-3 sp, 6 dc in the next ch-5 sp; rpt from * across ending with 3 dc in the next ch-2 sp, sk the next 4 sc, 3 dc in the next ch-2 sp, 3 dc in the final ch-5 sp. Turn.
Row 9: Ch 1, sc in each dc across ending with a sc in the top of the starting ch. Turn.
Row 10: Ch 1, sc in the 1st st and in each st across. Turn.
Row 11: Ch 1, sc in each of the 1st 2 sts, *ch 2, sk the next sc, dc2tog (working the first part of the st in the next st, sk the next 4 sts and work the second part of the st in the next st), ch 2, sk the next sc, sc in each of the next 4 sc; rpt from * across ending with a ch 2, sk the next sc, dc2tog (working the first part of the st in the next st, sk the next 4 sts and work the second part of the st in the next st), ch 2, sk the next st, sc in each of the final 2 sc. Turn.
Row 12: Ch 1, sc in each of the 1st 2 sc, * ch 2, [dc, ch 5, dc] in the next dc2tog, ch 2, sc in each of the next 4 sts; rpt from * across ending with ch 2, [dc, ch 5, dc] in the next dc2tog, ch 2, sc in each of the final 2 sc. Turn.
Repeat rows 3-12 six times ending with a row 10 for your final row.
Edging:
Row 1: Ch 1, hdc in the 1st st, picot, hdc in each of the next 11 sts, picot, *hdc in the next 12 sts, picot; rpt from * across to the final 12 sts, hdc in each of the next 11 sts, picot, hdc in the final st.
Fasten off, weave in ends. Block if desired.
Video Tutorial:
The photographs and pattern contained in this document are the property of Rich Textures Crochet.
This pattern is for personal use only.
No unauthorized reproduction, in whole or in part, or distribution of this pattern or content is permitted. ALL FINISHED PRODUCTS from this pattern can be used for local sales and sold online.
Thank you so much for supporting Rich Textures Crochet! To stay in touch or see more great products, be sure to visit me on Facebook and Instagram (Rich Textures Crochet). Thanks again! Happy Crocheting!
