
This post contains affiliate links. This means that when you purchase through one of these links we will receive a small commission at no additional cost to you. Thank you for supporting Rich Texture Crochet!
Hello and welcome to Learn to Crochet with RTC, Crochet Beginnings Session One: How to make a Slip Knot (and hold your hook and yarn!).
So we’ve made it through all the technical stuff like how to read a crochet pattern, selecting your yarn and hook, and how to check your gauge.
Now let the fun begin!
Today we are going to learn how to hold a crochet hook, how to hold our yarn and how to make a slip knot.
A note before we begin. I am a right handed crocheter, so these instructions will be from that perspective. For example I will hold my hook in my right hand, yarn in my left. If you are left handed you will hold your hook in your left hand, yarn in your right. For the photo tutorial below try looking at the reflection of it through a mirror. This will reverse the images for you.
At the end of this post see the video tutorial to see it all in action.
How to hold a Crochet Hook:
While there is no right or wrong way to hold your hook there are two more popular ways to hold your crochet hook: the pencil method and the knife method.
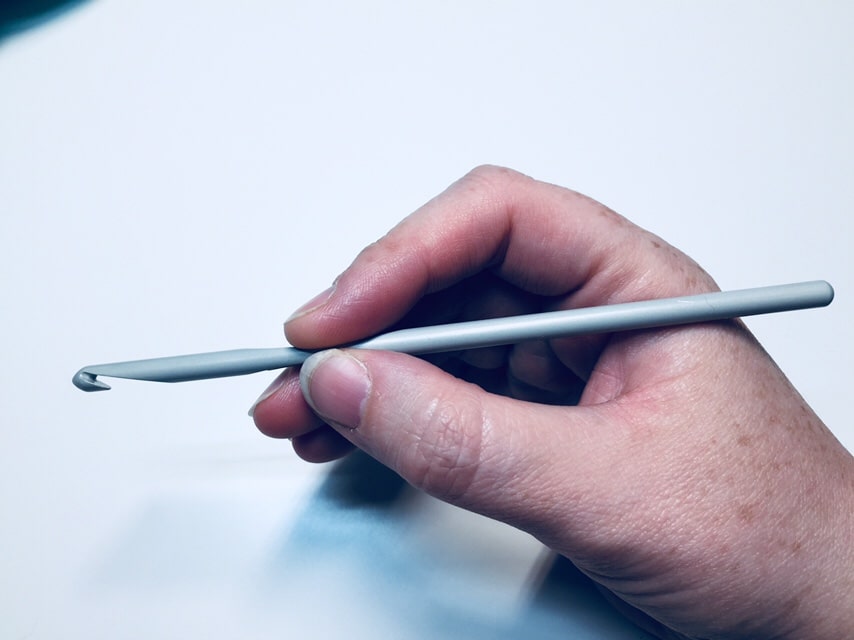
For the pencil method you will hold your hook just as you would a pencil (obvious, right?).
You will take your hook in your preferred hand and, coming from underneath the crochet hook, pinch the hook between your index finger and your thumb up near the hook end. Some crochet hooks will have a groove or flat space to make the positioning easier. The end of the hook then rests over the top of your hand. See the photo below.
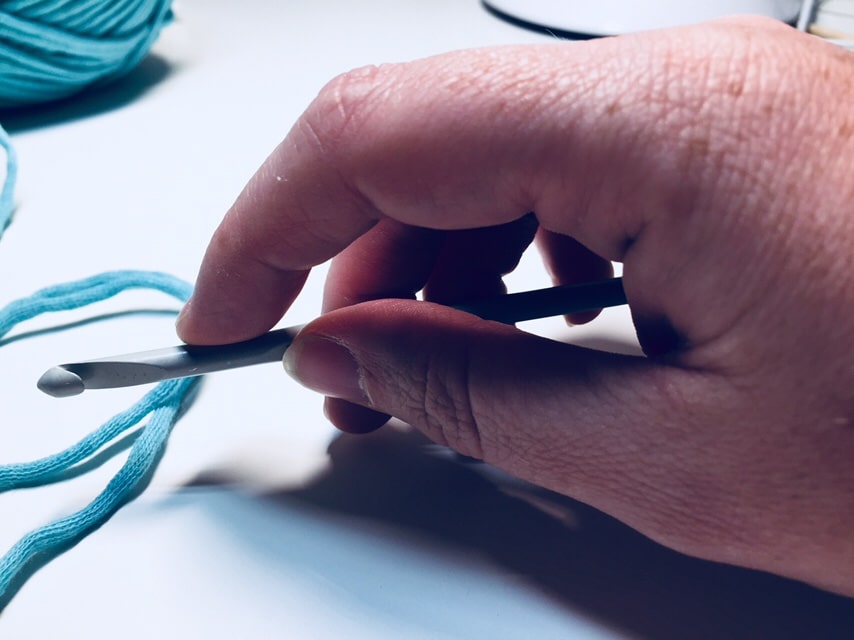
For the knife method, you will hold your hook as you would a butter or steak knife. This is the method you will see me use in my tutorials. You will still grasp the hook between your index finger and thumb, but instead of laying the end of the hook over the top of your hand, you will place your hand over top of the crochet hook and it will pass under along your palm. See the photo below.
Regardless of how you hold your hook it is important to not grip the hook too tightly, when you move it you want your motion to be fluid and relaxed. You don’t want your grip to be too tense. You also do want your hold on the hook to be so loose that you feel as though you don’t have control over it.
Holding a working with the crochet hook may feel awkward at first, but with more and more practice it will soon become second nature.
Holding your yarn:
Again, when holding your yarn there is no right or wrong way. If you hold your hook in your right hand, the amount of yarn and tension is controlled by your left hand, and vice versa if you are left handed. You will not want to hold the yarn too tight or too loose, and it will require a bit of practice to find what works best for you.
Some people like to wrap the yarn once around their pinky finger and then bring the yarn up through their ring and index finger, then lay the yarn over the top of the index finger which will feed the yarn to your hook.
For me (which I will show you in the photo below), I like to bring the yarn over my pinky finger, under my ring and middle finger, and over my index finger which then feeds the yarn to my hook. I make sure that the yarn is not slack, but at the same time not so tight that it is difficult to pull through. I control my tension by putting a little pressure on the yarn as it glides between my pinky and ring finger and then again as it glides between my middle finger and index. See the photo below.


Again, there is no right or wrong way, and with time you will find the way which works best for you.
How to make a Slip Knot:
The slip knot is the first step in almost every piece of crochet. It is at the beginning of every chain and forms the beginning loop for your work.
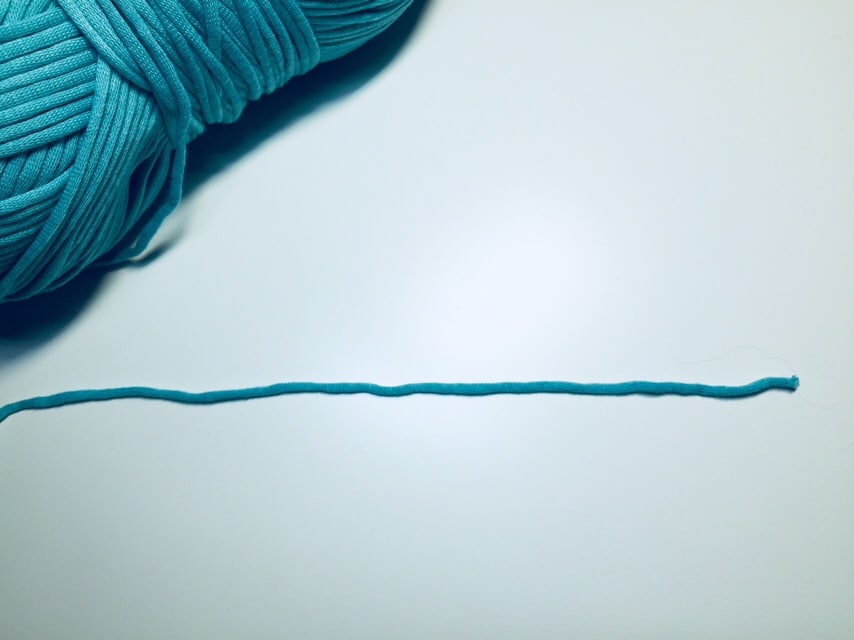
To make a slip knot, you will begin by pulling a little bit of yarn from your ball. Whether you pull your yarn from the middle or outer edge in most cases is up to you.
Now moving in from the end of the yarn about six inches (you will leave this as a “tail”), fold the yarn and cross your tail over the other end (closest to the ball) to make a loop.


Then, either using your fingers, or your crochet hook, reach through the loop you just created and pick up the yarn again nearer to your ball of yarn (not the tail) and pull up a loop.


Gently pull both ends of the yarn (keeping your finger or hook through the new loop) until a knot is formed. Do not make it too tight. It should slide easily along the strand of yarn to make a bigger or smaller loop.


If you haven’t already, insert your hook through this loop and gently pull the knot toward the hook to tighten.
The hook should be able to glide smoothly through the hook, but it should not be so loose that you can see between the yarn and the hook.

And that’s it!
If you are still feeling a little uncomfortable, don’t be afraid to pull the slip knot out and try it again. Try it serval times!
Now you are ready to begin with your starting chain and we’ll on your way to crochet greatness!
Find the How to make a Chain stitch tutorial here: Learn to Crochet: How to Make a Chain Stitch
Thank you for joining me for this tutorial! Be sure to join me for the next one on how to make a chain stitch!
To receive updates, follow me on Facebook at: http://www.facebook.com/richtextures/
And check out this video version of the tutorial:
Happy Crocheting!
Sarah


One Comment