This post contains affiliate links. This means that when you purchase through one of these links we will receive a small commission at no additional cost to you. Thank you for supporting Rich Texture Crochet!
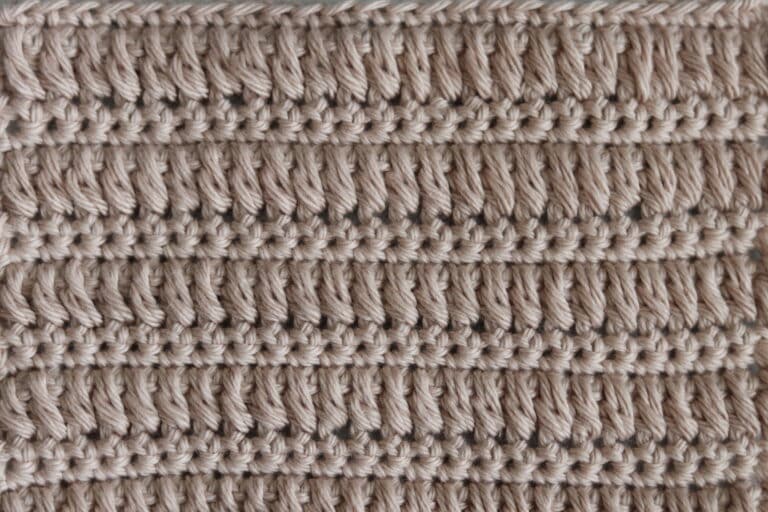
The Crochet Arrow Stitch is a beautifully textured crochet stitch featuring arrows in a side to side direction.
This is what makes it so unique and different from other textured chevron crochet stitches. Although it looks complicated, the design is relatively easy to work once you get the foundation rows set up. Once you do, its a simple two row repeat! I think this stitch would work wonderfully in crochet blankets, sweaters and any design where you with to have a thicker, textured fabric. I can’t wait to see how you use it!
This post contains affiliate links. This means that when you make a purchase through one of these links, Rich Textures Crochet will ear a small commission at no additional cost to yourself. Thank you for supporting Rich Textures Crochet!
Materials for this Tutorial:
For this tutorial today I will be using a small amount of Pima Cotton Yarn by Lion Brand Yarn. It is a worsted weight yarn. The hook shown in the video below is a 5 mm crochet hook by Rowan Yarns. However you may use any hook and yarn combination you choose.
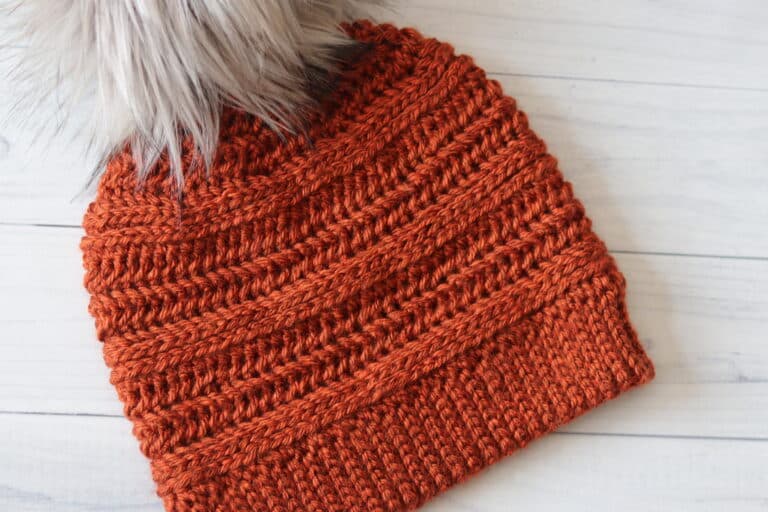
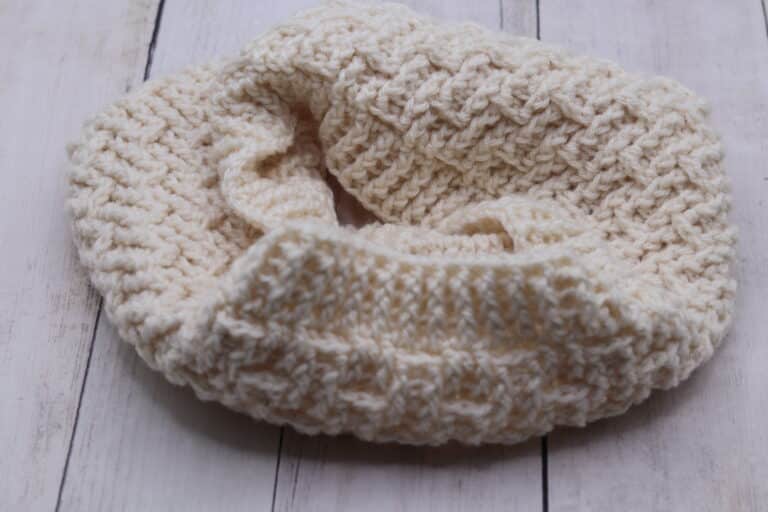
Thank you so much for stopping by! If you enjoy the tutorial below, be sure to also check out some of the many other crochet stitch tutorials on my site and pin this for later! You may wish to start with the Spiked Sedge Stitch | How to Crochet.
The Crochet Arrow Stitch:
Abbreviations:
Ch – Chain
Dc – Double Crochet
Rpt – Repeat
Sc – Single Crochet
Sk – Skip
Sl St – Slip Stitch
Yo – Yarn Over
Notes:
This stitch is worked in rows in this tutorial.
To begin, make a slip knot and then chain your desired number of chains. For this stitch pattern you will need a multiple of three stitches for your foundation chain plus two (multiples of 3+2).
For example, ch 29.
Row One:
Dc in the 5th ch, dc in the next st, now working in front of the two stitches just worked and into the 4th ch skipped work a dc, *sk the next st, dc in each of the next 2 sts, now working in front of the two sts just worked and into the previously sk ch work one dc; rpt from * across to the final 2 sts, sk the next st, dc in the final st. Ch 3, turn.
Row Two:
Sk the first st, *dc in each of the next 2 sts, now working in behind the 2 sts just worked and into the previously sk st work one dc; rpt from * across, dc in the final st. Ch 3, turn.
Row Three:
Sk the first st, *dc in each of the next 2 sts, now working in front of the 2 sts just worked and into the previously sk st work one dc; rpt from * across, dc in the final st. Ch 3, turn.
And that’s it!
For the rest of the pattern, repeat rows two and three. Fasten off, weave in your ends.
Video Tutorial:
The photographs and pattern contained in this document are the property of Rich Textures Crochet.
This pattern is for personal use only.
No unauthorized reproduction, in whole or in part, or distribution of this pattern or content is permitted. ALL FINISHED PRODUCTS from this pattern can be used for local sales and sold online.
Thank you so much for supporting Rich Textures Crochet! To stay in touch or see more great products, be sure to visit me on Facebook and Instagram (Rich Textures Crochet). Thanks again! Happy Crocheting!