This post contains affiliate links. This means that when you purchase through one of these links we will receive a small commission at no additional cost to you. Thank you for supporting Rich Texture Crochet!
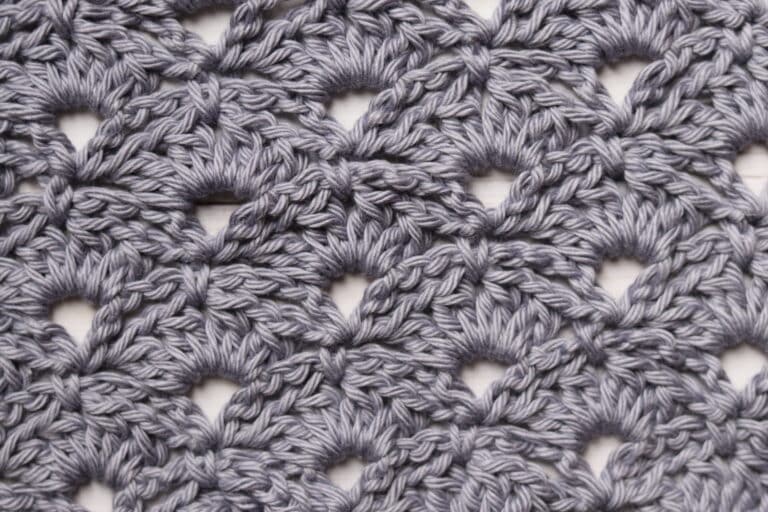
The 3D Diamond crochet stitch is a beautiful stitch design featuring what looks like a diamond waffle stitch set over top of double crochet shell stitches.
The result is a beautiful texture that looks to be quite thick, but that is actually quite lacy with a beautiful drape.
The stitch pattern for the 3D Diamond crochet stitch is an easy one row repeat once you get the pattern set up. The most challenging part of the stitch is working triple stitches that cross in front of your work and into a stitch two rows below. But once you understand their placement, it’s really quite simple!

I will work the stitch below in a worsted/medium weight yarn down below, but it would be interesting to try this stitch in a variety of yarn weights and fibres. One thing I did notice about working it in the cotton is that I feel it lost a little bit of the spring that the stitch pattern should have. Next time I will try it in an acrylic or wool yarn and see if it makes a difference in the definition or not. If you happen to try it before I do, be sure to let me know how it goes!
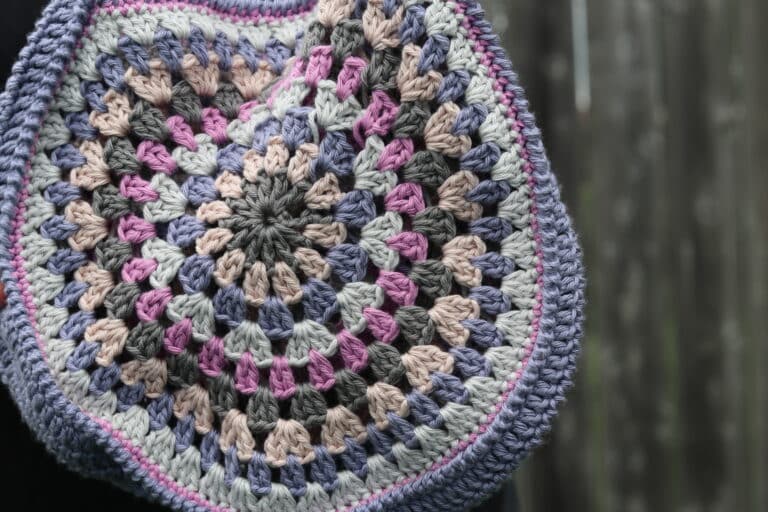
Thank you so much for stopping by! If you enjoy learning crochet stitches you may also wish to check out my tutorial for the Cobblestone stitch, or, if you are looking for a pretty edging, the Picot Stitch.
3D Diamond Crochet Stitch:
Stitches and Abbreviations:
Ch – Chain Stitch
Dc – Double Crochet
Hdc – Half Double Crochet
Rpt – Repeat
Sc – Single Crochet
Sk – Skip
Sl St – Slip Stitch
Tr – Triple Stitch
Yo – Yarn Over
This stitch is worked in rows in this tutorial. You may work it in one colour or many. I will be working the stitch in a solid colour.
To begin, make a slip knot and then a foundation chain. For your foundation chain you may use a multiple of five stitches plus three (5 + 3) for your foundation chain.
For example, ch 23.
Row One:
[2 Dc, ch 2, 2 dc] in the 5th ch from your hook, *sk the next 4 chs, [2 dc, ch 2, 2 dc] in the next ch; rpt from * across to the last 3 sts, sk the next 2 sts, dc in the final st. Ch 3, turn.
Row Two:
*Tr in the next st between the 2 sets of dc two rows below, [2 dc, ch 2, 2 dc] in the next ch-2 sp, tr back into the same st two rows below working in between the two sets of dc; rpt from * across, dc in the final ch-3 sp, ch 3, turn.
And that’s it!
For the rest of the pattern you will simply repeat row two. Fasten off, weave in your ends.