This post contains affiliate links. This means that when you purchase through one of these links we will receive a small commission at no additional cost to you. Thank you for supporting Rich Texture Crochet!
The Picot Stitch is a classic crochet stitch that is commonly found in lace designs, but can also be worked in those projects with thicker yarn as well.
I first learned how to work the Picot Stitch when I was learning to crochet and worked a lot of lace including table cloths and doilies. Picot stitches were often used to create a delicate edging, or even worked within a lace design. Although it is most commonly seen in lace, it can be used in other projects as well with thicker weights of yarn.

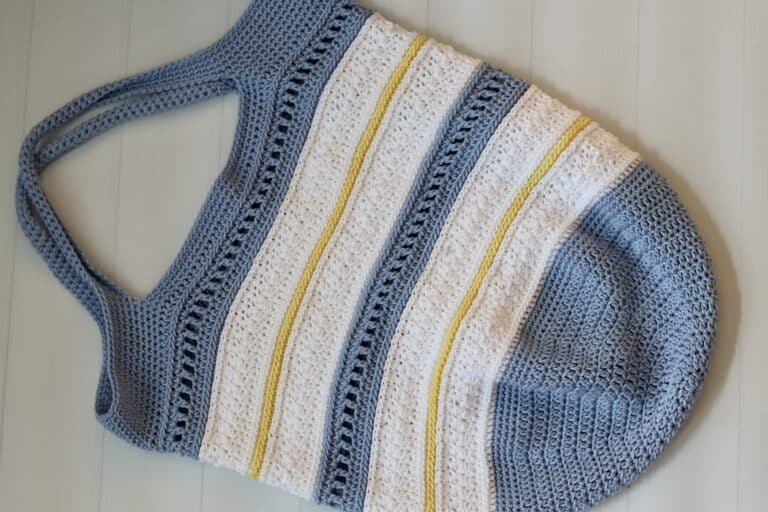
Later on in the week I will be introducing a new crochet pattern where I will work the Picot stitch in a worsted weight yarn in the edging of a project. Regardless of the type of project, picot stitches can still add a lot of elegance.
Materials:
For this tutorial today I will be using a small amount of cotton yarn. This yarn is a worsted weight yarn called Pima Cotton by Lion Brand Yarn. I will also be using a 5 mm crochet hook. The hook you will see me using in the video tutorial below is a Clover Soft Touch Hook also available on Lion Brand through the link above.
Thank you so much for stopping by! If you enjoy learning new crochet stitches, you will find many more in the “Crochet Stitches” category here on Rich Textures Crochet, or you may wish to check out the Cobblestone Stitch. I update this website with a new crochet stitch every week!
Crochet Picot Stitch:
Stitches and Abbreviations:
Ch – Chain Stitch
Rpt – Repeat
Sc – Single Crochet
Sk – Skip
Sl St – Slip Stitch
Pattern Notes:
This stitch is worked in rows in this tutorial. I will be working the stitch in a solid colour and as the edging to a project. A picot can be worked anywhere in a project and with any stitch multiple as it is worked out of the top of a stitch.
Row One:
You will want to have a foundation row of stitches when working the picot as an edging. I will work my picots out of the tops of a single crochet.
To start, *sc in the next st, ch 3, sl st into the 3rd ch from your hook, sc in the next st: Rpt from * across.
The act of working a ch-3 and then slip stitching back into the 3rd ch from your hook creates a little bump of texture in the edging. This is called your picot stitch.
Depending on the project, I find working the slip stitch into the stitch below the ch-3 to make a tighter picot. But this is all personal preference.