This post contains affiliate links. This means that when you purchase through one of these links we will receive a small commission at no additional cost to you. Thank you for supporting Rich Texture Crochet!
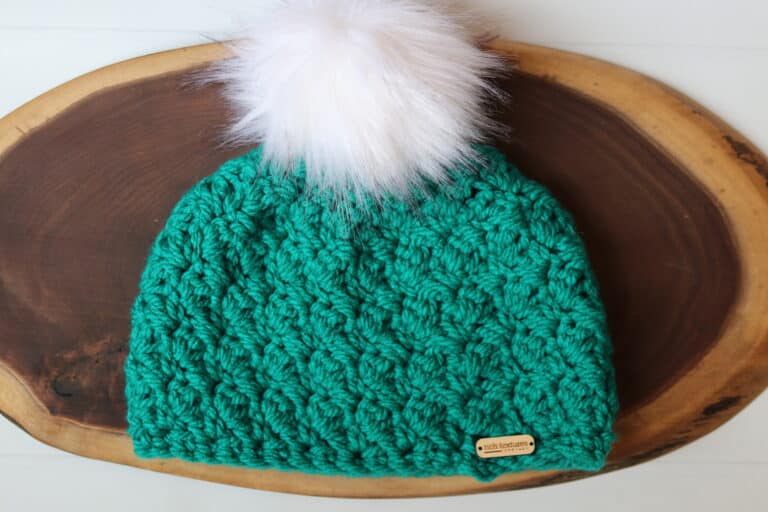
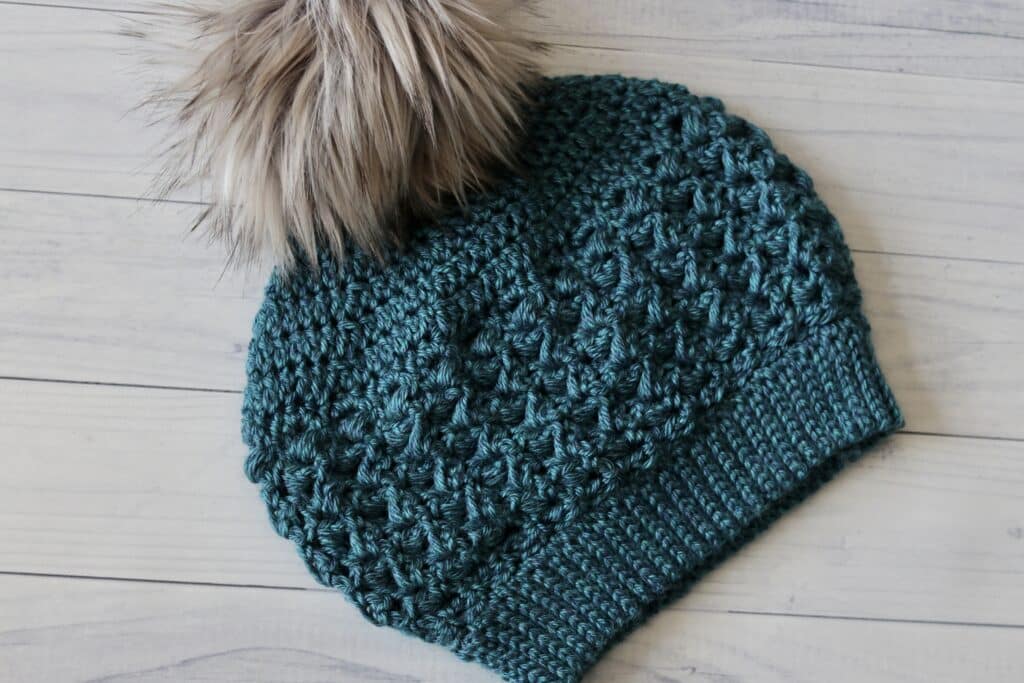
If you are looking for a slouch hat that is pretty, with some great texture and that works up quickly, you are going to love the Little Rock Slouch Hat Crochet Pattern!
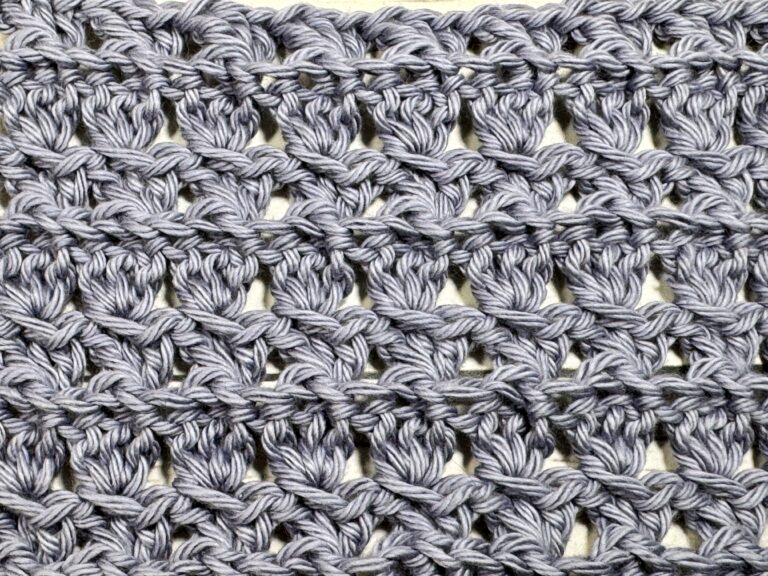
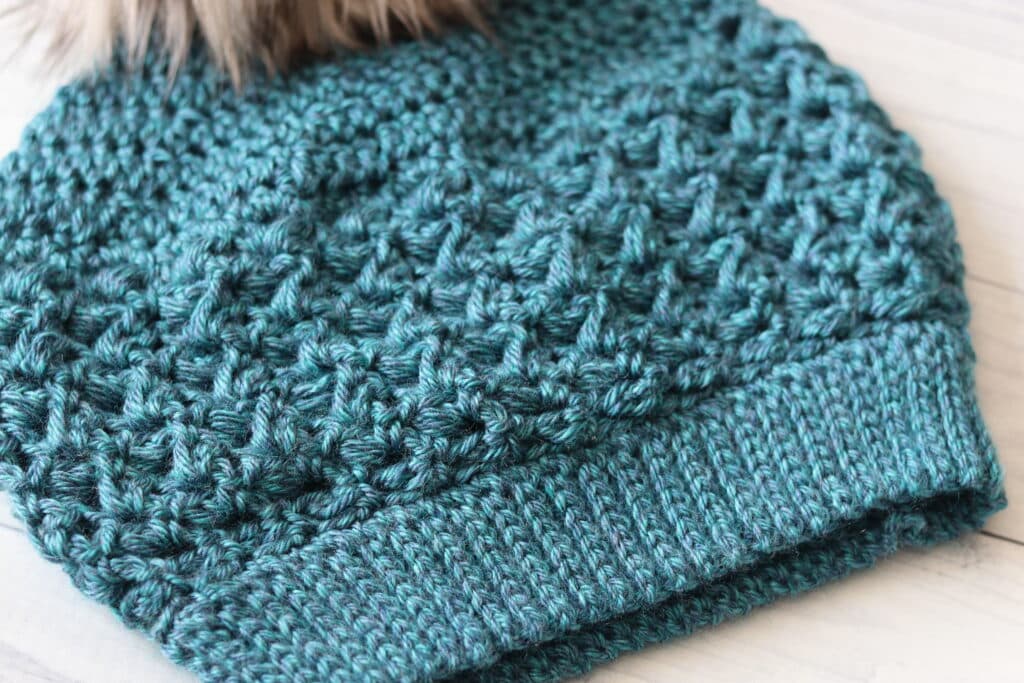
The Little Rock Slouch Hat features a relatively new stitch to me called the Little Rocks Stitch. This crochet stitch is quite unique when worked up. It features puff stitches that are worked in a fairly unique way which changes the final look of the stitch itself. The stitch pattern is not completely solid, but quite loose in nature which give the stitch pattern beautiful drape. This makes for a wonderful slouch hat!
The Little Rock Slouch Hat crochet pattern is worked from the bottom up (my favourite way to work a crochet hat) and I provide the adult size here with some direct down below should you wish to adjust the size.
I have worked it in a worsted/medium weight yarn called Heartland by Lion Brand Yarn. This is a 100% acrylic yarn that is super soft. It comes in a variety of colours and makes for a super cozy beanie. Along with the yarn I have used a 5 mm crochet hook. Also, you may wish to add a pompom to your hat, however this is completely optional.

PDF Copies are also Available:
The Little Rock Slouch Hat crochet pattern will be written out in full below followed by a video tutorial. It is free to follow here on Rich Textures Crochet. If, however, you wish to add this pattern to your library or purchase an ad free PDF you may do so through my Etsy and Ravelry Shops linked below:
CLICK HERE FOR THE LITTLE ROCK SLOUCH HAT ON ETSY
CLICK HERE FOR THE LITTLE ROCK SLOUCH HAT ON RAVELRY
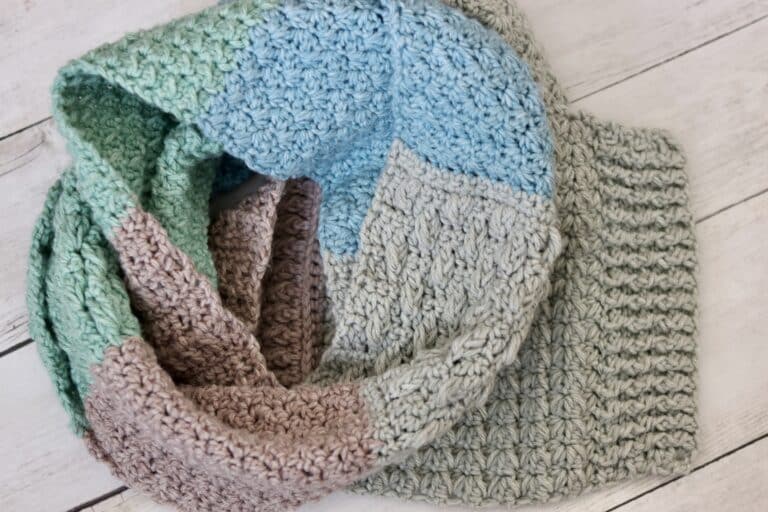
Thank you so much for stopping by! I you enjoy this pattern you may also wish to check out a couple of other patterns here on my site including the Winter Beanie and the Classic Knit Look Beanie.
Happy Crocheting!
Sarah
Little Rock Slouch Hat Crochet Pattern:
Skill Level: Easy
Gauge: 14 sts x 7 rows of dc = 4 inches
Finished Size: 10.5 x 9.5 inches laid flat; 20-22 inch circumference
Yarn: Heartland by Lion Brand Yarn (100% acrylic; 5 oz/142g; 251 yds/230 m); 1 ball Acadia
Hook: Size H/8 (5 mm) Hook. Adjust hook size if necessary to obtain correct gauge.
Notions: Yarn Needle
Stitches and Abbreviations:
Blo – Back Loop Only
Ch – Chain
Dc – Double Crochet
Dc2tog – Double Crochet Two Stitches Together
Hdc – Half Double Crochet
Long dc – Long Double Crochet (Yo, insert your hook in the indicated st, yo and draw up a loop, yo and draw through one loop, [yo and draw through 2 loops] twice. Long Double Crochet Stitch Made.)
Puff – Puff Stitch ([yo, insert your hook into the indicated stitch, yo and draw up a loop] 3 times. Yo and draw through all the loops on your hook. Puff Stitch Made.)
Rpt – Repeat
Sc – Single Crochet
Sk – Skip
Sl St – Slip Stitch
Yo – Yarn Over
Pattern Notes:
- Pattern is written in American English terms.
- Pattern is worked in rounds.
- Turn your work as instructed
- Ch 1 at the beginning of the round does not count as a stitch.
- Weave in ends as needed.
- To change the size of your hat you will need a multiple of 3 stitches for the first round of your hat body.
Free Crochet Pattern:
Ch 10
Row 1: Sl st in the 2nd ch from hook and in each ch across. Ch 1, turn. (9 sl sts)
Row 2: Working in the blo, sl st in each st across. Ch 1, turn. (9 sl sts)
Continue to repeat row 2 until work from the beginning measures approximately 16-17 inches.
Do not fasten off, but fold brim of hat so that two shorter ends meet. Now working through both thicknesses, sl st across working through the blo on each side. Do not fasten off. Turn work right side out (so that the right side is facing you and the slip stitch seam is on the inside).
Now working around the edge of the brim, continue working in rounds as follows:
Hat Body (Worked in rounds):
Rnd 1: Ch 1, evenly work 72 sc all the way around, join with a sl st in the first st, Do not turn. (72 sts)
Rnd 2: Ch 1, sc in the same st as joining, *ch 3, work a long dc into the side of the previous sc, sk the next 2 sts, sc in the next st; Rpt from * around ending with a sk the next 2 sts, join with a sl st in the top of the 1st sc.
Rnd 3: *Ch 1, sc into the next ch-3 sp, ch 3, puff in the same sp; Rpt from * around, end with a ch 1, join with a sl st in the top of the 1st st. Ch 1, turn.
Rnd 4: *Work a sc inserting your hook across the 2 front loops of your next puff st and into the ch-3 sp, ch 3, puff in the same ch-3 sp, ch 1; Rpt from * around, join with a sl st in the top of the 1st st. Ch 1, turn.
Rnds 5-10: Repeat rnd 4.
Rnd 11: With the right side facing, work sc in each sc and 2 sc in each ch-3 sp all the way around. Join with a sl st in the 1st st. Do not turn. (72 sts)
Rnd 12: Ch 3 (counts as a dc here and throughout), dc in each of the next 5 sts, dc2tog, *dc in each of the next 6 sts, dc2tog; Rpt from * around, join with a sl st in the top of the starting ch-3. (63 sts)
Rnd 13: Ch 3, Dc in each of the next 4 sts, dc2tog, * dc in each of the next 5 sts, dc2tog; Rpt from * around, join with a sl st in the top of the starting ch-3. (54 sts)
Rnd 14: Ch 3, dc in each of the next 3 sts, dc2tog, *dc in each of the next 4 sts, dc2tog; Rpt from * around, join with a sl st in the top of the starting ch-3. (45 sts)
Rnd 15: Ch 3, Dc in each of the next 2 sts, dc2tog, * dc in each of the next 3 sts, dc3tog; Rpt from * around, join with a sl st in top of the starting ch-3. (36 sts)
Rnd 16: Ch 3, Dc in the next st, dc2tog, *dc in each of the next 2 sts, dc2tog; Rpt from * around, join with a sl st in the top of the starting ch-3. (27 sts)
Rnd 17: Ch 3, dc2tog, *dc in the next st, dc2tog; Rpt from * around, join with a sl st in the top of the starting ch-3. (18 sts)
Rnd 18: Ch 2, dc in the next st, dc2tog in each remaining st around. Join with a sl st in the 1st st. (9 sts)
Fasten off leaving a long tail. Use the long tail to sew the top of your beanie closed. Weave in your ends.