
This post contains affiliate links. This means that when you purchase through one of these links we will receive a small commission at no additional cost to you. Thank you for supporting Rich Texture Crochet!
Hello and welcome to week nine of the Great Canadian Landscapes Crochet Along! Today we continue our journey across Canada through the beautiful province of Alberta!
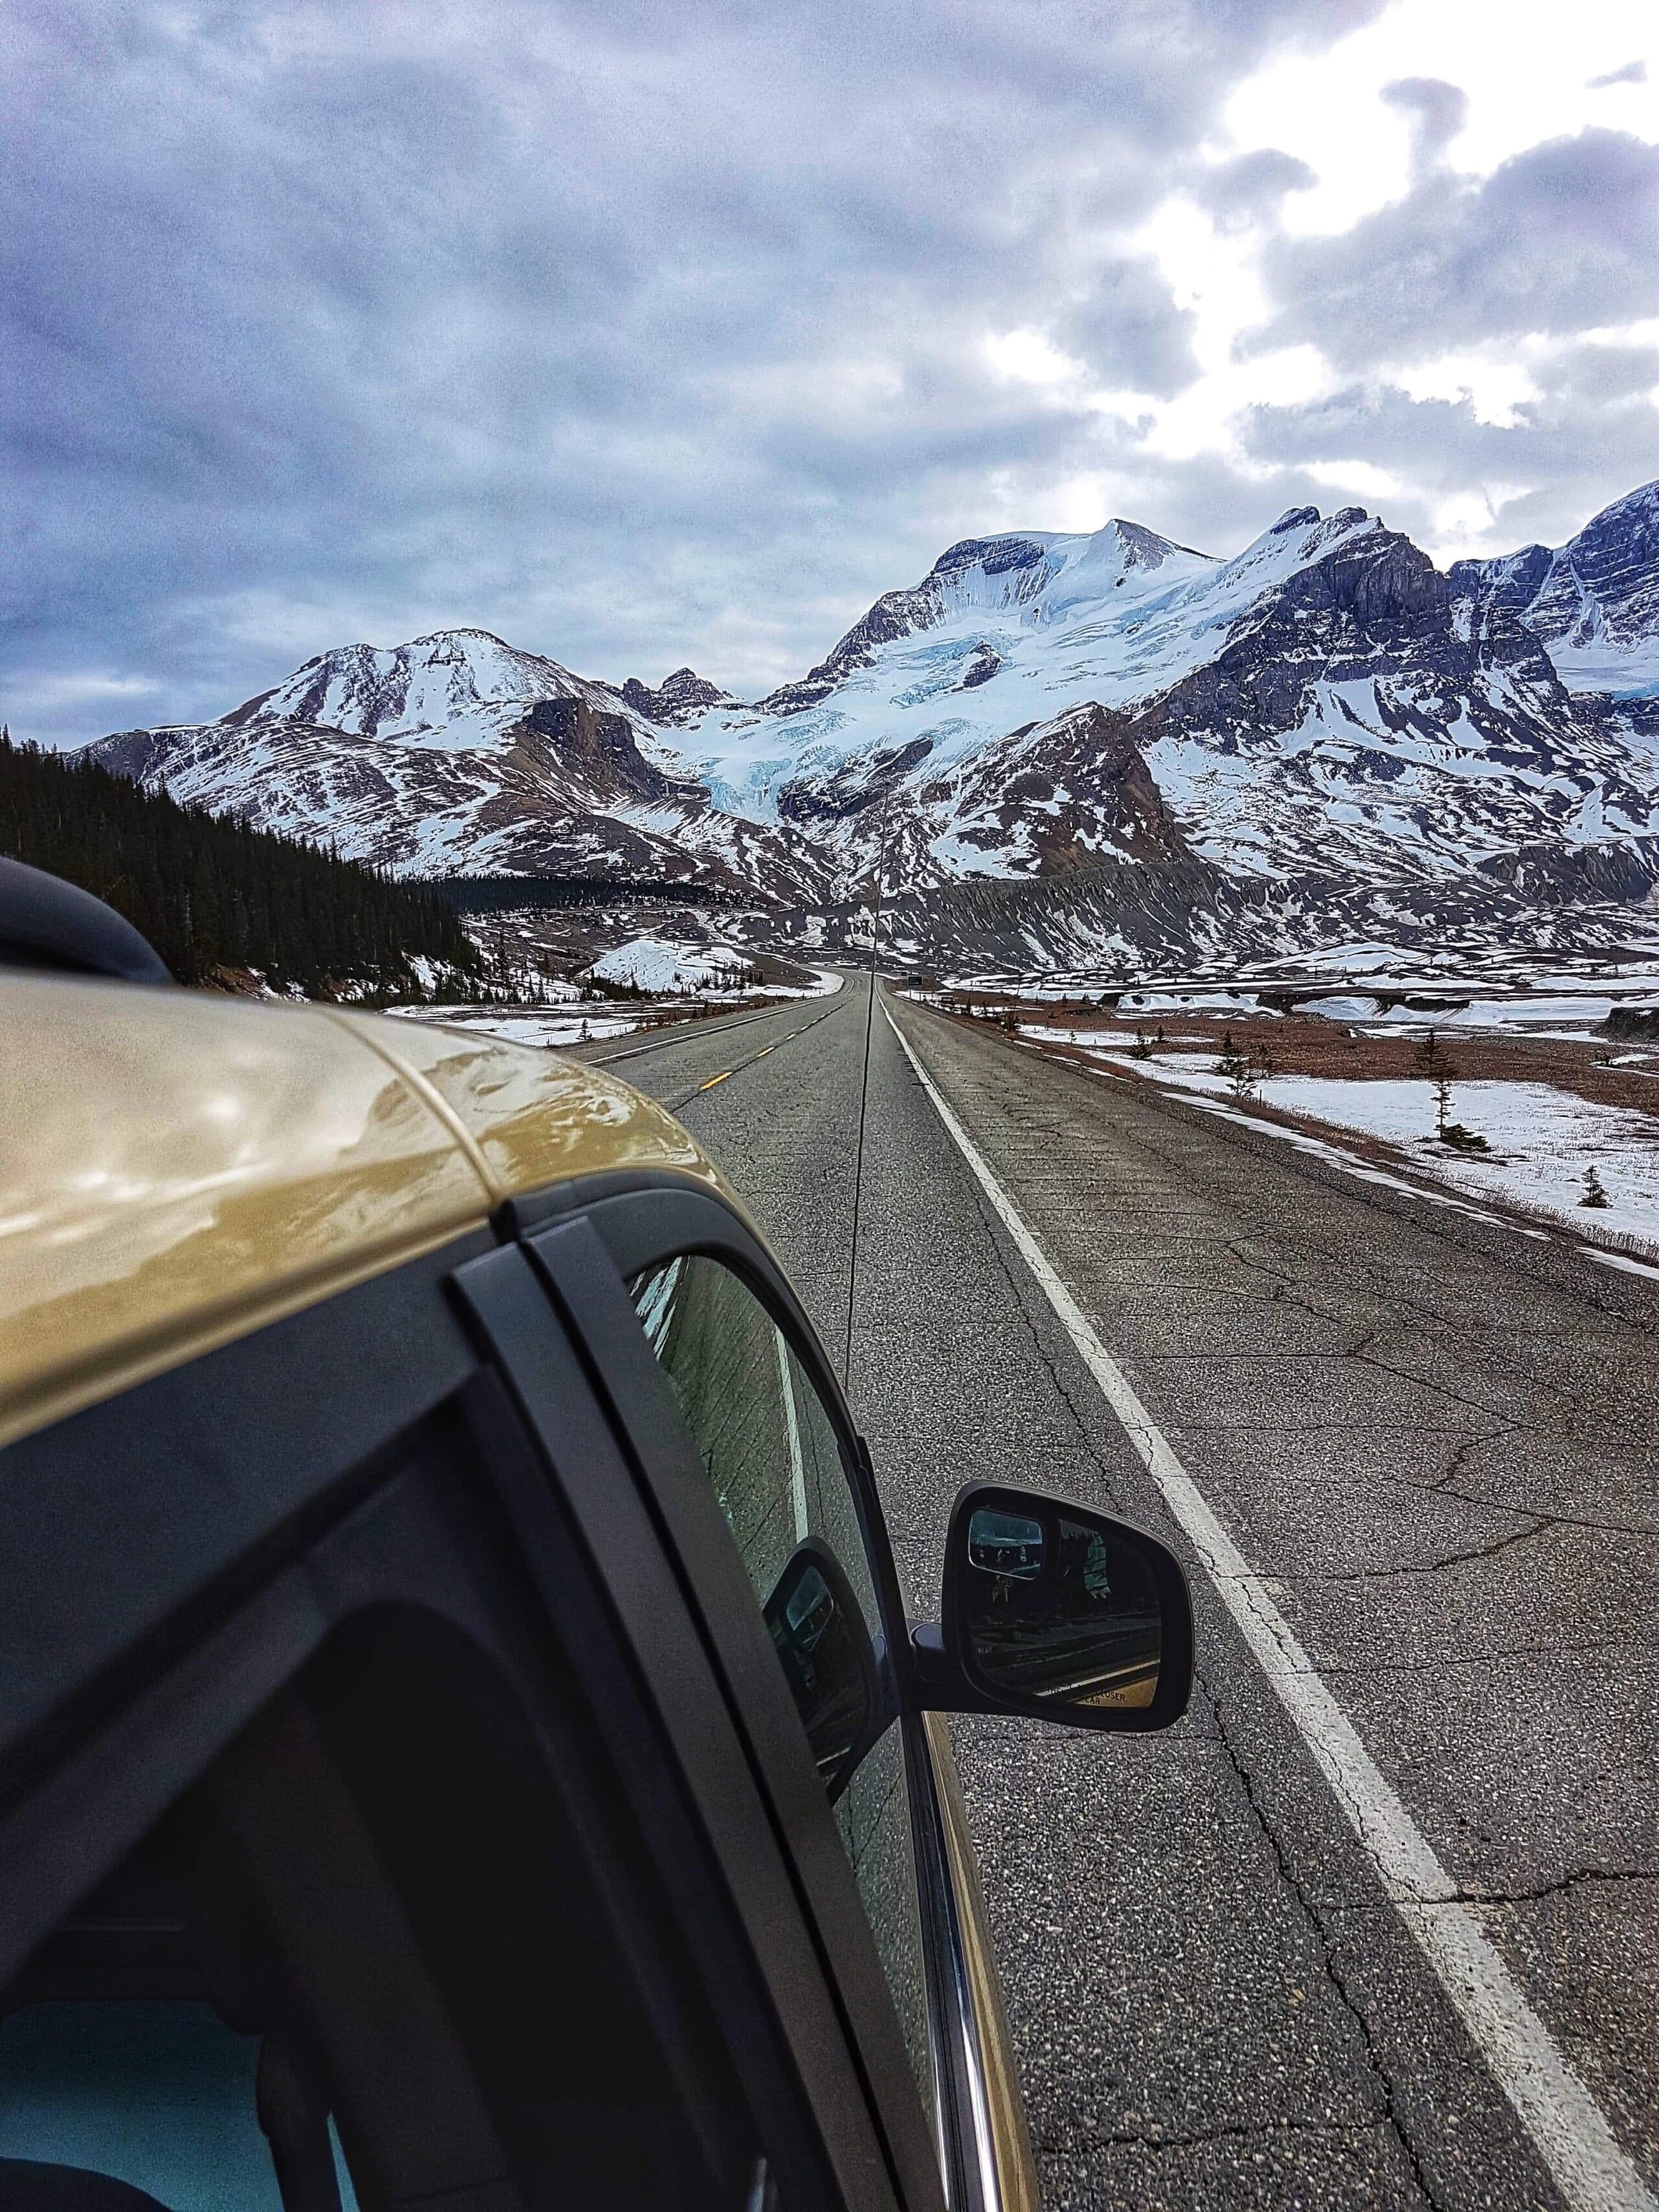
I’m going to confess, it is so hard to capture and describe the landscape of Canada, let alone a particular province in one simple blog post! This week I have some gorgeous photos to share with you taken by @playoutdoormom! You will find her on IG, and if you enjoy these photos, don’t hesitate to head over there and share it with her!
I absolutely love them and they really make me want to visit Alberta. Confession? I have never before seen snow capped mountains in person! It is definitely one of those things on my bucket list. For now, though, I will just have to gaze longingly at there:


(Photo Credit: Sonja @playoutdoormom, used with permission)
Aren’t they just beautiful?
Alberta is one of Canada’s western provinces and is considered a prairie province (much of the land to the south is prairie), but as you can see, it also has some breath taking mountainous views as you head north which is a lot of mountains and boreal forest. Edmonton is it’s capital, however Calgary is the largest city in the province. It is one of two provinces of Canada that are completely land locked (do you remember what the other is?) which is reflected in its more humid climate.


(Photo Credit: Sonja @playoutdoormom, used with permission)
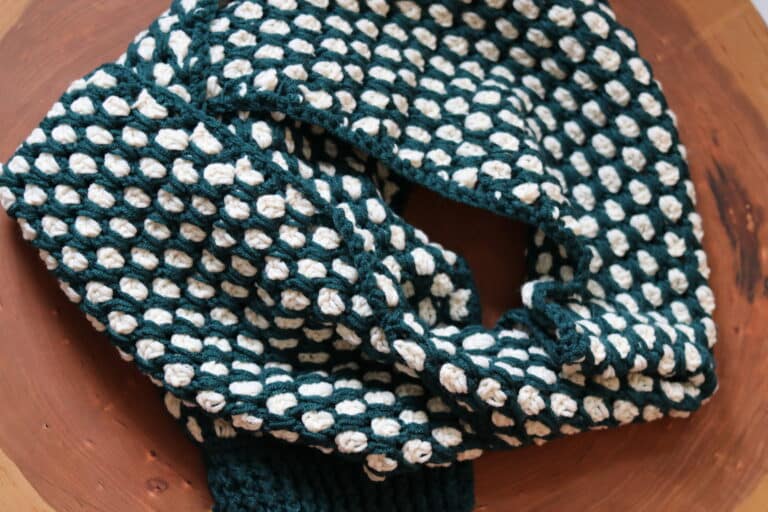
The Panel this Week:
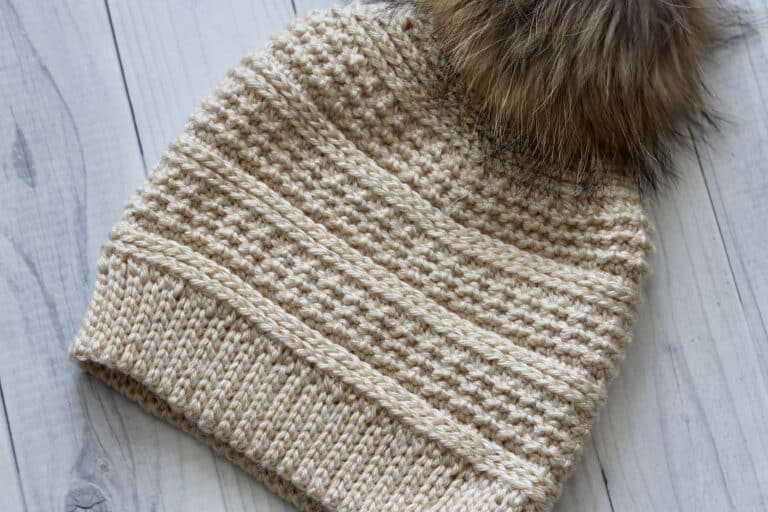
The stitch I have chosen for this week is commonly referred to as a start stitch. If you are new to this stich, be sure to check out the free video tutorial below. Don’t worry if it takes a few tries to get it right. I am sure one you do get the hang of it, you will fall in love with it as I have. The stitch is very fun to work and is worked by drawing up several loops along your chains, in the stitch that you worked previously, and in the top of the next (you’ll soon see what I mean!)

For me, this stitch suits this province for a variety of reasons, first of all, although it doesn’t have a strong texture, I imagine that the peaks a swirls of this stitch resembles a birds eye view of the snowy mountain tops and mimics the patterns drawn in the snow as the winds sweep across prairie plains. It’s such a fun stitch to work!
The CAL – Intro to Week Eight:
This is week nine of this crochet along, if you missed the first several weeks of the CAL, you will find them through the links below. Again, each week also includes a video tutorial and a glimpse into the province that we explored!
Introduction: Canadian Landscapes Crochet Along: Introduction and Materials
Week One: Great Canadian Landscapes CAL Week One!
Week Two: Great Canadian Landscapes CAL Week Two!
Week Three: Great Canadian Landscapes CAL Week Three!
Week Four: Great Canadian Landscapes CAL: Week Four!
Week Five: Great Canadian Landscapes CAL: Week Five!
Week Six: Great Canadian Landscapes CAL: Week Six!
Week Seven: Great Canadian Landscapes CAL: Week Seven!
Week Eight: Great Canadian Landscapes CAL: Week Eight!
The Pattern:
This panel measures approximately 43 x 9 inches. Should you wish to change the size, please use any even number of stitches – you’re starting chain though will have an odd number as you will work your first sc in the 2nd ch.
For this project I used a worsted weight yarn by Mary Maxim in the colour Ecru. You may use any worsted weight yarn! (For more details, see the “Introduction and Materials” for the CAL linked in this post above.)
Hook: 5.5 mm
This pattern is worked in rows.
Stitches and Abbreviations:
Ch – Chain
Hdc – Double Crochet
Lp – Loop
Lps – Loops
Rpt – Repeat
Sc – Single Crochet
Sk – Skip
Sl st – Slip stitch
Star – will be explained within the pattern.
Yo – Yarn over
Pattern Notes:
– Pattern is written in American English
– Ch 1 at the beginning of the row does not count as a stitch.
– Weave in ends as needed.
Let’s Crochet!
Ch 201.
Row 1: sc in the 2nd ch from hook and in each st across. Turn. (200 sc)
Row 2: Ch 3, make your first star stitch by drawing up a loop in each of the 2nd and 3rd ch from your hook, draw up a loop in each of the first 3 sts. You will have 6 loops on your hook. Yo and draw a loop through all lps on your hook, ch 1 to close your st. One star is now made.
To make your second star, insert your hook into the ch-1 just made and draw up a lp, insert your hook into the last spike of the star just made and draw up a lp, insert your hook into same ch where last spike of the previous star was made and draw up a lp, insert your hook into wach of the next 2 sc of the row below and draw up a loop (you will now have 6 lps on your hook), yo and pull through all 6 loops on hook, ch 1 to close the star stitch.
Continue to repeat the sequence for the second star stitch all the way across ending with an hdc in the final st. Turn.
Row 3: Ch 1, work 2 hdc in the top of each star stitch all the way across, hdc in the last st. Turn.
Continue to repeat rows 2 and 3 until work from the beginning measures approximately 9 inches or a little less. Fasten off and weave in ends
Edging:
Note: If you have changed the size of your blanket your will have to adjust the edging stitch counts accordingly. What matters most is that each of your panels has the same number of stitches along the edges. This will make it much easier to join them in the end! Also note that the starting chain for many of the panels is different, however they will all turn out the same size (as long as your gauge is the same) in the end.
Therefore when you work the edging you will not necessarily place 1 sc in each ch along the long edge, occasionally you will skip stitches, or even work 2 sc in a stitch. What matters is that these stitches are spread out evenly across the panel.
The edging for each panel is a simple round of sc stitches.
Proceed as follows:
With the right side facing, join yarn with a sl st in the top right corner.
Rnd 1: Ch 1, evenly work 144 sc across the top of the panel, 3 sc in the corner st, evenly work 29 sc along the short edge, 3 sc in the corner st, evenly work 143 sc across the bottom of the panel, 3 sc in the corner st, evenly work 29 sc along the next short edge, 2 sc in the final corner st; join with a sl st in the first sc. (356 sc)
Fasten off, weave in ends. Block if desired.
Video Tutorial:
Set this panel aside and get ready for next week! We will join them all together the final week.
Check out this video tutorial for the panel below:
The photographs and pattern contained in this document are the property of Rich Textures Crochet.
This pattern is for personal use only.
No unauthorized reproduction, in whole or in part, or distribution of this pattern or content is permitted. ALL FINISHED PRODUCTS from this pattern can be used for local sales and sold online.
Thank you so much for supporting Rich Textures Crochet! To stay in touch or see more great products, be sure to visit me on Facebook and Instagram (Rich Textures Crochet). Thanks again! Happy Crocheting!


One Comment