
This post contains affiliate links. This means that when you purchase through one of these links we will receive a small commission at no additional cost to you. Thank you for supporting Rich Texture Crochet!
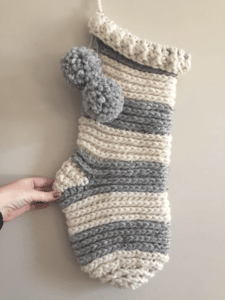
The Home for Christmas Crochet Stocking is a beautiful textured stocking! Made with a super bulky weight yarn, it can be made quickly for each member of the family.
I am going to confess that Christmas is one of my favourite seasons. I have fond memories of Christmas growing up. Our family keeps many traditions and looks forward to this season every year.
One of the traditions I always loved as a child and my children continue to love is the hanging of the Christmas stocking by the fireplace.
A New Christmas Stocking
This year I decided to design a Christmas Crochet Stocking that was quick and simple to make up. This crochet stocking is made using a super bulky weight yarn and, because it works up quickly, makes a great last minute Christmas gift or décor to add to your own home! Once you are comfortable with the stitches, this pattern may only take you a few hours to create!
About the Pattern:
This pattern is worked from the toe up to the cuff. It is seamless and worked as one piece. As it is seamless you will require a stitch marker to mark the stitch at the beginning of each round.
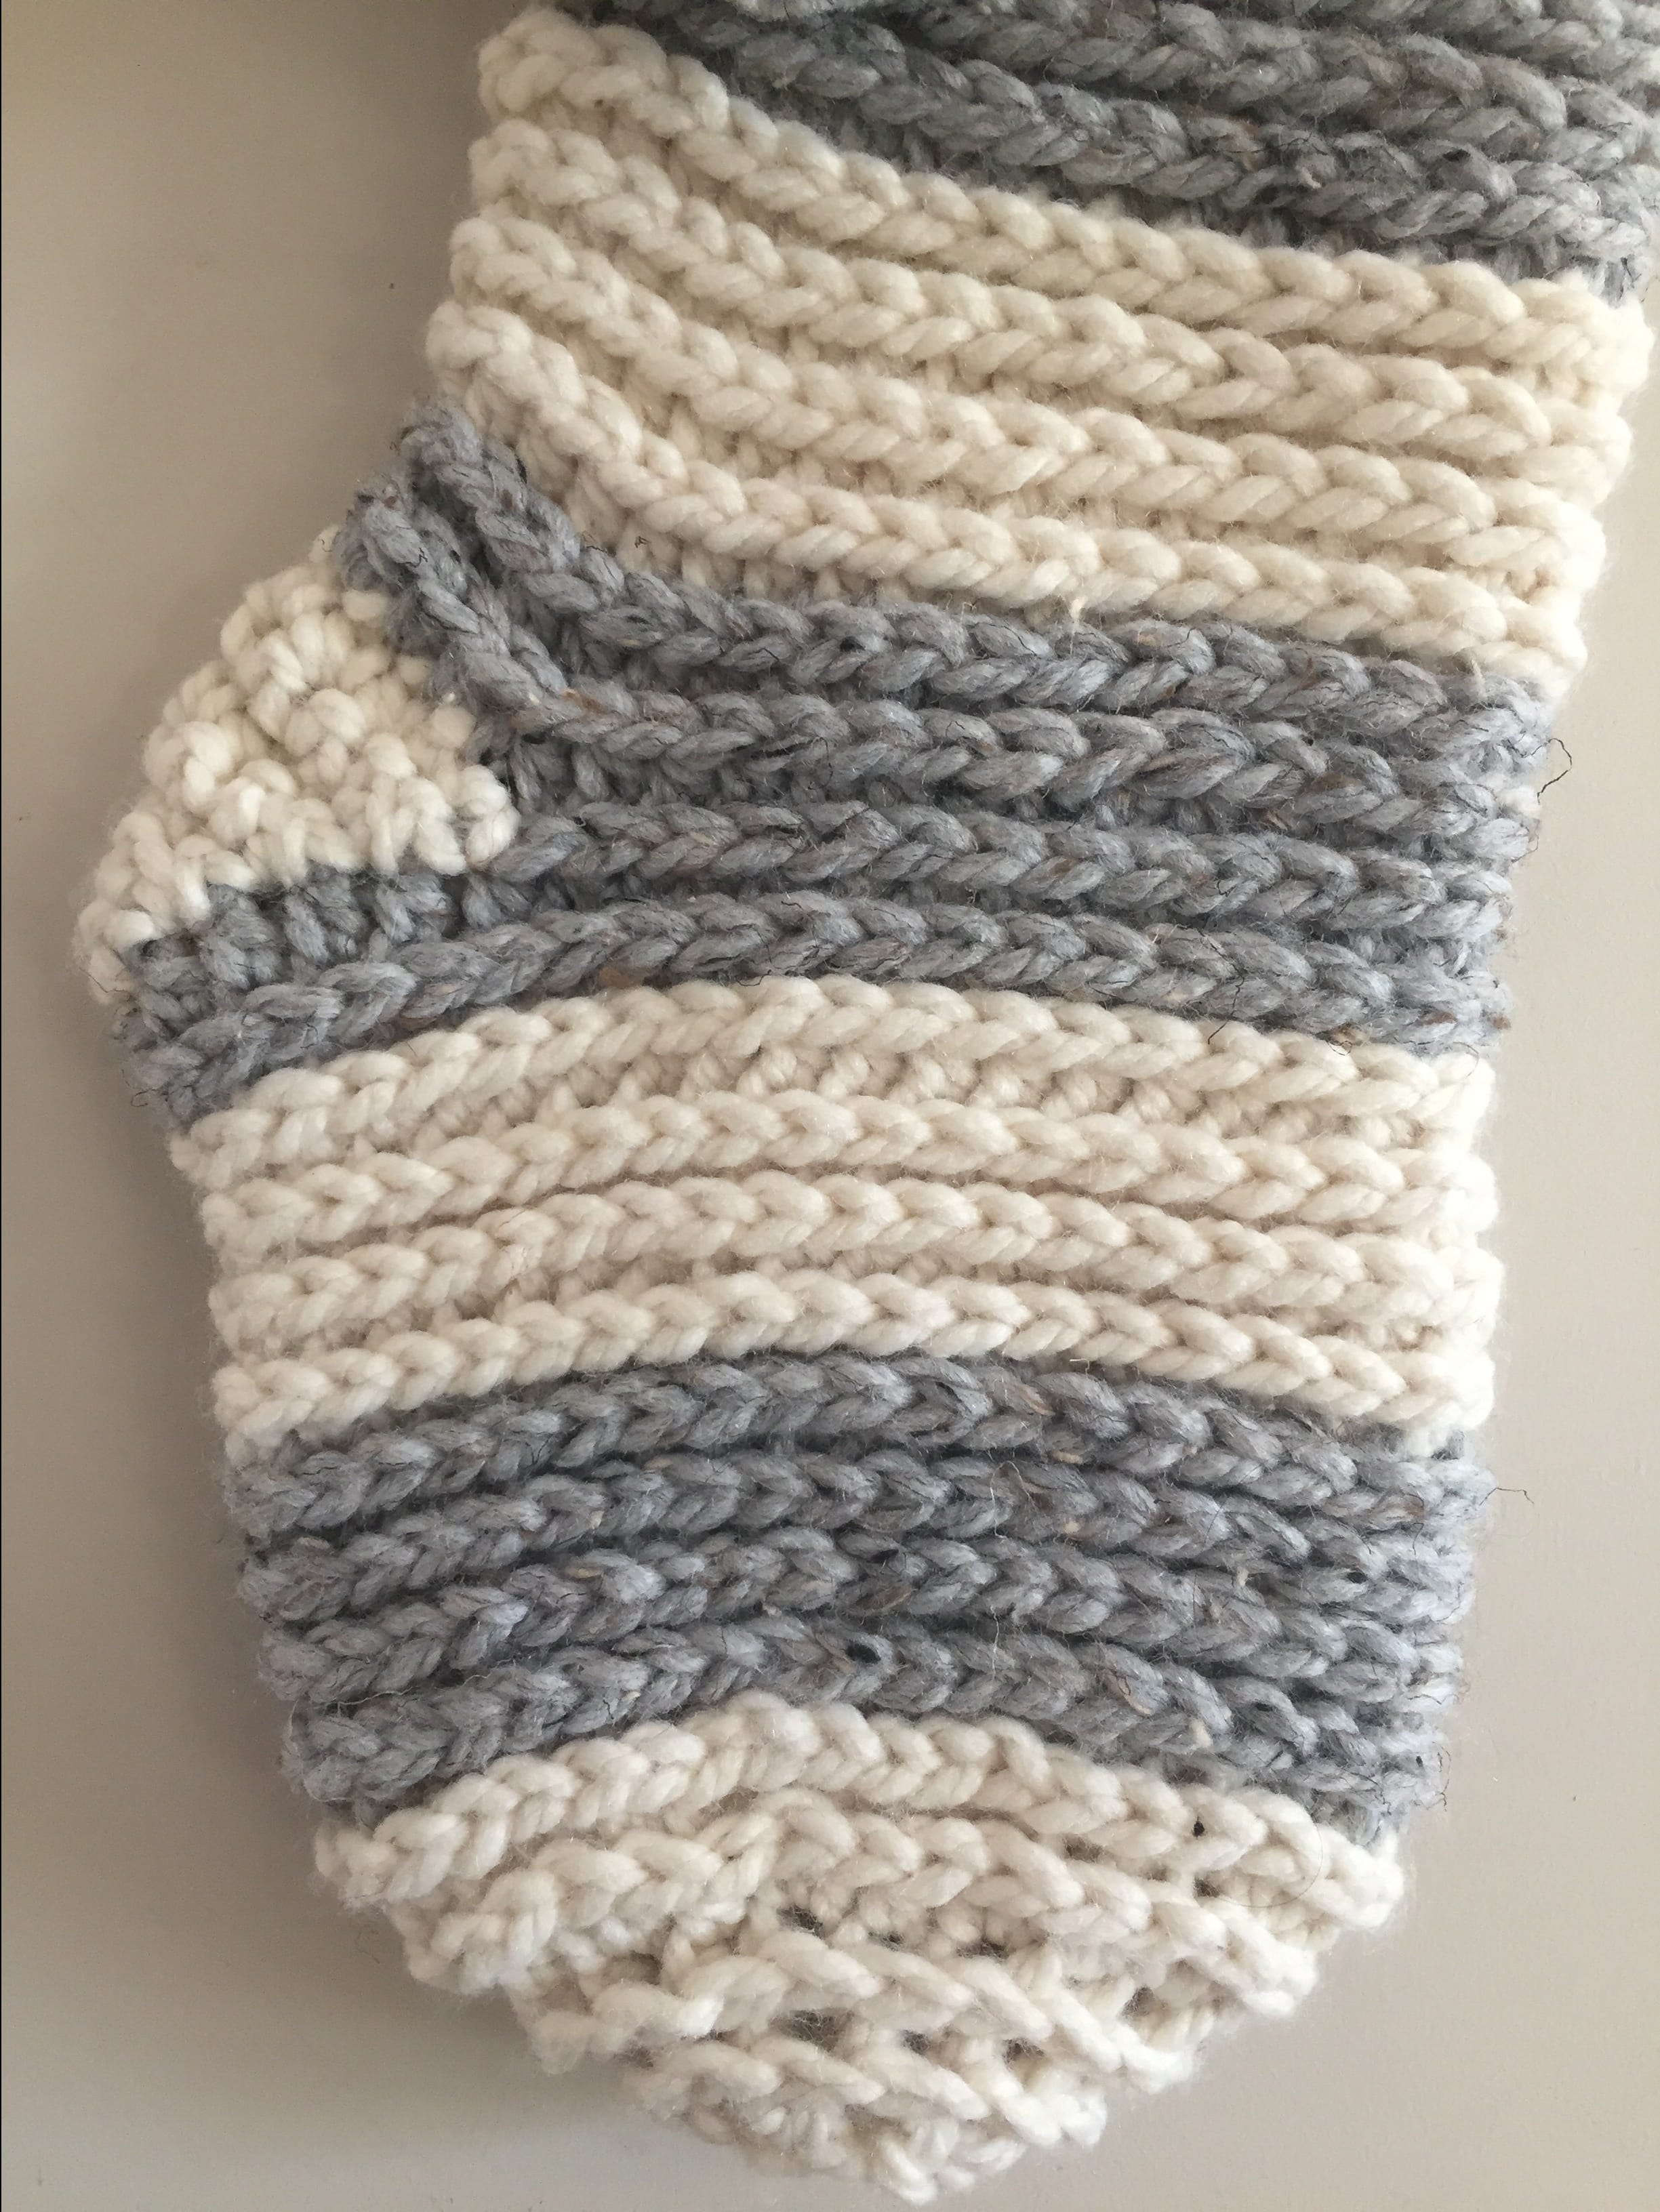
Lots of Texture
The texture in the stocking is made by working half double crochet stitches in the third loop. If you are not familiar with this technique, do not worry, you can check out the video tutorial below where I will explain how to work in the third loop.
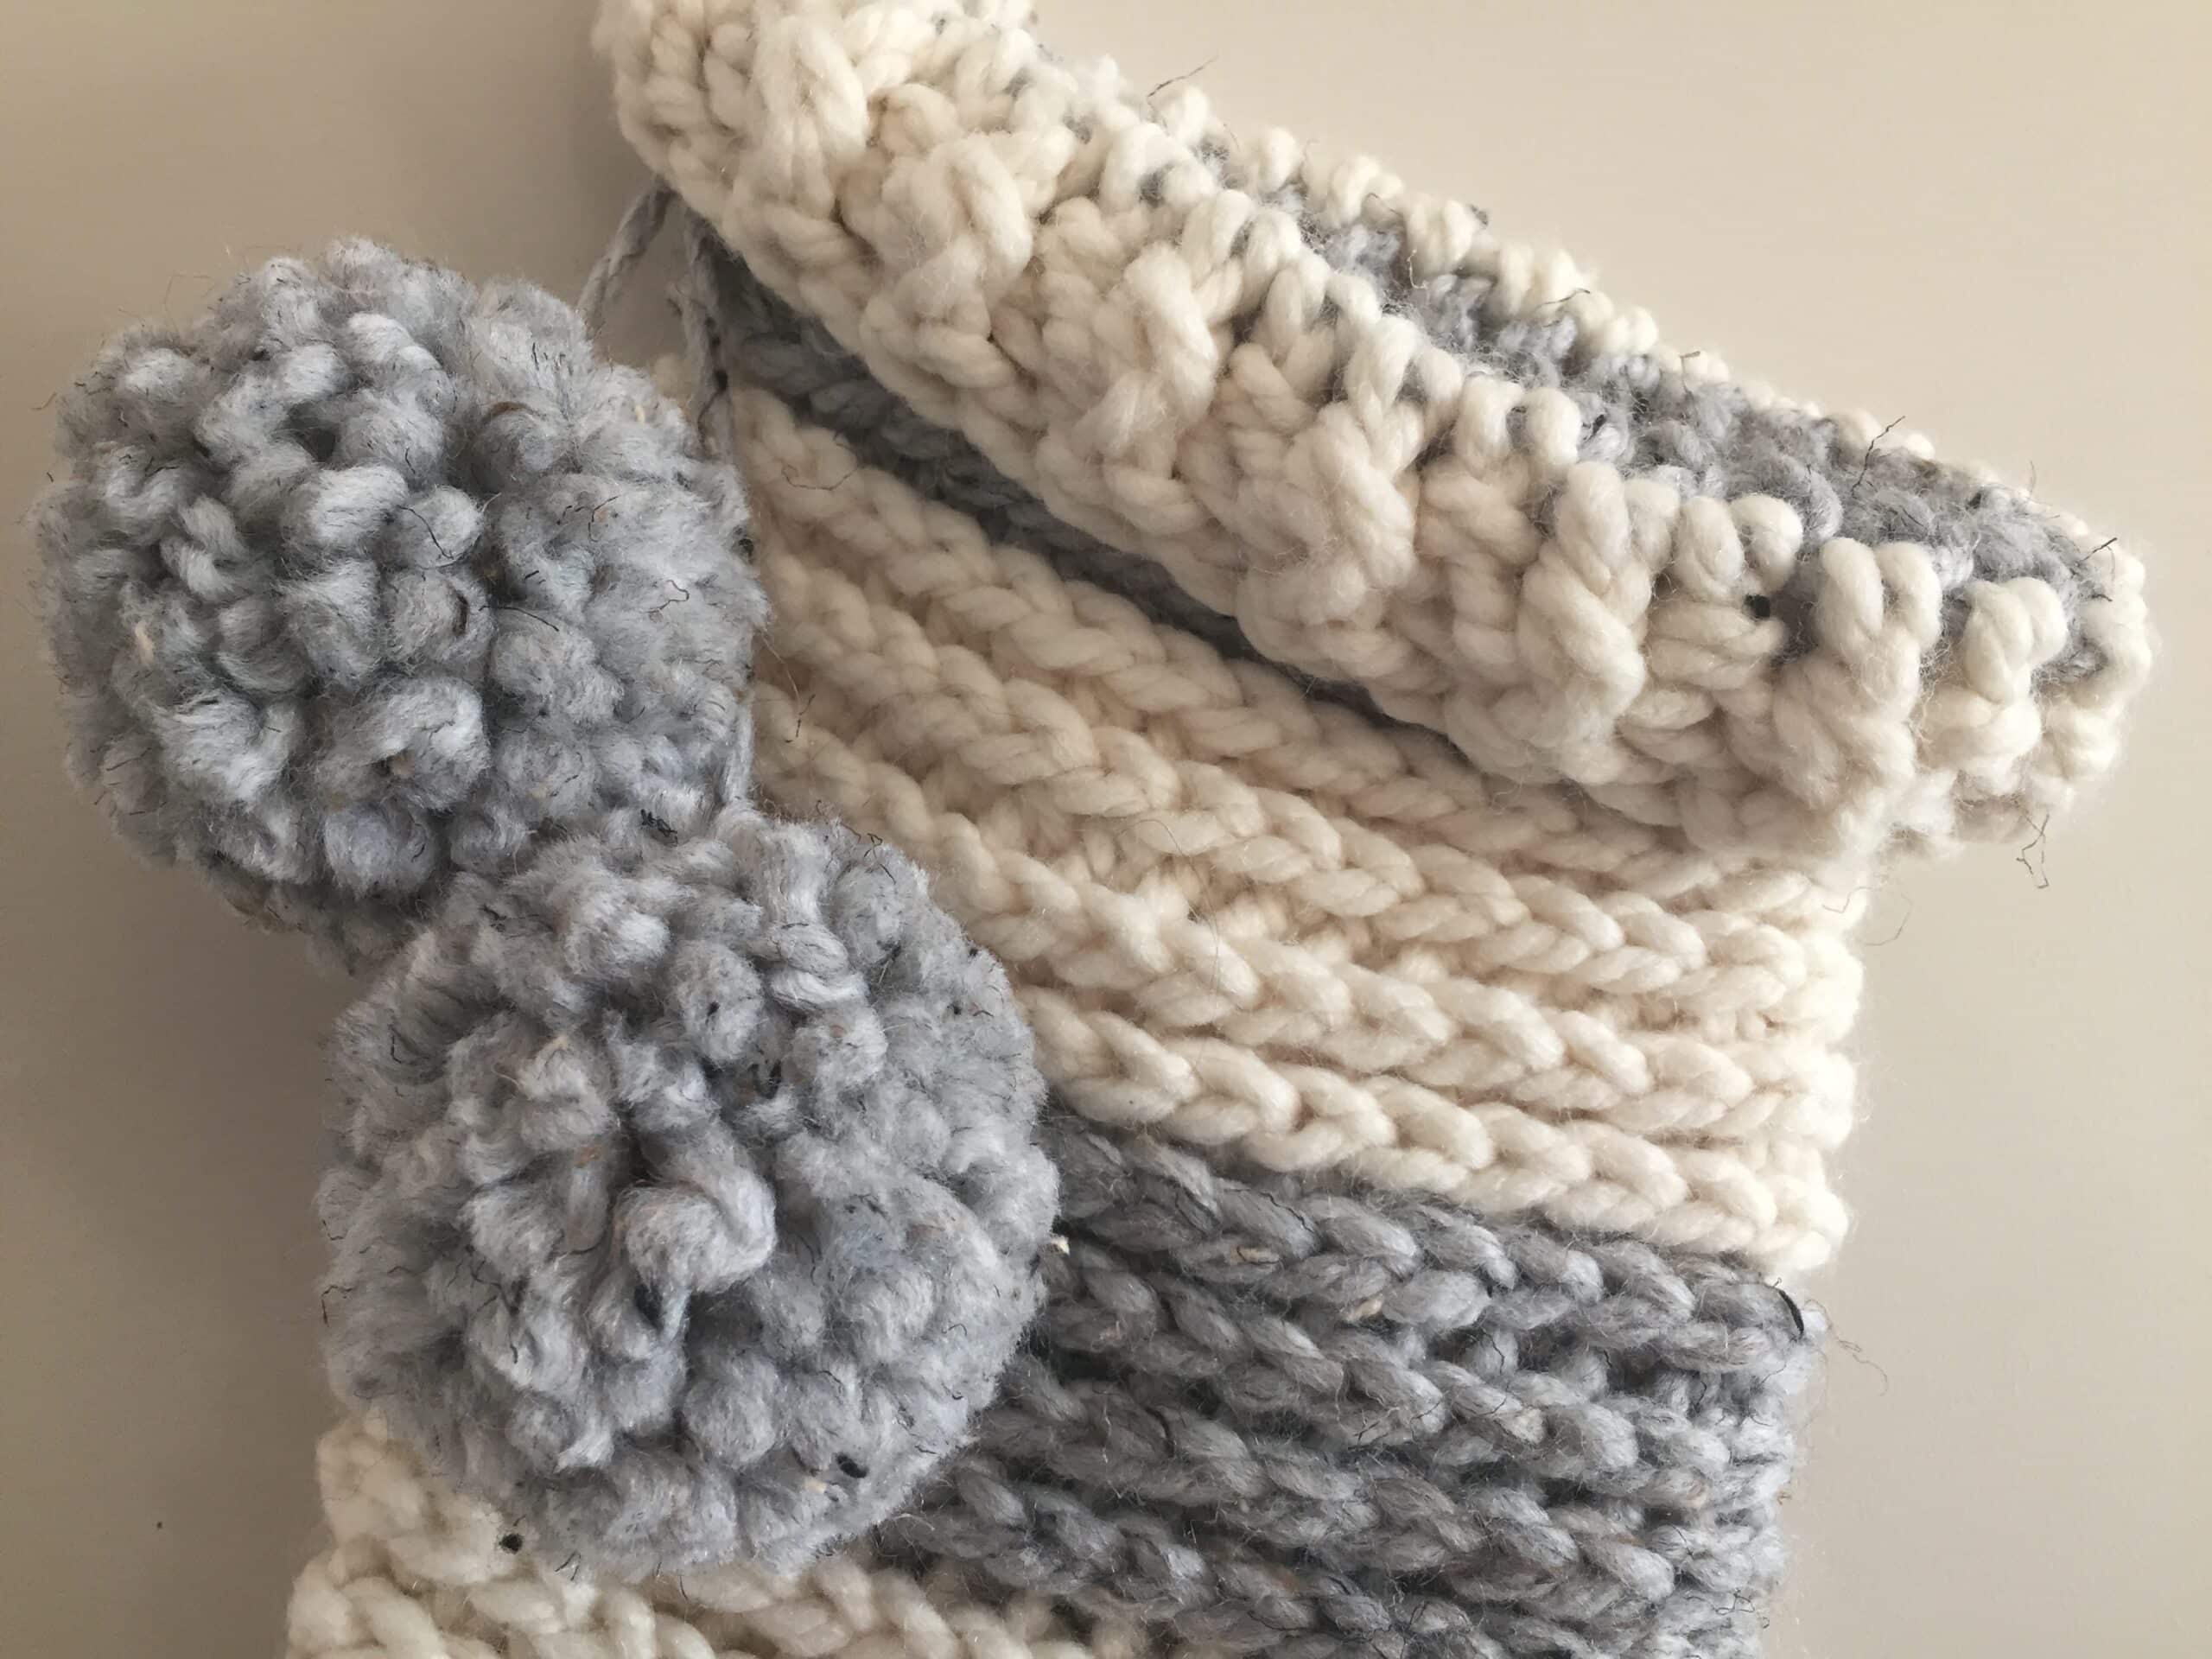
Embellishments:
Finally, you may choose to add a couple of pompoms as an embellishment to your Christmas Stocking. Below I have also included a couple of quick video tutorial on how to make pompoms using either a pompom maker or by recycling a couple of toilet paper rolls you may have lying around your house!
PDF Copies Available:
Below you will find this pattern for free and written out in full. As always, should you wish to purchase a convenient ad free pdf or add this pattern to your library, you may do so through my Etsy and Ravelry Shops linked below:
Home for Christmas Stocking on Etsy
Home for Christmas Stocking on Ravelry
If you like this pattern, you may also want to check out the Comfort and Joy Crochet Christmas Stocking pattern!
Thank you so much for visiting and happy crocheting!
Sarah
Home for Christmas Stocking
Skill Level: Intermediate
Gauge: 8 hdc x 7 rows = 4 inches
Finished Size: 19.5 x 9 inches
Yarn: 2 balls Wool-Ease® Thick & Quick® by Lion Brand® (80% Acrylic, 20% Wool; 6 oz, 170 g; Approx 106 yds, 97 m). Super Bulky (6). Colour A: Fisherman, colour B: Grey
Marble.
Hook: Size L (8 mm) Hook. Adjust hook size if necessary to obtain correct gauge.
Notions: Yarn Needle, stitch marker.
Optional: Pompom maker/2 pompoms to attach.
Pattern Notes:
– Pattern is written in American English terms.
– Pattern is worked in continuous rounds, except for the heel (You do not join at the end
of each round) and worked from the toe up. Use a stitch marker to mark the first stitch
and move up as work progresses.
– Do not turn unless stated otherwise.
– Ch 3 at the round counts as a dc.
– Weave in ends as needed.
Stitches and Abbreviations:
Bpdc – Back Post Double Crochet
Ch – Chain
Fpdc – Front Post Double Crochet
Hdc – Half Double Crochet
Hdc2tog – Half Double Crochet two together (yo, insert hook in st indicated and draw up a loop (3 loops on hook). Yo insert hook in next st and draw up a loop (5 loops on hook). Yo and pull through all five loops on hook. Hdc2tog made.
Rpt – Repeat
Sc – Single Crochet
Sk – Skip
Sl St – Slip Stitch
Yo – Yarn Over
The Pattern:
(Beginning at the tow, leave a long tail for sewing the toe closed)
With colour A:
Ch 6. Being careful to not twist your ch, join with a sl st in the 1st st.
Rnd 1: Hdc in each ch. Do not join. (6 sts)
Rnd 2: Now working in the 3rd loop, simply jump up to the first stitch of the next round (pull your yarn a little tighter to close the gap, mark this stitch), hdc in the next st, 2 hdc in the next st; hdc in each of the next 2 sts, 2 hdc in the last st. Do not Join. (8 sts)
Rnd 3: Working in the 3rd loop, * hdc in the next st, 2 hdc in the next st; rpt from * around. (12 sts)
Rnd 4: Repeat rnd 3. (18 sts)
Rnd 5: Repeat rnd 3. (27 sts)
Rnd 6: Working in the 3rd loop, hdc in each of the next 2 sts, 2 hdc in the next st; rpt from * around, change to colour B on the last st. (36 sts)
Rnds 7-10: Working in the 3rd loop, hdc in each st around. Change to colour A on the last st of rnd 10. (36 sts)
Rnds 11-14: Working in the 3rd loop, hdc in each st around. Change to colour B on the last st of rnd 14. (36 sts)
Rnds 15-16: Working in the 3rd loop, hdc in each st around. Change to colour A on the last st of rnd 16. (36 sts)
Shape Heel:
Shape Heel (Worked in Colour A, worked in rows, do not work in 3rd loop):
Row 1: Sc in each of the next 2 sts, st st in the next st, turn leaving the remaining sts
unworked.
Row 2: Sk the 1st sl st, sl st in the next sc, sc in the next 2 sts, sl st in the next st, turn leaving the remaining sts unworked.
Row 3: Sk the 1st sl st, sl st in the next sc, sc in the next 3 sts, sl st in the next st, turn leaving the remaining sts unworked.
Row 4: Sk the 1st sl st, sl st in the next sc, sc in the next 4 sts, sl st in the next st, turn leaving the remaining sts unworked.
Row 5: Sk the 1st sl st, sl st in the next sc, sc in the next 5 sts, sl st in the next st, turn leaving the remaining sts unworked.
Row 6: Sk the 1st sl st, sl st in the next sc, sc in the next 6 sts, sl st in the next st, turn leaving the remaining sts unworked.
Row 7: Sk the 1st sl st, sl st in the next sc, sc in the next 7 sts, sl st in the next st, turn leaving the remaining sts unworked.
Row 8: Sk the 1st sl st, sl st in the next sc, sc in the next 8 sts, sl st in the next st, turn leaving the remaining sts unworked.
Row 9: Sk the 1st sl st, sl st in the next sc, sc in the next 9 sts, sl st in the next st, turn leaving the remaining sts unworked. Change to colour B.
Now working in rounds again, proceed as follows:
Rnd 17: Working in the 3rd loop, hdc in each of the next 23 sts, hdc2tog over the next 2 sts, hdc in each of the next 9 sts, hdc2tog. (34 sts)
Rnd 18: Working in the 3rd loop, hdc in each st around. Change to colour A on the last st of rnd. (34 sts)
Rnds 19-22: Working in the 3rd loop, hdc in each st around. Change to colour B on the last st of rnd 22. (34 sts)
Rnds 23-26: Working in the 3rd loop, hdc in each st around. Change to colour A on the last st of rnd 26. (34 sts)
Rnds 27-30: Working in the 3rd loop, hdc in each st around. Change to colour B on the last st of rnd 30. (34 sts)
Rnds 31-34: Working in the 3rd loop, hdc in each st around. Change to colour A on the last st of rnd 34. (34 sts)
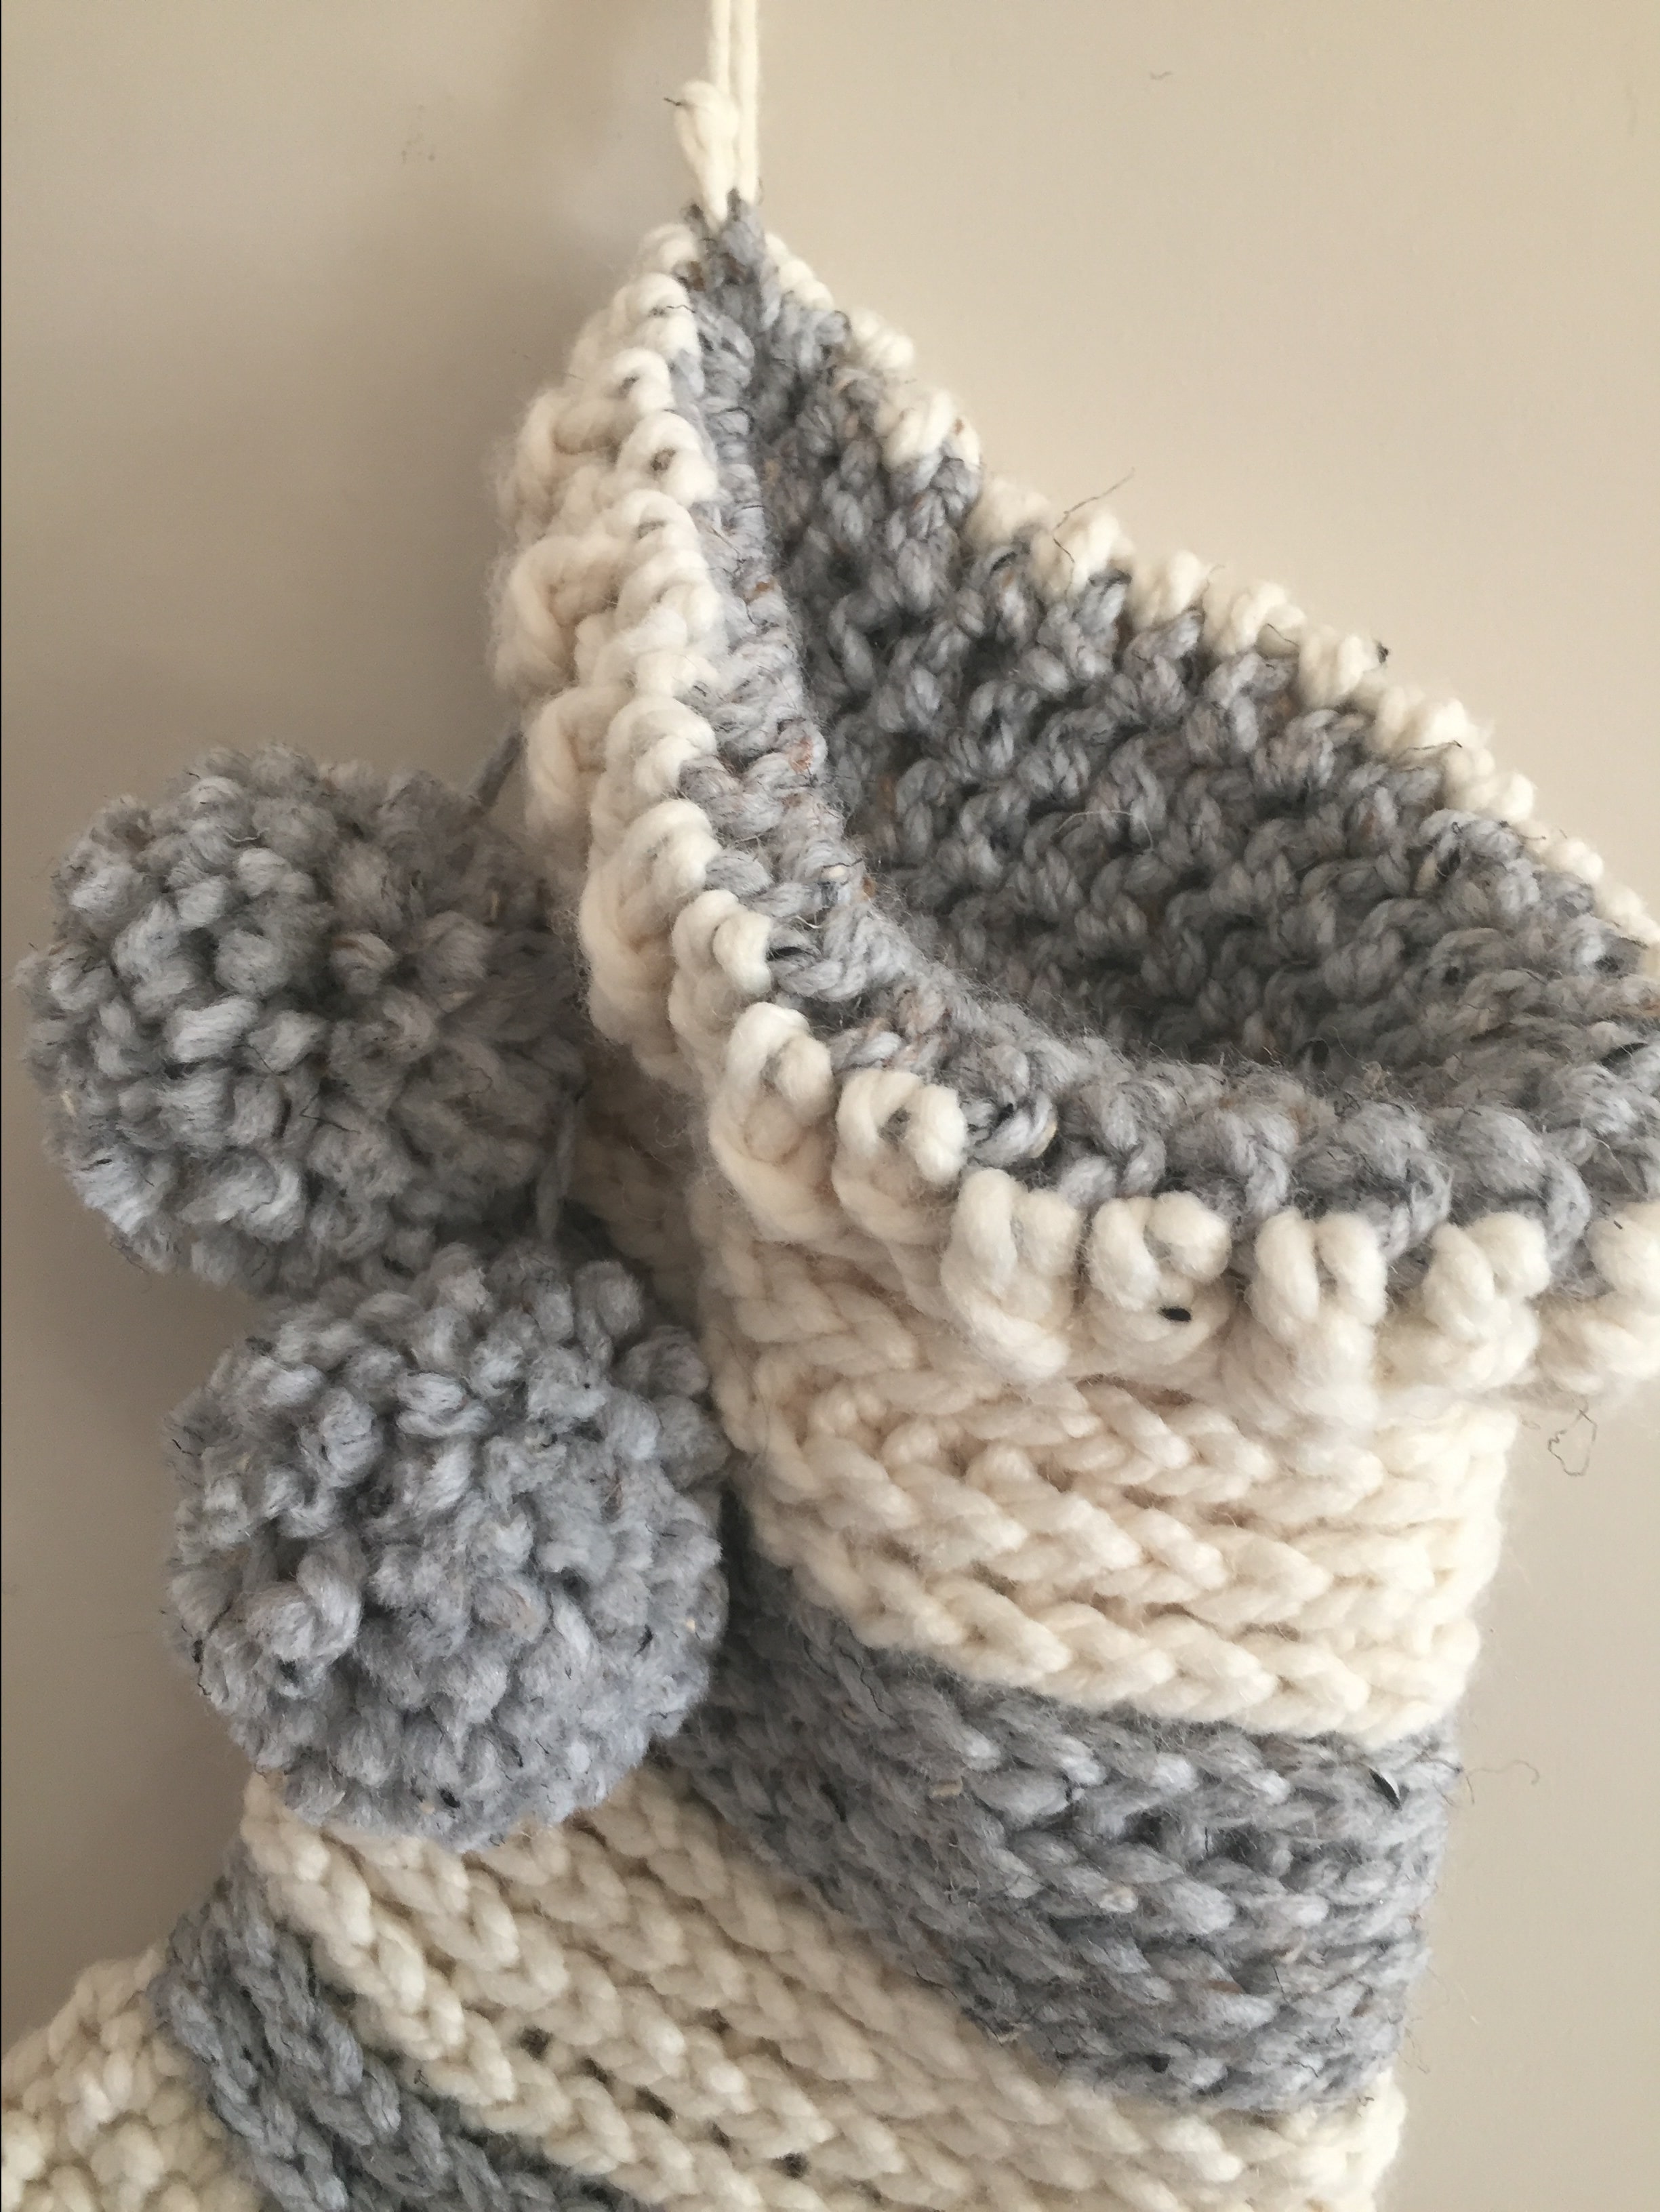
Rnd 35: Working in the 3rd loop, ch 3 (Counts as dc), dc in each st around, join with a sl st in the top of ch-3. Do not turn.
Rnd 36: Ch 3 (Counts as dc), fpdc around the next st, bpdc around the next st; rpt from * around, join with a sl st in the top of the ch-3. Fasten off.
Optional – Using a small piece of the leftover yarn, affix loop for hanger. Make and attach pompoms to the cuff.
Video Tutorials:
Home for Christmas Stocking:
How to make a pompom using the Clover Pompom Maker:
How to make a pompom using toilet paper rolls:


Beautiful pattern, Sarah! I am a sucker for things with great texture so this immediately caught my eye. Plus! In super bulky yarn, it’s a quick project to work up. Thank you so much for hopping with us!