
This post contains affiliate links. This means that when you purchase through one of these links we will receive a small commission at no additional cost to you. Thank you for supporting Rich Texture Crochet!
Sometimes you just have to add a fresh look to your living space – why not start with a throw pillow?
I love the Caron Cotton Cakes – I love how soft they are, the variety of colours and their stitch definition.
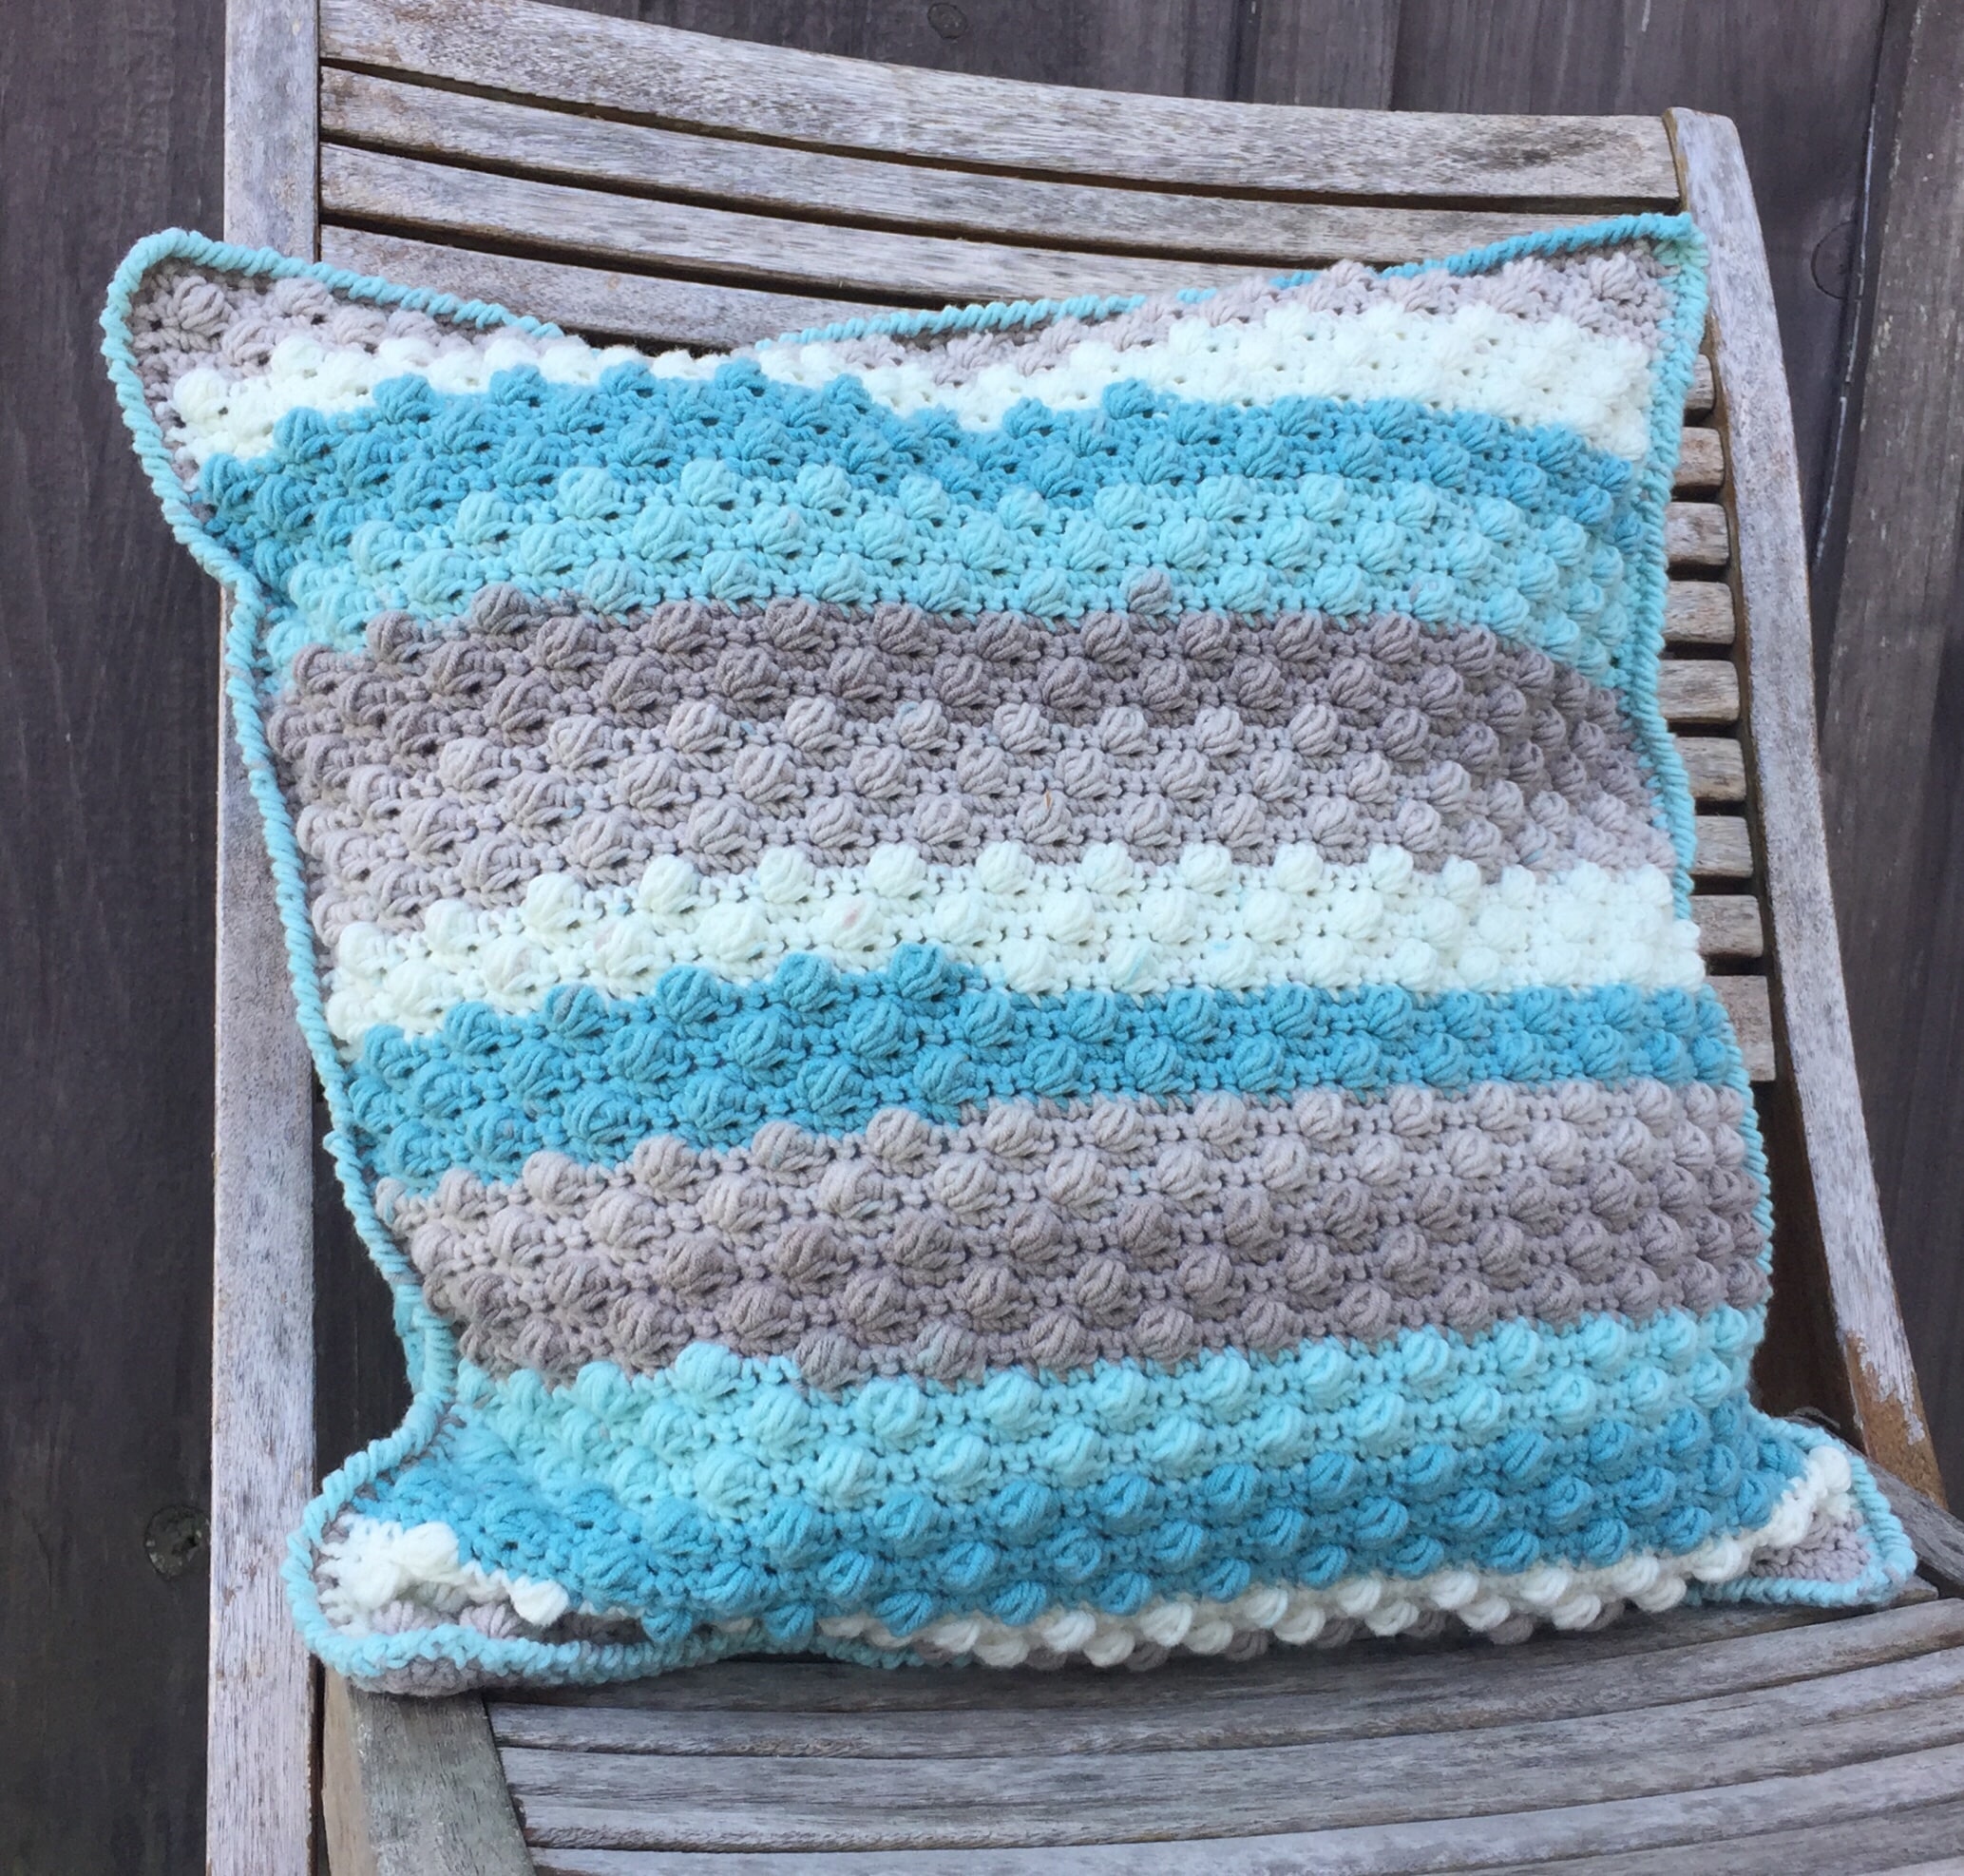
Lately I have been loving the smooth texture of the puff stitch. It is the half double crochet puff stitch that makes to the texture on the front of this throw pillow. The back features a simple smooth texture. The front and back are crocheted together using the reverse single crochet stitch which brings it all together.
Following the written instructions I have included a free video tutorial for the throw pillow. While you are watching please subscribe to my YouTube Channel: https://www.youtube.com/c/RichTexturesCrochet/
If you would like to save this pattern to your library or purchase an ad free pdf of the throw pillow, you may do so from my Ravelry and Etsy shops:
Rich Textures Crochet on Ravelry
Thank you so much for stopping by! Happy Crocheting!
Sarah
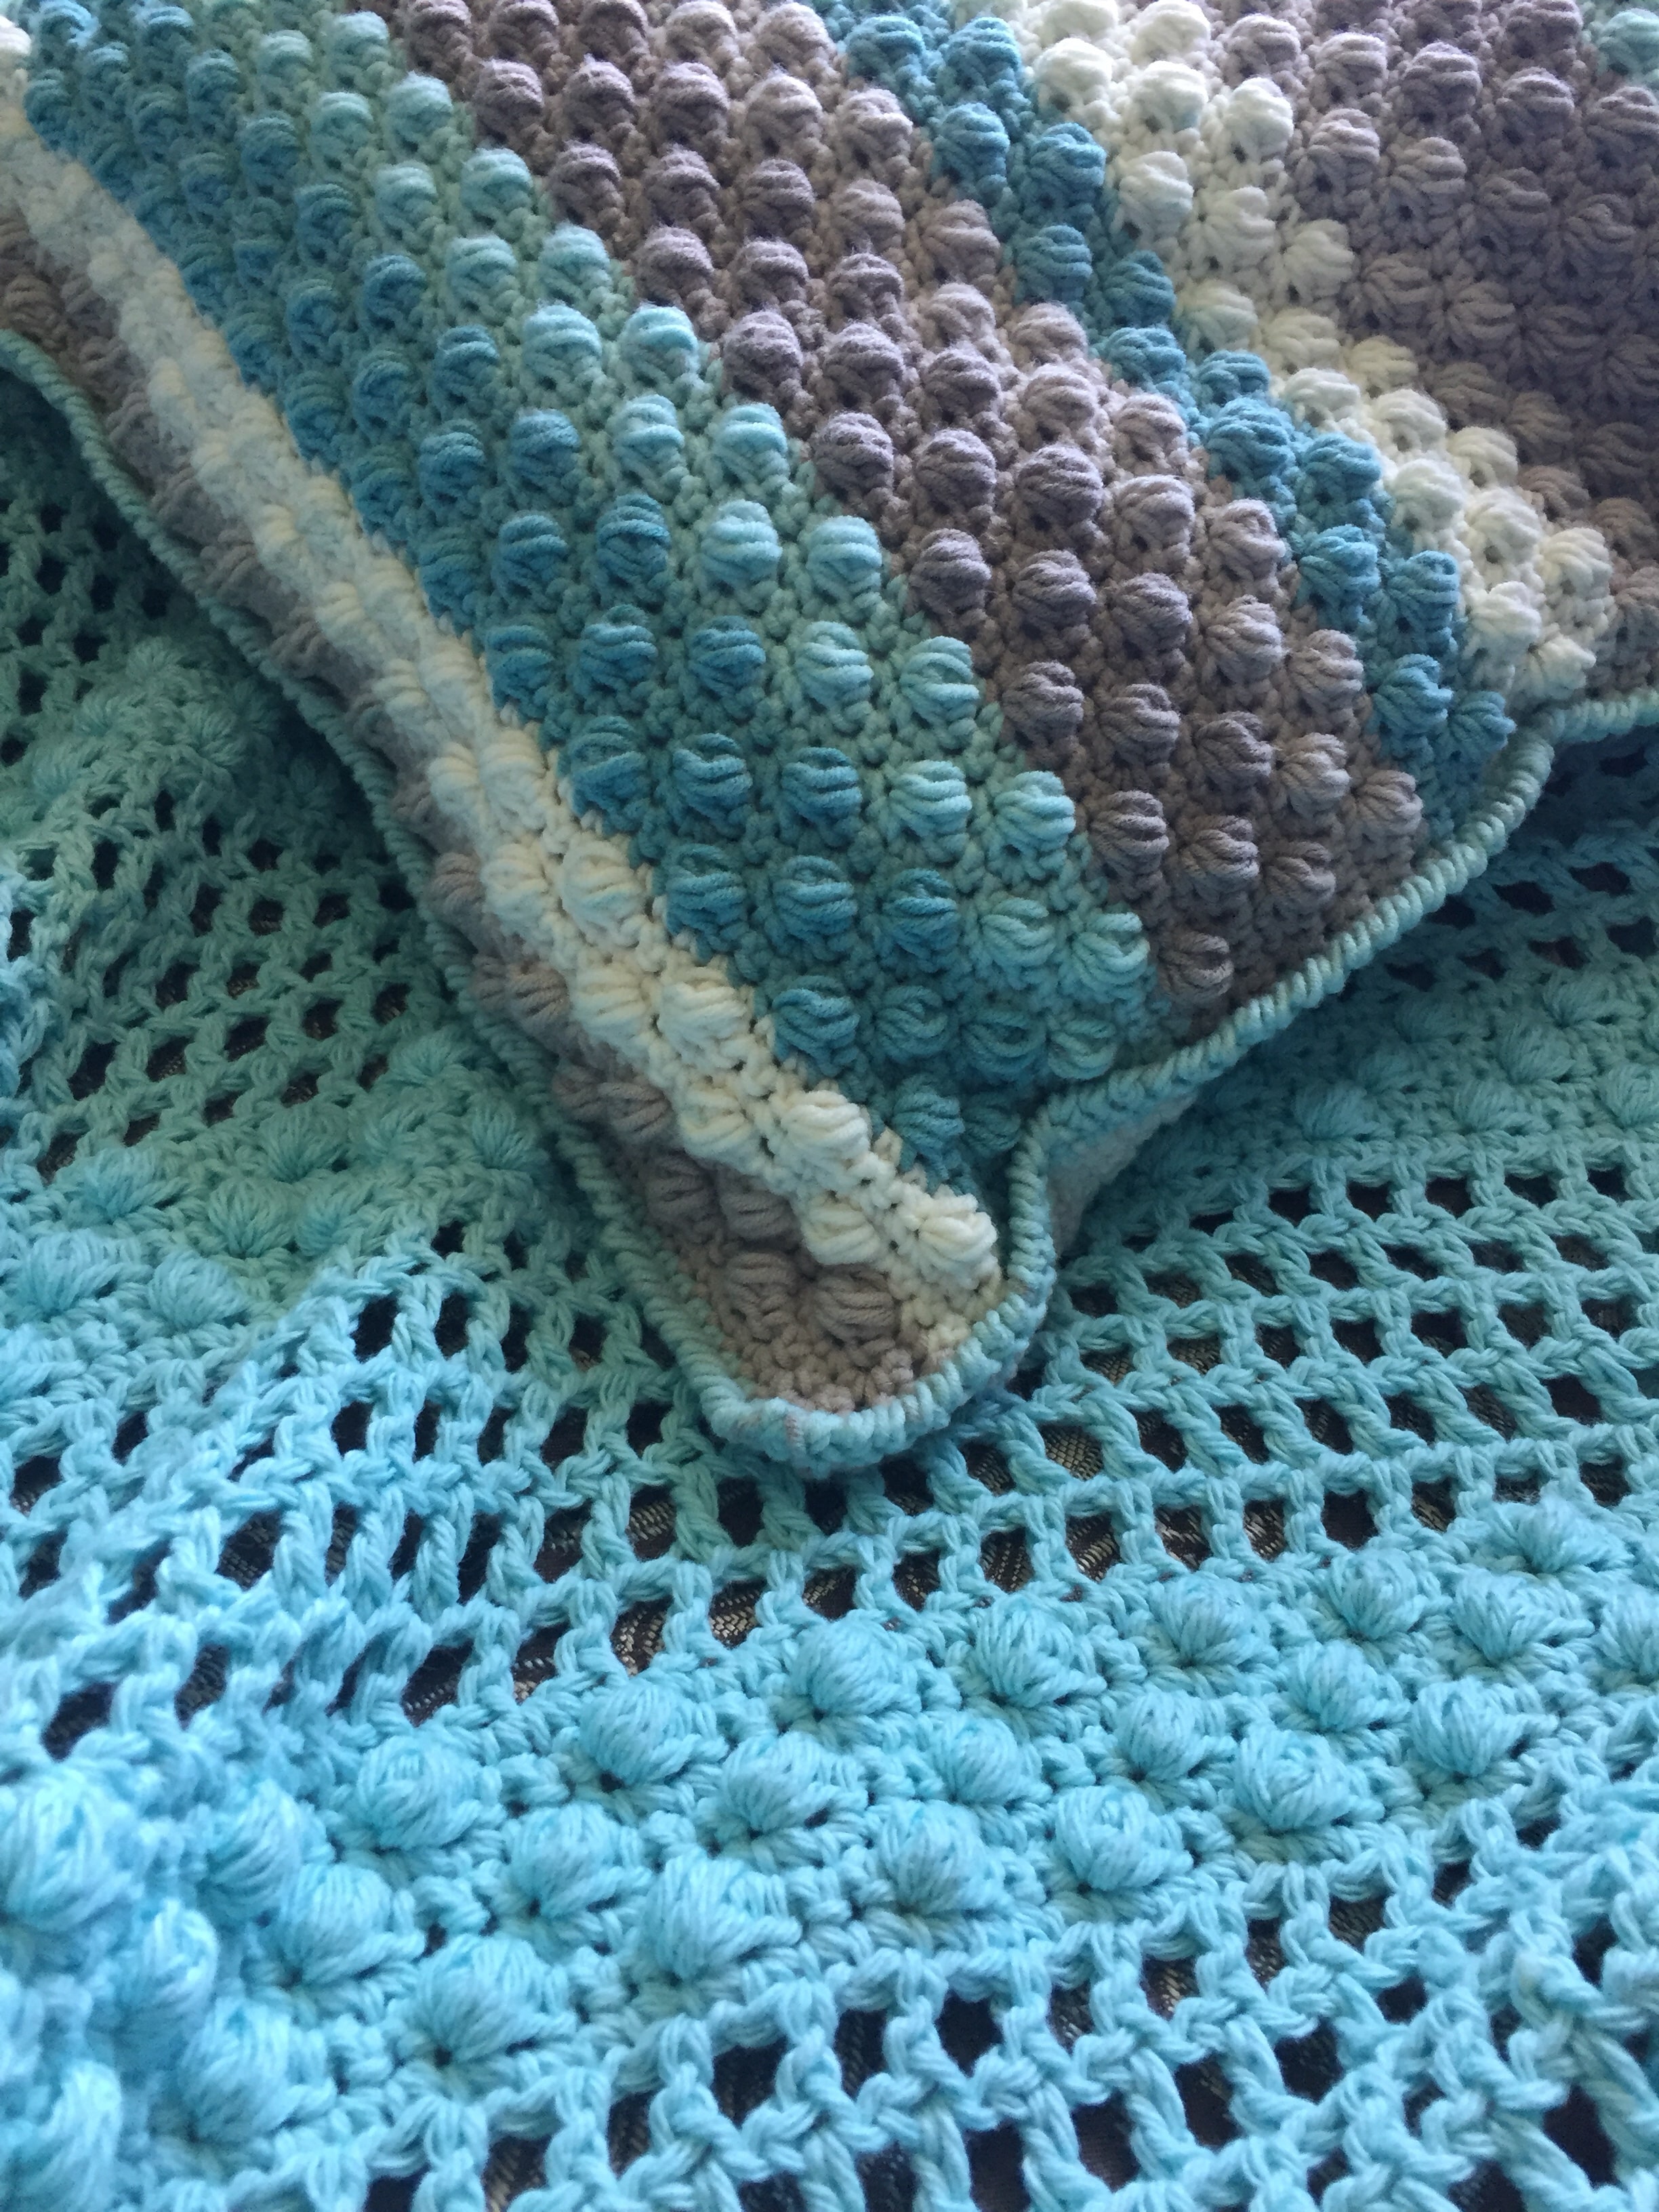
P.S. Like the blanket in the photo below? Stay tuned! The pattern will be coming soon!
Free throw pillow pattern
Skill Level: Easy
Gauge: 15 hdc x 12 rows = 4 inches
Finished Size: 18 x 18 inches tall
Yarn: 3 Caron® Cotton Cakes™ (60% Cotton, 40% Acrylic; 3.5 oz./ 100 g; 211 yd. / 193 m; Medium/Worsted Weight); Colour: Beachglass
Hook: H/8 (5.00 mm) crochet hook.
You will need one 16 inch pillow form.
Notions: Yarn Needle
Stitches and Abbreviations:
Ch – Chain
Hdc – Half Double Crochet
Puff – Puff Stitch ([Yarn over, insert hook in stitch indicated and draw up a loop] four times, yarn over and draw through all loops on hook)
Rpt – Repeat
Rsc – Reverse Single Crochet
Sc – Single Crochet
Sk – Skip
Sl st – Slip stitch
Yo – Yarn over
Pattern Notes:
– Pattern is written in American English terms.
– Pattern is worked in rows.
– Ch 1 at beg of row does not count as stitch.
– Weave in ends as needed.
Front:
Ch 56
Row 1: Ch 1, sc in the 2nd ch from hook and in each ch across; ch 1, turn. (55 sts)
Row 2: Ch 1, sc in the 1st st, *puff in the next, sc in the next 3 sts; rpt from * across to last st, sc in last st; ch 1, turn.
Row 3: Ch 1, sc in each st across; ch 1, turn.
Row 4: Ch 1, *sc in the 1st 3 sts, puff in the next; rpt from * across to last 3 sts, sc in each of the last 3 sts; ch 1, turn.
Row 5: Ch 1, sc in each st across; ch 1, turn.
Repeat rows 2-5 until work from the beginning is approximately 17.5 inches, ending with an sc row. Fasten off. Weave in ends.
Back:
Ch 56
Row 1: Ch 1, hdc in the 2nd ch from hook and in each ch across; ch 1, turn. (55 sts)
Row 2: Ch 1, hdc in each st across; ch 1, turn.
Repeat row 2 until work from the beginning is approximately 17.5 inches, ending with an sc row. Fasten off. Weave in ends.
Edging (Worked in a round):
Holding both sides together, with wrong sides together, work through both sides and join yarn with a sl st in the top right corner. You will work through both sides all the way around.
Rnd 1: Ch 1, sc in each st across, work 3 sc in the corner st, work 67 sc evenly up the side, work 3 sc in the corner, sc in each st across the bottom (three sides now worked).
Do not fasten off, but insert pillow into the pillow case and then, working through both sides, work 67 sc evenly up the final side, work 2 sc in the final corner; join with a sl st in the first sc. Do not turn.
Rnd 2: Ch 1, rsc in each st around; join with a sl st in the first st.
Fasten off. Weave in ends.


5 Comments