This post contains affiliate links. This means that when you purchase through one of these links we will receive a small commission at no additional cost to you. Thank you for supporting Rich Texture Crochet!
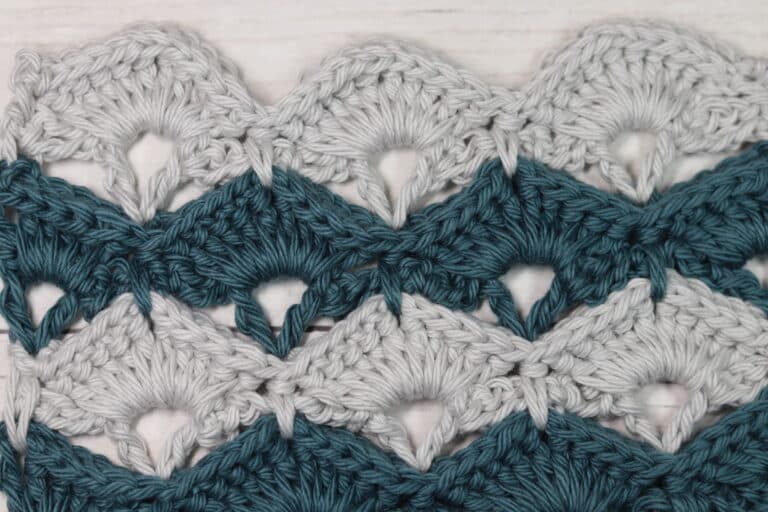
The Flying Shell Crochet Stitch pattern is a beautiful textured design featuring rows of shell stitches and rows of V stitches.
It is an easy stitch pattern to work that looks wonderful on both sides. It would work very well in a larger crochet project like a blanket but it would also work in your smaller projects as well. You may work it in a variety of yarn weights.
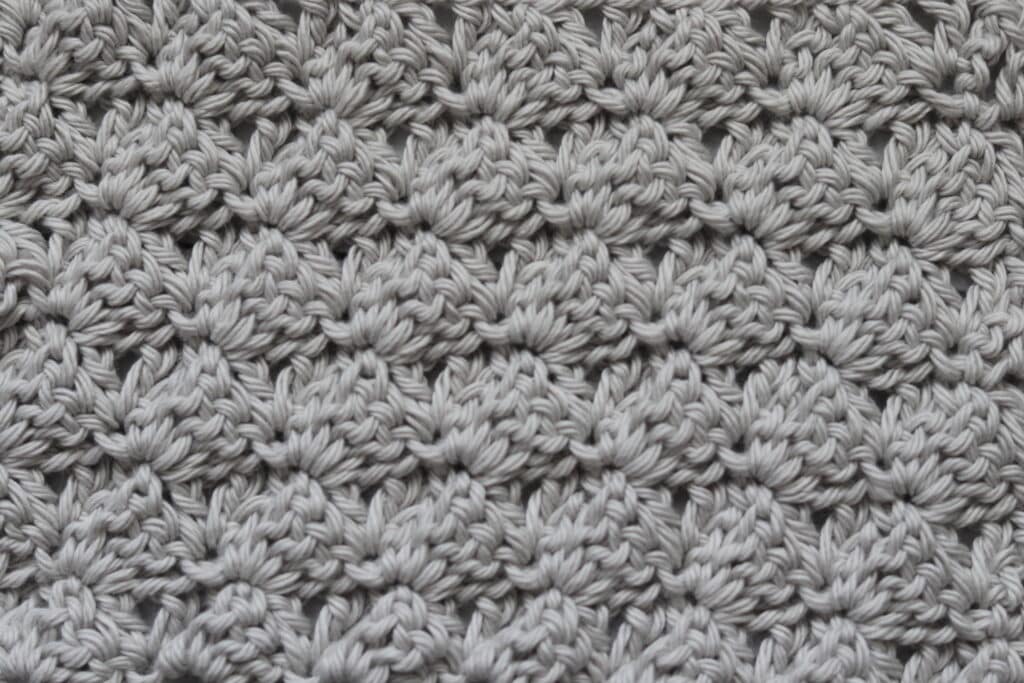
The Flying Shell Stitch is a four row repeat. You will essentially work a row of double crochet shells followed by a row of double crochet V stitches. It will work up fairly quickly. I did find when working this pattern that there was a slight slant to the finished fabric, but this was corrected by pulling the corners to help the stitches straighten out. I have worked the swatch today in a solid colour but I also believe it would look amazing when worked in multiple colours or in a self stripping yarn. I look forward to seeing what you do with it!
Materials for this Tutorial:
For this tutorial today I will be using a small amount of cotton yarn. This yarn is a worsted weight yarn called Pima Cotton by Lion Brand Yarn. I will also be using a 5 mm crochet hook. The hook you will see me using in the video tutorial below is a Clover Soft Touch Hook.
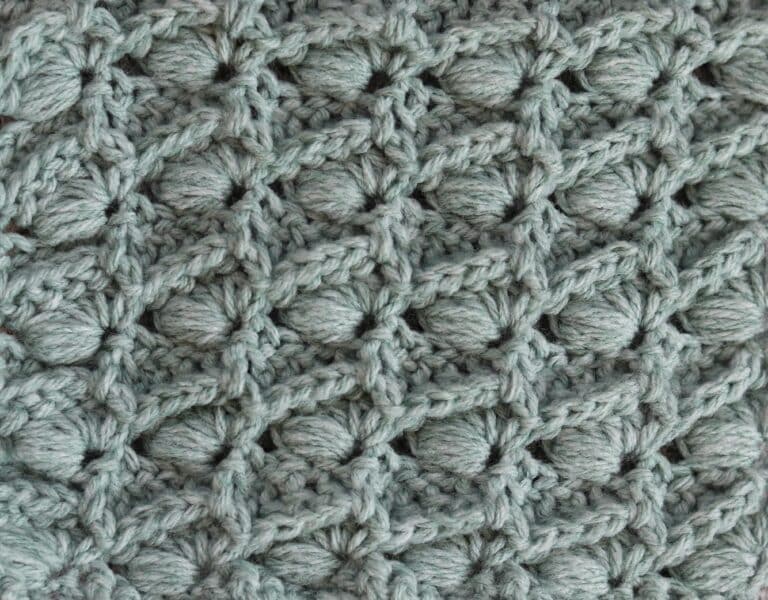
Thank you so much for stopping by! If you enjoy learning new crochet stitches, you will find many more in the “Crochet Stitches” category here on Rich Textures Crochet, or you may wish to check out the Wide Cone Stitch. I update this website with a new crochet stitch every week!
Flying Shell Crochet Stitch
Stitches and Abbreviations:
Ch – Chain Stitch
Dc – Double Crochet
Dc2tog – Double Crochet Two Stitches Together
Rpt – Repeat
Sc – Single Crochet
Sk – Skip
Sl St – Slip Stitch
Yo – Yarn Over
Notes:
This stitch is worked in rows in this tutorial. You may work it in one colour or many. I will be working the stitch in a solid colour.
To begin, make a slip knot and then a foundation chain. For your foundation chain you will need a multiple of four stitches, plus 2 for your foundation chain (4 + 2 stitches).
For example, ch 22.
Row One:
[Sc, ch 3, 3 dc] into the 2nd ch from your hook, * sk the next 3 chs, [sc, ch 3, 3 dc] in the next ch; Rpt from * across to the final 4 chs, sk the next 3 chs, sc in the final ch. Ch 3, turn.
Row Two:
Dc in the 1st st, * sk the next 3 sts, sc in the next ch-3 sp, V st (dc, ch 1, dc) in the next sc; Rpt from * across ending with an sc, work 2 dc in the final sc st. Ch 3, turn.
Row Three:
3 dc in the 1st st, sk the next st, * [sc, ch 3, 3 dc] in the next sc, sk the next v st; Rpt from * across to the final 2 sts, sc in the final st, ch 3, dc2tog over the last dc and your turning ch. Ch 1, turn.
Row Four:
*V st in the next sc, sk the next 3 sts, sc in the next ch-3 sp; Rpt from * across, ch 1, turn.
Row Five:
[sc, ch 3, 3 dc] in the 1st st, *sk the next v st, [sc, ch 3, 3 dc] in the next sc; Rpt from * across to the final v st, sk the last v st, sc in the ch-3 sp. Ch 3, turn.
And that’s it!
For the rest of the pattern repeat rows 2-5, fasten off and weave in your ends.