This post contains affiliate links. This means that when you purchase through one of these links we will receive a small commission at no additional cost to you. Thank you for supporting Rich Texture Crochet!
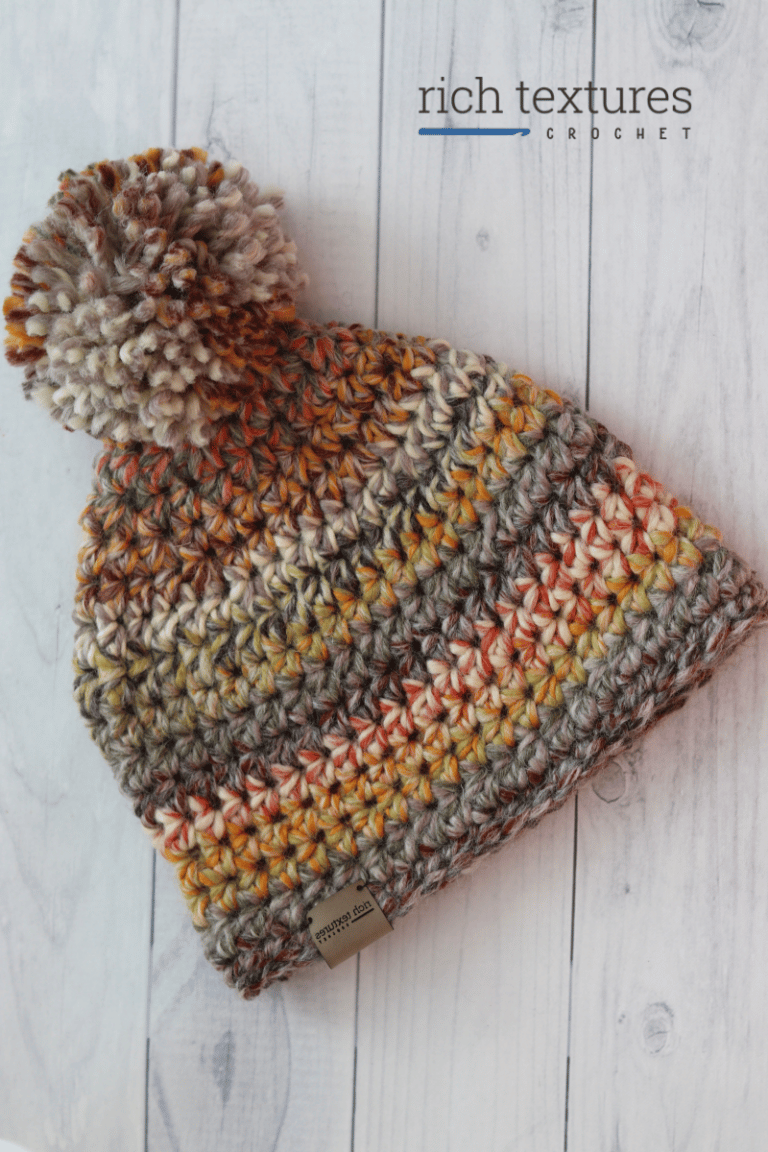
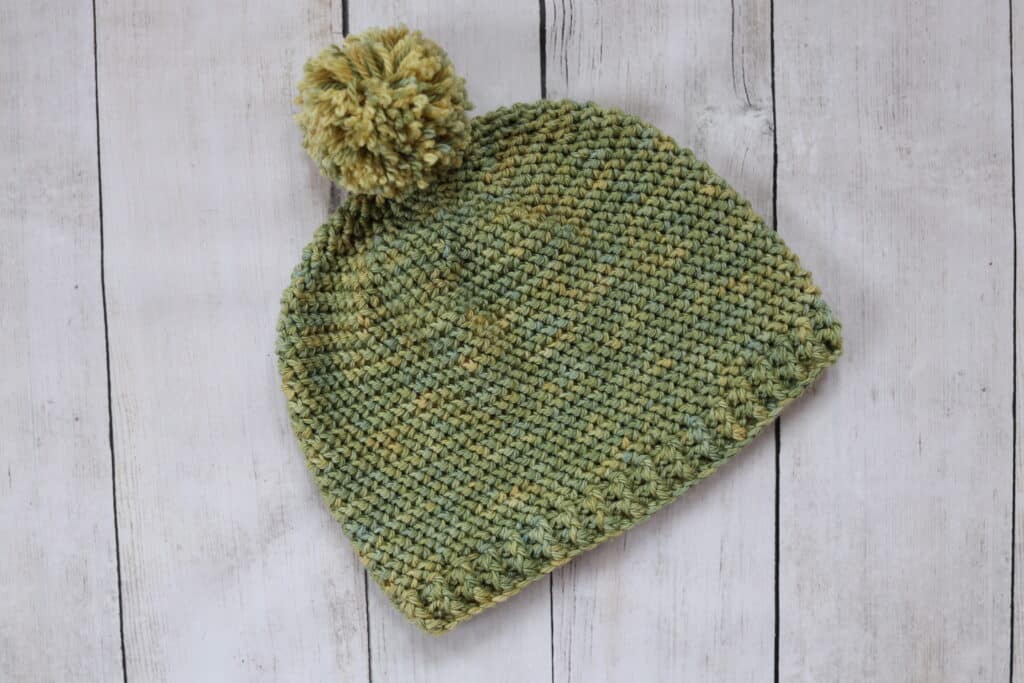
Learn how to crochet the stylish Charlie Beanie Crochet Pattern using your favourite worsted weight yarn.
This particular hat crochet pattern was designed with a hand-dyed yarn in mind! I love going to yarn and fibre festivals and I love visiting my local small business yarn shops. They are overflowing with luxurious, hand-dyed yarn and I am often left wondering what to do with them after giving into temptation and indulging in a purchase.
This wondering is how the Charlie Beanie crochet pattern came to be!
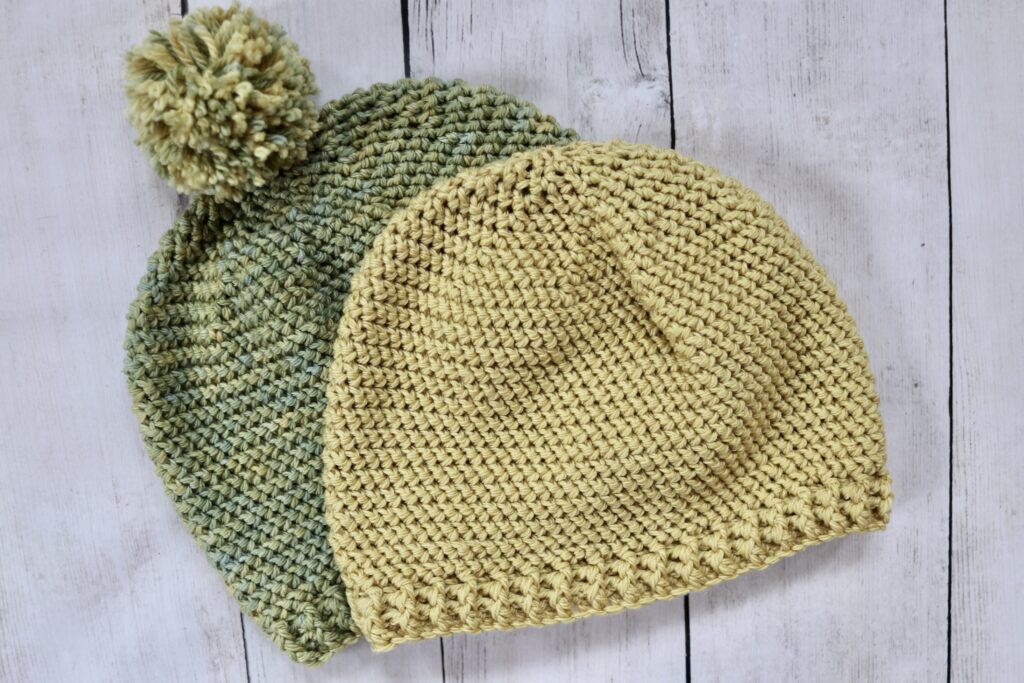
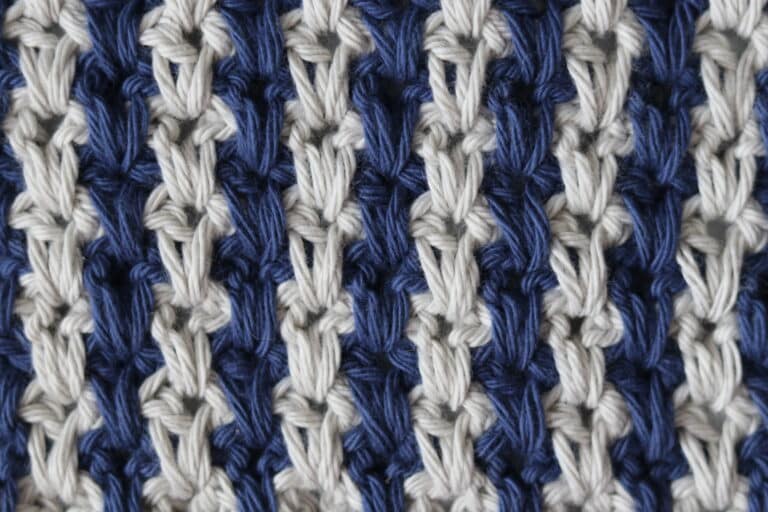
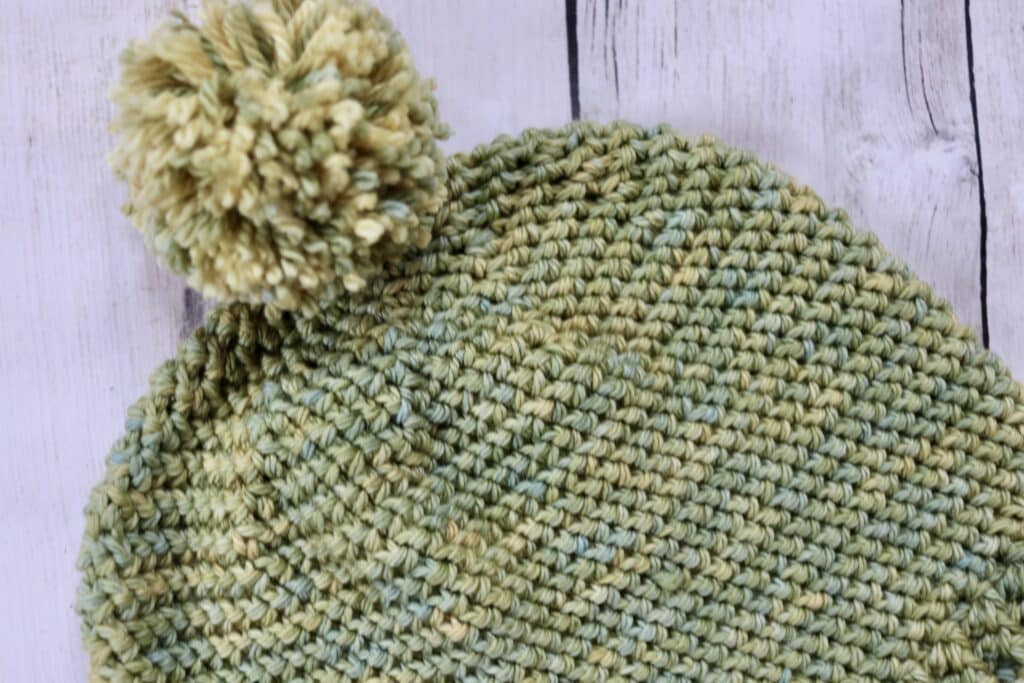
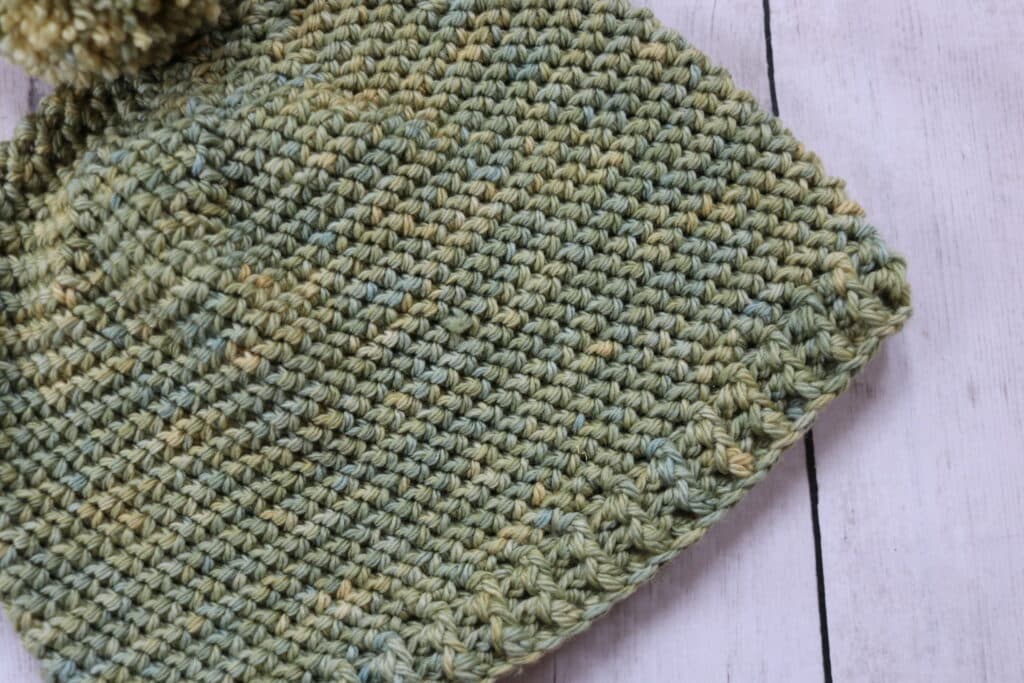
This crochet hat is designed so that it can be worn by anyone, regardless of gender. It features a solid texture that runs from the brim to the top. This solid texture shows off the colours in those hand-dyed skeins of yarn beautifully! The crochet pattern is written for an adult head with a 20-22 inch circumference but I will provide some instruction in the notes should you wish to adjust your size.
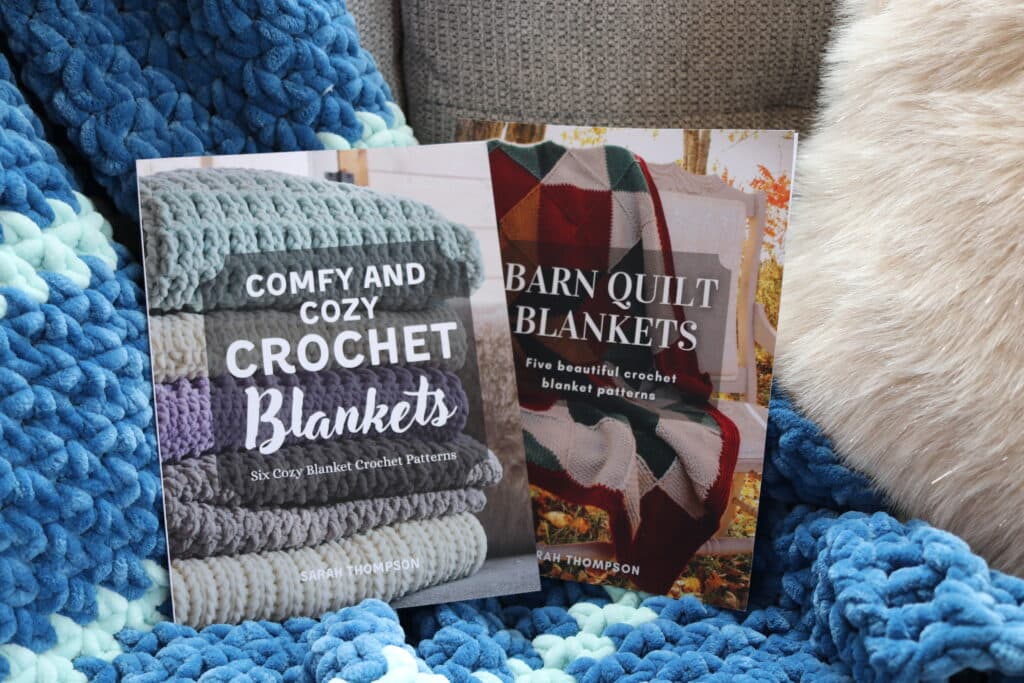
Check out my new books! I have three crochet books now available on Amazon in ebook and paperback format. These books include two books of blanket crochet patterns and one of my favourite crochet stitches. You can see them all by clicking HERE. Enjoy!
The particular yarn used in my Charlie Beanie crochet pattern today is called Merino SW by Cabin Boy Knits. I love this yarn. It’s wonderfully soft and hand-dyed with all natural dye that they have created from foraged plants and botanicals. To work this hat you will only need one skein of yarn which is about 166 m.
PDF Copies are available.:
This crochet pattern will be written out in full below followed by a free video tutorial. The pattern is free to follow on my site and will always be free! If, however, you would like a printable copy, you may purchase one from my Etsy and Ravelry Shops linked below:
CLICK HERE TO PURCHASE THE CHARLIE BEANIE CROCHET PATTERN ON ETSY
CLICK HERE TO PURCHASE THE CHARLIE BEANIE CROCHET PATTERN ON RAVELRY
Thank you so much for stopping by! Please don’t forget to sign up for my email newsletter so that you never miss a new free crochet pattern. If you enjoy working crochet beanies in hand-dyed fibres, you may also wish to check out the Charlottetown Beanie and matching cowl!
Happy Crocheting!
Sarah
Charlie Beanie Crochet Pattern:
Skill Level: Easy
Gauge: 16sts x 13 rnds of hsc = 4 inches
Finished Size: 9.5 x 7.5 inches laid flat to fit an adult/teen
Yarn: Yarn: Merino SW by Cabin Boy Knits (100% Merino; 166 m, 100 g; (4) Worsted/Medium weight). For the hat, you may work it in one colour or many. If working in a single colour, you will only need one skein.
Hook: Size H/8 (5 mm) Hook. Adjust hook size if necessary to obtain correct gauge
Notions: Stitch Marker
Stitches and Abbreviations:
Bpdc – Back Post Double Crochet
Ch – Chain
Dc – Double Crochet
Fpdc – Front Post Double Crochet
Hsc – Herringbone Single Crochet (Yo, insert your hook into the indicated st, yo and draw up a loop and draw it through the 1st loop on your hook, yo and draw through the remaining 2 loops on your hook. Herringbone Single Crochet Made.)
Hsc2tog – Herringbone Single Crochet Two Together (Yo, insert your hook into the indicated st, yo and draw up a loop and draw it through the 1st loop on your hook, insert your hook into the next st, yo and draw up a loop, yo and draw through the remaining 3 loops on your hook. Herringbone Single Crochet Two Together Made.)
|Rpt – Repeat
Sc – Single Crochet
Sk – Skip
Sl St – Slip Stitch
Yo – Yarn Over
Pattern Notes:
- Pattern is written in American English terms.
- Pattern is worked in rounds.
- Ch 1 at beginning of round does not count as stitch.
- Weave in ends as needed.
- Hat may be worn with a pompom or without.
- To change the size of your hat you may use any multiple of stitches for the brim and will need a multiple of 4 stitches for the first round of your hat body.
Free Crochet Pattern (Worked in Rounds):
Ch 72, being careful to not twist the chain, join with a sl st in the 1st st to make a ring.
Rnd 1: Ch 3 (counts as a dc), dc in the next st and in each st around. Join with a sl st in the first st. Do not turn. (72 sts)
Rnds 2-3: Ch 1, fpdc in the 1st st, bpdc in the next st, *fpdc in the next st, bpdc in the next st; Rpt from * around, join with a sl st in the 1st st. Do not turn.
Rnd 4: Ch 1, hsc in the same st as joining, hsc in each of the next 6 sts, 2 hsc in the next st, *hsc in each of the next 7 sts, 2 hsc in the next st; Rpt from * around. Do not join but use a stitch marker to mark the 1st st and move as your work progresses. (81 sts)
Rnds 5-18: Working in continuous rounds and moving your stitch marker as your work progresses, hsc in each st around.
Rnd 19: Hsc in each of the 1st 7 sts, hsc2tog, *hsc in each of the next 7 sts, hsc2tog; Rpt from * around. (72 sts)
Rnd 20: Hsc in each of the 1st 6 sts, hsc2tog, *hsc in each of the next 6 sts, hsc2tog; Rpt from * around. (63 sts)
Rnd 21: Hsc in each of the 1st 5 sts, hsc2tog, *hsc in each of the next 5 sts, hsc2tog; Rpt from * around. (54 sts)
Rnd 22: Hsc in each of the 1st 4 sts, hsc2tog, *hsc in each of the next 4 sts, hsc2tog; Rpt from * around. (45 sts)
Rnd 23: Hsc in each of the 1st 3 sts, hsc2tog, *hsc in each of the next 3 sts, hsc2tog; Rpt from * around. (36 sts)
Rnd 24: Hsc in each of the 1st 2 sts, hsc2tog, *hsc in each of the next 2 sts, hsc2tog; Rpt from * around. (27 sts)
Rnd 25: Hsc in the 1st st, hsc2tog, *hsc in the next st, hsc2tog; Rpt from * around. (18 sts)
Rnd 26: Hsc2tog in each st around. Join with a sl st in the 1st st. (9 sts)
Fasten off leaving a long tail. Using the long tail, sew the top of the hat closed. Fasten off and weave in your ends. Attach Pompom to the top if desired.