This post contains affiliate links. This means that when you purchase through one of these links we will receive a small commission at no additional cost to you. Thank you for supporting Rich Texture Crochet!
I love working with all natural fibres like the yarn you will see in this All Natural Beanie crochet pattern.
You may, of course, use any yarn of your choosing to make this hat. Although I work it in a 100% wool, it would also be beautiful and fun in an acrylic or blended yarn. So don’t hesitate to try it out!
This past summer I visited one of my favourite yarn shops while visiting Nova Scotia, where I grew up called Lismore Sheep Farm. There I picked up some beautiful all natural, undyed worsted weight wool (which you can also buy online). Although I know not everyone is fond of or able to wear wool, I do love it in winter accessories and garments. I decided to try it in this fun crochet hat!

How to crochet an all natural beanie:
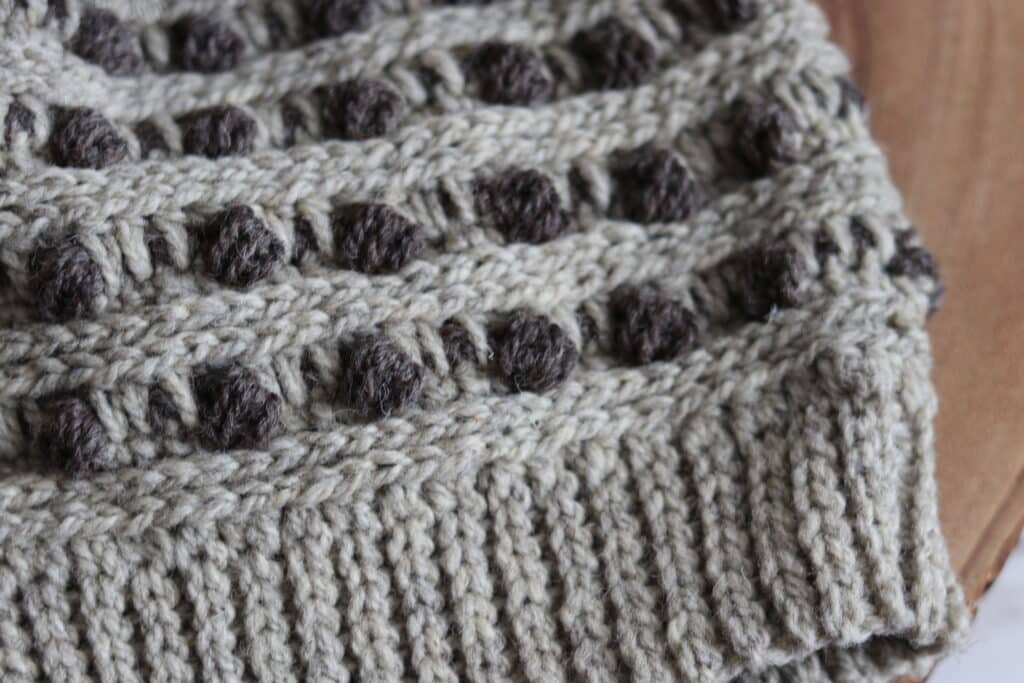
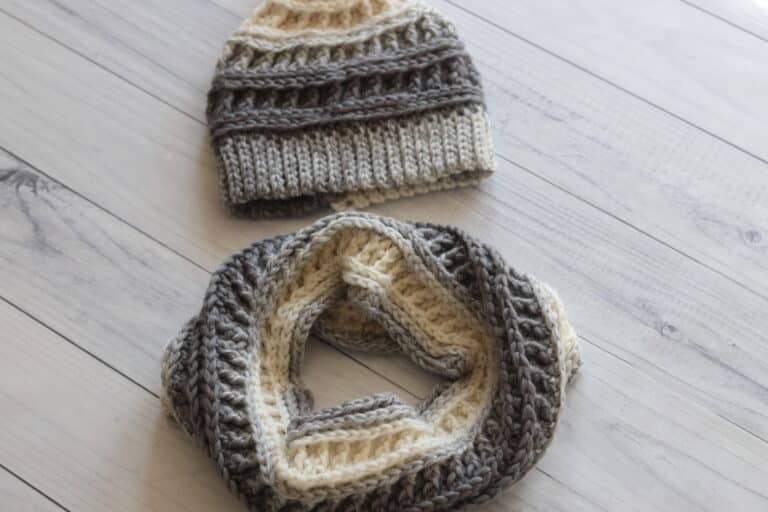
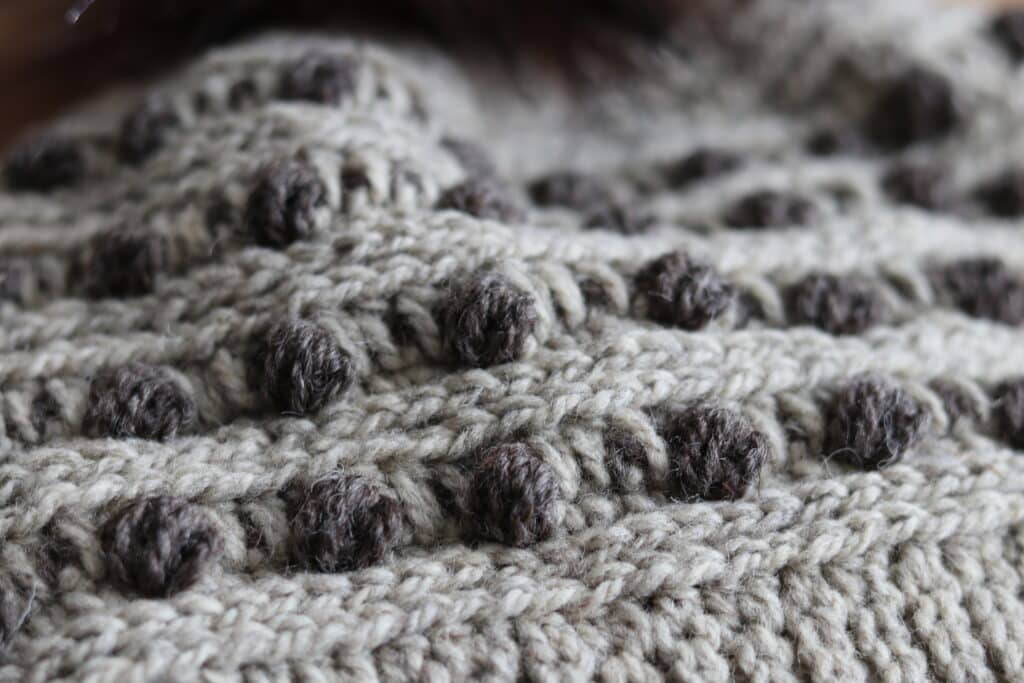
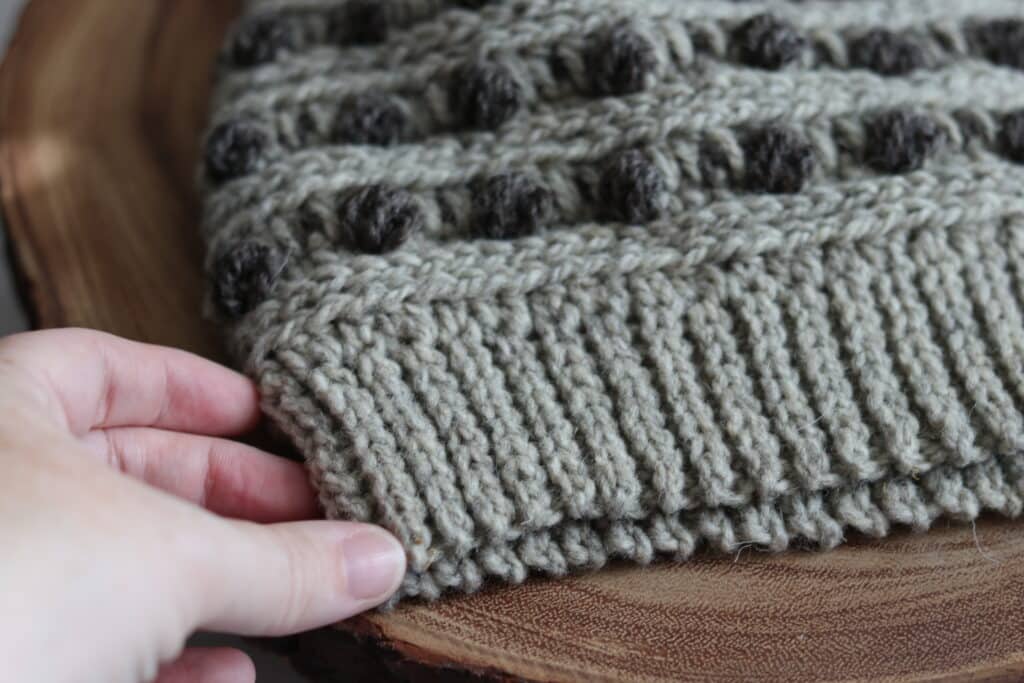
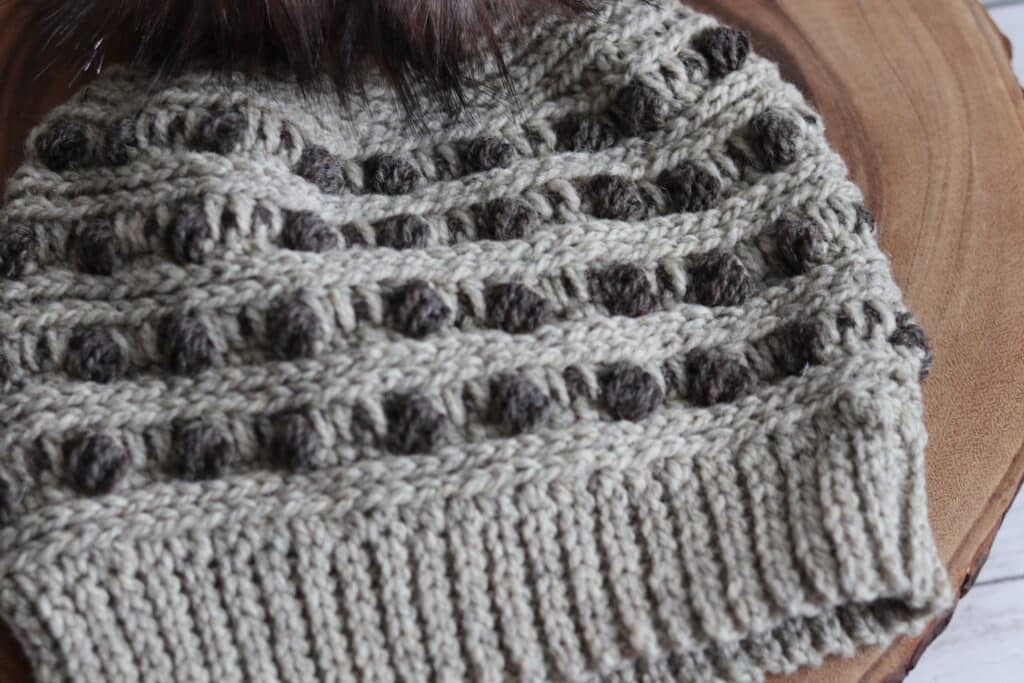
The All Natural Beanie crochet pattern is constructed from the brim up to the top and it can be worn with a pompom or without. It is comprised of a couple of textured crochet stitches including puff stitches and half double crochet stitches worked in the 3rd loop. Not sure what the “3rd loop” is? Don’t worry, I will explain the technique in the written and video tutorials below.
I have used two different colours of yarn for my crochet hat which really helps the texture stand out. You may wish to try this crochet pattern in different varities of colour or all in a solid colour.
You will need about 300 yards of a worsted/medium weight yarn to complete this hat or 1.5 skeins of the Natural Wool by Lismore Sheep Farm. You will also need a 5 mm (H/8) crochet hook. In the video tutorial below you will see me using one of my favourite hooks: A Birchwood Hook my Rowan.
PDF Copies are also available:
The crochet pattern for the All Natural Beanie will be written out in full below and is free to follow here on Rich Textures Crochet. However if you would like to add this pattern to your library or purchase an ad-free PDF, you can do so from my Etsy and Ravelry shops linked below:
CLICK HERE TO PURCHASE THE ALL NATURAL BEANIE CROCHET PATTERN ON ETSY
CLICK HERE TO PURCHASE THE ALL NATURAL BEANIE CROCHET PATTERN ON RAVELRY
hank you so much for stopping by! While here you may want to also check out the Forest Beanie Free Crochet Pattern. Don’t forget to sign up for my email newsletter below so that you never miss a new free crochet pattern.
Happy Crocheting!
Sarah
All Natural Beanie Crochet Pattern
Skill Level: Intermediate
Gauge: 16 sts x 16 rows of hdc in the 3rd loop = 4 inches
Finished Size: Approximately 10 x 9 inches laid flat, excluding pompom, 20-23 inch circumference.
Yarn: Pure Wool by Lismore Sheep Farm (100% Wool; 4 oz, 113 g; 215 yds, 197 m). Worsted/Medium Weight (4). You will need 1.5 skeins (including 1 skein of colour A and 1/2 skein colour B).
Hook: Size H/8 (5 mm) hook.
Notions: Yarn Needle, pompom for top if desired.
Stitches and Abbreviations:
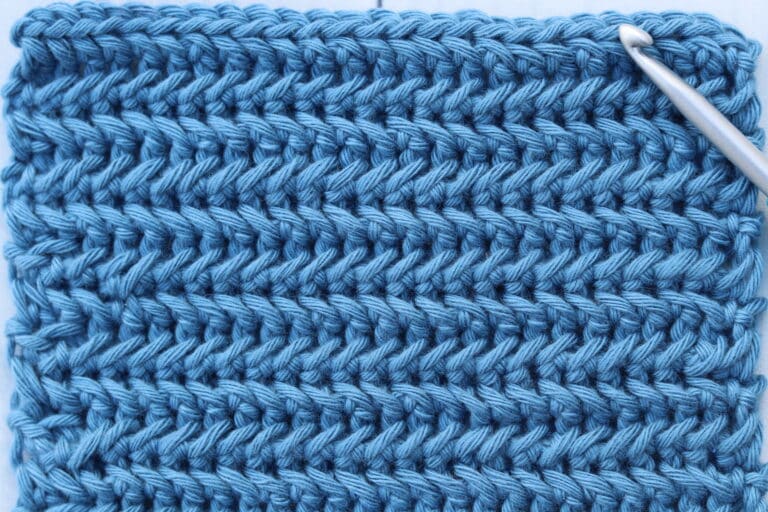
3rd Loop – Looking at the back of your half double crochet stitch you will see a loop or horizontal bar that runs along under the back loop. This loop is your 3rd loop.
Ch – Chain
Hdc – Half Double Crochet
Hdc2tog – Half Double Crochet Two Stitches Together
Lp – loop
Puff – Puff Stitch ([yo, insert your hook into the indicated stitch, yo and draw up a loop] 4 times. Yo and draw through all the loops on your hook. Puff Stitch made.)
Rpt – Repeat
Sc – Single Crochet Stitch
Sk – Skip
Sl st – Slip stitch
Sp – space
Yo – Yarn over
Pattern Notes:
- Pattern is written in American English terms.
- Brim of the hat is worked in rows, body of the hat is worked in rounds.
- Ch 1 at beginning of round does not count as a st.
- Only turn as instructed.
- Weave in ends as needed.
- Hat may be worn with a pompom or without.
- To change the size of your hat, work the brim to the desired size and then work a multiple of 4 stitches for the first round of the hat body. Work pattern adjusting the stitch count as necessary.
- I have worked my brim with slip stitches, you may also work the brim in single crochet, half double crochet or a combination!
Free Crochet Pattern:
Brim (Worked in rows):
With colour A, ch 10.
Row 1: Sl st in the 2nd ch from hook and in each ch across. Ch 1, turn. (9 sl sts)
Row 2: Working in the blo, sl st in each st across. Ch 1, turn. (9 sl sts)
Continue to repeat row 2 until work from the beginning measures approximately 16-17 inches.
Do not fasten off, but fold brim of hat so that two shorter ends meet. Now working through both thicknesses, sl st across working through the blo on each side. Do not fasten off, turn work right side out (so that the right side is facing you).
Now working around the edge of the brim, continue working in rounds as follows:
Hat Body (Worked in rounds):
Rnd 1: Ch 1, evenly work 72 dc all the way around. Join with a sl st in the first st, do not turn. (72 sts)
Rnd 2: Ch 1, working in the 3rd loop of each st around, hdc in the same st as joining and in each st around. Join with a sl st in the 1st st. Do not turn.
Rnd 3: Ch 1, working in the 3rd loop of each st around, sc in the same st as joining and in each st around. Join with a sl st in the 1st st. Join colour B in the 1st st. Do not fasten off colour A but carry it up on the inside of the hat. TURN.
Rnd 4: With colour B, ch 1, Sc in each of the 1st 3 sts, puff in the next st, *sc in each of the next 3 sts, puff in the next st; Rpt from * around switching back to colour A in the final stitch. Join with a sl st in the 1st st. TURN.
Rnd 5: With colour A, ch 1, hdc in the top of the 1st puff st, *working over the next 3 sts, hdc in each of the next 3 sts 2 rnds below, hdc in the top of the next puff st, working over the next 3 sts, hdc in each of the next 3 sts 2 rnds below; Rpt from * around. Join with a sl st in the 1st st. Do not turn.
Rnds 6-17: Repeat rnds 2-5 three more times. Fasten off colour B, weave in your ends.
Rnd 18: With colour A, ch 1, working in the 3rd loop of each st around, hdc in each of the 1st 6 sts, hdc2tog, *hdc in each of the next 6 sts, hdc2tog; Rpt from * around, join with a sl st in the top of the 1st st. Do not turn. (63 sts)
Rnd 19: Ch 1, working in the 3rd loop of each st around, hdc in each of the 1st 5 sts, hdc2tog, *hdc in each of the next 5 sts, hdc2tog; Rpt from * around, join with a sl st in the top of the 1st st. Do not turn. (54 sts)
Rnd 20: Ch 1, working in the 3rd loop of each st around, hdc in each of the 1st 4 sts, hdc2tog, *hdc in each of the next 4 sts, hdc2tog; Rpt from * around, join with a sl st in the top of the 1st st. Do not turn. (45 sts)
Rnd 21: Ch 1, working in the 3rd loop of each st around, hdc in each of the 1st 3 sts, hdc2tog, *hdc in each of the next 3 sts, hdc2tog; Rpt from * around, join with a sl st in the top of the 1st st. Do not turn. (36 sts)
Rnd 22: Ch 1, working in the 3rd loop of each st around, hdc in each of the 1st 2 sts, hdc2tog, *hdc in each of the next 2 sts, hdc2tog; Rpt from * around, join with a sl st in the top of the 1st st. Do not turn. (27 sts)
Rnd 23: Ch 1, working in the 3rd loop of each st around, hdc in the 1st st, hdc2tog, *hdc in the next st, hdc2tog; Rpt from * around, join with a sl st in the top of the 1st st. Do not turn. (18 sts)
Rnd 24: Ch 1, working in the 3rd loop of each st around, hdc2tog around. Join with a sl st in the top of the 1st st. (9 sts)
Fasten off leaving a long tail. Using the long tail, sew the top of the hat closed. Fasten off and weave in your ends. Attach Pompom to the top if desired.
Video Tutorial:
The photographs and pattern contained in this document are the property of Rich Textures Crochet.
This pattern is for personal use only.
No unauthorized reproduction, in whole or in part, or distribution of this pattern or content is permitted. ALL FINISHED PRODUCTS from this pattern can be used for local sales and sold online.
Thank you so much for supporting Rich Textures Crochet! To stay in touch or see more great products, be sure to visit me on Facebook and Instagram (Rich Textures Crochet). Thanks again! Happy Crocheting!