
This post contains affiliate links. This means that when you purchase through one of these links we will receive a small commission at no additional cost to you. Thank you for supporting Rich Texture Crochet!
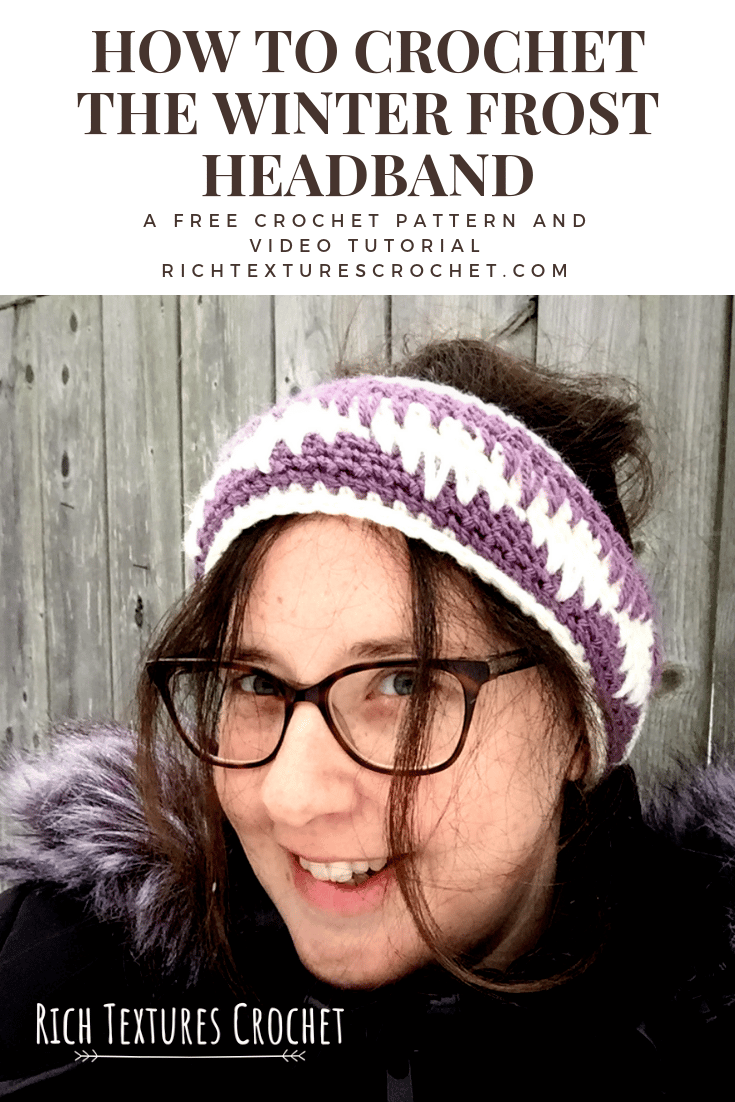
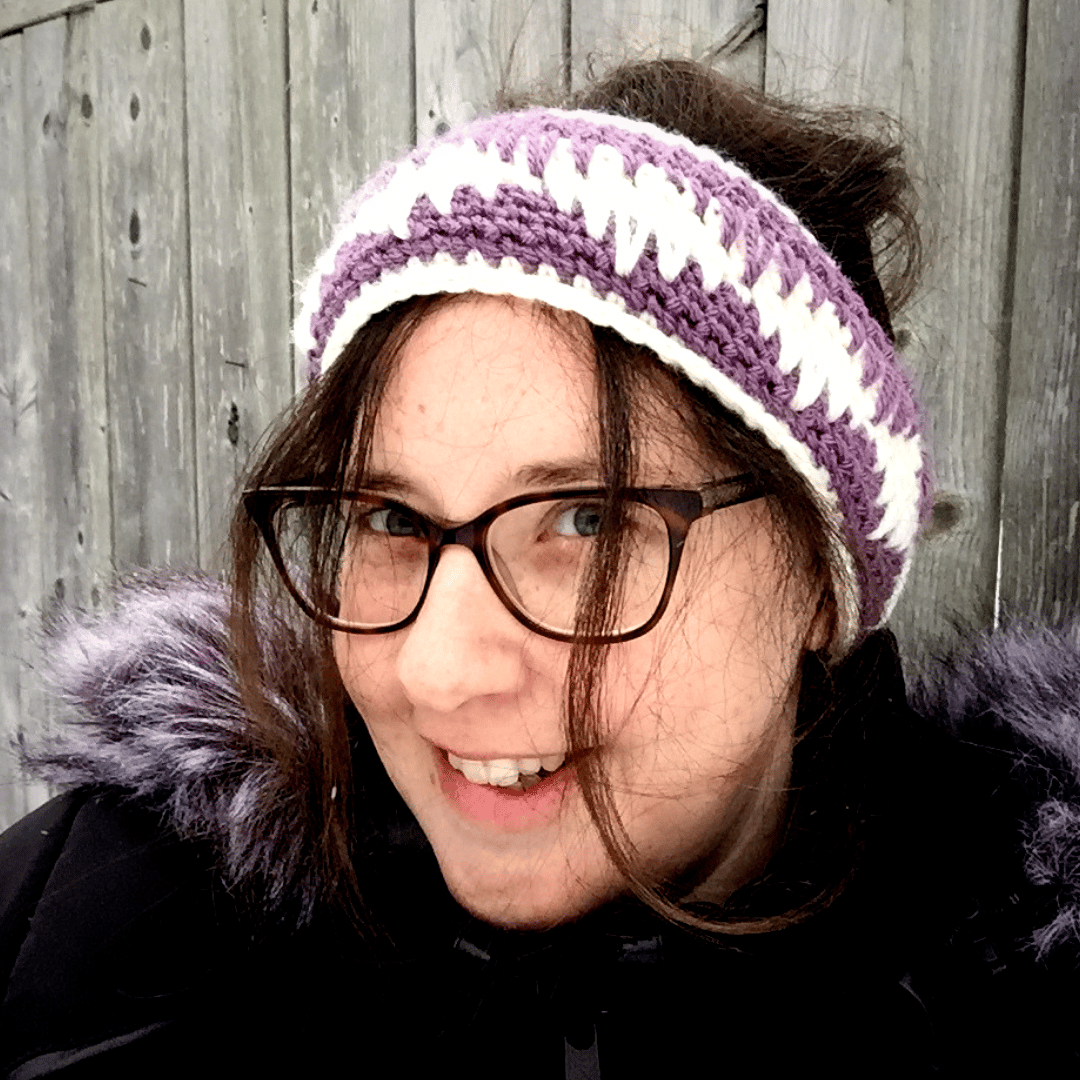
Welcome to Rich Textures Crochet! Today we are going to learn how to crochet the Winter Frost Headband. Be sure to also check out the post for the matching Winter Frost Cowl below!
As I am writing this post I am looking out the window, watching my corner of the world being coated in ice! We are in the midst of the second ice storm this season, but being in Ontario, Canada we are used to our fair share of unexpected, messy winter weather.
Thinking and looking at all of this ice, snow and frost, was really the driving force behind the Winter Frost Headband and Cowl set. This post will focus on the headband and at the bottom you will find a link to the cowl pattern.
The Stitch:
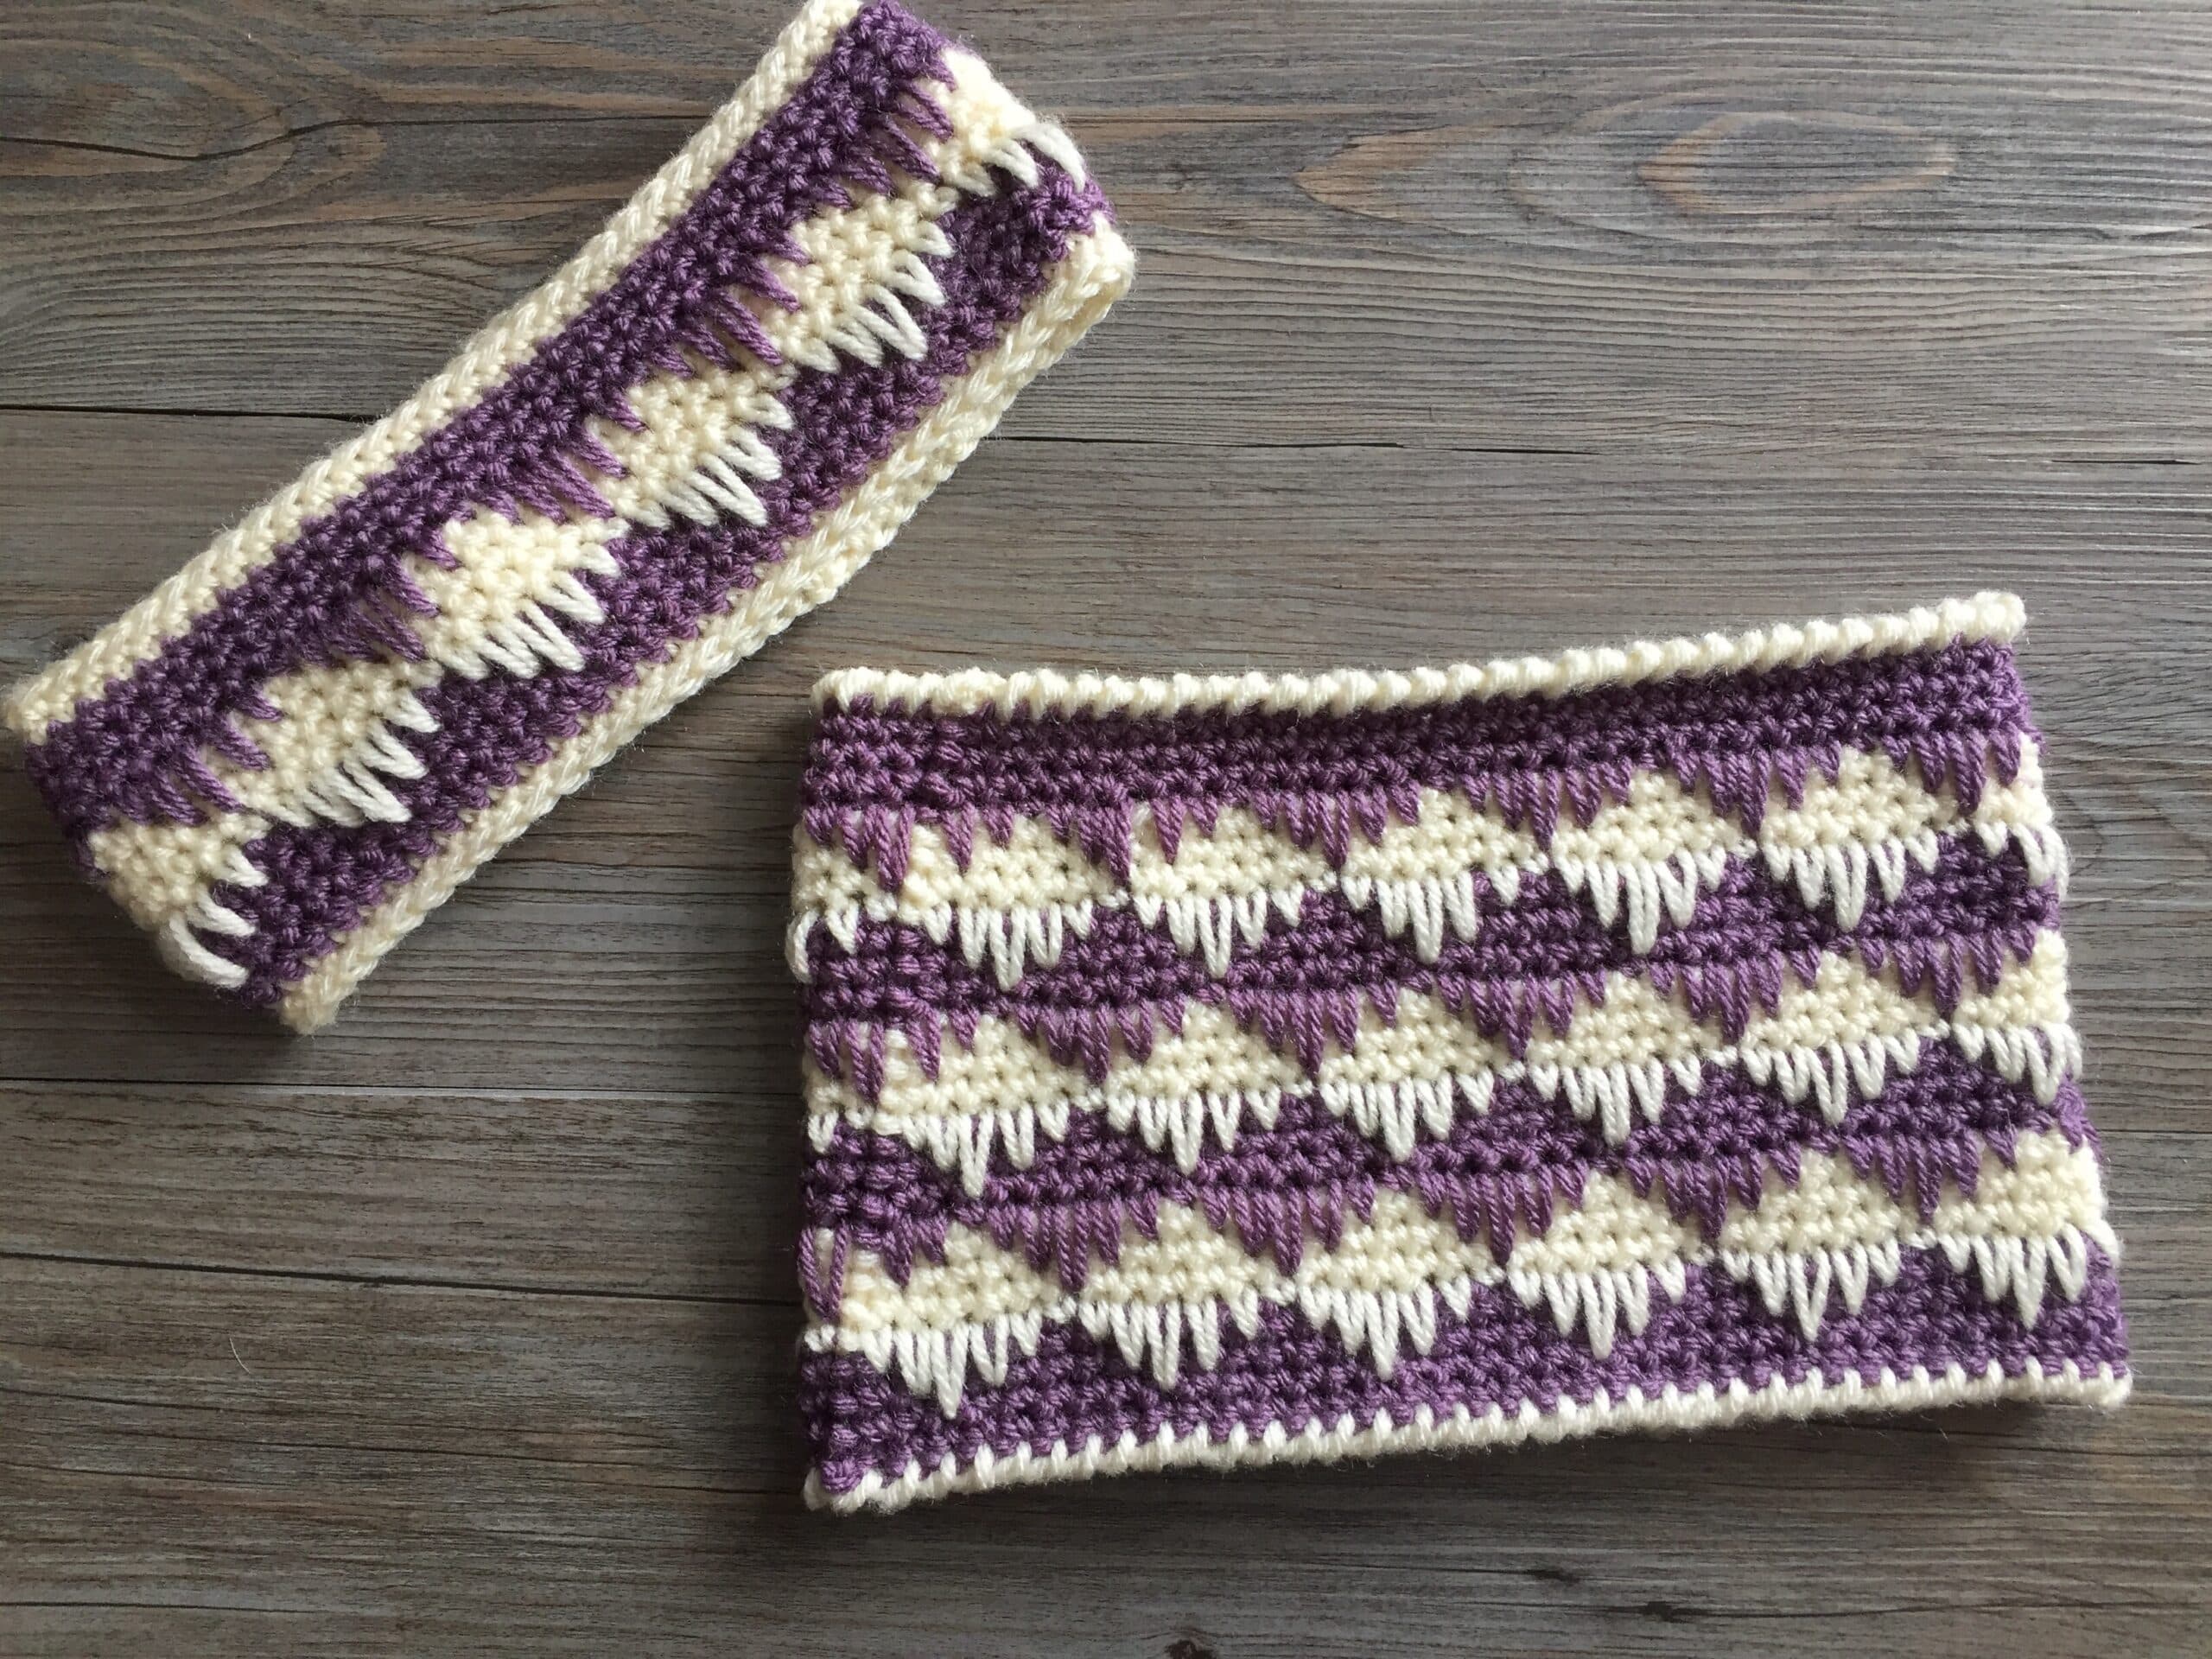
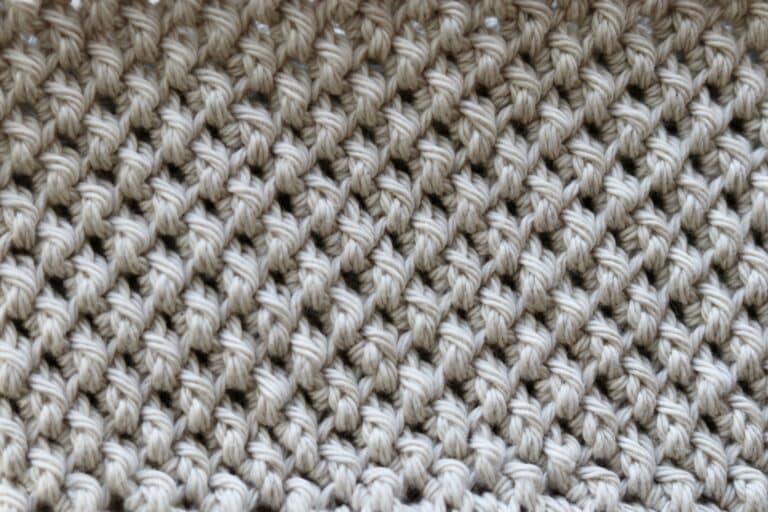
If you have been following my blog or my social media you will have noticed that over the past little bit I have fallen in love with spike stitches! In particular with the eyelash pattern which reminds me of icicles. This baby blanket features this same stitch, the pattern and video tutorial for which was posted not too long ago: Cozy Baby Blanket – Free Crochet Pattern.
So I am continuing this spike stitch theme with these crochet patterns for a women’s headband and cowl/neck warmer.
The Yarn:
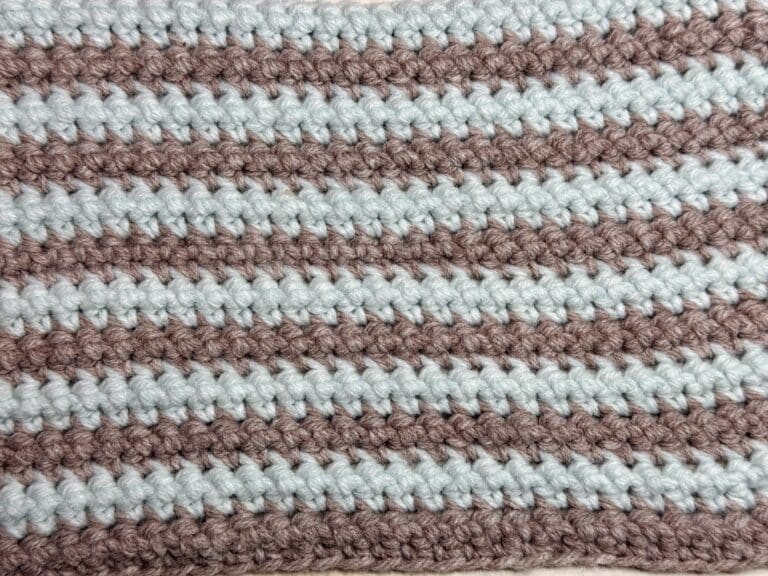
The yarn I have chosen is a worsted/medium weight acrylic yarn called Vanna’s Choice by Lion Brand. I love the array of colours that it comes in and the purples and creams seemed to fit this design perfectly. Don’t be afraid to play with your colours though! I have seen some more pastel colour combinations that would make this design very attractive!
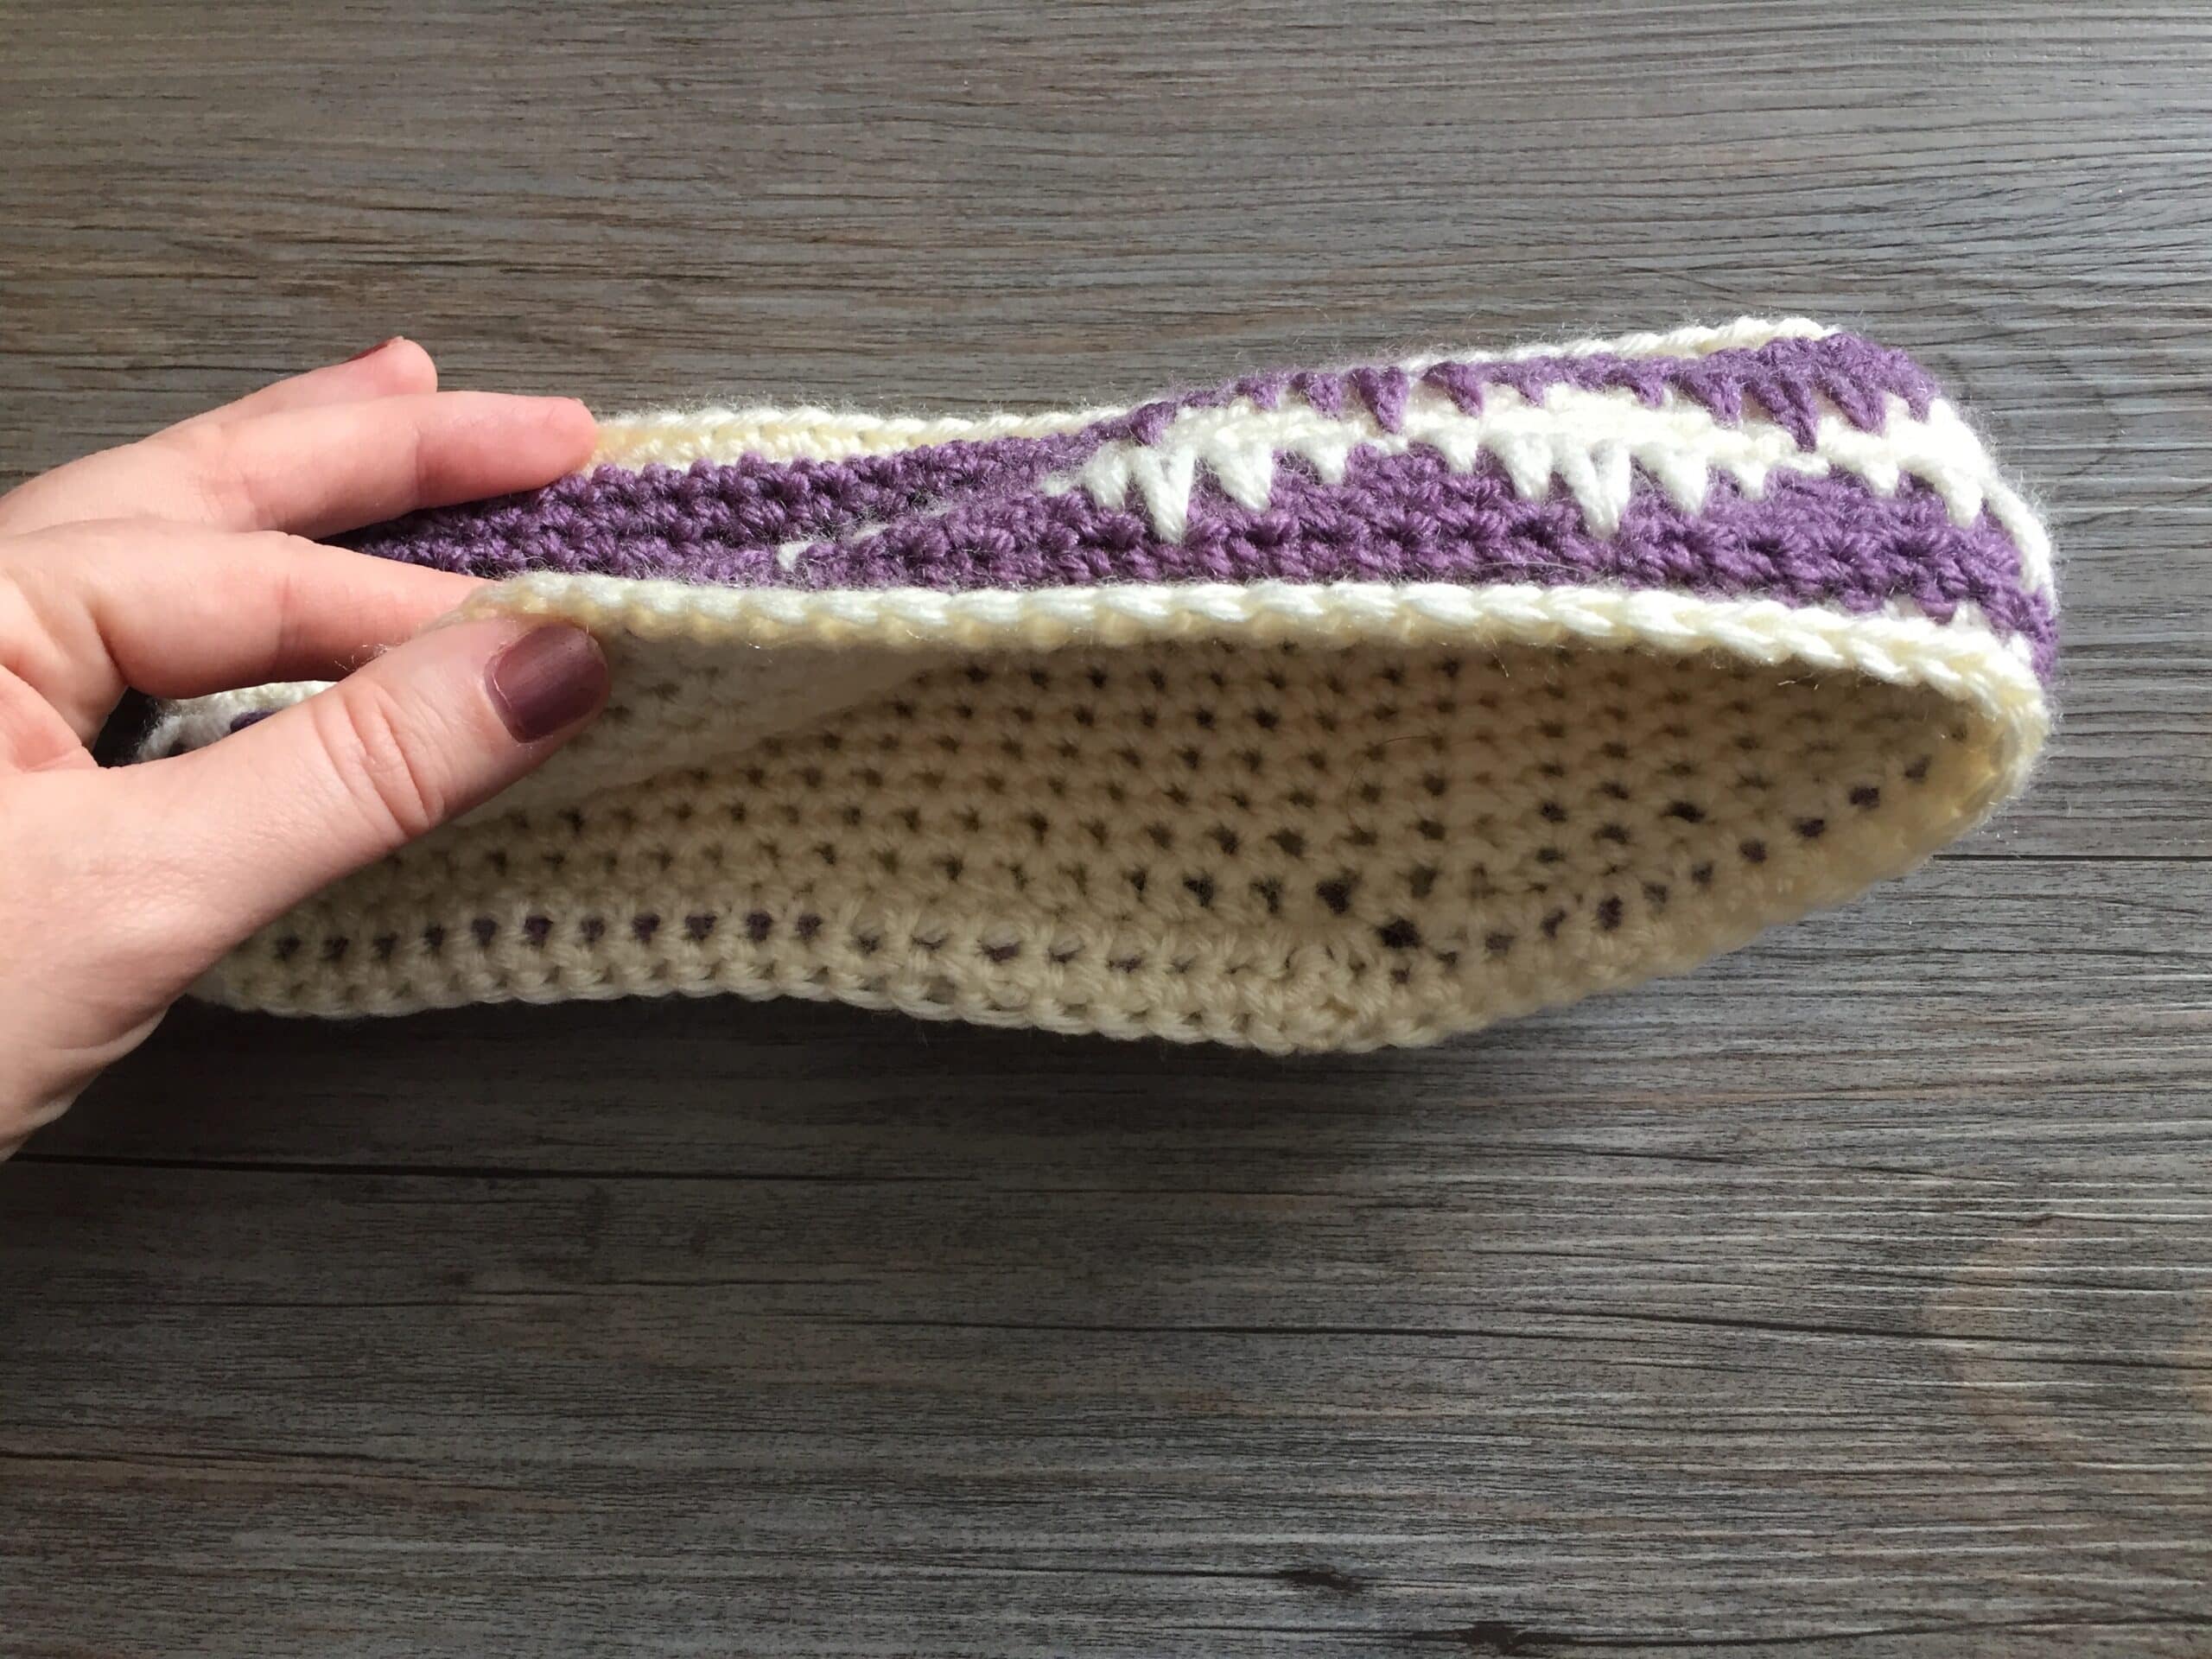
I chose two highly contrasting colours to help bring out the texture and design in these unique stitches. The headband is double sided (two separate pieces that are crocheted together in the end) to give it an extra bit of warmth. You may choose to go without the second layer if you would like for a lighter weight headband.
PDF Copies and Free Video Tutorial:
The crochet pattern will be written out in full below and following the crochet pattern you will also find a free video tutorial. I would love for you to subscribe to my YouTube channel while you’re there (https://www.youtube.com/c/RichTexturesCrochet/). It is updated weekly with crochet patterns and stitch tutorials.
Should you like to purchase a downloadable pdf (for $2.50 CAD), you may do so through my Etsy or Ravelry Shops – The pattern will be added soon!
Thank you so much for stopping by! Be sure to connect on Facebook or Instagram where you can share photos of your creations!
Until next time, happy crocheting!
Sarah
Winter Frost Headband:
Skill Level: Easy
Gauge: 11 Sc x 9 rows = 4 inches.
Finished Size: Approximately 10.5 x 4 inches laid flat.
Yarn: Colour A: Vanna’s Choice® by Lion Brand® (%100 Acrylic; 3.5 oz/100 g; 170 yd/156 m). Colour #146 Dusty Purple; 1 ball.
Colour B: Vanna’s Choice® by Lion Brand® (%100 Acrylic; 3.5 oz/100 g; 170 yd/156 m). Colour #098 Fisherman; 1 ball.
Hook: Size J/10 (6.0 mm). Adjust hook size if necessary to obtain correct gauge.
Notions: Yarn Needle.
Pattern Notes:
- Pattern is written in American English terms.
- Pattern is worked in rounds.
- Do not turn unless stated otherwise.
- Ch 1 at beg of row does not count as stitch.
- Weave in ends as needed.
Stitches and Abbreviations:
Ch – Chain
Rpt – Repeat
Sc – Single Crochet
Sk – Skip
Sl St – Slip Stitch
Yo – Yarn Over
The Crochet Pattern:
Front:
With Colour A, ch 66 join with a sl st in the first st.
Rnd 1: Sc in the 2nd ch from hook and in each ch around; Do not turn, join with a sl st in the first st. (66 sts)
Rnds 2-4: Ch 1, sc in each st around; Do not turn, join with a sl st in the first st. Change to colour B at the end of rnd 4.
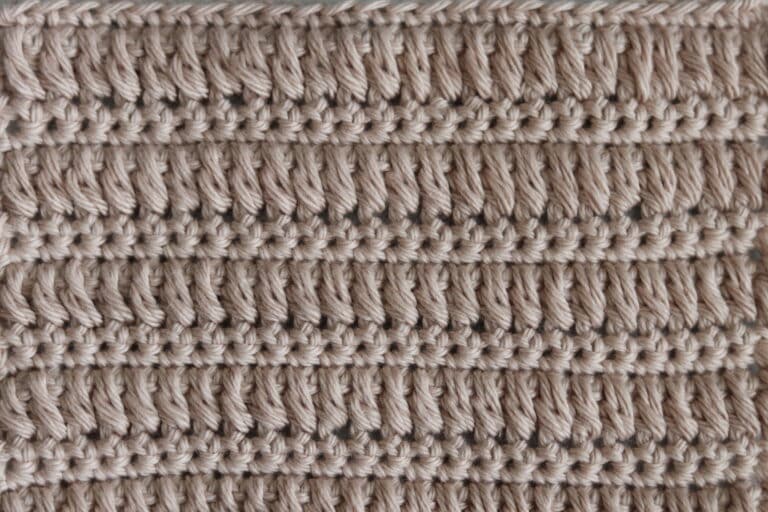
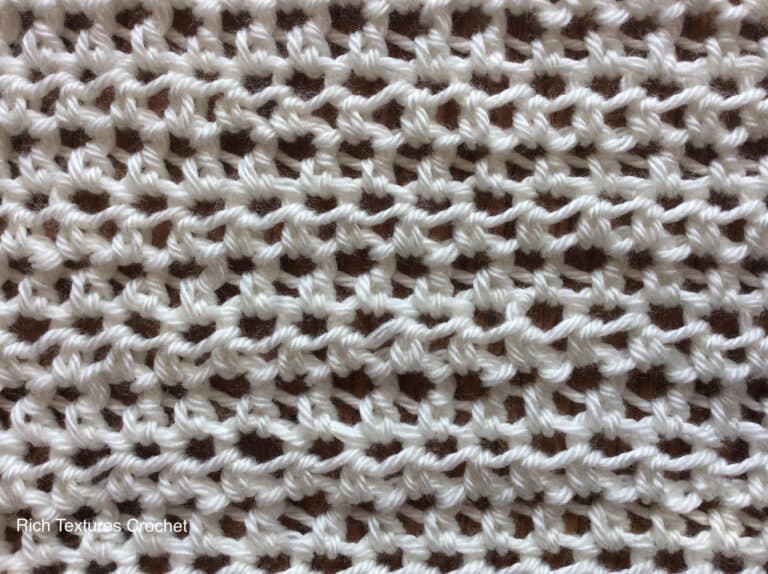
Rnd 5: With colour B, ch 1, sc in the 1st st, *sc in the next st inserting your hook 1 row below and drawing up your loop to the hight of the sc, sc in the next st 2 rows below, sc in the next st 3 rows below, sc in the next st 2 rows below, sc in the next st 1 row below, sc in the next st; rpt from * around, ending with and sc worked 1 row below; join with a sl st in the first st.
Rnds 6-8: Repeat rows 2-4. Switch to colour A at the end of rnd 8.
Rnd 9: With colour A, ch 1, * sc in the next st inserting your hook 3 rows below and drawing up your loop to the hight of the sc, sc in the next st 2 rows below, sc in the next st 1 row below, sc in the next st, sc in the next st 1 row below, sc in the next st 2 rows below; rpt from * around ending your repeat with an sc worked 2 rows below; join with a sl st in the first st.
Rnds 10-12: Repeat rnds 2-4. Fasten off, weave in ends.
Back:
With colour B, ch 66. Join with a sl st in the first st.
Rnd 1: Ch 1, sc in the first st and in each st around; join with a sl st in the first st, do not turn. (66 sts)
Rnds 2-10: Ch 1, sc in each st around; Join with a sl st in the first st. Do not turn.
Fasten off, weave in ends.
Edging:
Place two bands inside one another, the back inside the front, with the wrong sides together.
Now working through both thicknesses, join yarn with a sl st near the seam on one side of the band. You will work through both thicknesses all the way around.
Rnds 1-2: Ch 1, sc in each st all the way around; join with a sl st in the first sc. Fasten off. Weave in ends.
Repeat rnds 1-2 for the second side of the band.
Winter Frost Headband Crochet Pattern Video Tutorial:
https://youtu.be/Si8G9vo_7_A
Check out this video tutorial to learn tips on how to join your foundation chain without twisting:
https://www.youtube.com/watch?v=fnAKsXMqaCc


2 Comments