This post contains affiliate links. This means that when you purchase through one of these links we will receive a small commission at no additional cost to you. Thank you for supporting Rich Texture Crochet!
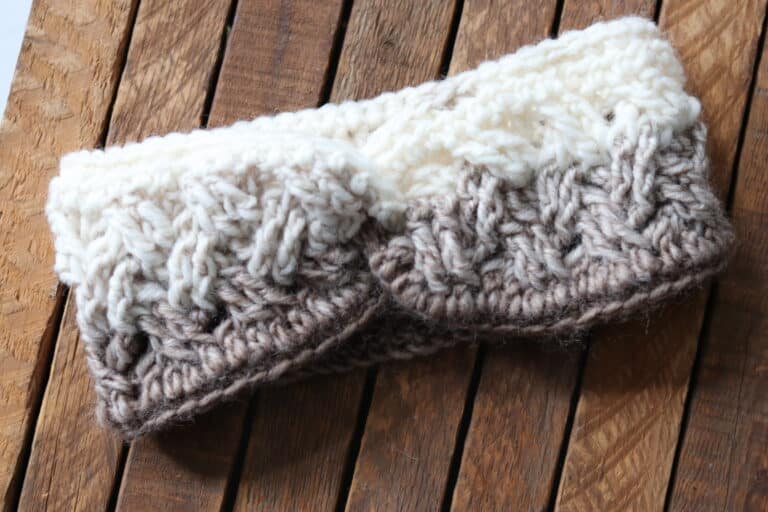
The Misty Beanie crochet pattern is so cozy! Made with a bulky weight yarn, it works up quick!
Now that the cooler weather is hear, I am enjoying wearing my crochet hats!
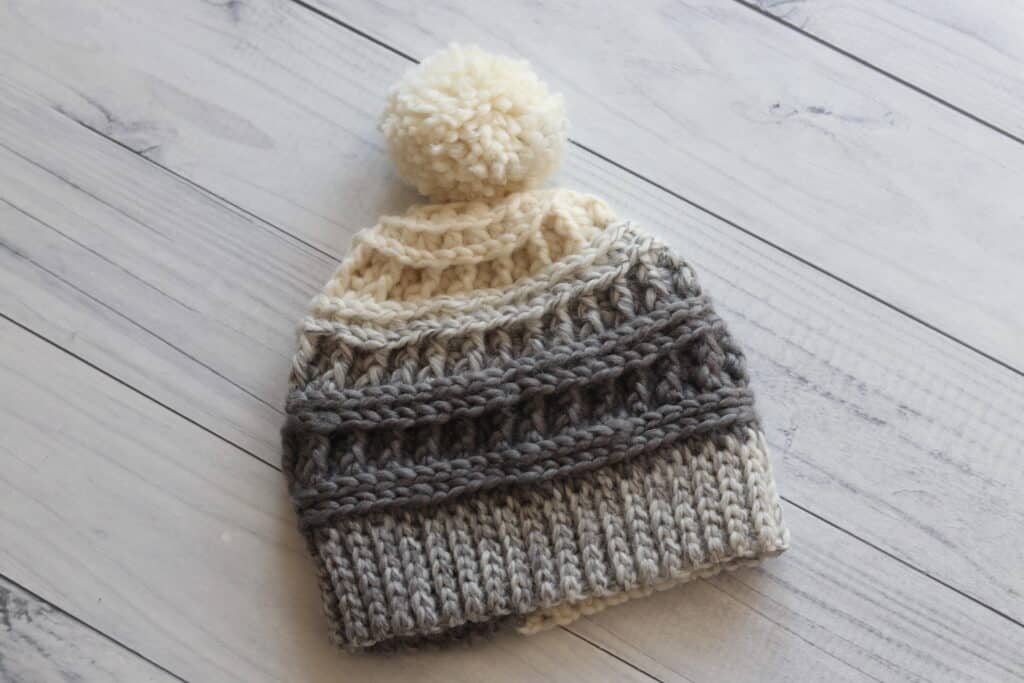
Just like the Pumpkin Spice Beanie Crochet Pattern, this Misty Beanie crochet pattern is worked using a bulky weight yarn.
The yarn I have used is the Caron Swirl Cakes by Yarnspirations, but you may substitute for another bulky weight yarn. I use about 125 yards in my hat.

About the Hat Brim:
This hat is worked from the bottom (brim) up. The brim of the hat is worked in rows, while the body of the hat is worked in rounds.
As I explain in the video tutorial below, for my hat brims I like to use slip stitches, however you may choose to use single crochet stitches or half double crochet stitches.

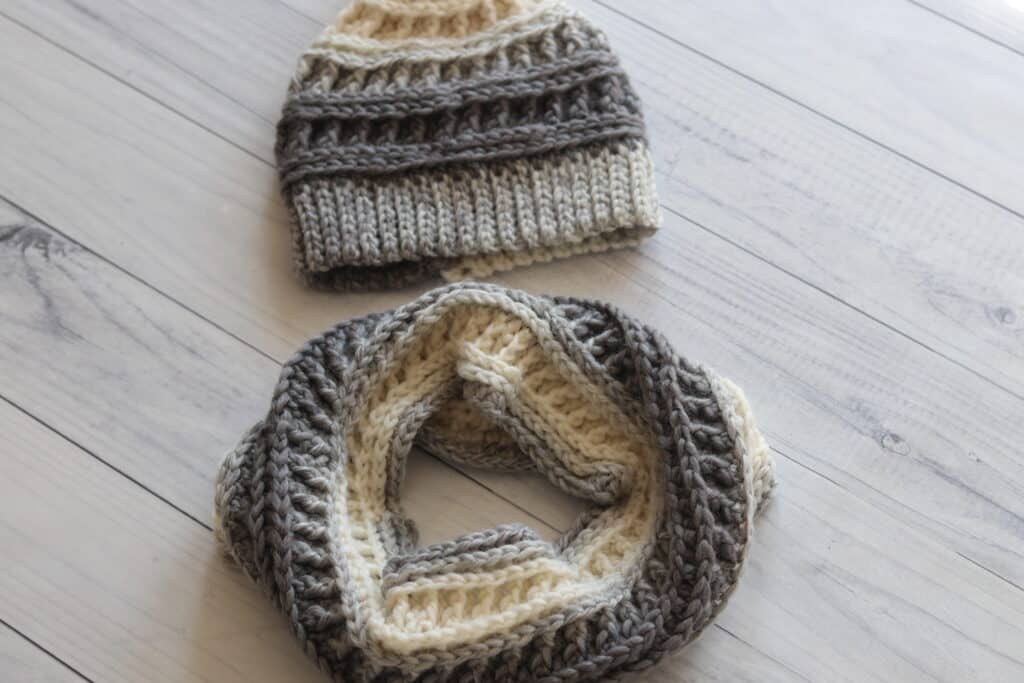
Stay tuned! A matching cowl will be also coming soon to my blog and YouTube Channel!
PDF Copies:
The crochet pattern will be written out in full below. However if you would like to add this pattern to your library or purchase an ad free PDF, you can so from my Etsy and Ravelry shops:
Click here for the Misty Beanie on Etsy
Click here for the Misty Beanie on Ravelry
Thank you so much for stopping by! While here you may want to also check out the Twisted Cable Beanie Crochet Pattern. Another popular crochet beanie pattern on my blog and YouTube Channel.
Happy Crocheting!
Sarah

Misty Beanie Crochet Pattern:
Skill Level: Intermediate
Gauge: 11 sts x 12 rows hdc in 3rd loop= 4 inches
Finished Size: 9 x 9.5 inches laid flat excluding pompom
Yarn: Caron® Swirl Cakes by Yarnspirations (77% Acrylic, 23% wool; 8 oz, 227 g; Approx. 252 yds, 230 m). Bulky Weight (5). You will need 1/2 cake/hat. Colour Shown: Cookies and Cream.
Hook: Size L/11 (8 mm) Hook. Adjust hook size if necessary to obtain correct gauge
OPTIONAL: Pompom to attach to the top
Stitches and Abbreviations:
Ch – Chain
Fphdc – Front Post Half Double Crochet
Hdc – Half Double Crochet Stitch
Hdc2tog – Half Double Crochet Two Stitches Together
Rpt – Repeat
Sk – Skip
Sl St – Slip Stitch
Yo – Yarn Over
Pattern Notes:
- Pattern is written in American English terms.
- Brim of hat is worked in rows, body of hat is worked in rounds.
- Ch 1 at beginning of round does not count as stitch.
- Turn at the end of round.
- Weave in ends as needed.
- OPTIONAL: Brim of hat may be worked using either single crochet stitches or half double crochet stitches instead of the slip stitches.
- To adjust the size of your hat your will need a stitch multiple of 2 in your first hdc round, then work the hat to the desired heigh and begin your decrease.
Free Crochet Pattern:
Brim (Worked in Rows):
Ch 9.
Row 1: Sl st in the 2nd ch from hook and in each ch across. Ch 1, turn. (8 sl sts)
Row 2: Working in the blo, sl st in each st across. Ch 1, turn. (8 sl sts)
Continue to repeat row 2 until work from the beginning measures approximately 16-17 inches.
Do not fasten off, but fold brim of hat so that two shorter ends meet. Now working through both thicknesses, sl st across working through the blo on each side. Do not fasten off, turn work right side out (so that the right side is facing you).
Now working around the edge of the brim, continue working in rounds as follows:
Hat Body (Worked in Rounds):
Rnd 1: Ch 1, evenly work 51 hdc all the way around. Join with a sl st in the first st, do not turn. (50 sts)
Rnd 2: Ch 1, working in the 3rd loop, hdc in each st around, join with a sl st in the first st.
Rnd 3: Ch 1, working in the 3rd loop, hdc in each st around, join with a sl st in the first st.
Rnd 4: Ch 1, fphdc around the same st as joining, hdc in the next st, *fphdc around the next st, hdc in the next st; rpt from * around, join with a sl st in the first st.
Rnd 5: Ch 1, fphdc around the same st as joining, hdc in the next st, *fphdc around the next st, hdc in the next st; rpt from * around, join with a sl st in the first st.
Rnd 6: Ch 1, working in the 3rd loop, hdc in each st around, join with a sl st in the first st.
Rnd 7: Ch 1, working in the 3rd loop, hdc in each st around, join with a sl st in the first st.
Rnd 8: Ch 1, fphdc around the same st as joining, hdc in the next st, *fphdc around the next st, hdc in the next st; rpt from * around, join with a sl st in the first st.
Rnd 9: Ch 1, fphdc around the same st as joining, hdc in the next st, *fphdc around the next st, hdc in the next st; rpt from * around, join with a sl st in the first st.
Rnd 10: Ch 1, hdc in each of the first 2 sts, hdc2tog, * hdc in each the next 2 sts, hdc2tog; Rpt from * around, join with a sl st in the first st.
Rnd 11: Ch 1, hdc in each of the first 2 sts, hdc2tog, * hdc in each the next 2 sts, hdc2tog; Rpt from * around, join with a sl st in the first st.
Rnd 12: Ch 1, fphdc around the same st as joining, hdc in the next st, *fphdc around the next st, hdc in the next st; rpt from * around, join with a sl st in the first st.
Rnd 13: Ch 1, fphdc around the same st as joining, hdc in the next st, *fphdc around the next st, hdc in the next st; rpt from * around, join with a sl st in the first st.
Rnd 14: Ch 1, working in the 3rd loop, hdc in the first st, hdc2tog, * hdc in the next st, hdc2tog; Rpt from * around, join with a sl st in the first st.
Rnd 15: Ch 1, working in the 3rd loop, hdc2tog all the way around, join with a sl st in the first st.
Rnd 16: Ch 1, working in the 3rd loop, hdc2tog all the way around; join with a sl st in the first st.
Fasten off leaving a long tail. Using the long tail, sew the top of the hat closed. Fasten off and weave in your ends. Attach Pompom to the top.



I suggest defining “BLO,” as it took me a few moments to realize what it means. Thanks for an attractive hat pattern.
what is blo?
It is “back loop only”
thank you so much…Is it just me or is this yarn hard to work with? I am a beginner so maybe its me…
Your video differs from your instructions above when you get to Round 10. Should I hdc in the 3rd loop of 3 stiches or 2? Also your instructions above don’t say to do it in the 3rd loop! I just want to make sure I have the right instructions for the final rounds.
So funny, I just noticed this as well after looking at the pictures on the blog. Doesn’t look like the hat I made haha! It looks a little incomplete to not have those stitches sticking out from the hdc in the 3rd loop, so I might frog mine to go back to that round 10…
Gauge: 11 sts x 12 rows hdc in 3rd loop= 4 inches
I this gauge in Hdc? or in Sl St?
Yes, Hdc in the 3rd loop
thank you!!!!
I have been crocheting for over 45 years, and the terminology in this pattern is foreign to me. On the rounds of your pattern it states to work in the 3rd loop. Does this mean I should skip 2 stitches and hdc in the 3rd stitch?
I love this hat. Made it for a friend. It was easy. Just when you get to round 10 the written instructions and the video are off. I followed the video for a couple rows and then they matched. It came out beautifully. Thank you. I will definitely be making more.
This pattern is lovely, and the video helped a ton! Just wanted to point out that Round 10 should read “hdc in the first 3 stitches” per the video and a more gradual decrease. It says 2 stitches, but I think it’s a typo, since round 10 is 2. Thanks so much!
hi! i think the note that says to turn at the end of each round is incorrect, as if you turn at each round the beanie will not look like the one pictured (you can tell by the first few rows with the hdc in 3rd loop, creating that slip stitched look)
Does the stitch count remain at 50 when starting round 4?