This post contains affiliate links. This means that when you purchase through one of these links we will receive a small commission at no additional cost to you. Thank you for supporting Rich Texture Crochet!
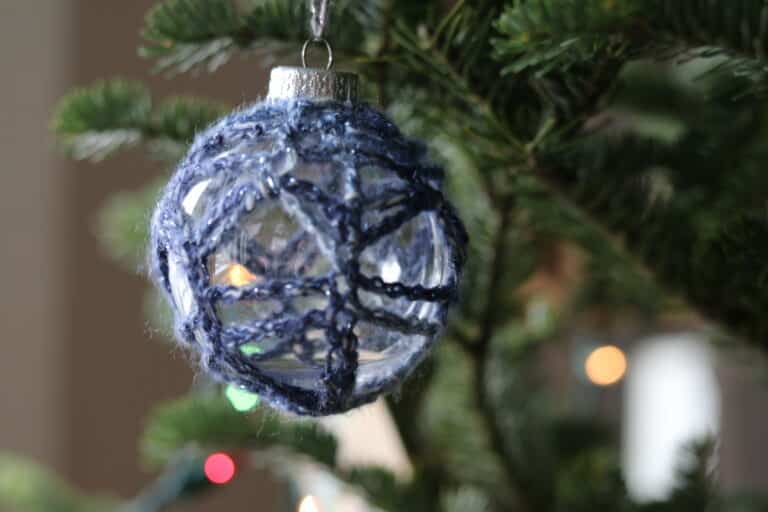
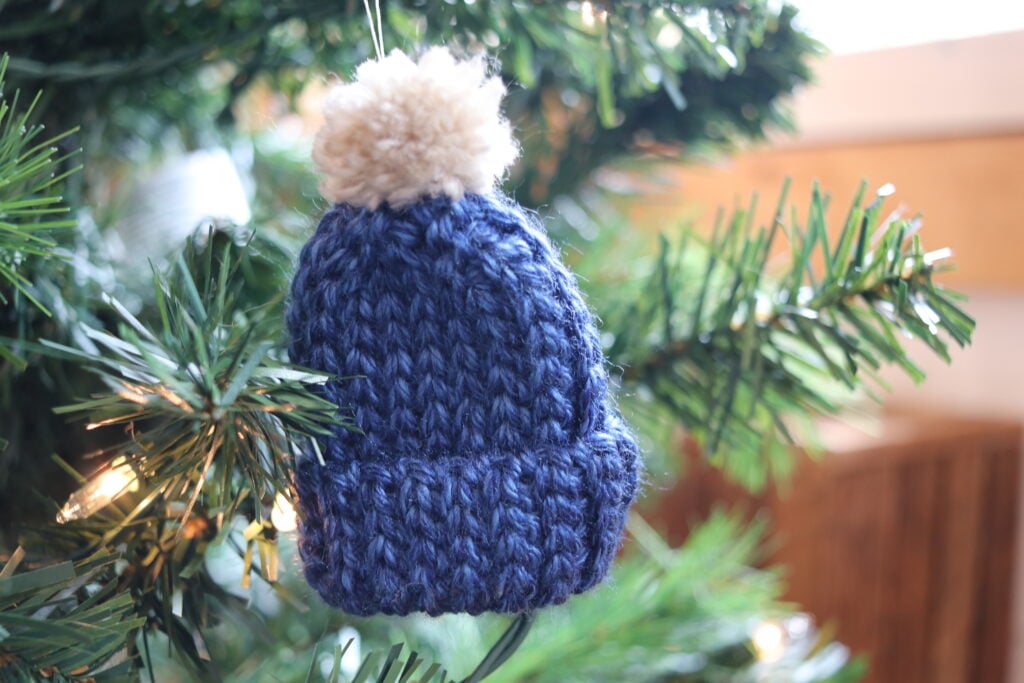
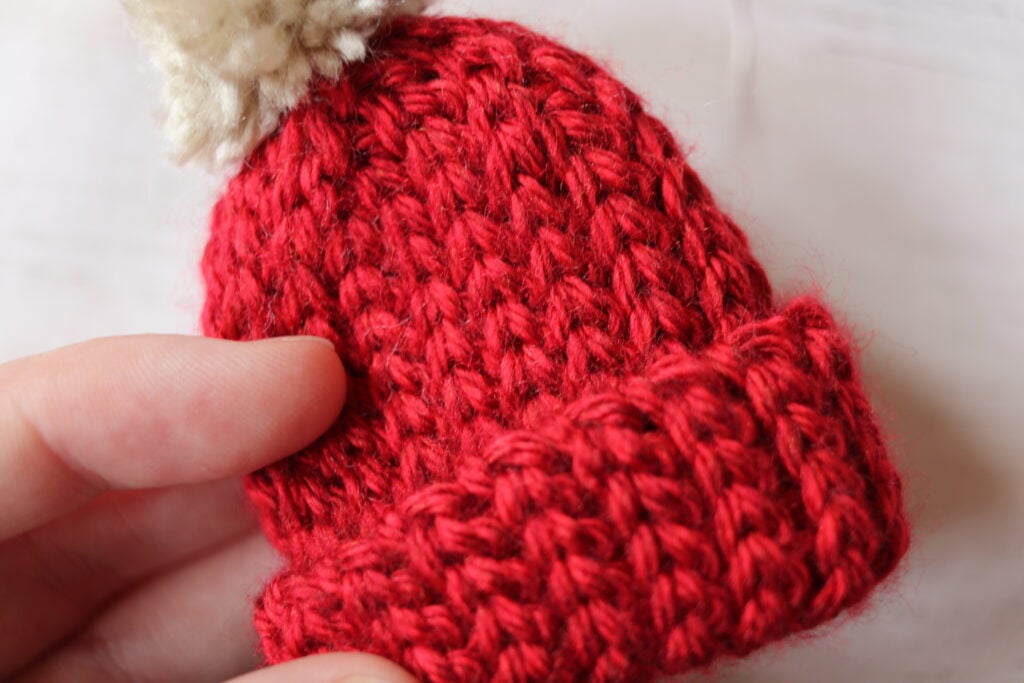
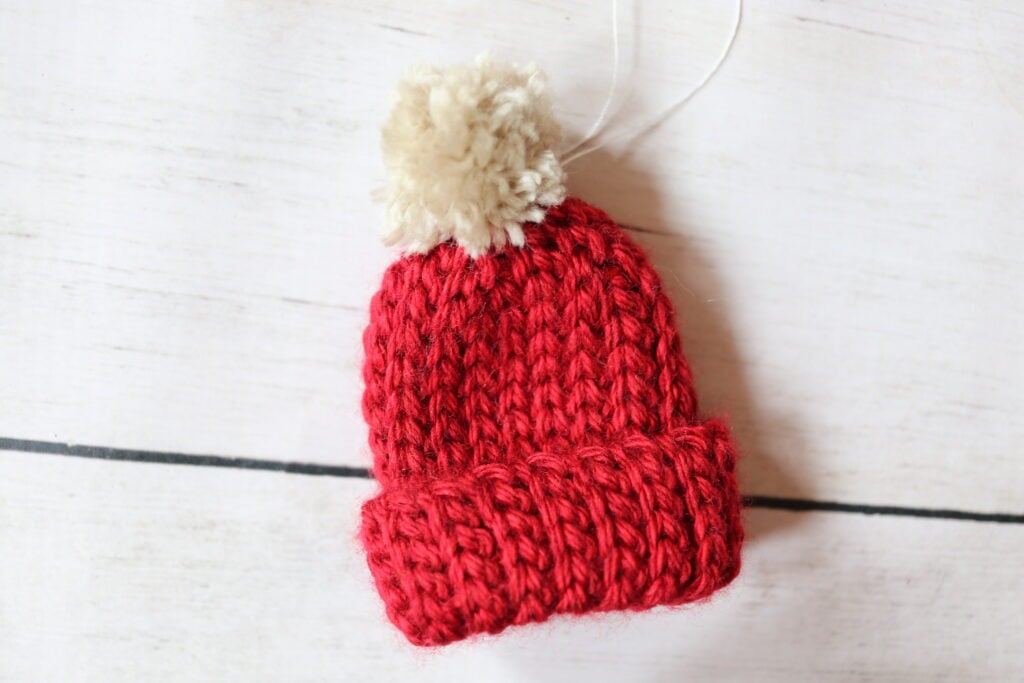
Christmas is on its way and this little Mini Hat Ornament crochet pattern would be so cute hanging on your tree!
Every year as the holidays approach I like to add a few more handmade Christmas Ornaments to my tree. Last year I added an adorable Classic Mini Granny Stocking and a Christmas Sweater Ornament. This year I am excited to add a Mini Hat Ornament!
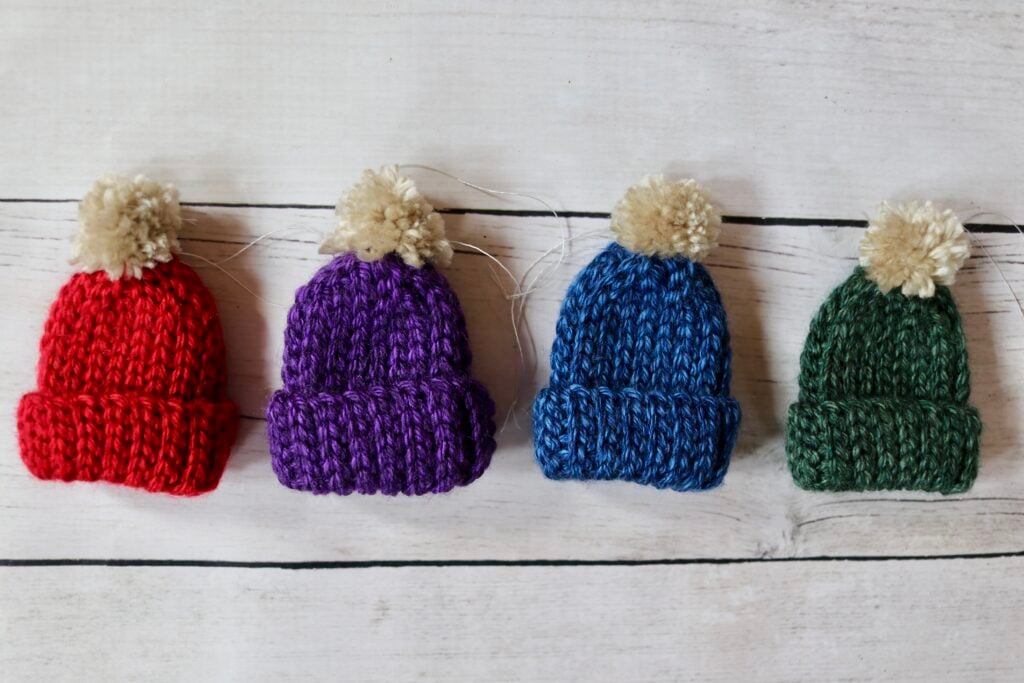
These little hats are so fun to work up, you can make it in 30 minutes are less! I have worked the mini hat using the same method as the Classic Knit Look Beanie, so if you are looking for one that’s full size, do be sure to check it out!
How to crochet a mini hat Christmas Ornament:
This little hat is worked using a worsted weight yarn (any worsted/medium weight will do so pull out those scraps you already have on hand) and a 5 mm crochet hook.
You will work the hat side to side using slip stitches and short rows for shaping. The hat is worked as a flat piece and then slip stitched together.
You’ll see from the photos and in the video tutorial below that I added a little pompom to the top in a contrasting colour. This little pompom I actually made with a fork! A process that I demonstrate in the video.
The 2026 Holiday Stash Down CAL:
This crochet pattern is being featured this week in the 2026 Holiday Stash Down CAL being hosted by a collective of crochet designers including: CAL Central Crochet are year-round crochet-a-long groups moderated by Marie from Underground Crafter, Pia from Stitches ’N’ Scraps, Amy from The Stitchin’ Mommy, Rhondda from Oombawka Design, and Ashley from The Loopy Lamb.
New free crochet patterns are being posted in their central Facebook Group:, CAL CENTRAL, so do pop over and take a look!
If you are following the crochet along, there are prizes to be won! Check it out here: UNDERGROUND CRAFTER 2026 HOLIDAY STASHDOWN CAL
PDF Copies of this crochet pattern:
The Mini Hat Ornament crochet pattern will be written out in full below and it is free to follow here on Rich Textures Crochet. However, if you would like to add this pattern to your library or purchase an ad free PDF, you can do so from my Etsy and Ravelry shops linked below:
CLICK HERE TO PURCHASE THE PDF FOR THE MINI HAT ORNAMENT CROCHET PATTERN ON ETSY
CLICK HERE TO PURCHASE THE PDF FOR THE MINI HAT ORNAMENT CROCHET PATTERN ON RAVELRY
Thank you so much for stopping by! Don’t forget to sign up for my email newsletter below so that you never miss a new free crochet pattern.
Happy Crocheting!
Sarah
Did you know? I now have four crochet pattern books available on Amazon in paperback and ebook format! You can check them all out on my storefront here: Sarah Thompson Author Profile
Mini Hat Ornament Crochet Pattern:
Skill Level: Easy
Gauge: 20 sts x 32 rows of sl st in blo = 4 inches
Finished Size: 2.5 x 2.75 inches laid flat excluding the pompom
Yarn: Heartland® by Lion Brand® (100% Acrylic; 5 oz, 142 g; Approx. 251 yds, 230 m). Worsted/medium Weight (4). You will need about 30 yards for the hat (Including a small amount of a contrasting colour if desired for the pompom).
Hook: Size H/8 (5.0 mm) Hook. Adjust hook size if necessary to obtain correct gauge.
Notions: Yarn Needle, scissors, thread/yarn/fishing line to create a hanger, mini pompom (I made mine using a small amount of contrasting coloured yarn and a fork!)
Stitches and Abbreviations:
Blo – Back Loop Only
Ch – Chain
Flo – Front Loop Only
Lp – Loop
Rpt – Repeat
Sc – Single Crochet
Sk – Skip
Sl St – Slip Stitch
Yo – Yarn Over
Pattern Notes:
- Pattern is written in American English terms.
- Pattern is worked in rows.
- Ch 1 at beginning of round does not count as stitch.
- Weave in ends as needed.
Free Crochet Pattern:
Ch 20.
Row 1: Sl st in the 2nd ch from your hook and in each ch across. Ch 1, turn. (19 sts)
Row 2: Working in the blo all the way across, sl st in the 1st st and each st across until 1 st remains. Ch 1, turn leaving the remaining st unworked. (18 sts)
Row 3: Working in the blo all the way across, sl st in the 1st st and in each st across. Ch 1, turn. (18 sts)
Row 4: Working in the blo all the way across, sl st in the 1st st and each st across until 1 st remains. Ch 1, turn leaving the remaining st unworked. (17 sts)
Row 5: Working in the blo all the way across, sl st in the 1st st and in each st across. Ch 1, turn. (17 sts)
Row 6: Working in the blo all the way across, sl st in the 1st st and each st across until 1 st remains. Ch 1, turn leaving the remaining st unworked. (16 sts)
Row 7: Working in the blo all the way across, sl st in the 1st st and in each st across. Ch 1, turn. (16 sts)
Row 8: Working in the blo all the way across, sl st in each of the next 16 sts, sl st in the next st of row 5, sl st in the next st of row 3, sl st in the next st of row 1. Ch 1, turn. (19 sts)
Row 9: Working in the blo all the way across, sl st in the 1st st and in each st across. Ch 1, turn. (19 sts)
Row 10: Working in the blo all the way across, sl st in the 1st st and each st across until 1 st remains. Ch 1, turn leaving the remaining st unworked. (18 sts)
Row 11: Working in the blo all the way across, sl st in the 1st st and in each st across. Ch 1, turn. (18 sts)
Row 12: Working in the blo all the way across, sl st in the 1st st and each st across until 1 st remains. Ch 1, turn leaving the remaining st unworked. (17 sts)
Row 13: Working in the blo all the way across, sl st in the 1st st and in each st across. Ch 1, turn. (17 sts)
Row 14: Working in the blo all the way across, sl st in the 1st st and each st across until 1 st remains. Ch 1, turn leaving the remaining st unworked. (16 sts)
Row 15: Working in the blo all the way across, sl st in the 1st st and in each st across. Ch 1, turn. (16 sts)
Row 16: Working in the blo all the way across, sl st in each of the next 16 sts, sl st in the next st of row 13, sl st in the next st of row 11, sl st in the next st of row 9. Ch 1, turn. (19 sts)
Row 17: Working in the blo all the way across, sl st in the 1st st and in each st across. Ch 1, turn. (19 sts)
Row 18: Working in the blo all the way across, sl st in the 1st st and each st across until 1 st remains. Ch 1, turn leaving the remaining st unworked. (18 sts)
Row 19: Working in the blo all the way across, sl st in the 1st st and in each st across. Ch 1, turn. (18 sts)
Row 20: Working in the blo all the way across, sl st in the 1st st and each st across until 1 st remains. Ch 1, turn leaving the remaining st unworked. (17 sts)
Row 21: Working in the blo all the way across, sl st in the 1st st and in each st across. Ch 1, turn. (17 sts)
Row 22: Working in the blo all the way across, sl st in the 1st st and each st across until 1 st remains. Ch 1, turn leaving the remaining st unworked. (16 sts)
Row 23: Working in the blo all the way across, sl st in the 1st st and in each st across. Ch 1, turn. (16 sts)
Row 24: Working in the blo all the way across, sl st in each of the next 16 sts, sl st in the next st of row 21, sl st in the next st of row 19, sl st in the next st of row 17. Ch 1, turn. (19 sts)
Row 25: Working in the blo all the way across, sl st in the 1st st and in each st across. Ch 1, turn. (19 sts)
Row 26: Working in the blo all the way across, sl st in the 1st st and each st across until 1 st remains. Ch 1, turn leaving the remaining st unworked. (18 sts)
Row 27: Working in the blo all the way across, sl st in the 1st st and in each st across. Ch 1, turn. (18 sts)
Row 28: Working in the blo all the way across, sl st in the 1st st and each st across until 1 st remains. Ch 1, turn leaving the remaining st unworked. (17 sts)
Row 29: Working in the blo all the way across, sl st in the 1st st and in each st across. Ch 1, turn. (17 sts)
Row 30: Working in the blo all the way across, sl st in the 1st st and each st across until 1 st remains. Ch 1, turn leaving the remaining st unworked. (16 sts)
Row 31: Working in the blo all the way across, sl st in the 1st st and in each st across. Ch 1, turn. (16 sts)
Row 32: Working in the blo all the way across, sl st in each of the next 16 sts, sl st in the next st of row 29, sl st in the next st of row 27, sl st in the next st of row 25. Ch 1, turn. (19 sts)
Join the two sides together:
Fold the hat over so that the two sides meet. Working through both thickness, sl st in each st across. For my hat, I worked inserting my hook through the flo both sides. If you do not like the look, you may wish to work in the blo or a combination to adjust the look of the seam.
Take a piece of yarn and sew the top of the hat closed. Once again fasten off and weave in any ends.
Add a pompom to the top. Check out the free video tutorial on my YouTube channel for instructions on how to make a mini pompom using a kitchen fork!
Use a short piece of yarn, thread or fishing line to attach a hanger through the top of your mini hat.