This post contains affiliate links. This means that when you purchase through one of these links we will receive a small commission at no additional cost to you. Thank you for supporting Rich Texture Crochet!
Near the end of last summer I was scrambling to find a simple sweater that I could wear with a dress for a wedding. When all else fails, head to the yarn stash!
It was the end of the summer season, but the temperatures during the day were still quite warm before dropping a bit at night. My husband was asked to officiate a wedding ceremony to which I was also invited. Already having the sleeveless dress, I began scrambling, looking for a simple sweater/cardigan/shawl or shrug that I could wear with the dress in the evening.
Because it was the end of the season I was having a difficult time in store. But I was pleasantly surprised when I went to my yarn stash and found several balls of yarn in the perfect colour.
I immediately began planning and designing a shrug that would be easy and quick to make as I only had a few nights before the wedding.
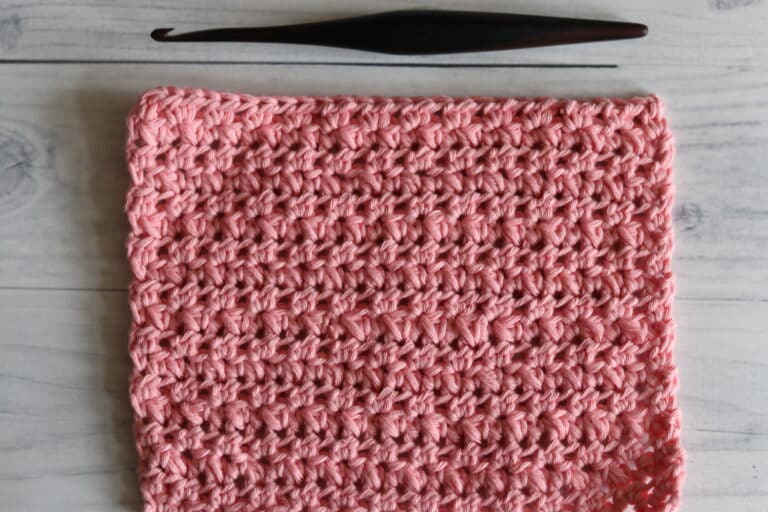
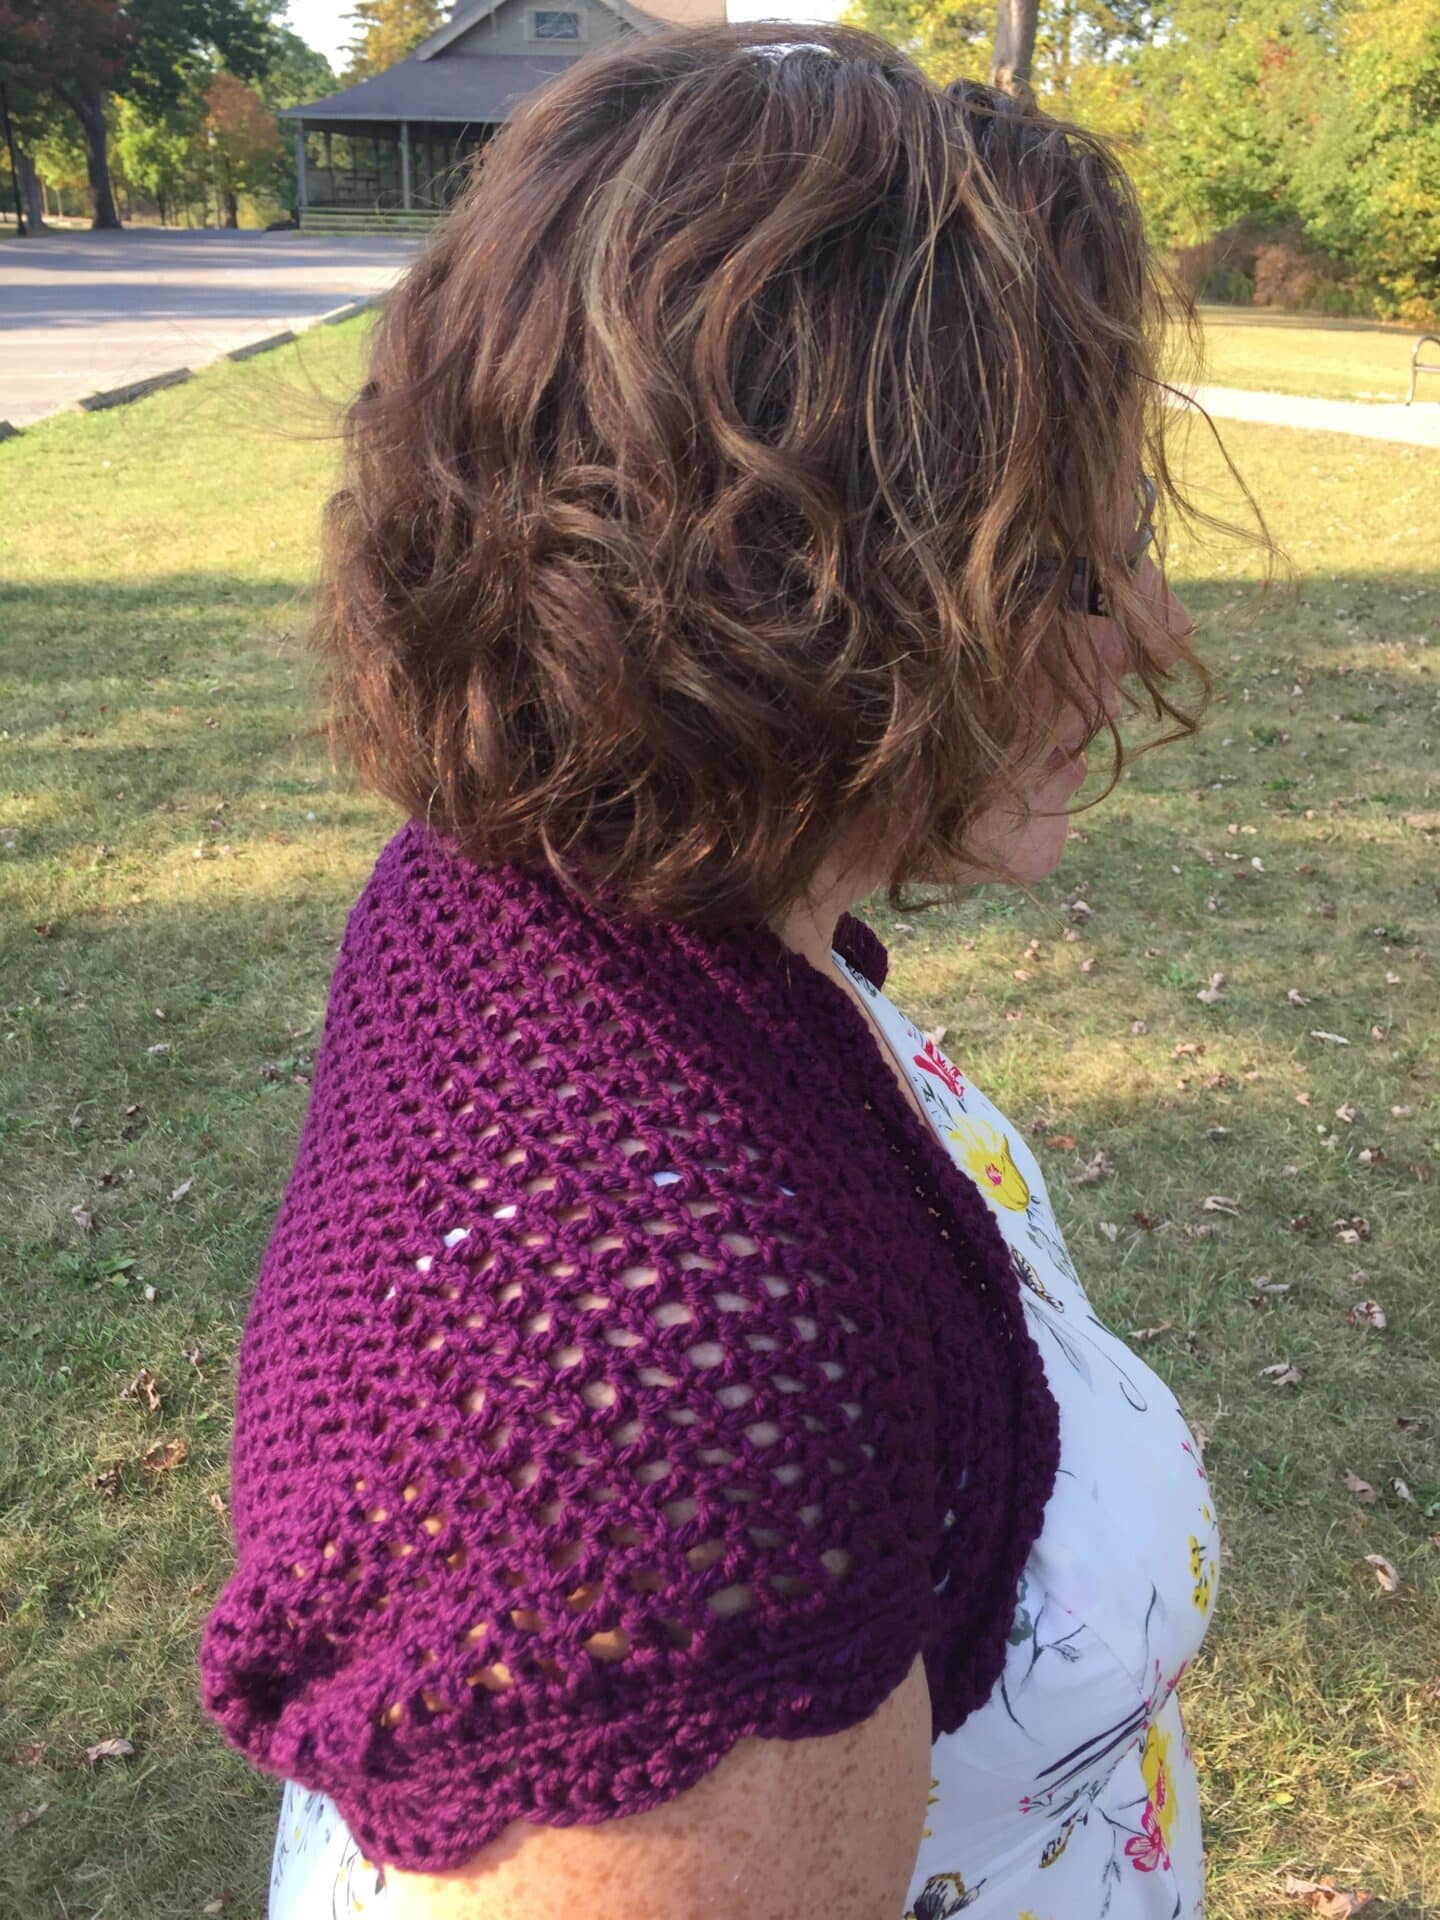
The open mesh stitch which forms the body of this pattern is both pretty, simple and quick to make up. I began with a simple square of fabric, then proceeded to fold it over. After placing a seam under each arm, I quickly worked up a simple lacy edging around both arm holes and the body. And viola! The shrug was ready!


The pattern is quite versatile in its design and although only one size is provided it will fit a variety of body types and sizes.
The Pattern is written out in full below, but if you would like to save this pattern to your library you may do so here:
Thank you for stopping by and supporting Rich Textures Crochet! Be sure to check me out on Facebook (http://www.facebook.com/richtextures/) and Instagram @RichTexturesCrochet.
Happy Crocheting!
Sarah
Skill Level: Easy
Gauge: 16 Sc x 16 rows = 4 inches.
Finished Size: Approximately 25 inches top to bottom at widest point in back and 25 inches from
sleeve edge across. Arm opening approximately 15 inches around.
Yarn: 3 balls of Red Heart Soft ® (%100 Acrylic; 256 yds/234 m; 5 oz/141 g; Medium (4) weight);
colour: Grape.
Or a worsted weight yarn of your choice.
Hook: Size H/8 (5.0 mm). Adjust hook size if necessary to obtain correct gauge.
Notions: Yarn Needle.
Stitches and Abbreviations:
Ch – Chain
Dc – Double Crochet
Hdc- Half Double Crochet
Rpt – Repeat
Sc – Single Crochet
Sk – Skip
Sl st – slip stitch
Sp – Space
Sps – Spaces
St – stitch
Pattern Notes:
– Pattern is written in American English terms.
– Ch 1 at beg of row does not count as sc.
– Weave in ends as needed.
– The body of the pattern is worked as a square. Once square is completed it is folded and
seamed together. Lace Edging is then applied.
Pattern:
Ch 90.
Row 1: Dc in the 6th ch from hook (Counts as dc, ch-1,dc), *ch 1, sk 1 ch, dc in the next ch; rpt from * to end. Turn. (46 dc, 45 ch-1 sps).
Row 2: Ch 4 (Counts as dc, ch-1), skip the first dc and ch-1 sp, *dc in the next dc, ch 1, sk next ch-1 sp; rpt from * across, sk on ch of turning ch, dc in the next ch. Turn.
Rows 3-39: Rpt row 2.
Fasten off, weave in ends.
You should now have a square of fabric that measures approximately 21×21 inches. You will now stitch the arm hole seams: Fold fabric square in half. Beginning with bottom right side join yarn with a sl st, and working through both thicknesses, work 10 sl sts up the side. Fasten off, weave in ends and repeat for left side.
Edging for arm holes:
(Worked in rounds, begin with either side, right side facing)
Rnd 1: Join yarn with a sl st in seam, ch 1, work 54 Sc evenly around. Join with a sl st in first Sc. (54 Sc)
Rnd 2: Ch 1, Sc in each st around. Join with a sl st in first Sc.
Rnd 3: Ch 1, Sc in first st, * ch 3, sk 2 Sc, Sc in the next Sc, sk 2 Sc, 5 dc in next Sc, sk 2 Sc, Sc in the next st; Rpt from * around to the last 2 Sc, ch 3, join with a sl st in the first st. (6 groups of 5 dc).
Rnd 4: Ch 1, Sc in the first st, * dc in the top on next dc, [ch 1, dc in the top on next dc] 4 times, Sc in next ch 3 sp; Rpt from * around, join with a sl st in top of first Sc.
Fasten off, weave in ends. Repeat for other arm hole.
Edging around body:
(Worked in rounds, right side facing)
Rnd 1: Join yarn with a sl st in either seam, ch 1, work 184 hdc evenly around. Join with a sl st in first st.
Rnd 2: Ch 1, Sc in each st around. Join with a sl st in first Sc.
Rnd 3: Ch 1, Sc in first st, * ch 3, sk 2 Sc, Sc in the next Sc, sk 2 Sc, 5 dc in next Sc, sk 2 Sc, Sc in the next st; Rpt from * around to the last 2 Sc, ch 3, join with a sl st in the first st.
Rnd 4: Ch 1, Sc in the first st, * dc in the top on next dc, [ch 1, dc in the top on next dc] 4 times, Sc in next ch 3 sp; Rpt from * around, join with a sl st in top of first Sc.
Fasten off, weave in ends.