This post contains affiliate links. This means that when you purchase through one of these links we will receive a small commission at no additional cost to you. Thank you for supporting Rich Texture Crochet!
Welcome to week four of the 2025 Marvellous Market Bag Crochet Along where we will learn how to crochet the Ellesmere Market Bag Crochet Pattern.
I cannot believe how quickly this month has flown by! I feel like it was only last week that I was introducing you to the first market bag in this crochet along: The Leyburn Market Bag.
If you also feel like this month has flown by and are scrambling to catch up. Don’t worry! There is still lots of time. The market bag crochet patterns in this crochet along will remain free here on Rich Textures Crochet for some time to come!
If this is your first time hearing about the crochet along, you will want to check out the Marvellous Market Bag Crochet Along Introduction post first, and then start with your favourite design. Don’t forget the market bag tips posts including “How to Add a Non-Crochet Bottom” and “How to Adjust your Handles.”

The Design:
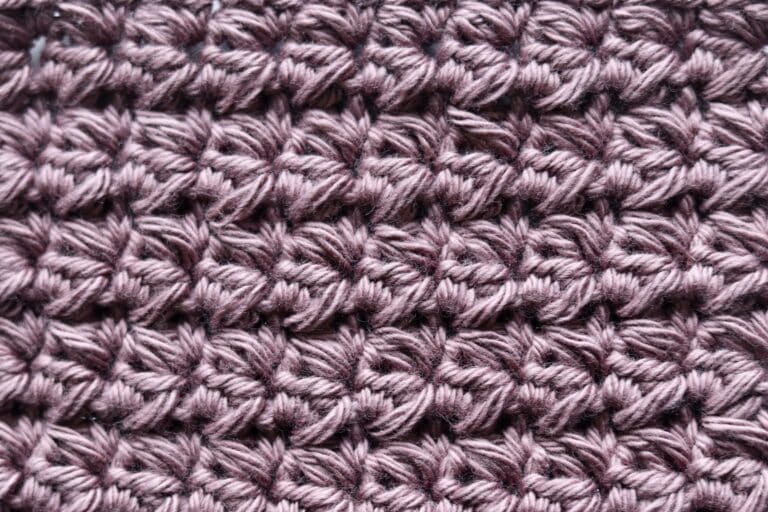
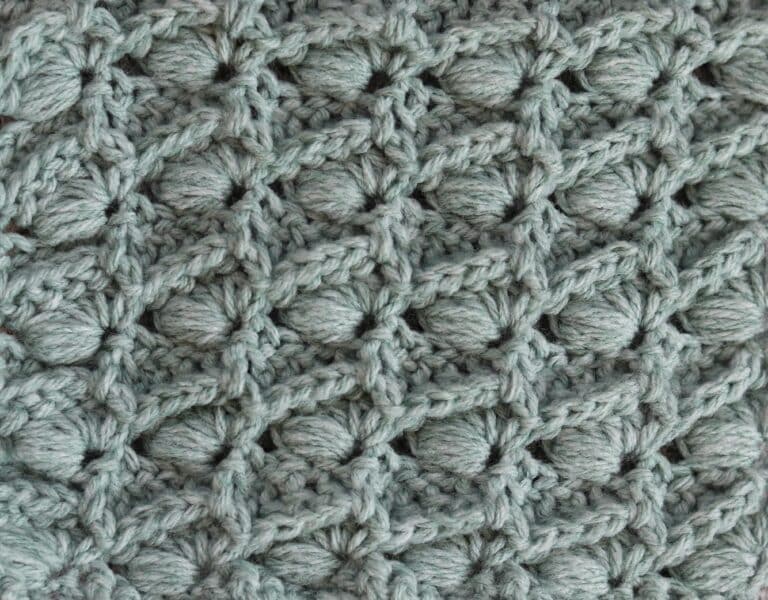
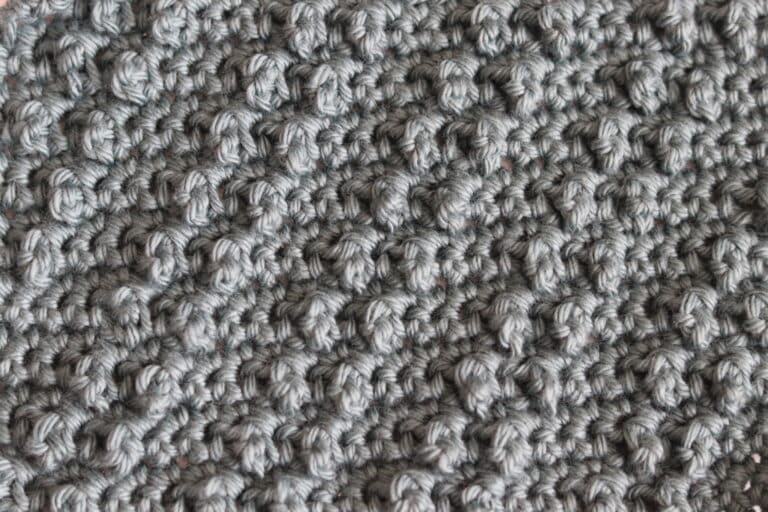
The Ellesmere Market Bag Crochet Pattern features a variety of very textured crochet stitches including a couple of cluster stitches. This bag is thick and the texture is beautiful!
Like the other bags in this years’ crochet along, the Ellesmere Market Bag is worked from the bottom up, features an oval design for the bottom and continuous handles for the top.

How to add a non-crochet bottom to your bag:
I have crocheted the bottoms of my market bags (the pattern is below), however if you wish to add a non-crochet bottom to your bag, you can check out this tutorial: How to add a Non-Crochet Bottom to your Bag.
How to Adjust your Handles:
There are many reasons why your handles may not be matching up – not to worry! Check out this post on How to Adjust your Bag Handles here.

PDF Copies are also Available:
The Ellesmere Market Bag crochet pattern will be written out in full below and will forever remain free when viewed here on Rich Textures Crochet, and the written instruction will be followed by a video tutorial. However if you would like to add this pattern to your library or purchase an ad free PDF, you may do so from either my Etsy or Ravelry Shop linked below:
CLICK HERE TO PURCHASE THE CROCHET PATTERN FOR THE ELLESMERE MARKET BAG ON ETSY
CLICK HERE TO PURCHASE THE CROCHET PATTERN FOR THE ELLESMERE MARKET BAG ON RAVELRY
Thank you for stopping by and I look forward to seeing you again soon! If you have not already, I invite you to sign up for my e-newsletter so that you will be notified each time I release a new free crochet pattern or stitch tutorial.

Ellesmere Market Bag Crochet Pattern:
Skill Level: Intermediate
Gauge: 18 stitches x 12 rows of hdc = 4 inches
Finished Size: Approximately 11.5 x 16 inches laid flat
Yarn: 24/7 Cotton by Lion Brand® (186 yds/170 m; 100g/3.5 oz; 100% cotton; (4) worsted weight). You will need 2.5 balls, colour shown: Succulent
Hook: Size G/7 (4 mm) hook.
Notions: Yarn Needle, 4-5 stitch markers (optional)
Stitches and Abbreviations:
Ch – Chain
Dc – Double Crochet
FpCL – Front Post Cluster Stitch ([yo, bring your hook in front of your work and insert around the post of the indicated st, yo and draw up a loop] twice, yo and draw through 4 loops on your hook, yo and draw through 2 loops on your hook. Front Post Cluster Stitch made.)
Fpsc – Front Post Single Crochet Stitch (Note: when working this stitch you will insert your hook under the top two loops of the previous stitch, around the post and out under the top two loops of the next stitch.)
Hdc – Half Double Crochet
Rpt – Repeat
Sc – Single Crochet
Sk – Skip
Sl st – Slip stitch
Yo – Yarn over
Pattern Notes:
- Pattern is written in American English terms.
- Pattern is worked in rounds, as one piece, from the bottom up to the handles.
- Ch 1 at the beginning of the row does not count as a stitch.
- Weave in ends as needed.
- Turn your work as indicated.

Free Crochet Pattern:
Bottom:
Ch 41
Rnd 1: Hdc in the 2nd ch from hook and in each ch across to the final st, 3 hdc in the final st, now working along the opposite side of the ch, hdc in each st across, 2 hdc in the final st. Join with a sl st in the 1st st. Do not turn. (82 sts)
Rnd 2: Ch 1, 3 hdc in the first st, hdc in each of the next 38 sts, 3 hdc in the next st, hdc in the next st, 3 hdc in the next st, 1 hdc in each of the next 38 sts, 3 hdc in the next st, hdc in the next st. Join with a sl st in the 1st st. Do not turn. (90 sts)
NOTE: If desired, place a stitch marker in the centre/2nd st of each corner set of the hdc. You will always work your 3 hdc into these middle stitches.
Rnd 3: Ch 1, hdc in the 1st st, 3 hdc in the next st, hdc in each of the next 40 sts, 3 hdc in the next st, 1 hdc in each of the next 3 sts, 3 hdc in the next st, 1 hdc in each of the next 40 sts, 3 hdc in the next st, 1 hdc in each of the next 2 sts. Join with a sl st in the 1st st. Do not turn. (98 sts)
Rnd 4: Ch 1, hdc in each of the 1st 2 sts, 3 hdc in the next st, hdc in each of the next 42 sts, 3 hdc in the next st, 1 hdc in each of the next 5 sts, 3 hdc in the next st, hdc in each of the next 42 sts, 3 hdc in the next st, 1 hdc in each of the next 3 sts. Join with a sl st in the 1st st. Do not turn. (106 sts)
Rnd 5: Ch 1, hdc in each of the 1st 3 sts, 3 hdc in the next st, hdc in each of the next 44 sts, 3 hdc in the next st, 1 hdc in each of the next 7 sts, 3 hdc in the next st, hdc in each of the next 44 sts, 3 hdc in the next st, 1 hdc in each of the next 4 sts. Join with a sl st in the 1st st. Do not turn. (114 sts)
Rnds 6-8: Ch 1, hdc in each st around. Join with a sl st in the 1st st. Do not turn. (114 sts)
Sides:
Rnd 1: Ch 1, sc in the 1st st and in each st around. Join with a sl st in the 1st st. Ch 1, turn.
Rnd 2: Fpsc beginning in the same st as joining and in the next st, *fpsc beginning in the same st as previous in the next st; Rpt from * around. Join with a sl st in the 1st st. Ch 1, turn.
Rnd 3: Ch 1, sc in the 1st st and in each st around. Join with a sl st in the 1st st. Ch 3 (counts as a dc here and throughout), do not turn.
Rnd 4: Dc in the next st and in each st around. Join with a sl st in the 3rd ch of the starting ch-3. Ch 1, do not turn.
Rnd 5: FpCL in the same st as joining, dc in the next st, *fpcl in the next st, dc in the next st; Rpt from * around. Join with a sl st in the top of the 1st cl. Ch 1, do not turn.
Rnd 6: Ch 1, sc in the 1st st and in each st around. Join with a sl st in the 1st st. Ch 1, turn.
Rnds 7-41: Repeat rnds 2-6 seven more times.
Rnd 42: Fpsc beginning in the same st as joining and in the next st, *fpsc beginning in the same st as previous in the next st; Rpt from * around. Join with a sl st in the 1st st. Ch 1, turn.
Top and Handles:
Rnds 1-3: Ch 1, sc in each st around. Join with a sl st in the 1st st. Do not turn.
Rnd 4: Ch 1, sc in the 1st st and each of the next 26 sts, loosely ch 35, sk the next 30 sts, sc in each of the next 27 sts, ch 35, sk the next 30 sts. Join with a sl st in the top of the 1st st. Do not turn.
Rnd 5: Ch 1, sc in each ch-st and each sc around. Join with a sl st in the 1st st. Do not turn. (124 sts)
Rnds 6-12: Ch 1, sc in each st around. Join with a sl st in the 1st st. Do not turn.
Fasten off, weave in your ends.