
This post contains affiliate links. This means that when you purchase through one of these links we will receive a small commission at no additional cost to you. Thank you for supporting Rich Texture Crochet!
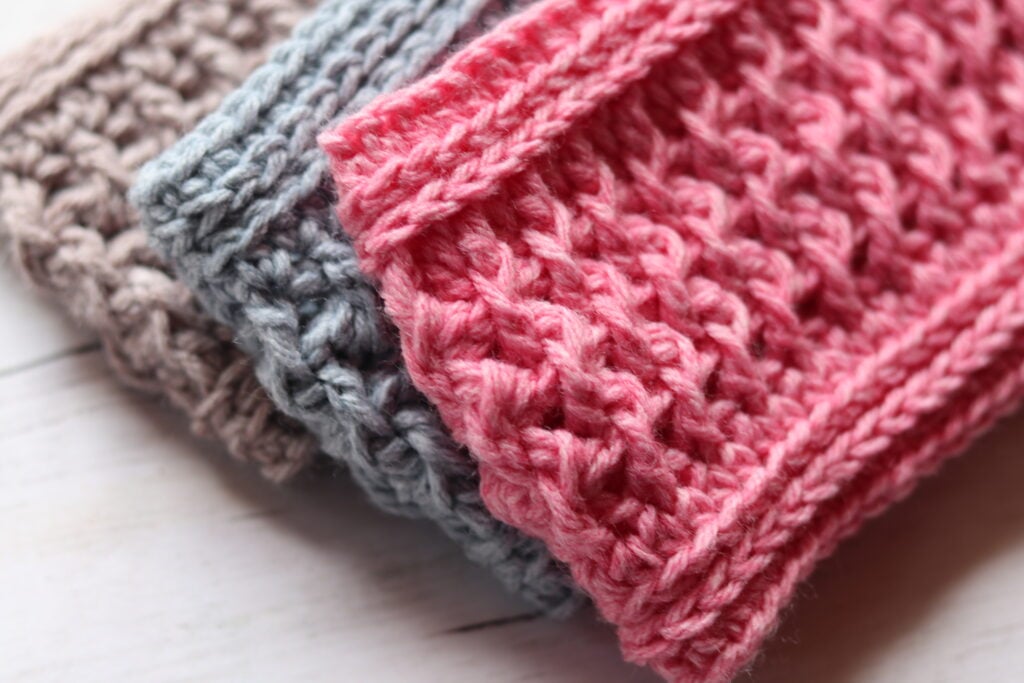
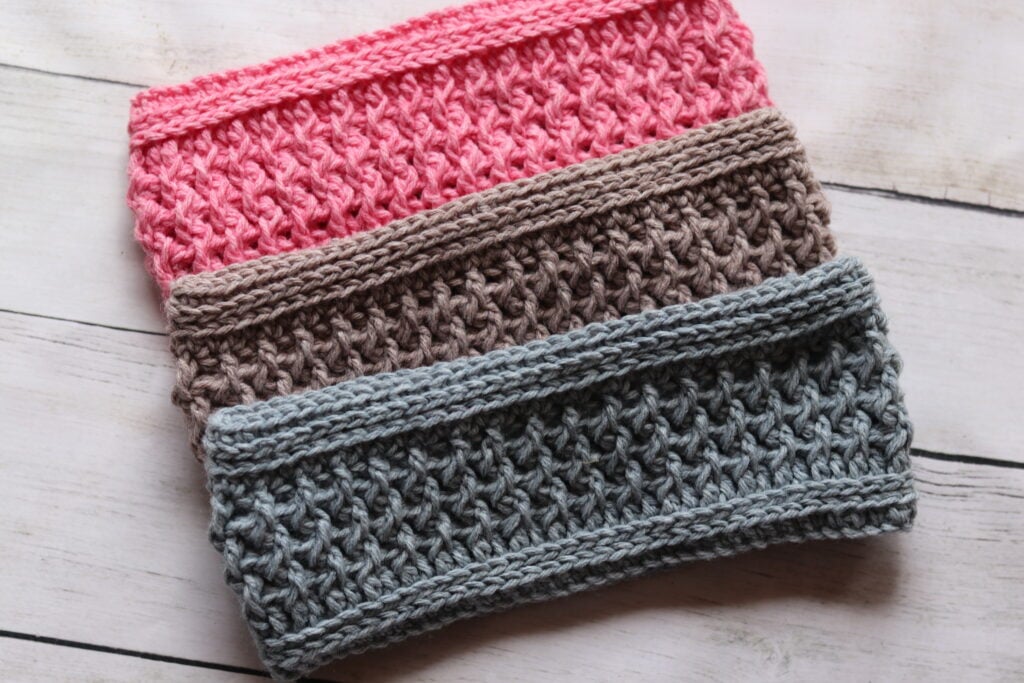
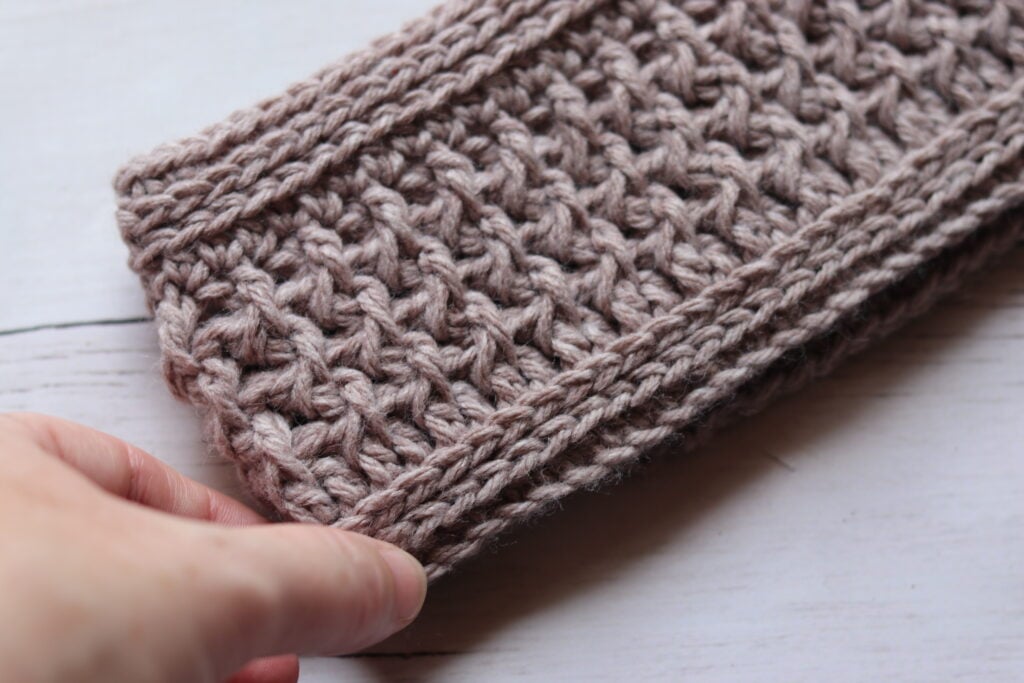
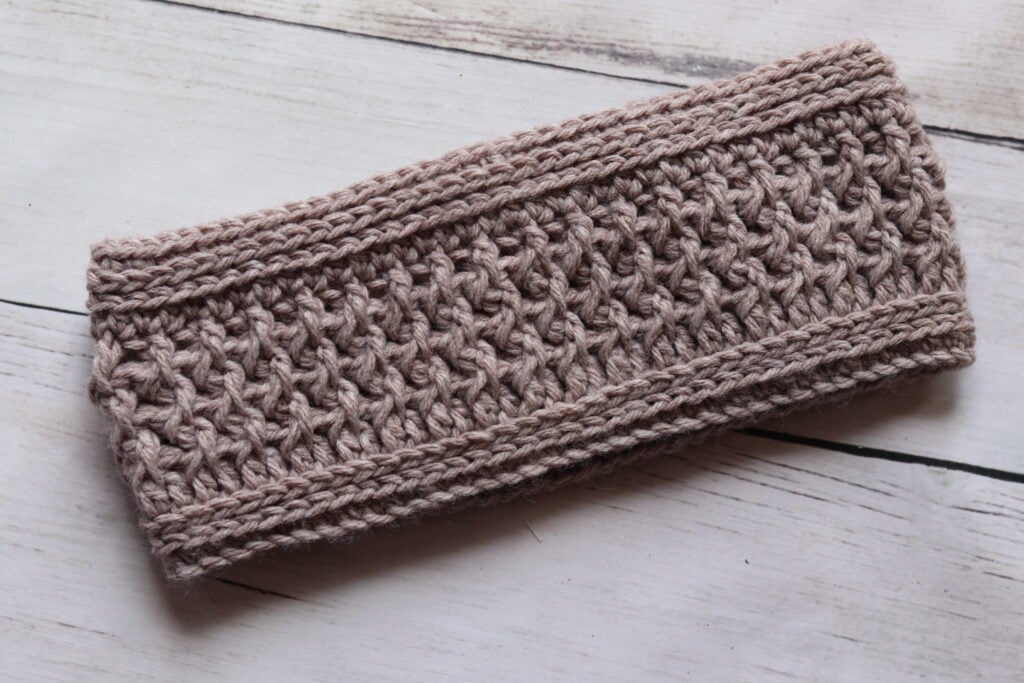
This beautifully textured Deep River Ear Warmer crochet pattern is quick and easy to work with less than 100 yards of yarn!
Just over a year ago I published my popular Deep River Beanie Crochet Pattern and not to long ago I was asked if I had an ear warmer version of the pattern available. At the time, I did not but thought that they are such a great quick and easy project, so why not?
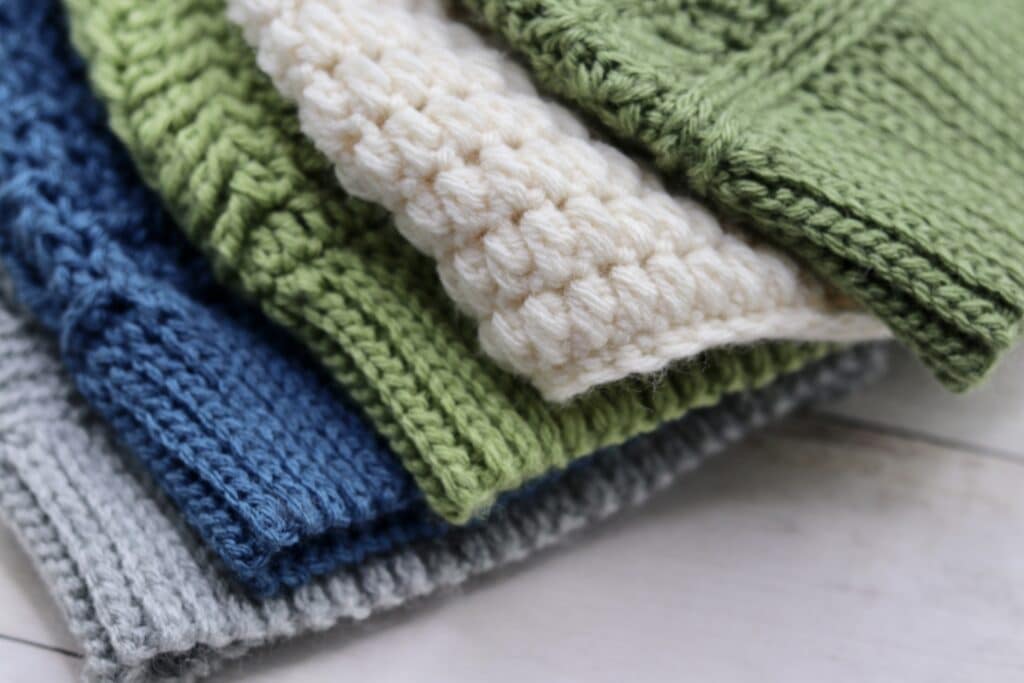
In the Deep River Beanie we already had a great texture to pull from, and it really did make a fabulous ear warmer!
This ear warmer is worked all as one piece in rounds from bottom to top. It’s a quick pattern that can be worked in only a couple of hours!
What materials do you need to make this crochet hat?
For the hat, you will need about 300 yards of a medium/worsted weight yarn as well as a 5mm (H/8) crochet hook. For my ear warmer I used a wool and acrylic blended yarn called Heatherly® by Knitpicks/WeCrochet® Yarn (80% acrylic/20% Merino Wool; 218 yds, 100 g; (4) Worsted/Medium weight) but you could use any fibre that’s you’re favourite. You’re only going to need about 80 yards.
PDF Copies are available:
The crochet pattern for the Deep River Ear War Warmer will be written out in full below followed by a free video tutorial. The pattern is free to follow on my site and will always be free! If, however, you would like a printable copy, you may purchase one from my Etsy and Ravelry Shops linked below:
CLICK HERE TO PURCHASE THE CROCHET PATTERN FOR THE DEEP RIVER EAR WARMER ON ETSY
CLICK HERE TO PURCHASE THE CROCHET PATTERN FOR THE DEEP RIVER EAR WARMER ON RAVELRY
Thank you so much for stopping by! Please don’t forget to sign up for my email newsletter so that you never miss a new free crochet pattern.
Happy Crocheting!
Sarah
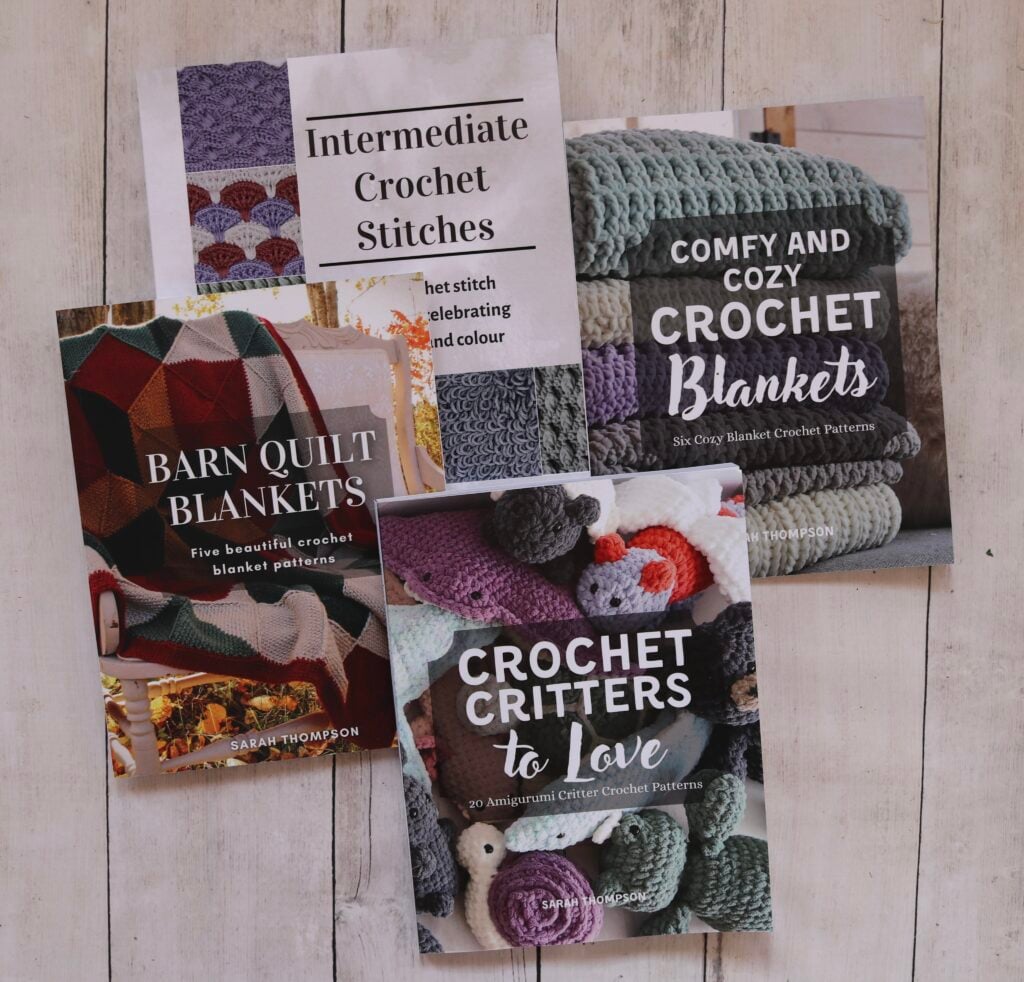
Did you know? I now have four crochet pattern books available on Amazon in paperback and ebook format! You can check them all out on my storefront here: Sarah Thompson Author Profile
Deep River Ear Warmer Crochet Pattern:
Skill Level: Intermediate
Gauge: 16sts x 16 rnds of hdc in the 3rd loop = 4 inches
Finished Size: 10 x 3.5 inches laid flat, 20-22 inch circumference
Yarn: Heatherly® by Knitpicks/WeCrochet® Yarn (80% acrylic/20% Merino Wool; 218 yds, 100 g; (4) Worsted/Medium weight). You will need approximately 60 yards for this project.
Hook: Size H/8 (5 mm) Hook. Adjust hook size if necessary to obtain correct gauge
Stitches and Abbreviations:
3rd loop – Looking at the back of your hdc st you will see a horizontal loop running along under the top back loop. This loop under the back loop is called the “3rd loop.”
Blo – Back Loop Only
Ch – Chain
Dc – Double Crochet
Fpdc – Front Post Double Crochet
Hdc – Half Double Crochet
Hdc2tog – Half Double Crochet Two Stitches Together
Lp – Loop
Rpt – Repeat
Sc – Single Crochet
Sk – Skip
Sl St – Slip Stitch
Yo – Yarn Over
Pattern Notes:
- Pattern is written in American English terms.
- Ear Warmer is worked in rounds.
- Ch 1 at beginning of round does not count as stitch.
- Turn at the end of each round only AS INDICATED.
- Weave in ends as needed.
- To change the size of your ear warmer, you will need a foundation chain with a multiple of 2 sts.
Free Crochet Pattern:
Ch 72. Without twisting the ch, join with a sl st in the 1st st.
Rnd 1: Ch 1, hdc in the same st as joining and in each st around. Join with a sl st in the first st. Do not turn. (72 sts)
Rnd 2: Ch 1, working in the 3rd loop around, hdc in the same st as joining and in each st around. Join with a sl st in the 1st st. Do not turn.
Rnd 3: Ch 1, working in the 3rd loop around, dc in the same st as joining and in each st around. Join with a sl st in the 1st st. Ch 1, TURN.
Rnd 4: Sl st in the 1st st and in each st around. Join with a sl st in the 1st st. Ch 1, TURN.
Rnd 5: Sk the 1st st, fpdc around the post of the next dc 2 rows below, now working in behind the st just worked, dc in the skipped sl st of the previous round, *sk the next st, fpdc around the post of the next dc 2 rows below, now working in behind the st just worked, dc in the skipped sl st of the previous round; Rpt from * around. Join with a sl st in the top of the 1st st. Ch 1, TURN.
Rnd 6: Sl st in the 1st st and in each st around. Join with a sl st in the 1st st. Ch 1, TURN.
Rnd 7: Sk the 1st st, fpdc around the post of the next dc 2 rows below, now working in behind the st just worked, dc in the skipped sl st of the previous round, *sk the next st, fpdc around the post of the next dc 2 rows below, now working in behind the st just worked, dc in the skipped sl st of the previous round; Rpt from * around. Join with a sl st in the top of the 1st st. Ch 1, TURN.
Rnd 8: Sl st in the 1st st and in each st around. Join with a sl st in the 1st st. Ch 1, TURN.
Rnd 9: Sk the 1st st, fpdc around the post of the next dc 2 rows below, now working in behind the st just worked, dc in the skipped sl st of the previous round, *sk the next st, fpdc around the post of the next dc 2 rows below, now working in behind the st just worked, dc in the skipped sl st of the previous round; Rpt from * around. Join with a sl st in the top of the 1st st. Ch 1, do not turn.
Rnd 10: Hdc in the 1st st and in each st around. Join with a sl st in the 1st st. Ch 1, do not turn.
Rnd 11: Ch 1, working in the 3rd loop around, hdc in the same st as joining and in each st around. Join with a sl st in the 1st st. Do not turn.
Rnd 12: Ch 1, working in the 3rd loop around, sc in the same st as joining and in each st around. Join with a sl st in the 1st st. Ch 1, do not turn.
Fasten off, weave in your ends.
Video Tutorial:
The photographs and pattern contained in this document are the property of Rich Textures Crochet.
This pattern is for personal use only.
No unauthorized reproduction, in whole or in part, or distribution of this pattern or content is permitted. ALL FINISHED PRODUCTS from this pattern can be used for local sales and sold online.
Thank you so much for supporting Rich Textures Crochet! To stay in touch or see more great products, be sure to visit me on Facebook and Instagram (Rich Textures Crochet). Thanks again! Happy Crocheting!