This post contains affiliate links. This means that when you purchase through one of these links we will receive a small commission at no additional cost to you. Thank you for supporting Rich Texture Crochet!
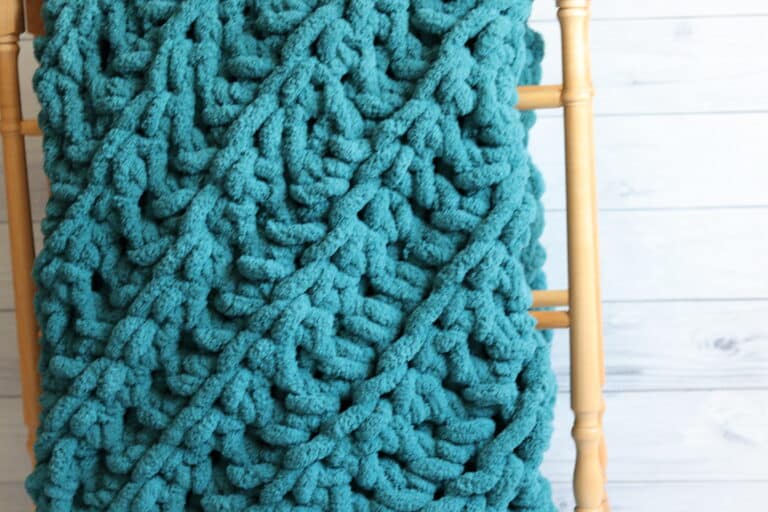
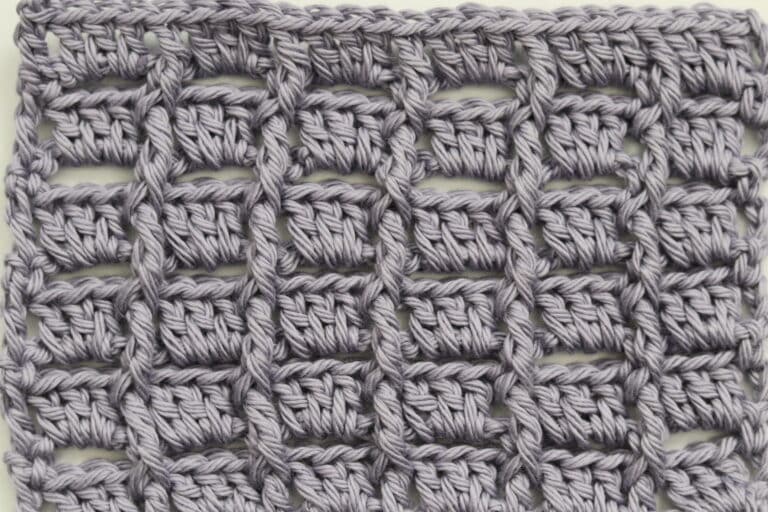
The texture in this Crisscross Throw is beautiful! And the simple smooth texture highlights the texture found in the squares.
I love a good textured blanket! This Crisscross Throw blanket is worked in separate squares that are then joined together at the end. To finish off the blanket, a simple, easy edging is worked around the outside.
The benefit of working a large blanket in multiple squares is that it is a great project that you can take with you on the go. It also means that you do not have to work under a solid heavy fabric until you are working the final touches.
This post contains affiliate links. This means that when you make a purchase through one of these links, Rich Textures Crochet will earn a small commission at no additional cost to yourself. Thank you for supporting Rich Textures Crochet!

The Materials:
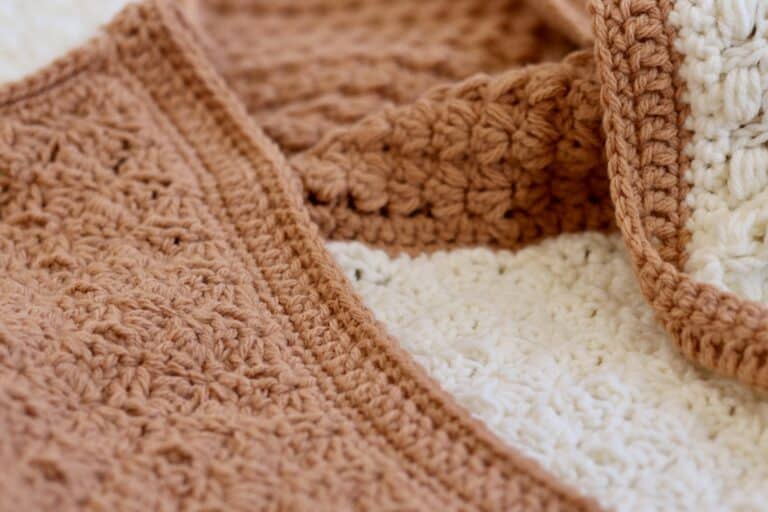
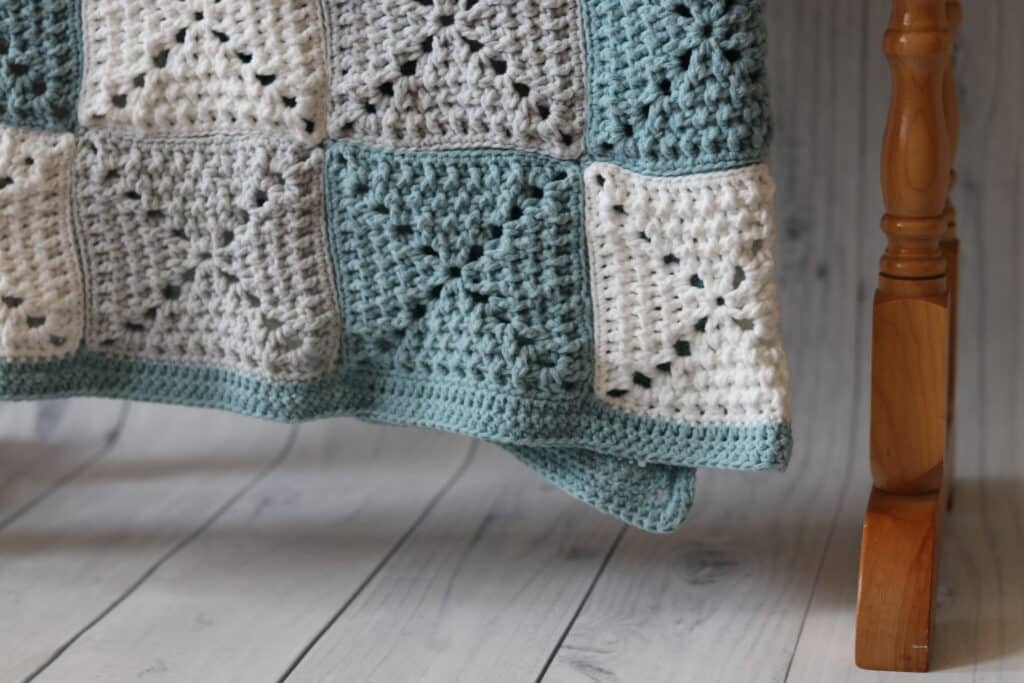
I have worked the Crisscross Throw using a worsted/medium weight yarn called Feels Like Butta by Lion Brand. It is a super soft 100% polyester yarn. I have worked my blanket in three different colours. But you may work this blanket all in one colour or in multiple. Work it in multiple colours and it becomes a great scrap busting blanket!
I will also be using a 4 mm crochet hook. In the video tutorial below you will see me using a Wooden Streamline hook by Furls Crochet.
Complete details and quantities of the yarn can be found in the materials list below.

PDF Copies are also Available:
The pattern will be written out in full below followed by the free video tutorial, however if you would like to add this pattern to your library or purchase an ad free PDF, you may do so from either my Etsy or Ravelry Shop linked below:
Click here for the Crisscross Throw on Etsy
Click here for the Crisscross Throw on Ravelry
Thank you so much for stopping by! Don’t forget to sign up for my newsletter so that you never miss a new pattern!
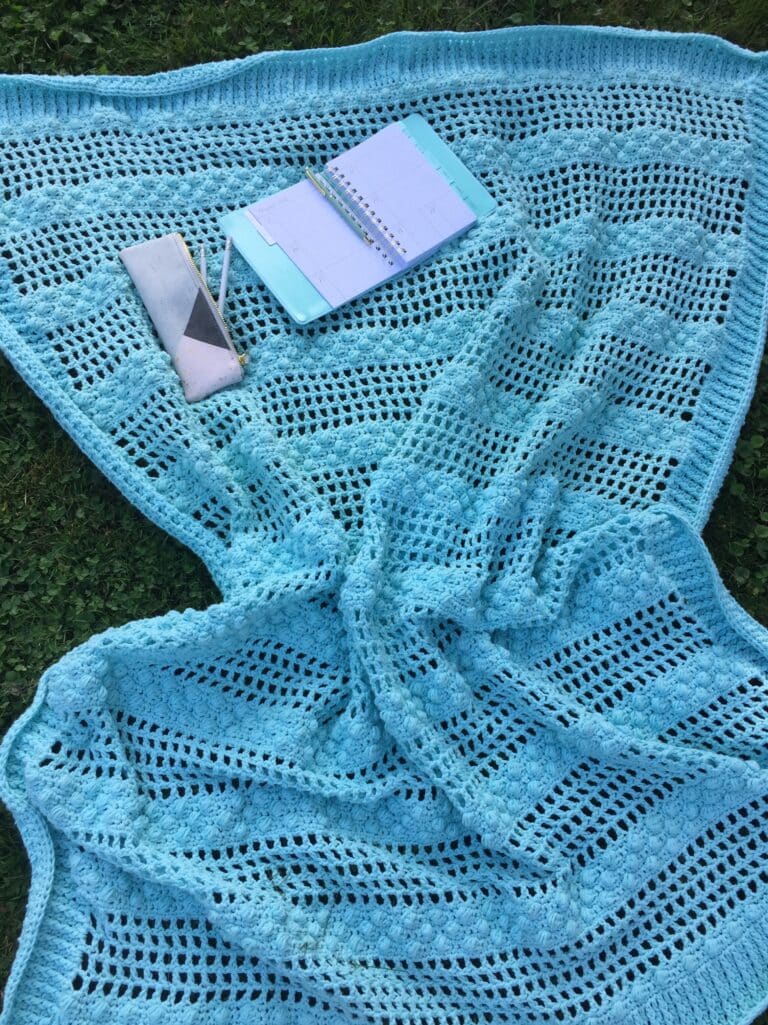
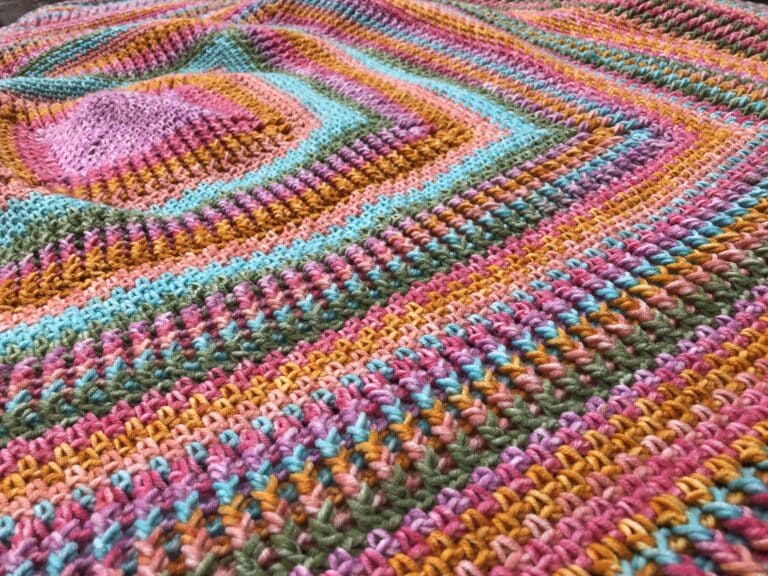
If you like this blanket, you may also like the Erie Waters Throw Blanket.
Sarah
The Crisscross Crochet Blanket:
Skill Level: Easy
Gauge: 20 stitches x 12 rows = 4 inches
Finished Size: Approximately 52 x 64 inches.
Yarn: Feels Like Butta Bonus Bundle Yarn by Lion Brand® (590 yds/540m; 9.7 oz/275g; 100% polyester; medium/worsted weight). You will need 3 colours, (3 balls for colour A, 2 balls each for colours B and C): Colour A: 1770 yards of Seafoam; Colour B: 1180 yards of Pale Grey; Colour C: 1180 yards of White.
Hook: Size G (4.0 mm) hook.
Notions: Yarn Needle.
Stitches and Abbreviations:
Bpdc – Back Post Double Crochet
Ch – Chain
Dc – Double Crochet
Fpdc – Front Post Double Crochet
Hdc – Half Double Crochet
Rpt – Repeat
Sc – Single Crochet
Sk – Skip
Sl st – Slip stitch
Tr – Treble Stitch
Yo – Yarn over
Pattern Notes:
- Pattern is written in American English terms.
- Pattern is worked in rounds.
- Ch 1 at beginning of round does not count as stitch.
- Ch 3 at beginning of round counts as a dc.
- Each square measures approximately 5 x 5 inches.
- Weave in ends as needed.
Free Crochet Pattern:
Ch 4, join with a sl st in the first st to make a ring.
Rnd 1: Ch 3 (counts as a dc), 2 dc in ring, [ch 3, 3 dc in ring] 3 more times, ch 3, join with a sl st in the top of starting ch-3. Do not turn. (12 Sts)
Rnd 2: Ch 1, fpdc in the same st as joining, bpdc in the next st, fpdc in the next st, *[2 dc, ch 3, 2 dc] in the next ch-3 sp, fpdc in the next st, bpdc in the next st, fpdc in the next st; rpt from * around to final ch-3 sp, [2 dc, ch 3, 2 dc] in the next ch-3 sp, join with a sl st in the top of the first st. Dot not turn. (28 sts)
Rnd 3: Ch 1, bpdc in the same st as joining, [fpdc, bpdc] twice, *[2 dc, ch 3, 2 dc] in the next ch-3 sp, [bpdc, fpdc] 3 times, bpdc; rpt from * around to final ch-3 sp, [2 dc, ch 3, 2 dc] in the next ch-3 sp, bpdc, fpdc, join with a sl st in the top of the first st. Dot not turn. (44 sts)
Rnd 4: Ch 1, fpdc in the same st as joining, [bpdc, fpdc] 3 times, *[2 dc, ch 3, 2 dc] in the next ch-3 sp, [fpdc, bpdc] 5 times, fpdc; rpt from * around to final ch-3 sp, [2 dc, ch 3, 2 dc] in the next ch-3 sp, [fpdc, bpdc] twice, join with a sl st in the top of the first st. Dot not turn. (60 sts)
Rnd 5: Ch 1, bpdc in the same st as joining, [fpdc, bpdc] 4 times, *[2 dc, ch 3, 2 dc] in the next ch-3 sp, [bpdc, fpdc] 7 times, bpdc; rpt from * around to final ch-3 sp, [2 dc, ch 3, 2 dc] in the next ch-3 sp, [bpdc, fpdc] 3 times, join with a sl st in the top of the first st. Dot not turn. (76 sts)
Rnd 6: Ch 1, sc in the same st as joining and in each st around working 3 sc in each corner ch-3 sp, join with a sl st in the 1st st. (88 sts)
Repeat the above steps to make a total of 120 squares (40 of each colour)
Fasten off and weave in your ends.
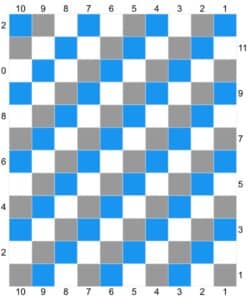
Joining your Squares:
Following the chart below, lay your squares out accordingly face down (with the wrong side facing you). You may begin joining your squares either vertically or horizontally. I began by working the vertical rows first and worked as follows:
With colour A, join your yarn with a sl st in the bottom right corner between squares one and two, working through both thicknesses and in the front loop only (it will actually be the back loop only of the square, but I say front loop as the square’s wrong side is facing you) of each square, work a sl st in each st across. When you reach the end of a square simply continue on joining the next two squares in the row. At the end, fasten off, weave in your ends and repeat down each row.
Edging:
With Colour A, join yarn with a sl st in any corner.
Rnd 1: Ch 1, hdc in each st all the way around, working 3 hdc in each corner st. Join with a sl st in the 1st st, turn.
Rnd 2: Ch 1, sc in each st all the way around, working 3 sc in each corner st. Join with a sl st in the 1st st, turn.
Rnd 3: Ch 1, hdc in each st all the way around, working 3 hdc in each corner st. Join with a sl st in the 1st st, turn.
Video Tutorial:
The photographs and pattern contained in this document are the property of Rich Textures Crochet.
This pattern is for personal use only.
No unauthorized reproduction, in whole or in part, or distribution of this pattern or content is permitted. ALL FINISHED PRODUCTS from this pattern can be used for local sales and sold online.
Thank you so much for supporting Rich Textures Crochet! To stay in touch or see more great products, be sure to visit me on Facebook and Instagram (Rich Textures Crochet). Thanks again! Happy Crocheting!