This post contains affiliate links. This means that when you purchase through one of these links we will receive a small commission at no additional cost to you. Thank you for supporting Rich Texture Crochet!
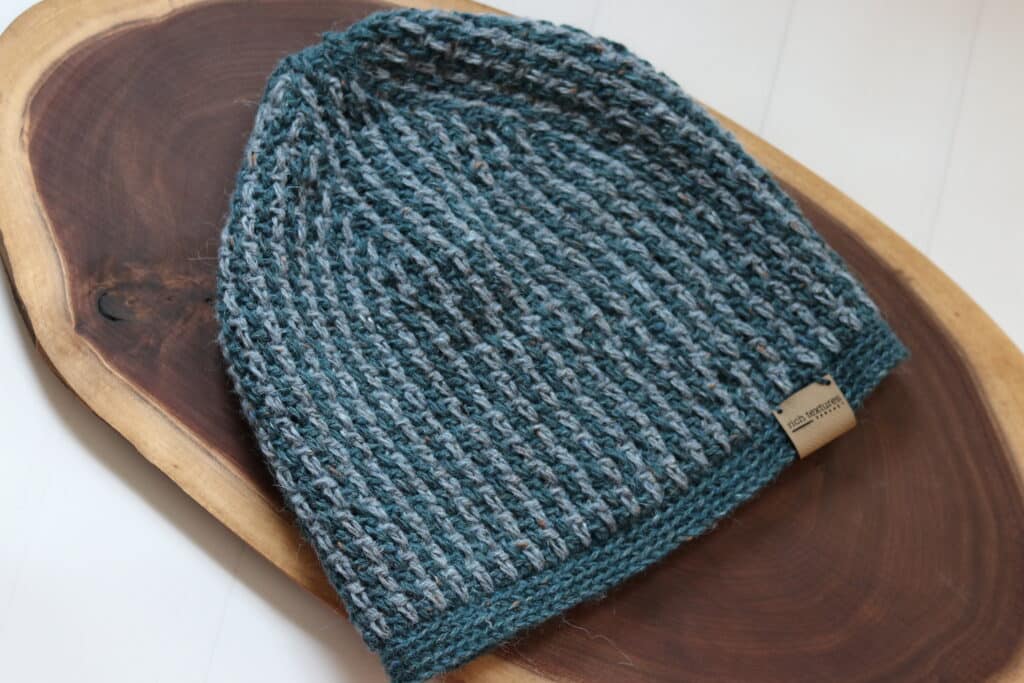
This Cabin Beanie is lightweight and perfect as those warm summer evenings transition into the cooler ones of Autumn!
The Cabin Beanie is designed for both men and women and when worn has a slight slouch to it. It is so comfortable and I know it will quickly become your favourite accessory.
This post contains affiliate links. This means that when you make a purchase through one of these links, Rich Textures Crochet will earn a small commission at no additional cost to yourself. Thank you for supporting Rich Textures Crochet!
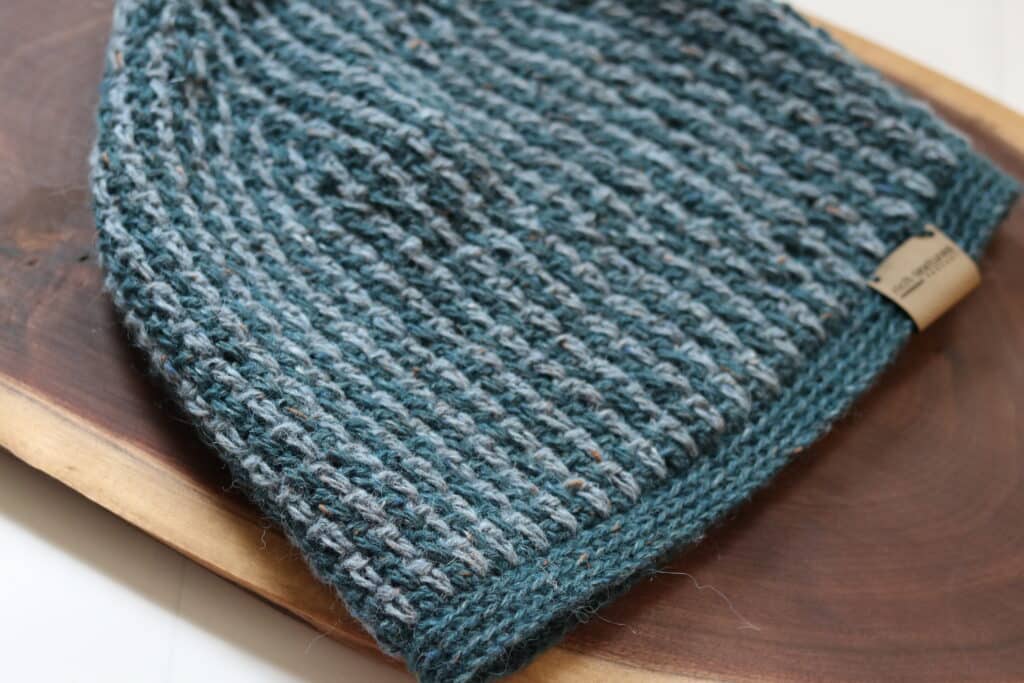
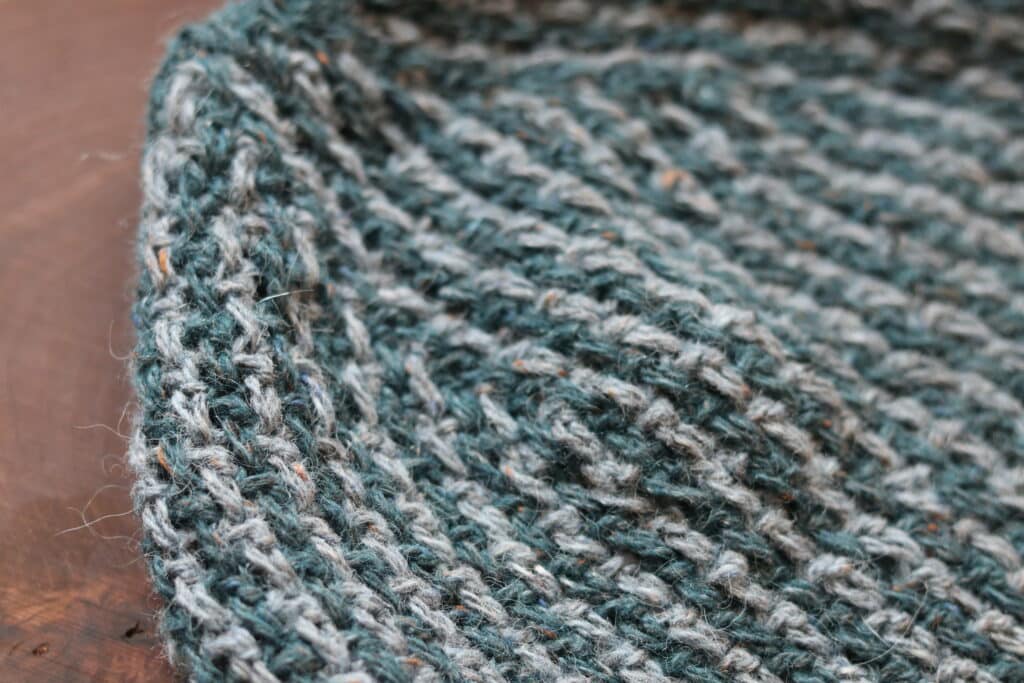
This hat is worked from the brim up and features a subtle, solid texture! It is worked in two different colours of a light DK weight yarn. In the photos here, it has been worked in the Felted Tweed Yarn, which is a wool blended yarn, by Rowan Yarns. In the video tutorial below you will see me working the pattern using a 4mm (G-6) birchwood crochet hook, also by Rowan Yarns.
PDF Copies are also Available:
This pattern will be written out in full followed by a full video tutorial below. If you would like to add this pattern to your library, or purchase an ad free PDF, you may do so from either my Etsy or Ravelry Shop linked below:
Click Here for the Cabin Beanie on Etsy
Click Here for the Cabin Beanie on Ravelry
Thank you so much for stopping by! Be sure to subscribe to my newsletter in the sidebar so that you never miss a new free crochet pattern! If you enjoy this hat pattern, you may also wish to check out my Ice Beanie Crochet Pattern or Men’s Classic Beanie Crochet Pattern.
Enjoy and happy crocheting!
Sarah
Cabin Beanie Crochet Pattern
Skill Level: Intermediate
Gauge: 21 sts x 16 rows of pattern = 4 inches
Finished Size: Approximately 9.75 x 10 inches laid flat; 20-22 inch circumference to fit an adult head
Hook: Size G/6 (4 mm) hook.
Notions: Yarn Needle
Stitches and Abbreviations:
Blo – Back Loop Only
Ch – Chain
Dc – Double Crochet
Dc2tog – Double Crochet Two Stitches Together
Rpt – Repeat
Sc – Single Crochet
Sk – Skip
Sl st – Slip stitch
Yo – Yarn over
Pattern Notes:
- Pattern is written in American English terms.
- Pattern is worked in rounds.
- Ch 1 at beginning of round does not count as stitch.
- Ch 3 counts as a double crochet stitch.
- Weave in ends as needed.
- Do not turn unless stated otherwise.
Free Crochet Pattern:
With Colour A, ch 90. Without twisting the chain, join with a sl st in the first chain to make a ring.
Rnd 1: Ch 1, sc in the 1st ch and in each ch around. Join with a sl st in the 1st st. Do not turn. (90 sts)
Rnds 2-4: Ch 1, working in the blo, sc in each st around. Join with a sl st in the 1st st.
Rnd 5: Ch 4 (Counts as a dc, ch 1), *sk the next st, dc in the next st, ch 1; Rpt from * acround, join with a sl st in the 3rd ch of the starting ch-4. Switch to colour B.
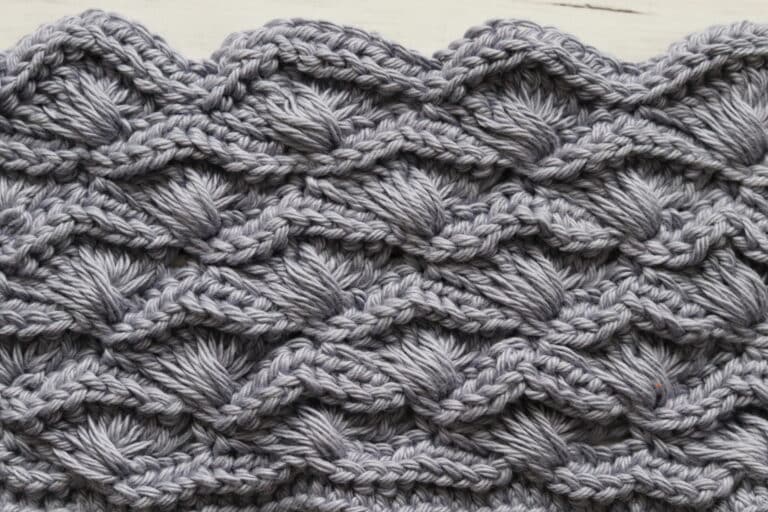
Rnd 6: With colour B, sl st into the 1st ch-1 sp, ch 1, *long dc working over the ch-1 sp and into the skipped st two rows below, ch 1, sk the next dc; Rpt from * around to the final st, ch 1, sk the next st and join with a sl st in the 1st st. Switch to colour A.
Rnd 7: With colour A, sl st into the 1st ch-1 sp, ch 1, *long dc working over the ch-1 sp and into the skipped st two rows below, ch 1, sk the next dc; Rpt from * around to the final st, ch 1, sk the next st and join with a sl st in the 1st st. Switch to colour B.
Rnds 8-25: Repeat rounds 6 and 7 nine more times.
Rnd 26: With colour B, sl st into the 1st ch-1 sp, ch 1, *[long dc working over the ch-1 sp and into the skipped st two rows below, ch 1] 7 times, long dc2tog working over the next 2 ch sps and into the skipped sts two rows below, ch 1; Rpt from * around, join with a sl st in the 1st st. Switch to colour A.
Rnd 27: With colour A, sl st into the 1st ch-1 sp, ch 1, *[long dc working over the ch-1 sp and into the skipped st two rows below, ch 1] 7 times, long dc2tog working over the next 2 ch sps and into the skipped sts two rows below (making sure to work into the sk st in-between the 2 legs of the long dc2tog below), ch 1; Rpt from * around, join with a sl st in the 1st st. Switch to colour B.
Rnd 28: With colour B, sl st into the 1st ch-1 sp, ch 1, *[long dc working over the ch-1 sp and into the skipped st two rows below, ch 1] 6 times, long dc2tog working over the next 2 ch sps and into the skipped sts two rows below; Rpt from * around, join with a sl st in the 1st st. Switch to colour A.
Rnd 29: With colour A, sl st into the 1st ch-1 sp, ch 1, *[long dc working over the ch-1 sp and into the skipped st two rows below, ch 1] 6 times, long dc2tog working over the next 2 ch sps and into the skipped sts two rows below (making sure to work into the sk st in-between the 2 legs of the long dc2tog below); Rpt from * around, join with a sl st in the 1st st. Switch to colour B.
Rnd 30: With colour B, sl st into the 1st ch-1 sp, ch 1, *[long dc working over the ch-1 sp and into the skipped st two rows below, ch 1] 5 times, long dc2tog working over the next 2 ch sps and into the skipped sts two rows below; Rpt from * around, join with a sl st in the 1st st. Switch to colour A.
Rnd 31: With colour A, sl st into the 1st ch-1 sp, ch 1, *[long dc working over the ch-1 sp and into the skipped st two rows below, ch 1] 5 times, long dc2tog working over the next 2 ch sps and into the skipped sts two rows below (making sure to work into the sk st in-between the 2 legs of the long dc2tog below); Rpt from * around, join with a sl st in the 1st st. Switch to colour B.
Rnd 32: With colour B, sl st into the 1st ch-1 sp, ch 1, *[long dc working over the ch-1 sp and into the skipped st two rows below, ch 1] 4 times, long dc2tog working over the next 2 ch sps and into the skipped sts two rows below; Rpt from * around, join with a sl st in the 1st st. Switch to colour A.
Rnd 33: With colour A, sl st into the 1st ch-1 sp, ch 1, *[long dc working over the ch-1 sp and into the skipped st two rows below, ch 1] 4 times, long dc2tog working over the next 2 ch sps and into the skipped sts two rows below (making sure to work into the sk st in-between the 2 legs of the long dc2tog below); Rpt from * around, join with a sl st in the 1st st. Switch to colour B.
Rnd 34: With colour B, sl st into the 1st ch-1 sp, ch 1, *[long dc working over the ch-1 sp and into the skipped st two rows below, ch 1] 3 times, long dc2tog working over the next 2 ch sps and into the skipped sts two rows below; Rpt from * around, join with a sl st in the 1st st. Switch to colour A.
Rnd 35: With colour A, sl st into the 1st ch-1 sp, ch 1, *[long dc working over the ch-1 sp and into the skipped st two rows below, ch 1] 3 times, long dc2tog working over the next 2 ch sps and into the skipped sts two rows below (making sure to work into the sk st in-between the 2 legs of the long dc2tog below); Rpt from * around, join with a sl st in the 1st st. Switch to colour B.
Rnd 36: With colour B, sl st into the 1st ch-1 sp, ch 1, *[long dc working over the ch-1 sp and into the skipped st two rows below, ch 1] 2 times, long dc2tog working over the next 2 ch sps and into the skipped sts two rows below; Rpt from * around, join with a sl st in the 1st st. Switch to colour A.
Rnd 37: With colour A, sl st into the 1st ch-1 sp, ch 1, *[long dc working over the ch-1 sp and into the skipped st two rows below, ch 1] 2 times, long dc2tog working over the next 2 ch sps and into the skipped sts two rows below (making sure to work into the sk st in-between the 2 legs of the long dc2tog below); Rpt from * around, join with a sl st in the 1st st. Switch to colour B.
Rnd 38: With colour B, sl st into the 1st ch-1 sp, ch 1, *long dc working over the ch-1 sp and into the skipped st two rows below, ch 1, long dc2tog working over the next 2 ch sps and into the skipped sts two rows below; Rpt from * around, join with a sl st in the 1st st. Switch to colour A.
Rnd 39: With colour A, sl st into the 1st ch-1 sp, ch 1, *long dc working over the ch-1 sp and into the skipped st two rows below, ch 1, long dc2tog working over the next 2 ch sps and into the skipped sts two rows below (making sure to work into the sk st in-between the 2 legs of the long dc2tog below); Rpt from * around, join with a sl st in the 1st st. Fasten off colour B.
Rnd 40: With colour A, sl st into the 1st ch-1 sp, *long dc2tog working over the next 2 ch sps and into the skipped sts two rows below; Rpt from * around, join with a sl st in the 1st st.
Fasten off leaving a long tail. Use the long tail to sew the top of your hat closed. Weave in your ends.
Video Tutorial:
The photographs and pattern contained in this document are the property of Rich Textures Crochet.
This pattern is for personal use only.
No unauthorized reproduction, in whole or in part, or distribution of this pattern or content is permitted. ALL FINISHED PRODUCTS from this pattern can be used for local sales and sold online.
Thank you so much for supporting Rich Textures Crochet! To stay in touch or see more great products, be sure to visit me on Facebook and Instagram (Rich Textures Crochet). Thanks again! Happy Crocheting!



Hi Sarah, I made this beanie and loved it so much that I made a matching cowl… I did not want to put on Facebook since the original pattern is yours… it’s in my Ravelry page at Kevin Montreal or just check the projects attached to the cabin beanie. It was a simple cowl and I just made the same border on both ends.
That sounds wonderful! I will take a look!
Hi Sarah, I am going to attempt making this hat. I need to clarify with you whether the chain 1 is where I put my slip stitch when joining. Or do I out the slip stitch in the stitch right after the chain 1?
Eh: Ch 1, working in the blo, sc in each st around. Join with a sl st in the 1st st.
Thank you,
Tracy
Hi, I’d like to make this hat about 10% wider. Would it work to start with 100 stitches instead of 90? Is there a better strategy? Thank you! Kathy