
This post contains affiliate links. This means that when you purchase through one of these links we will receive a small commission at no additional cost to you. Thank you for supporting Rich Texture Crochet!
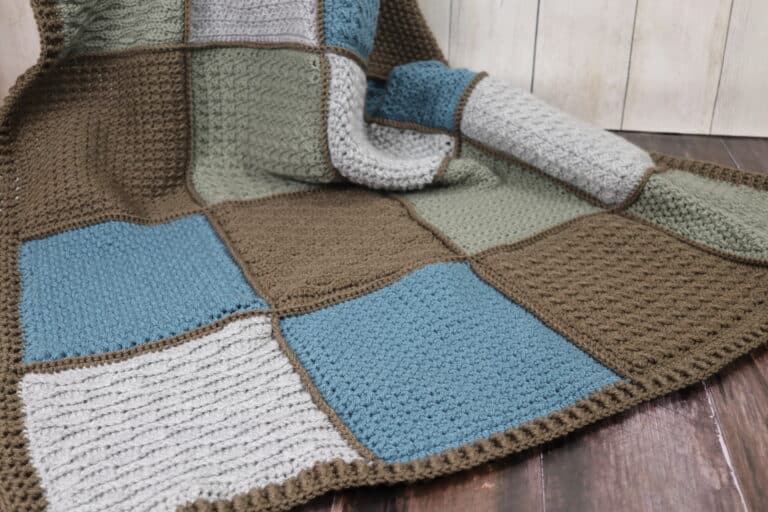
Are you looking for the perfect gender neutral baby blanket crochet pattern? This adorable bunny blanket was crocheted with my own expected baby in mind!
I will be honest, with each of my other children we decided to find out whether or not we were having a girl or a boy at the first opportunity. This time, we decided to take a walk on the wild side and go for the surprise!
Gender Neutral Baby Blanket:
Even now as I sit here typing this post I can feel my baby kicking a squirming and I can’t help but wonder, will it be a boy or girl? We will definitely be excited and happy with either, but it’s still exciting to make guesses.
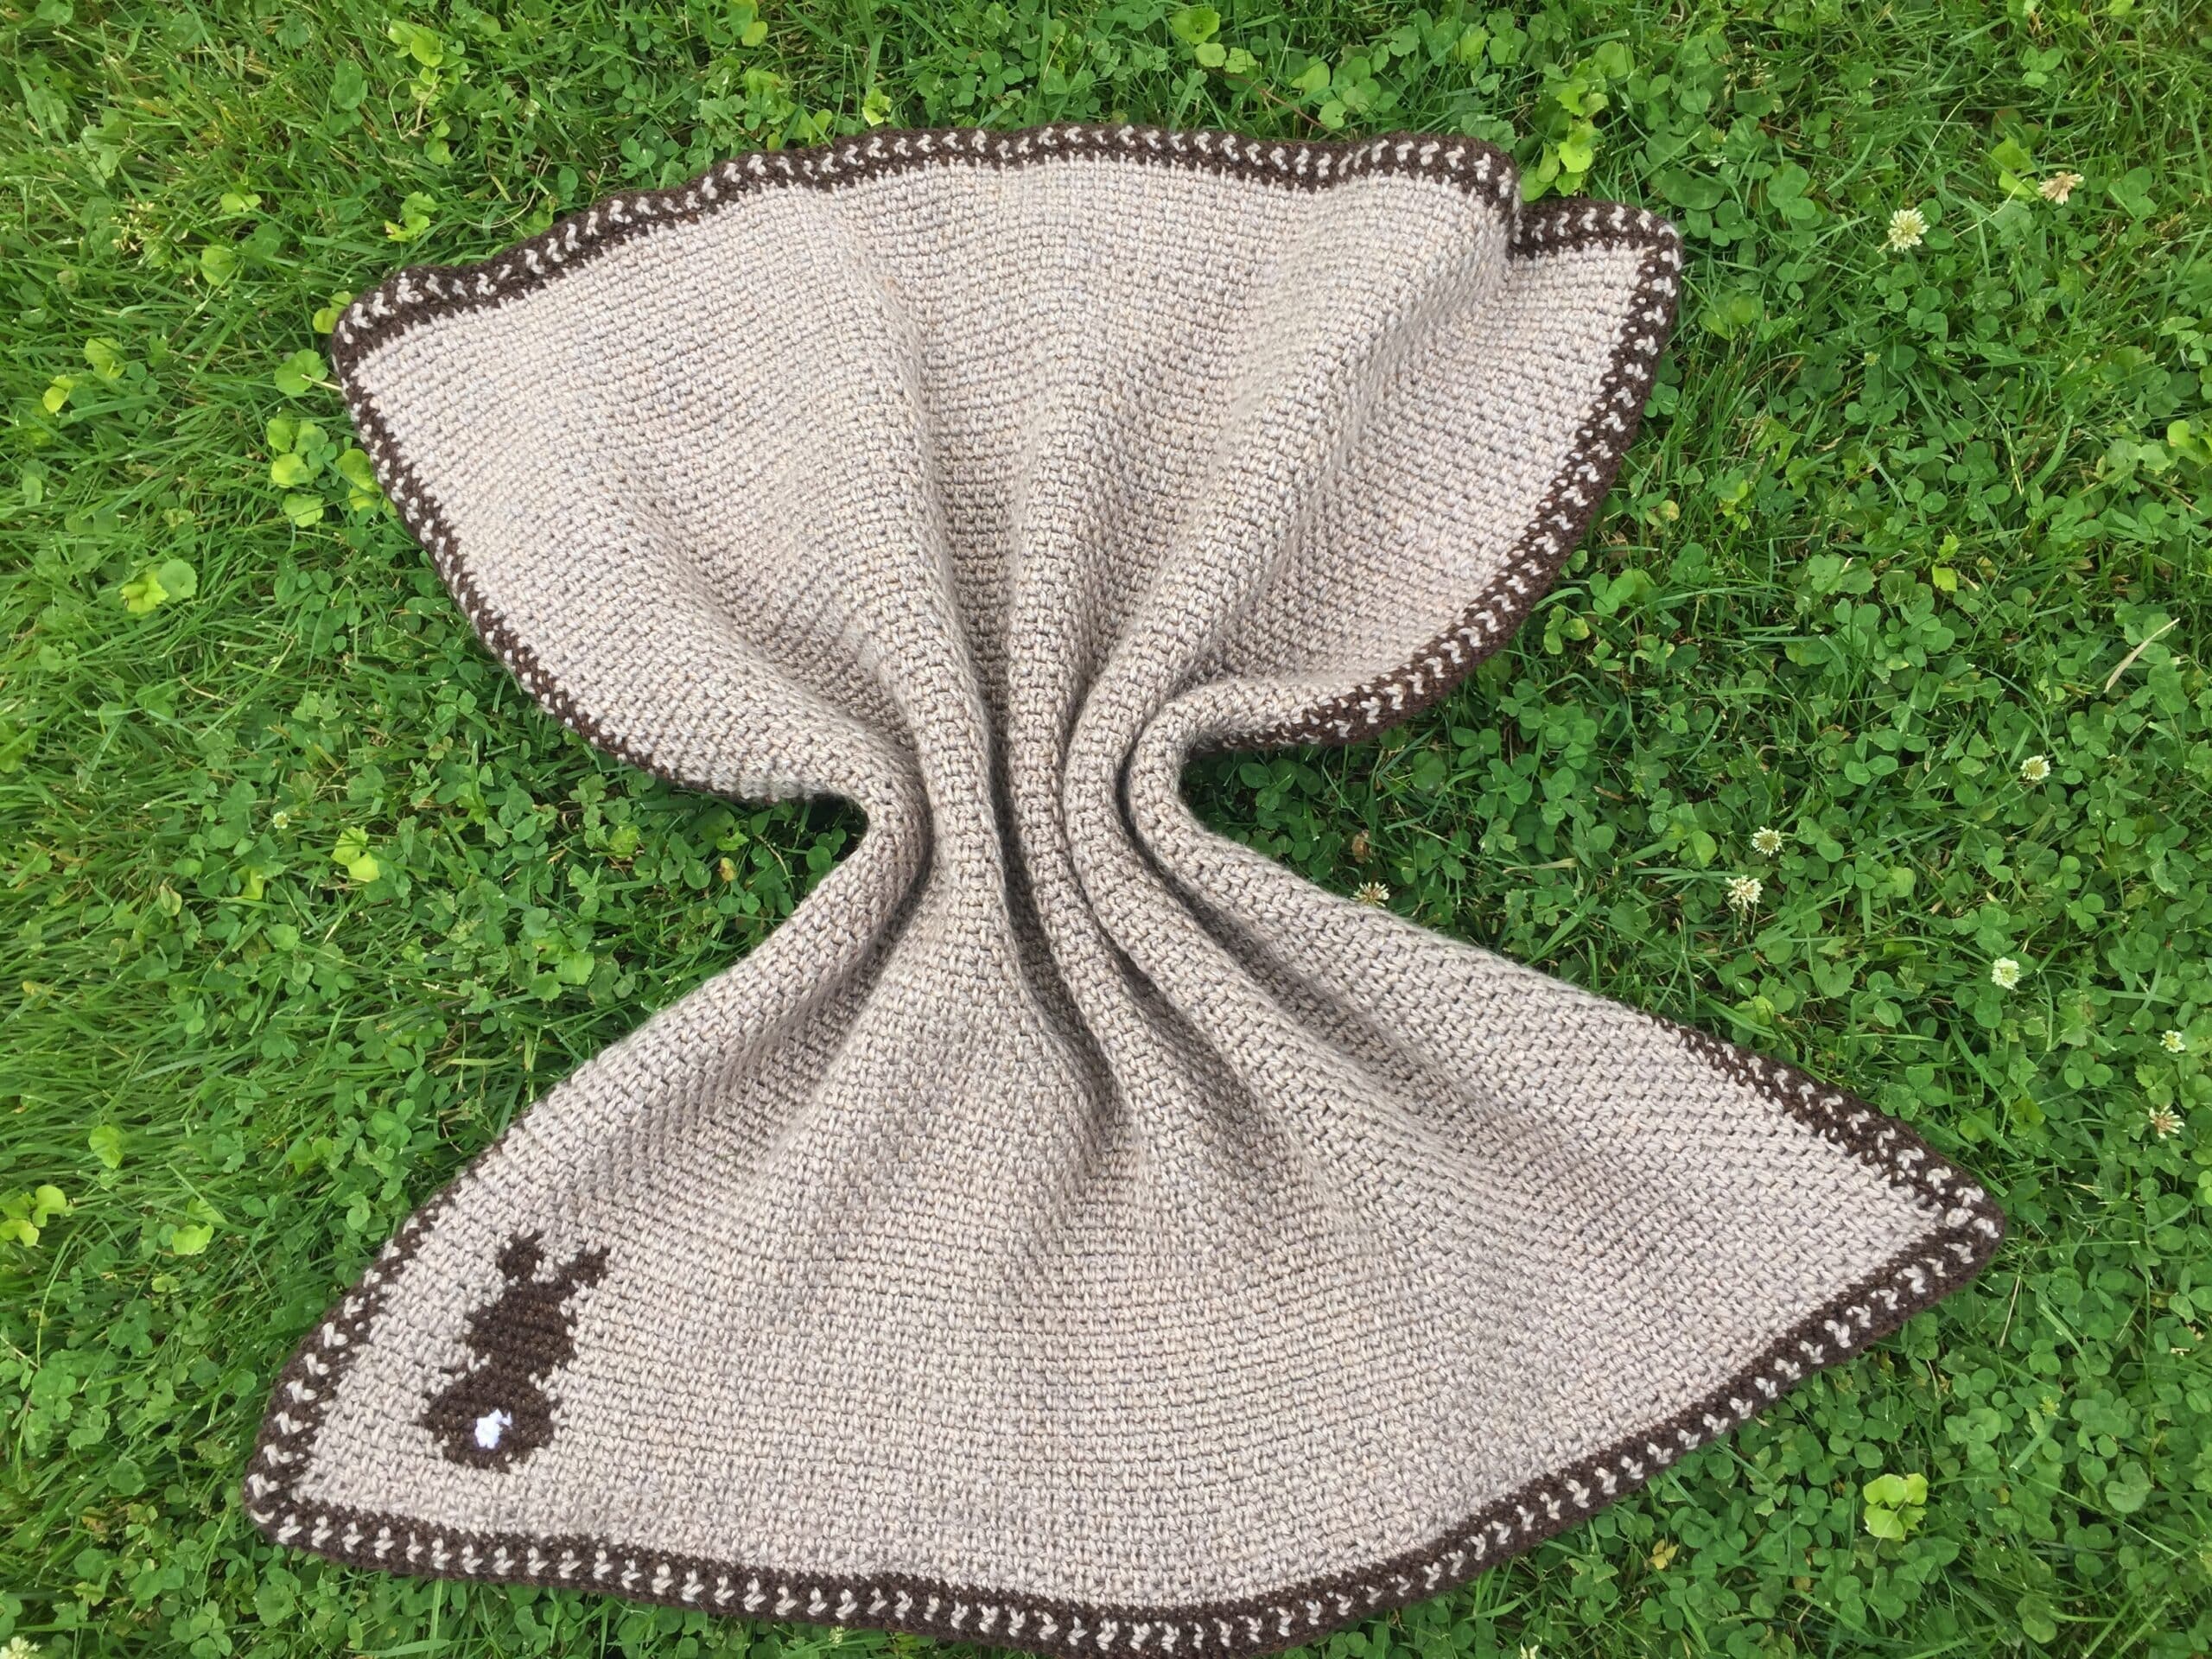
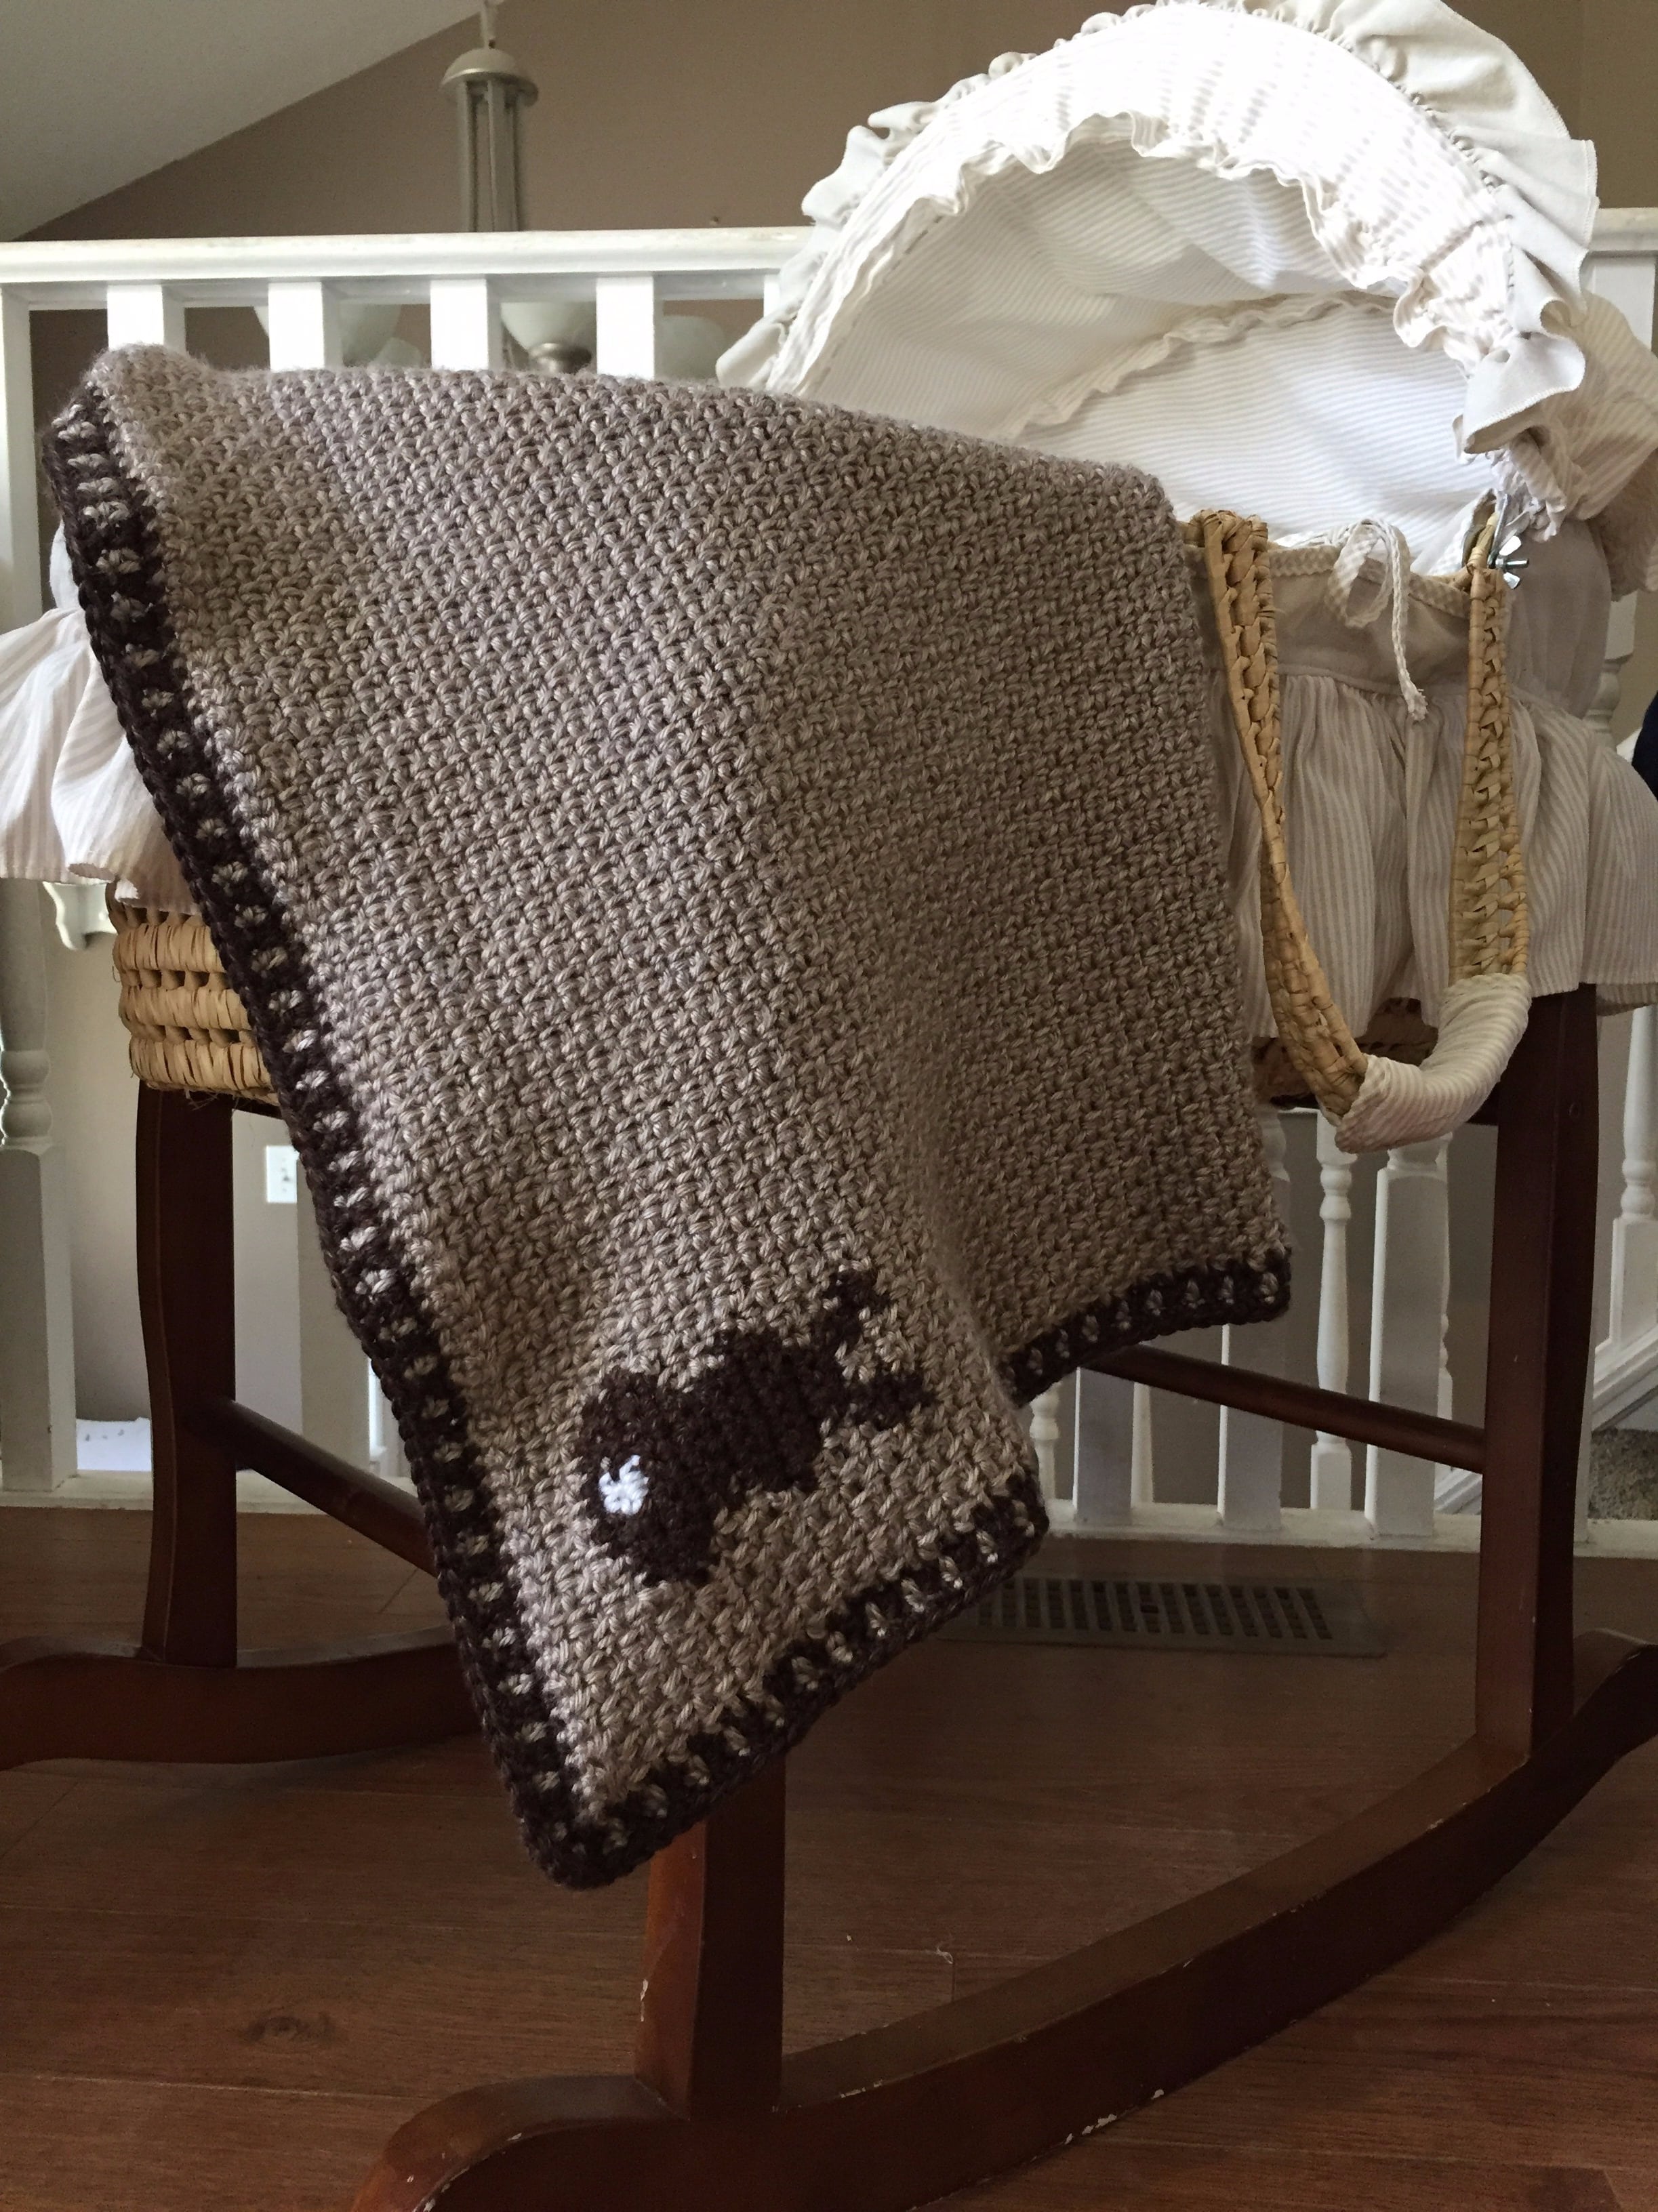
Not knowing whether this baby is a boy or girl led me to want to design a gender neutral baby blanket (and eventually a matching hat that will follow soon!), one I hope that will be cherished for years to come.
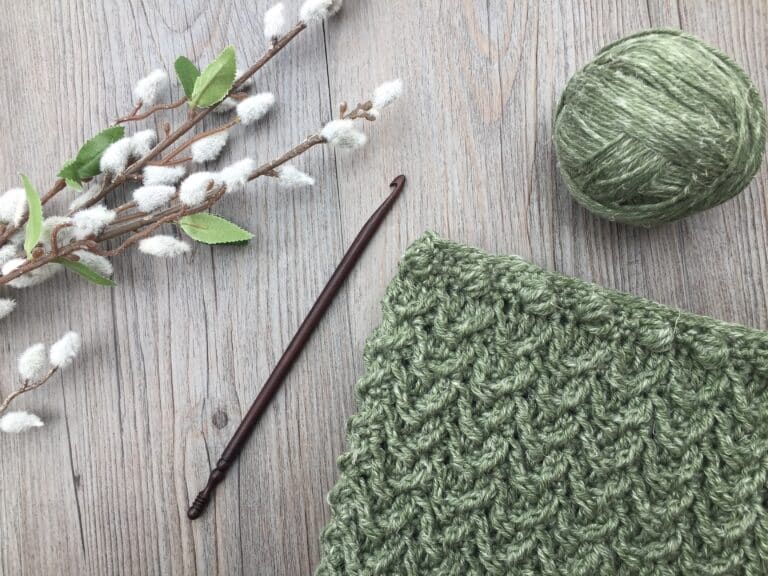
Yarn: Lion Brand Heartland
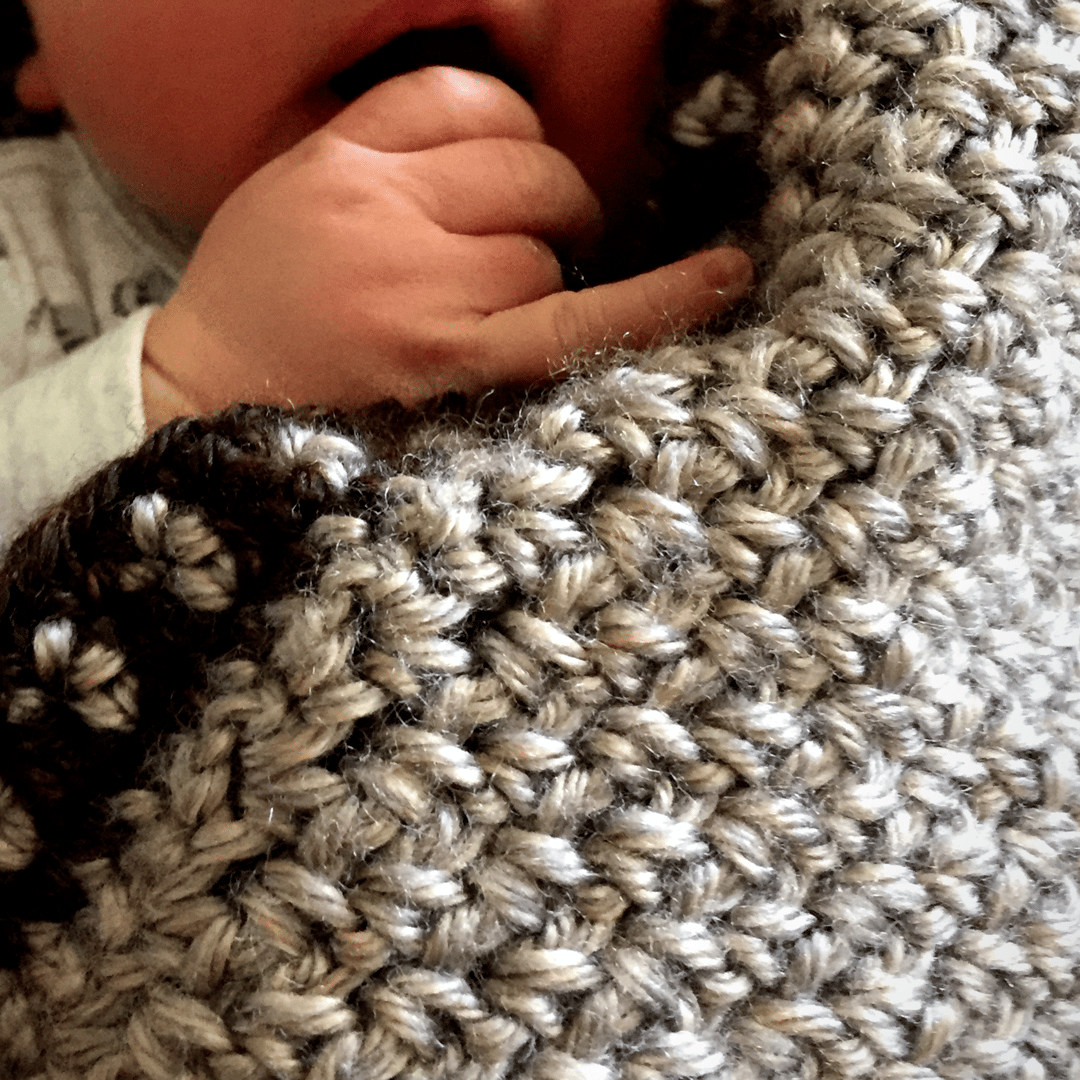
This blanket is worked using Lion Brand’s Heartland yarn which is super soft and comes in a variety of great colours. It is a worsted/medium weight yarn that is 100% acrylic.
The Design:
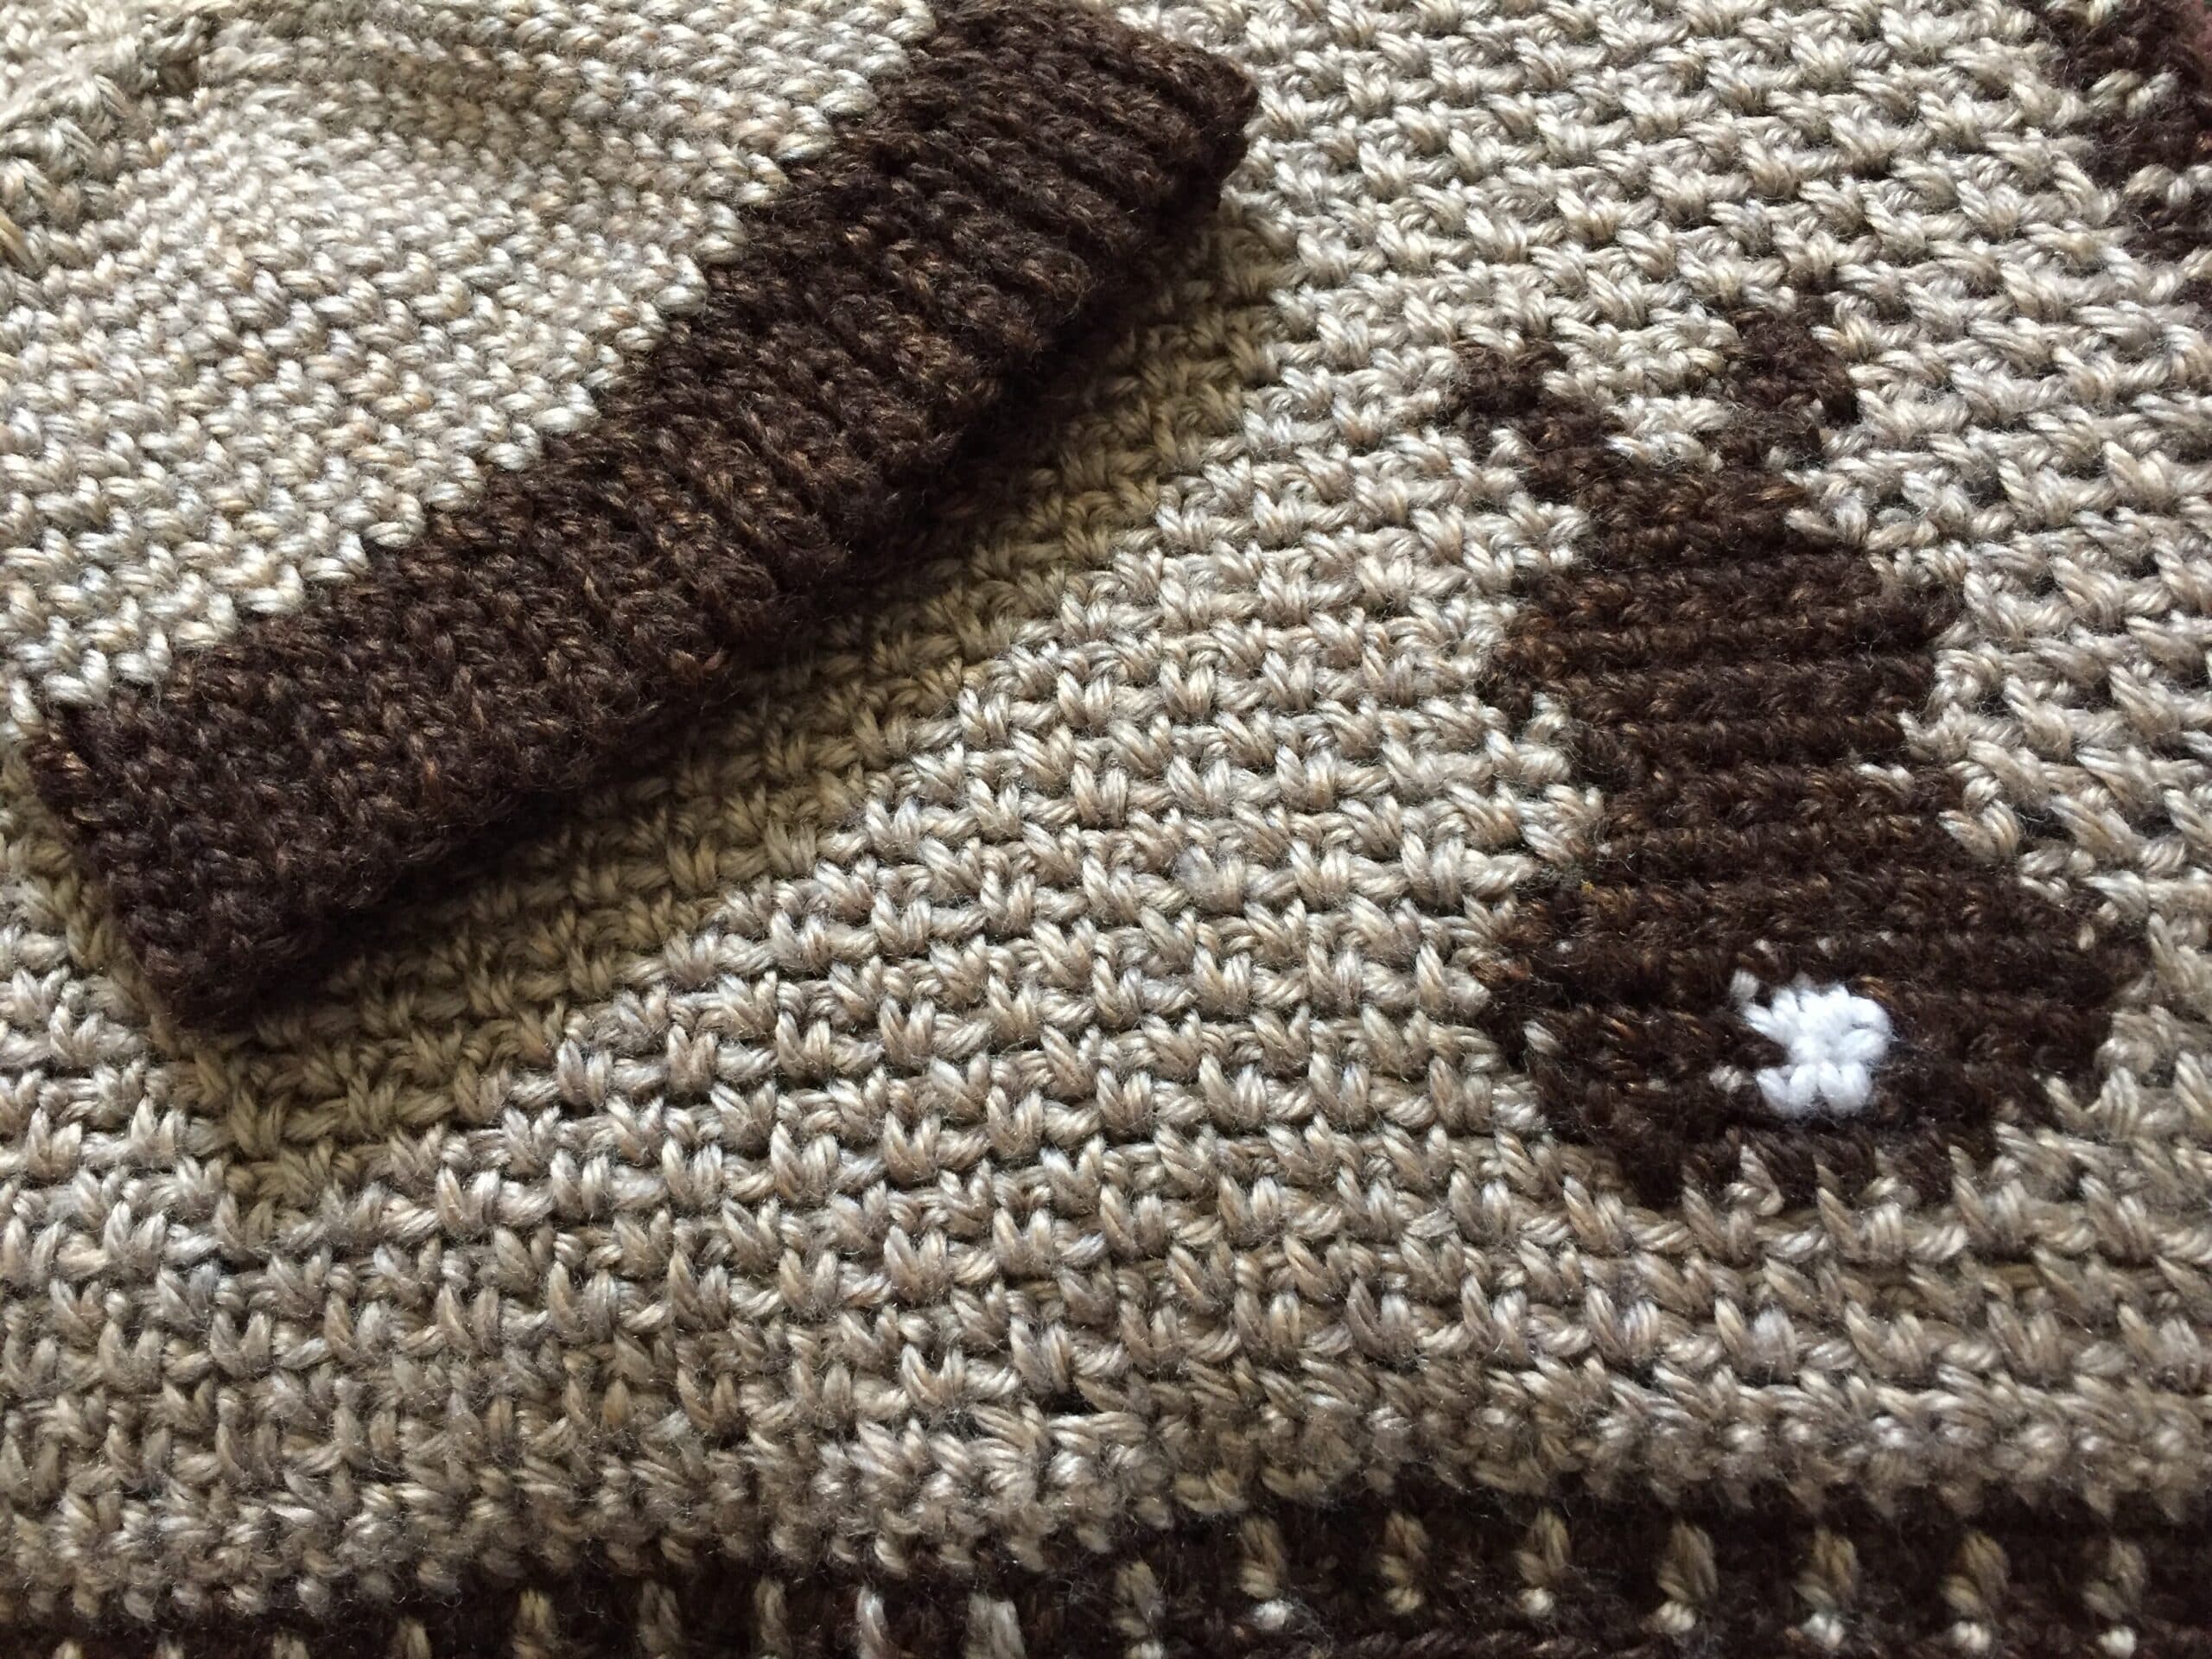
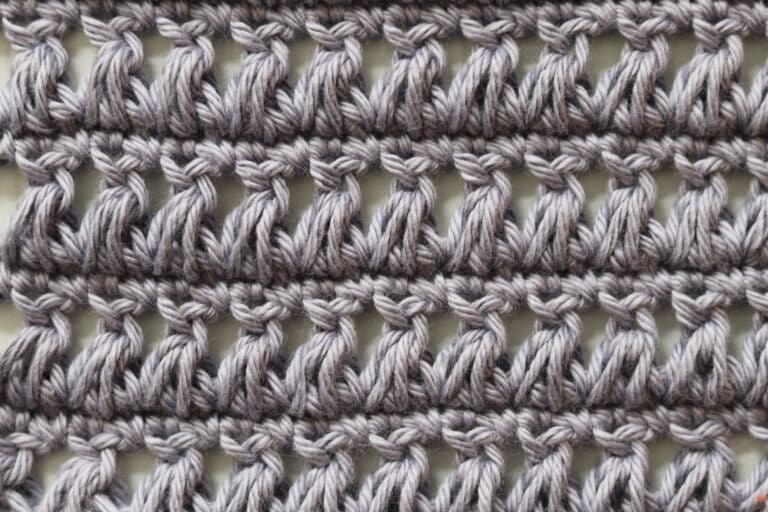
I’ve worked the blanket using the simple moss stitch pattern, adorning the blanket with a bunny silhouette worked in single crochet stitches. In total you will need 3 colours for your own blanket. The white used in the tail of mine was from some scrap yarn that I had lying around the house. You will need a very small amount!
Along with your yarn you will need a 6 mm crochet hook. All the details including the written pattern will be provided below.
PDF Download:
Should you wish to add this pattern to your library or purchase a convenient PDF download, you may do so from either my Etsy or Ravelry shop (for $2.50 CAD) which you will find linked below. Also don’t forget to check out the free video tutorial following the written pattern.
Click here for the Bunny Silhouette Baby Blanket on Etsy
Click here for the Bunny Silhouette Baby Blanket on Ravelry
Thank you so much for stopping by! Until next time, happy Crocheting!
Sarah
EDIT: Update!! After writing this post, Baby arrived healthy! And it’s a BOY 🙂
Bunny Silhouette Baby Blanket:
Skill Level: Easy
Gauge: Blanket: 17 sts x 17 rows moss stitch = 4 inches
Finished Size: 28 x 28 inches
Yarn: Heartland® by Lion Brand® (100% Acrylic; 5 oz, 142 g; Approx. 251 yds, 230 m). Worsted/medium Weight (4). 3 balls of colour A: Grand Canyon; 1 Ball colour B: Sequoia; A very small amount of colour C: White – I used some scrap yarn I had lying around the house!
Hook: Size J/10 (6 mm) Hook. Adjust hook size if necessary to obtain correct gauge.
Notions: Yarn Needle.
Stitches and Abbreviations:
Ch – Chain
Hdc – Half Double Crochet
Rpt – Repeat
Sc – Single Crochet
Sk – Skip
Sl St – Slip Stitch
Yo – Yarn Over
Pattern Notes:
- Pattern is written in American English terms.
- Body of blanket is worked in rows.
- Edging of blanket is worked in a round.
- Ch 1 at the beginning of the row does not count as a st.
- Weave in ends as needed.
Free Crochet Pattern:
With Colour A, ch 124.
Row 1: Sc in the 2nd ch from hook and in each ch across; ch 2, turn. (123 sts)
Row 2: Sk the 1st st, * sk the next st, sc in the next st, ch 1; rpt from * across, ch 2, turn.
Row 3: Sk the 1st sc, * sc in the next ch-1 sp, ch 1, sk the next sc; rpt from * across, work final sc in the beg ch-2 sp, ch 2, turn.
Rows 4 – 5: Rpt row 3.
Bunny Silhouette:
Row 6: Sk the 1st sc, [sc in the next ch-1 sp, ch 1, sk the next sc] five times changing to colour B in the final sc, with colour B sc in each of the next 6 sts and ch-1 sts changing to colour A in the final st, with colour A * ch 1, sk the next sc, sc in the next ch-1 sp; rpt from * across, work final sc in the beg ch-2 sp, ch 2, turn.
Row 7: Sk the 1st sc, * sc in the next ch-1 sp, ch 1, sk the next sc; rpt from * across to the ch sp prior to where the bunny silhouette begins in the row below and switch to colour B. With colour B sc in each of the next 3 sts, switch to colour C. With colour C sc in each of the next 2 sts, switch to colour B. With colour B sc in each of the next 3 sts, switch to colour A. With colour A [sc in the next ch-1 sp, ch 1, sk the next sc] 4 times, sc in the beg ch-2 sp, ch 2, turn.
Row 8: Sk the 1st sc, [sc in the next ch-1 sp, ch 1, sk the next sc] five times changing to colour B in the final sc. With colour B sc in each of the next 4 sts and ch-1 sps, change to colour C. With colour C sc in each of the next 2 sts, change to colour B. With colour B sc in each of the next 4 sts, change to colour A. With colour A, * ch 1, sk the next sc, sc in the next ch-1 sp; rpt from * across, work final sc in the beg ch-2 sp, ch 2, turn.
Row 9: Sk the 1st sc, * sc in the next ch-1 sp, ch 1, sk the next sc; rpt from * across to the st above where the bunny silhouette begins in the row below and switch to colour B. With colour B sc in each of the next 10 sts, switch to colour A. With colour A [ch 1, sk the next sc, sc in the next ch-1 sp] 3 times, sc in the beg ch-2 sp, ch 2, turn.
Row 10: Sk the 1st sc, [sc in the next ch-1 sp, ch 1, sk the next sc] four times, sc in the next st changing to colour B. With colour B sc in each of the next 8 sts, change to colour A. With colour A, sc in the next st, * ch 1, sk the next sc, sc in the next ch-1 sp; rpt from * across, work final sc in the beg ch-2 sp, ch 2, turn.
Row 11: Sk the 1st sc, * sc in the next ch-1 sp, ch 1, sk the next sc; rpt from * across to the st above where the bunny silhouette begins in the row below, ch 1, sk the next st, sc in the next st and switch to colour B. With colour B sc in each of the next 6 sts, switch to colour A. With colour A [sc in the next ch-1 sp, ch 1, sk the next sc] 4 times, sc in the beg ch-2 sp, ch 2, turn.
Row 12: Sk the 1st sc, [sc in the next ch-1 sp, ch 1, sk the next sc] five times, change to colour B. With colour B sc in each of the next 4 sts, change to colour A. With colour A, sc in the next st, * ch 1, sk the next sc, sc in the next ch-1 sp; rpt from * across, work final sc in the beg ch-2 sp, ch 2, turn.
Row 13: Sk the 1st sc, * sc in the next ch-1 sp, ch 1, sk the next sc; rpt from * across to the st before where the bunny silhouette begins in the row below, and switch to colour B. With colour B sc in each of the next 6 sts, switch to colour A. With colour A [sc in the next ch-1 sp, ch 1, sk the next sc] 4 times, sc in the beg ch-2 sp, ch 2, turn.
Row 14: Sk the 1st sc, [sc in the next ch-1 sp, ch 1, sk the next sc] four times, sc in the next st changing to colour B. With colour B sc in each of the next 8 sts, change to colour A. With colour A, sc in the next st, * ch 1, sk the next sc, sc in the next ch-1 sp; rpt from * across, work final sc in the beg ch-2 sp, ch 2, turn.
Row 15: Sk the 1st sc, * sc in the next ch-1 sp, ch 1, sk the next sc; rpt from * across to the st where the bunny silhouette begins in the row below and switch to colour B. With colour B sc in each of the next 8 sts, switch to colour A. With colour A [ch 1, sk the next sc, sc in the next ch-1 sp] 3 times, sc in the beg ch-2 sp, ch 2, turn.
Row 16: Sk the 1st sc, [sc in the next ch-1 sp, ch 1, sk the next sc] four times, sc in the next st changing to colour B. With colour B sc in each of the next 6 sts, change to colour A. With colour A, sc in the next st, * ch 1, sk the next sc, sc in the next ch-1 sp; rpt from * across, work final sc in the beg ch-2 sp, ch 2, turn.
Row 17: Sk the 1st sc, * sc in the next ch-1 sp, ch 1, sk the next sc; rpt from * across to the next st after where the bunny silhouette begins in the row below and switch to colour B. With colour B sc in each of the next 4 sts, switch to colour A. With colour A sc in the next st, [ch 1, sk the next sc, sc in the next ch-1 sp] 3 times, sc in the beg ch-2 sp, ch 2, turn.
Row 18: Sk the 1st sc, [sc in the next ch-1 sp, ch 1, sk the next sc] four times, sc in the next st changing to colour B. With colour B sc in each of the next 4 sts, change to colour A. With colour A, sc in the next st, * ch 1, sk the next sc, sc in the next ch-1 sp; rpt from * across, work final sc in the beg ch-2 sp, ch 2, turn.
Row 19: Sk the 1st sc, * sc in the next ch-1 sp, ch 1, sk the next sc; rpt from * across to the st before where the bunny silhouette begins in the row below and switch to colour B. With colour B sc in each of the next 2 sts, switch to colour A. With Colour A, sc in each of the next 2 sts, switch to colour B. With colour B, sc in each of the next 2 sts, switch to colour A. With colour A [ch 1, sk the next sc, sc in the next ch-1 sp] 3 times, sc in the beg ch-2 sp, ch 2, turn.
Row 20: Sk the 1st sc, [sc in the next ch-1 sp, ch 1, sk the next sc] three times changing to colour B. With colour B sc in each of the next 3 sts, change to colour A. With Colour A, sc in each of the next 2 sts, change to colour B. With colour B, sc in each of the next 3 sts, change to colour A. With colour A, sc in the next st, * ch 1, sk the next sc, sc in the next ch-1 sp; rpt from * across, work final sc in the beg ch-2 sp, ch 2, turn.
Row 21: Sk the 1st sc, * sc in the next ch-1 sp, ch 1, sk the next sc; rpt from * across to the st before where the bunny silhouette begins in the row below and switch to colour B. With colour B sc in each of the next 2 sts, switch to colour A. With Colour A, sc in each of the next 3 sts, switch to colour B. With colour B, sc in each of the next 2 sts, switch to colour A. With colour A sc in the next st, [ch 1, sk the next sc, sc in the next ch-1 sp] 2 times, sc in the beg ch-2 sp, ch 2, turn.
Rows 22-116: Sk the 1st sc, * sc in the next ch-1 sp, ch 1, sk the next sc; rpt from * across, work final sc in the beg ch-2 sp, ch 2, turn.
Fasten off and weave in ends.
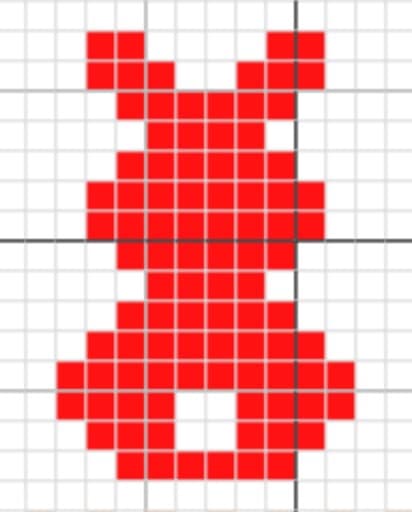
CHART: One block = 1 sc
Edging (Worked in rounds):
With right side facing, join Colour B in the top right corner st with a sl st. Ch 1.
Rnd 1: Sc in the same st as joining and each st and ch-1 sp across, work 3 sc in the corner st, work 118 sc evenly along the side of blanket, work 3 sc in the corner st, sc in each st and ch-1 sp across, work 3 sc in the corner st, work 118 sc evenly along the opposite side of blanket, work 2 sc in the final corner st, join with a sl st in the first st.
Rnd 2: With colour B, ch 1, hdc in the first st, *change to colour A, hdc in the next st, change to colour B, hdc in the next st; rpt from * all the way around your blanket working 2 hdc in each corner st, join with a sl st in the first st, and continue working with colour B. Fasten off colour A and weave in ends.
Rnd 3: With Colour B, sc in each st all the way around working 3 sc in each corner st. Fasten off and weave in ends. Block if desired.
Free Video Tutorial:


One Comment