This post contains affiliate links. This means that when you purchase through one of these links we will receive a small commission at no additional cost to you. Thank you for supporting Rich Texture Crochet!
Welcome to part two of week three in the Wonderful Hats Crochet Along! Today we will learn how to crochet the Blake Scarf.
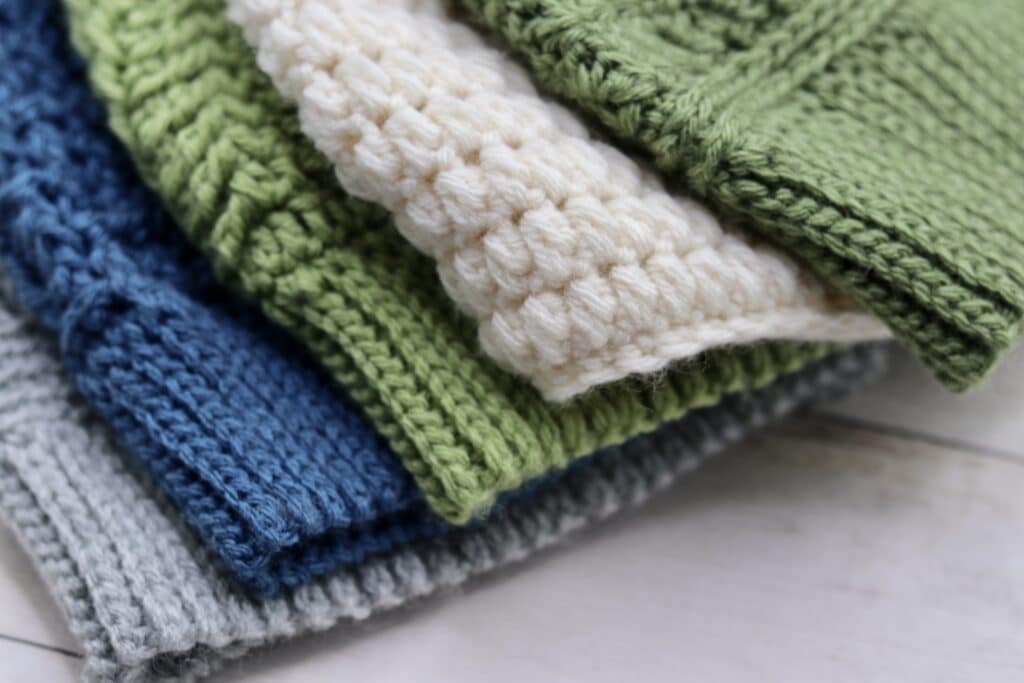
This past week we learned the third crochet hat in this year’s crochet along. Today we will take that same great texture and apply it to this beautiful scarf.
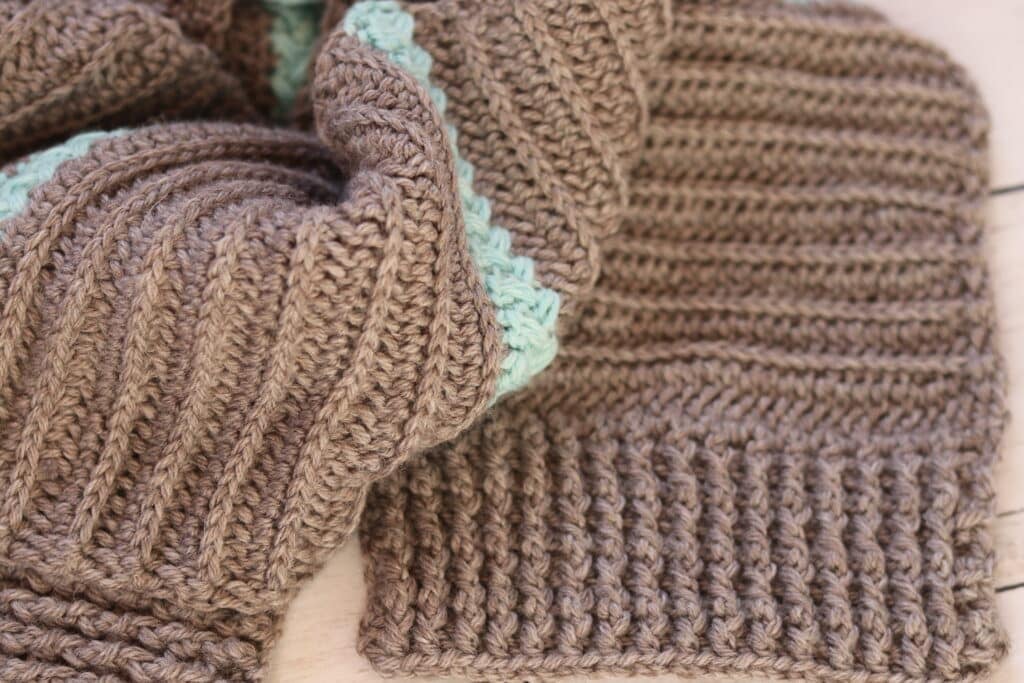
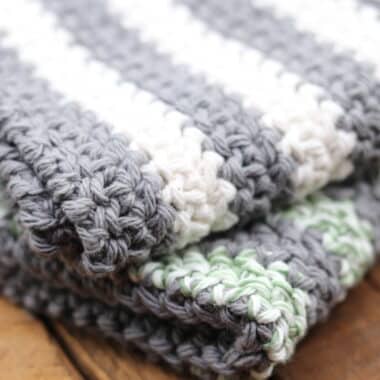
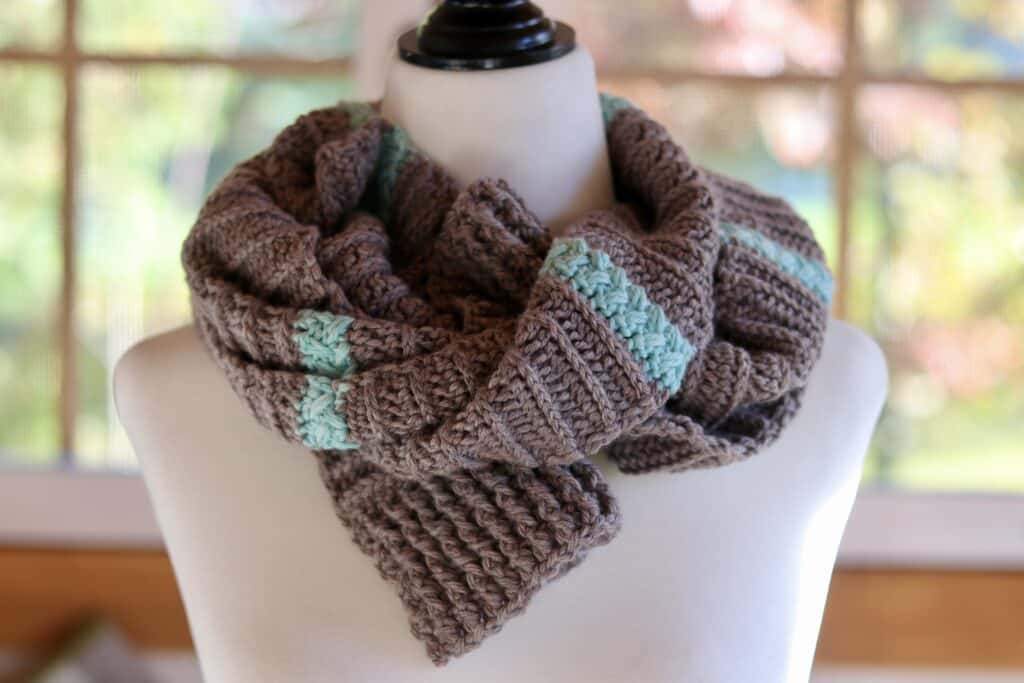
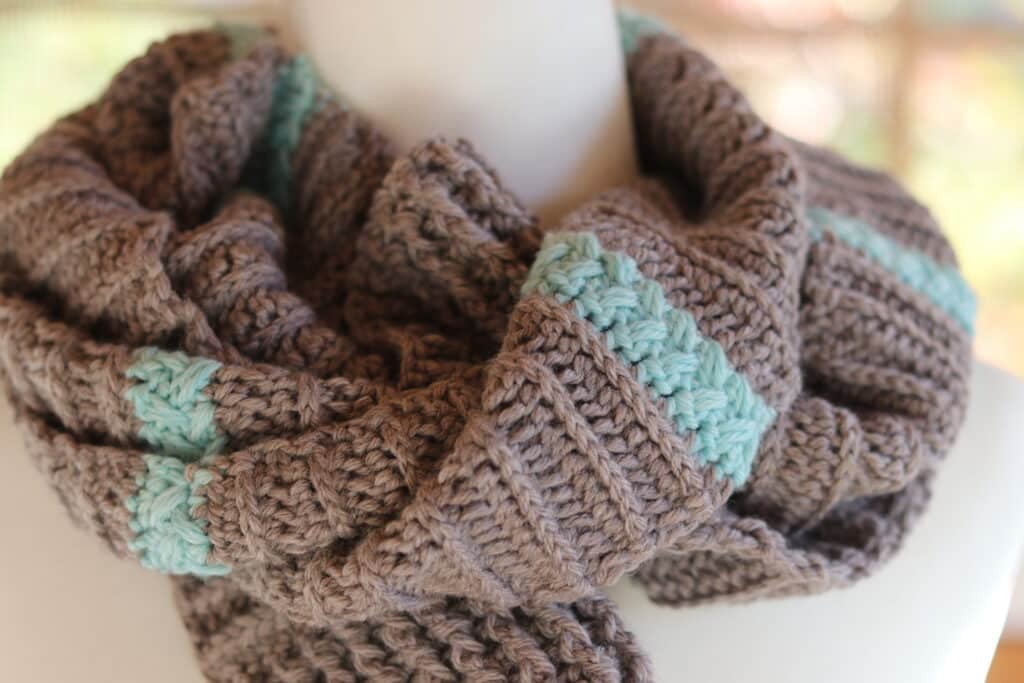
The Blake Scarf is worked from the short ends. You will start by working a double crochet ribbing and then end with the same ribbing. It really ties it all together.
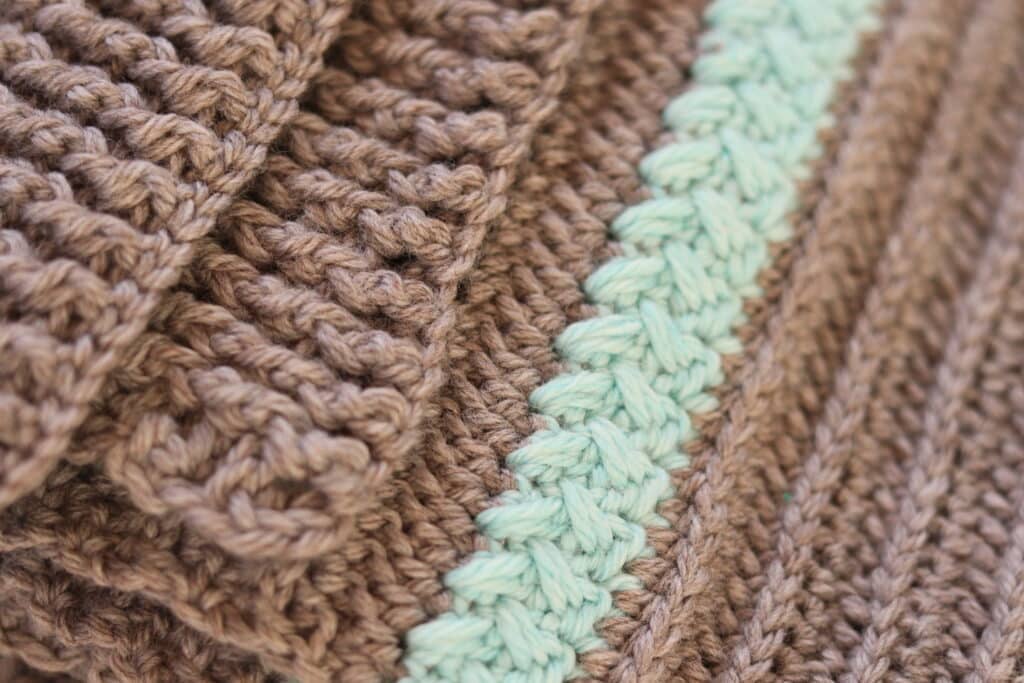
I worked the design in two colours alternating between rows of half double crochet in the third loop and the crossed spiked half double crochet stitches that we saw in the hat.
The result is a beautiful double sided texture in a scarf that goes great with your Blake Beanie!
The Wonderful Hats Crochet Along:
Welcome to week three of the Wonderful Hats Crochet Along! If this is your first time hearing about the crochet along, don’t worry! All of the crochet patterns will remain free here on Rich Textures Crochet long after the event has finished.
If you missed the introduction post with all of the details, you can find it here: Introduction to the 2026 Wonderful Hats Crochet Along.
So far we have worked the Jordan Beanie crochet pattern and the Jordan Scarf Crochet Pattern, the Robin Beanie and the Robin Scarf Pattern, and the Blake Beanie.
PDF Copies are available:
The crochet pattern for the Blake Scarf will be written out in full below followed by a free video tutorial. The pattern is free to follow on my site and will always be free! If, however, you would like a printable copy, you may purchase one from my Etsy and Ravelry Shops linked below:
CLICK HERE TO PURCHASE THE CROCHET PATTERN FOR THE BLAKE SCARF ON ETSY
CLICK HERE TO PURCHASE THE CROCHET PATTERN FOR THE BLAKE SCARF ON RAVELRY
Thank you so much for stopping by! Please don’t forget to sign up for my email newsletter so that you never miss a new free crochet pattern.
Happy Crocheting!
Sarah
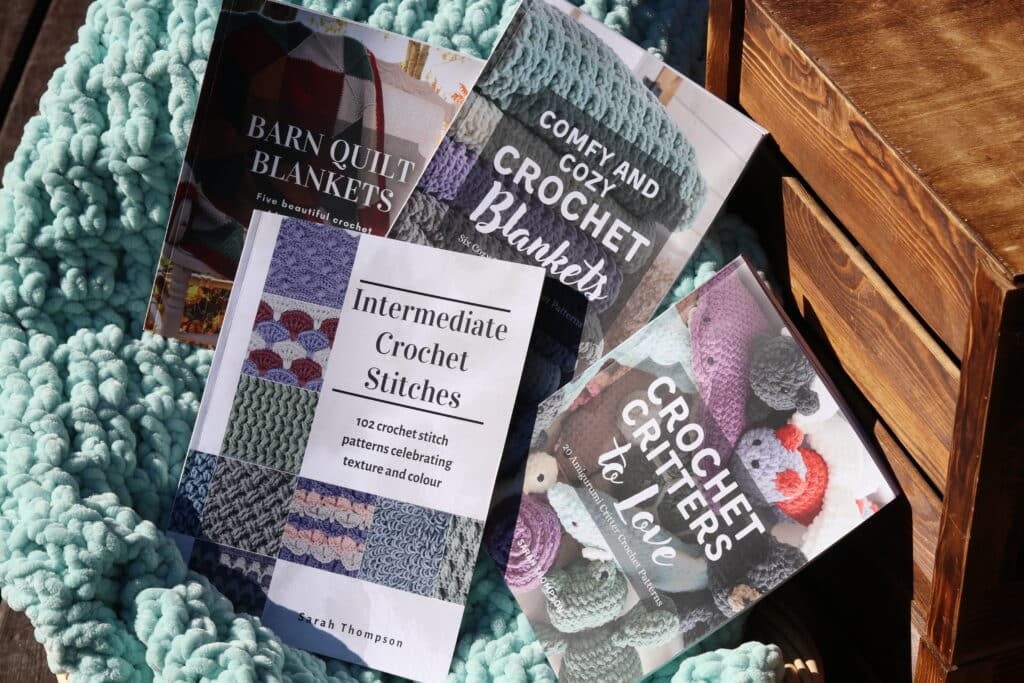
Did you know? I now have four crochet pattern books available on Amazon in paperback and ebook format! You can check them all out on my storefront here: Sarah Thompson Author Profile
Blake Scarf Crochet Pattern:
Skill Level: Intermediate
Gauge: 20 sts x 13 rows of hdc in 3rd lp = 4 inches
Finished Size: Approximately 5.5 x 52 inches.
Yarn: Swish Worsted Weight by KnitPicks® (110 yds; 50g; 100% Fine Superwash Merino Wool; (4) worsted weight). You will need approximately 440 yards (4 balls) divided with colour A at 330 yards and colour B at 110 yards. Colours Shown: Colour A: Squirrel Heather and Colour B: Wonderland Heather
Hook: Size H/8 (5 mm) hook.
Notions: Yarn Needle
Stitches and Abbreviations:
3rd Lp – Third Loop (To find the “3rd loop,” looking at your hdc st below, you will see a loop running horizontally below the front loop. This is your 3rd loop and you will work the stitch into it only as directed.)
Bpdc – Back Post Double Crochet
Ch – Chain
Dc – Double Crochet
Fpdc – Front Post Double Crochet
Hdc – Half Double Crochet
Lp – Loop
Rpt – Repeat
Sc – Single Crochet
Sk – Skip
Sl st – Slip stitch
Yo – Yarn over
Pattern Notes:
- Pattern is written in American English terms.
- Pattern is worked in rows, as one piece, from the bottom up to the top.
- Ch 1 at beginning of row does not count as stitch.
- No need to weave in your ends! At the end of each row the tails will be used to create a short fringe.
- When fastening off and reattaching your yarn, leave about a six inch tail.
- Turn your work as directed.
- To change the size of your scarf, you will need a multiple of 2 stitches for your foundation chain.
Free Crochet Pattern:
With colour A, ch 36
Row 1: Dc in the 4th ch from your hook and in each ch across. Ch 1, turn. (34 sts)
Rows 2-8: Hdc in the 1st st, *fpdc in the next st, bpdc in the next st; Rpt from * across until 1 st remains, hdc in the final st. Ch 1, turn.
Row 9: Hdc in the 1st st and in each st across. Ch 1, turn.
Rows 10-24: Hdc in the 1st st, working in the 3rd lp across hdc in each of the next 32 sts, working under both lps hdc in the final st. Ch 1, turn.
At the end of row 24, switch to colour B.
Row 25: With colour B, sc in the 1st st and in each st across. Ch 1, turn.
Row 26: Sc in the 1st 2 sc, hdc under the 1st st 2 rows below, *sk the next st, sc in the next st, hdc under the previous skipped st 2 rows below; Rpt from * across, ending with a sc in the final st. Ch 1, turn.
Row 27: Sc in the 1st st, sc in the next st, hdc in the sp under the 1st st 2 rows below, * sk the next st, sc in the next st, hdc in the sp under the previous st 2 rows below; Rpt from * across ending with an sc in the final st. Ch 1, turn. Switch back to colour A.
Rows 28 onward: Repeat rows 9-27 seven more times.
Next rows: Repeat rows 9-24 once more. Ch 3 (counts as a dc st), turn at the end of the final repeat.
Next row: Dc in the next st and in each st across. Ch 1, turn.
Next rows: Repeat rows 2-8.
Fasten off, weave in your ends.
Video Tutorial:
The photographs and pattern contained in this document are the property of Rich Textures Crochet.
This pattern is for personal use only.
No unauthorized reproduction, in whole or in part, or distribution of this pattern or content is permitted. ALL FINISHED PRODUCTS from this pattern can be used for local sales and sold online.
Thank you so much for supporting Rich Textures Crochet! To stay in touch or see more great products, be sure to visit me on Facebook and Instagram (Rich Textures Crochet). Thanks again! Happy Crocheting!