
This post contains affiliate links. This means that when you purchase through one of these links we will receive a small commission at no additional cost to you. Thank you for supporting Rich Texture Crochet!
I love a simple, but pretty crochet dishcloth including this Phoenix Dishcloth crochet pattern!
This time of year I always look forward to adding fresh dishcloths to my kitchen. And I love using crochet ones – they are pretty and absorbent.
They are also a wonderful crochet project to make! I love using them to practice new crochet stitches. They are also a great way to use up scraps of yarn and can be worked in an afternoon or less.
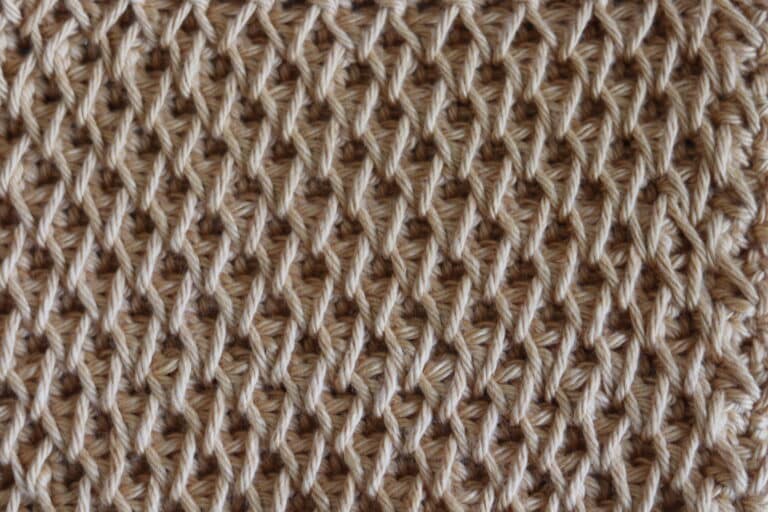
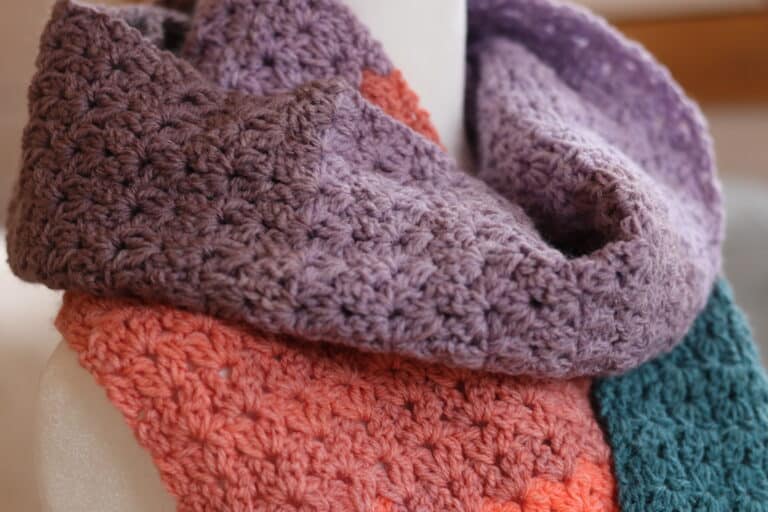
The Phoenix Dishcloth crochet pattern features a fun cluster stitch that I refer to as the reverse single crochet two together. Essentially it is a decrease stitch, but instead of working in the next two stitches, you will work in the next stitch and the previous stitch. This technique creates a solid crochet stitch pattern that is fairly tough, but not too thick.

What Materials do you need to make this crochet dishcloth?
You will want to work your crochet dishcloths in a 100% cotton yarn. Cotton yarn is really the best for dishcloths as it holds up well to multiple washes and it is resistant to heat and maintains its shape. It also comes in a lot of fun colours and is readily available at most stores where you buy your favourite yarns.
Today, in my photos and in the free video tutorial below, I will use the Pima Cotton by Lion Brand Yarn to make the Phoenix Dishcloth crochet pattern. It is a wonderfully soft cotton yarn.
I will also be using a 5 mm (H/8) crochet hook. In the video below you will see me using one of my favourites: A Birchwood hook by Rowan Yarns.

PDF Copies of this crochet pattern:
The crochet pattern for the Phoenix Dishcloth will be written out in full below. However if you would like to add this pattern to your library or purchase an ad free PDF, you can so from my Etsy and Ravelry shops linked below:
CLICK HERE TO PURCHASE THE PHOENIX DISHCLOTH ON ETSY
CLICK HERE TO PURCHASE THE PHOENIX DISHCLOTH ON RAVELRY
Thank you so much for stopping by! While here you may want to also check out the Sea Urchin Scrubby – A free Crochet Pattern. Another popular crochet scrubby pattern on my blog and YouTube Channel. Don’t forget to sign up for my email newsletter below so that you never miss a new free crochet pattern.
Happy Crocheting!
Sarah

Phoenix Dishcloth Crochet Pattern:
Skill Level: Easy
Gauge: 16 stitches x 16 rows of hdc = 4 inches
Finished Size: Approximately 8.5 x 8.5 inches
Hook: Size H/8 (5 mm) hook. Notions: Yarn Needle
Stitches and Abbreviations:
Ch – Chain
Picot – Picot Stitch (Ch 3, sl st into the 1st ch. Picot st made)
Rpt – Repeat
Rsc2tog – Reverse Single Crochet Two Stitches Together (Insert hook into the next st, yarn over and draw up a loop, insert hook into the previous st, yarn over and draw up a loop (3 loops on hook), yarn over and draw through all 3 loops on your hook. Reverse Single Crochet Two Together made).
Sc – Single Crochet
Sk – Skip
Sl st – Slip stitch
Yo – Yarn over
Pattern Notes:
- Pattern is written in American English terms.
- Pattern is worked in rows.
- Ch 1 at beginning of row does not count as stitch.
- Weave in ends as needed.
- To change the size of your dishcloth, you will need an even number of stitches.
Free Crochet Pattern:
Ch 30.
Row 1: Sc in the 3rd ch from your hook and in each st across. Ch 2, turn. (28 sts)
Row 2: Beginning in the next st, work rsc2tog (see “Stitches and Abbreviations”) all the way across to the final ch-2 sp, sc in final ch-2 sp. Ch 2, turn. At the end of row 20, ch 1, turn.
Rows 3-20: Repeat row 2.
Row 21: Sc in the 1st st and in each st across leaving the remaining ch-2 sp unworked. Ch 1, turn.
Edging (Worked in rounds):
With right side facing:
Rnd 1: Sc in each st across the top, sc in the corner, evenly work 21 sts along the side, 1 sc in the corner, sc in each st across the bottom, sc in the next corner, evenly work 21 sts along the side, sc in the final corner. Join with a sl st in the first st. Do not turn.
Rnd 2: Sc in the 1st st, picot, *sc in each of the next 2 sts, picot; Rpt from * all the way around ending with 1 st remaining, sc in the final st, join with a sl st in the 1st sc.
Fasten off and weave in your ends.
Video Tutorial:
CLICK HERE TO WATCH THE VIDEO TUTORIAL FOR THE PHOENIX DISHCLOTH ON YOUTUBE


Oops! Instructions are to repeat rows 2 and 3. However there is no Row 3 instructions.