This post contains affiliate links. This means that when you purchase through one of these links we will receive a small commission at no additional cost to you. Thank you for supporting Rich Texture Crochet!
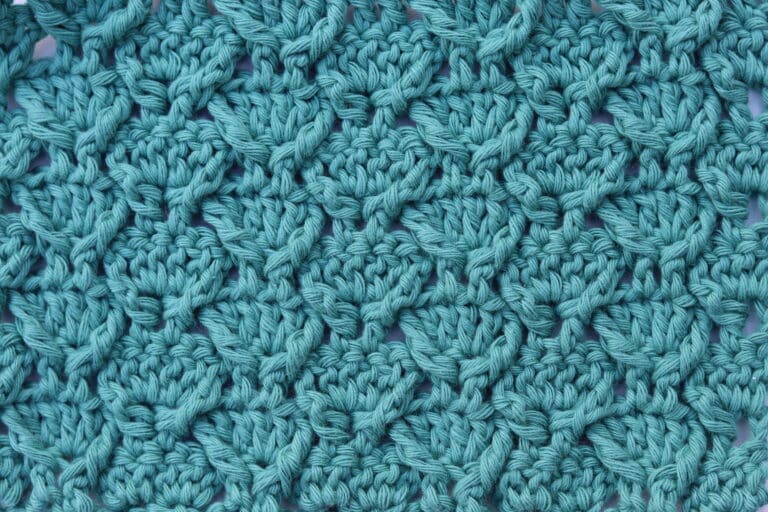
The Waffle Stitch crochet pattern is one of those classic crochet stitches that every crocheter should have in their repertoire!
And it is easy to see why! It is a simple repetitive crochet pattern that works up fairly quickly. Not only that, it is full of a gorgeous, thick and cozy texture! It is a favourite crochet stitch pattern for blankets and winter accessories. In fact I have featured this stitch in my popular Waffle Beanie!

Materials Used in this Tutorial:
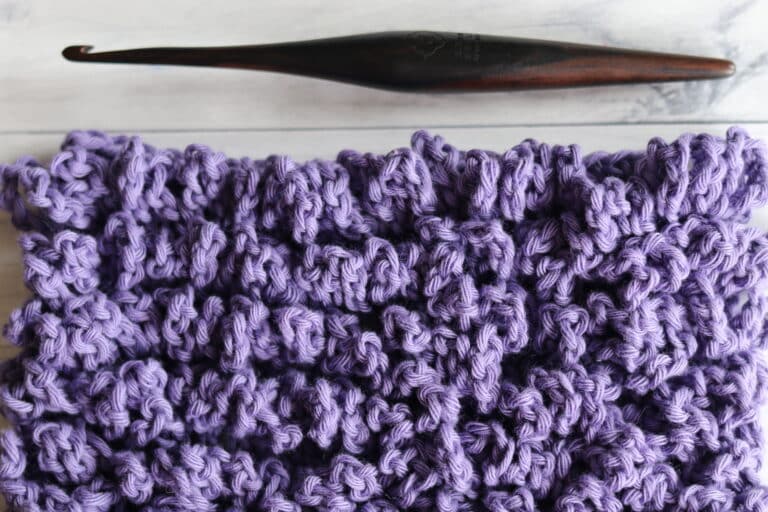
For this tutorial, including the free video tutorial below, I used the Brava Tweed Worsted weight yarn by KnitPicks and WeCrochet. This is a worsted/medium weight yarn that is 97% acrylic yarn and is super soft!
I have paired it with a 5 mm (H/8) Birchwood Crochet Hook by Rowan Yarn.
Thank you so much for stopping by! If you enjoy the tutorial below, be sure to also check out some of the many other crochet stitch tutorials on my site and pin this for later! You may wish to start with the Elizabeth Stitch | How to Crochet.
Waffle Stitch Crochet Pattern:
Stitches and Abbreviations:
Ch – Chain Stitch
Dc – Double Crochet
Fpdc – Front Post Double Crochet
Rpt – Repeat
Sc – Single Crochet Stitch
Sl St – Slip Stitch
Yo – Yarn Over
Pattern Notes:
This stitch is worked in rows in this tutorial and it may be worked in one colour or many. I will be working this pattern in a single colour.
This pattern is written using American crochet terms.
To begin make a slip knot and make a foundation chain. For this stitch you will need a multiple of 3 +5 stitches for your foundation chain.
For example, ch 35.
Row One:
Dc in 3rd ch from hook and in each ch st across. Ch 2, turn.
Row Two:
Dc in 1st st, *fpdc around post of next st, dc in the tops of each of the next 2 sts; Rpt from * across until 2 sts remain, fpdc around the post of the next st, dc in the top of the final st. Ch 2, turn.
Row Three:
Dc in the tops of each of the 1st 2 sts, *fpdc around post of each of the next 2 sts, dc in top of the next st; Rpt from * across ending with a dc in the tops of each of the final 2 sts. Ch 2, turn.
And that’s it!
For the rest of the pattern simply repeat rows two and three. Fasten off, weave in your ends.