
This post contains affiliate links. This means that when you purchase through one of these links we will receive a small commission at no additional cost to you. Thank you for supporting Rich Texture Crochet!
Are you looking for a baby shower gift, or perhaps something special for your own little one? Look no further! You’re going to love this adorable lovey crochet pattern!
After discovering that I would soon be expecting my own little one, my mind began dreaming of all the little adorable things I could make for him or her. One of the things that each of my older children loved as babies was a little lovey – each of them resembled a bear.
So this time around I decided that I would step out on a limb and design something that I wouldn’t typically attempt, namely, my own little bear lovey.

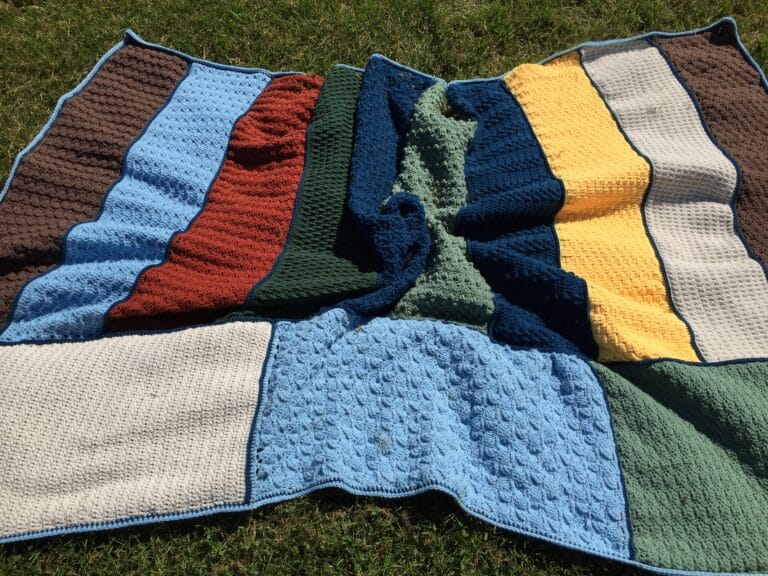
After designing the Peek-A-Boo Blanket (Find it here: Peek-A-Boo Baby Blanket – Free Crochet Pattern) I just knew that I wanted to have a coordinating lovey and I couldn’t have been more pleased with the results!
The Project:
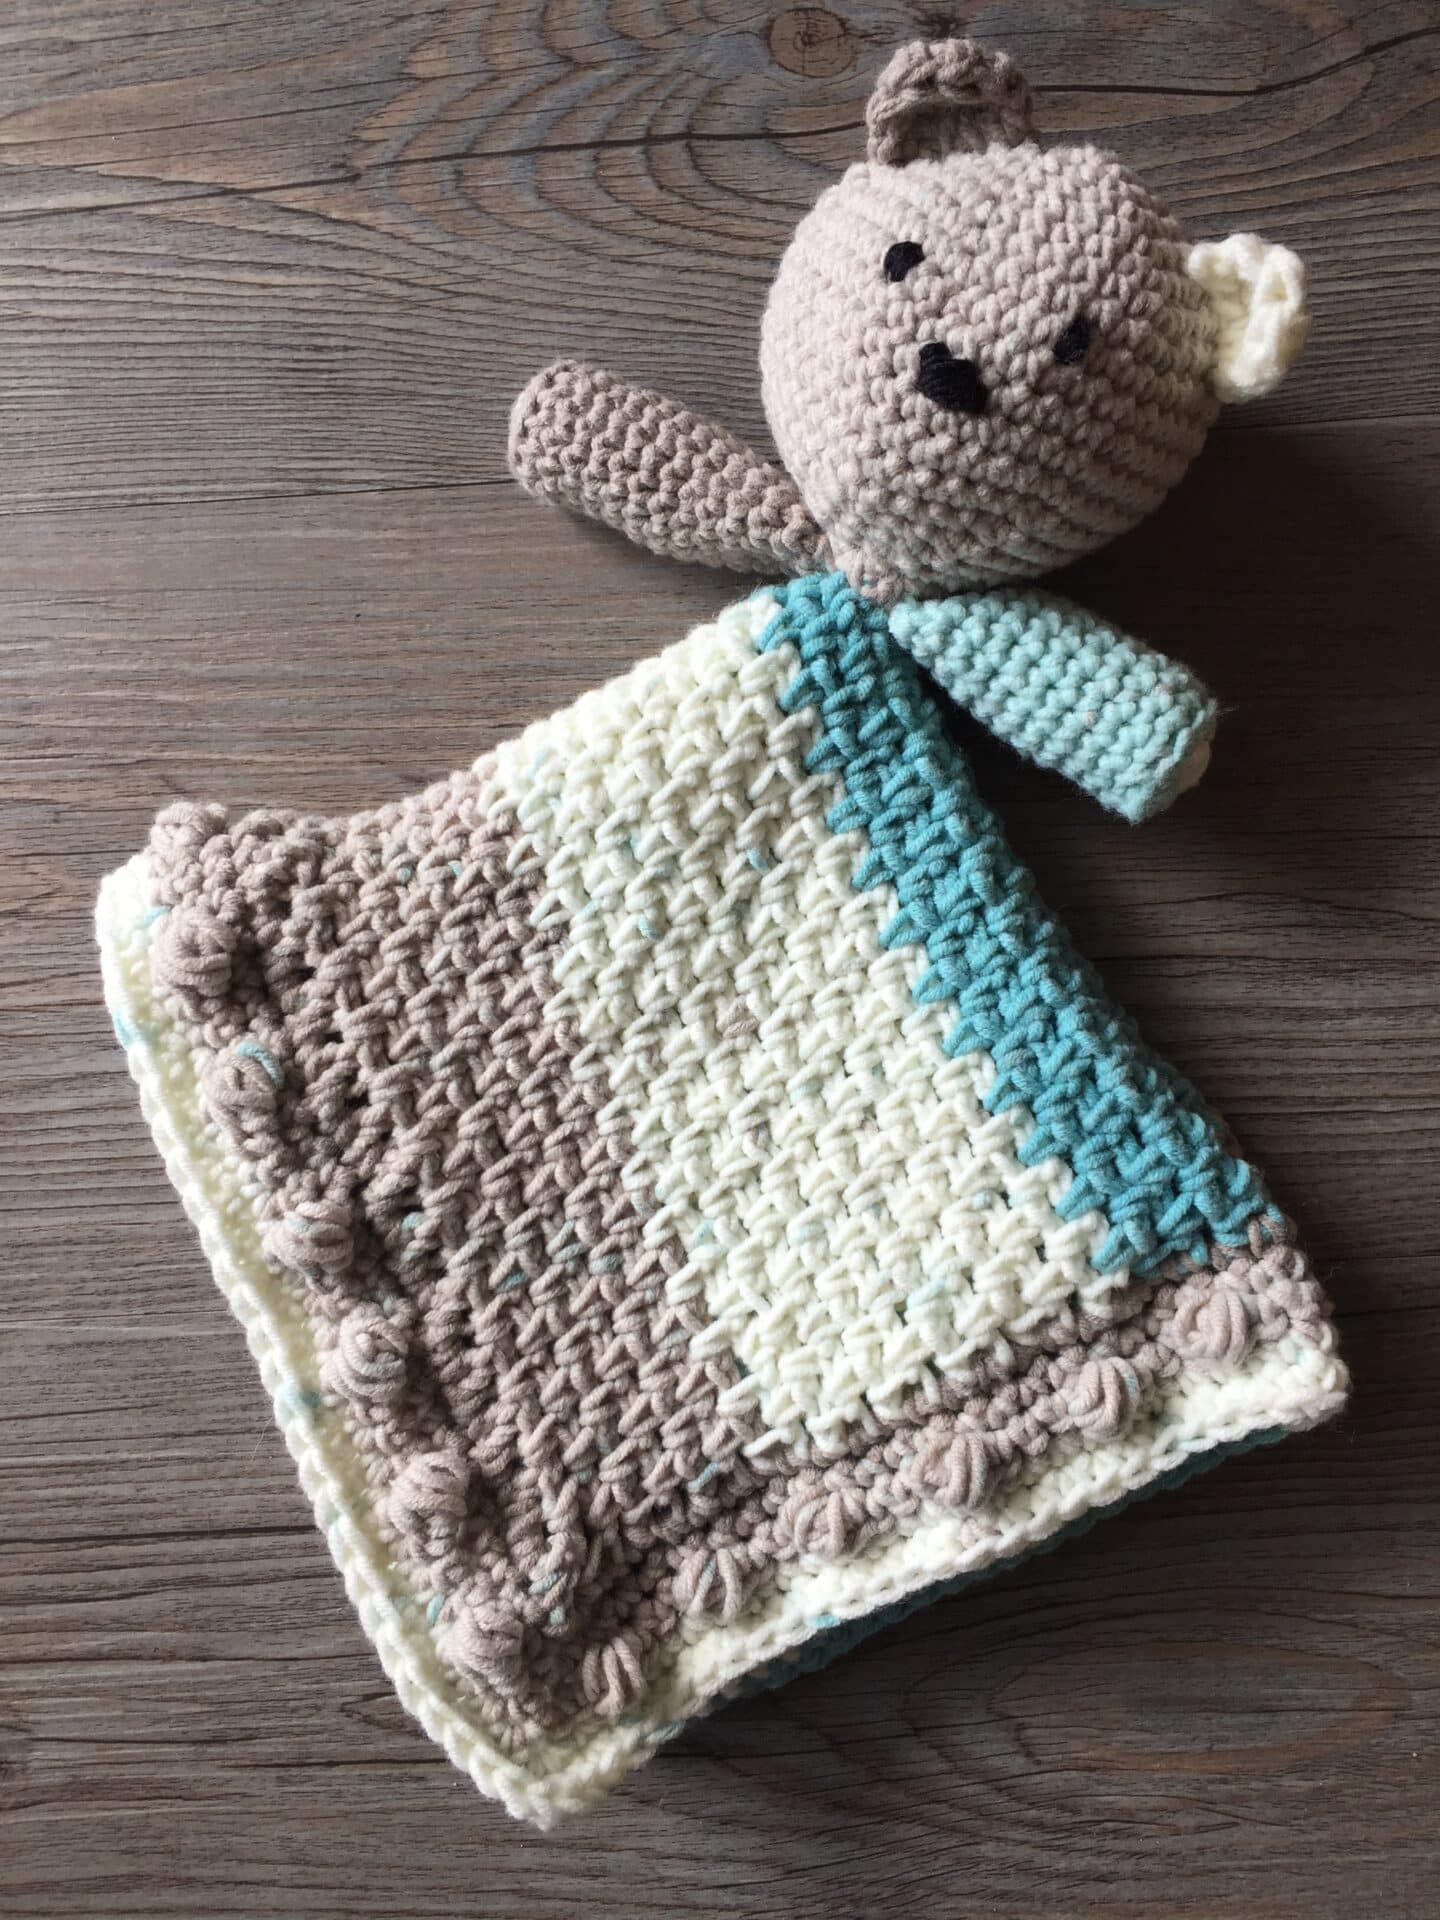
I used the Caron Cotton Cakes for both projects, I just love how soft they are and that they don’t shed. However you may use any worsted weight yarn. The other aspect I loved about working with the cakes is that each bear was unique depending on where the colour changes were.
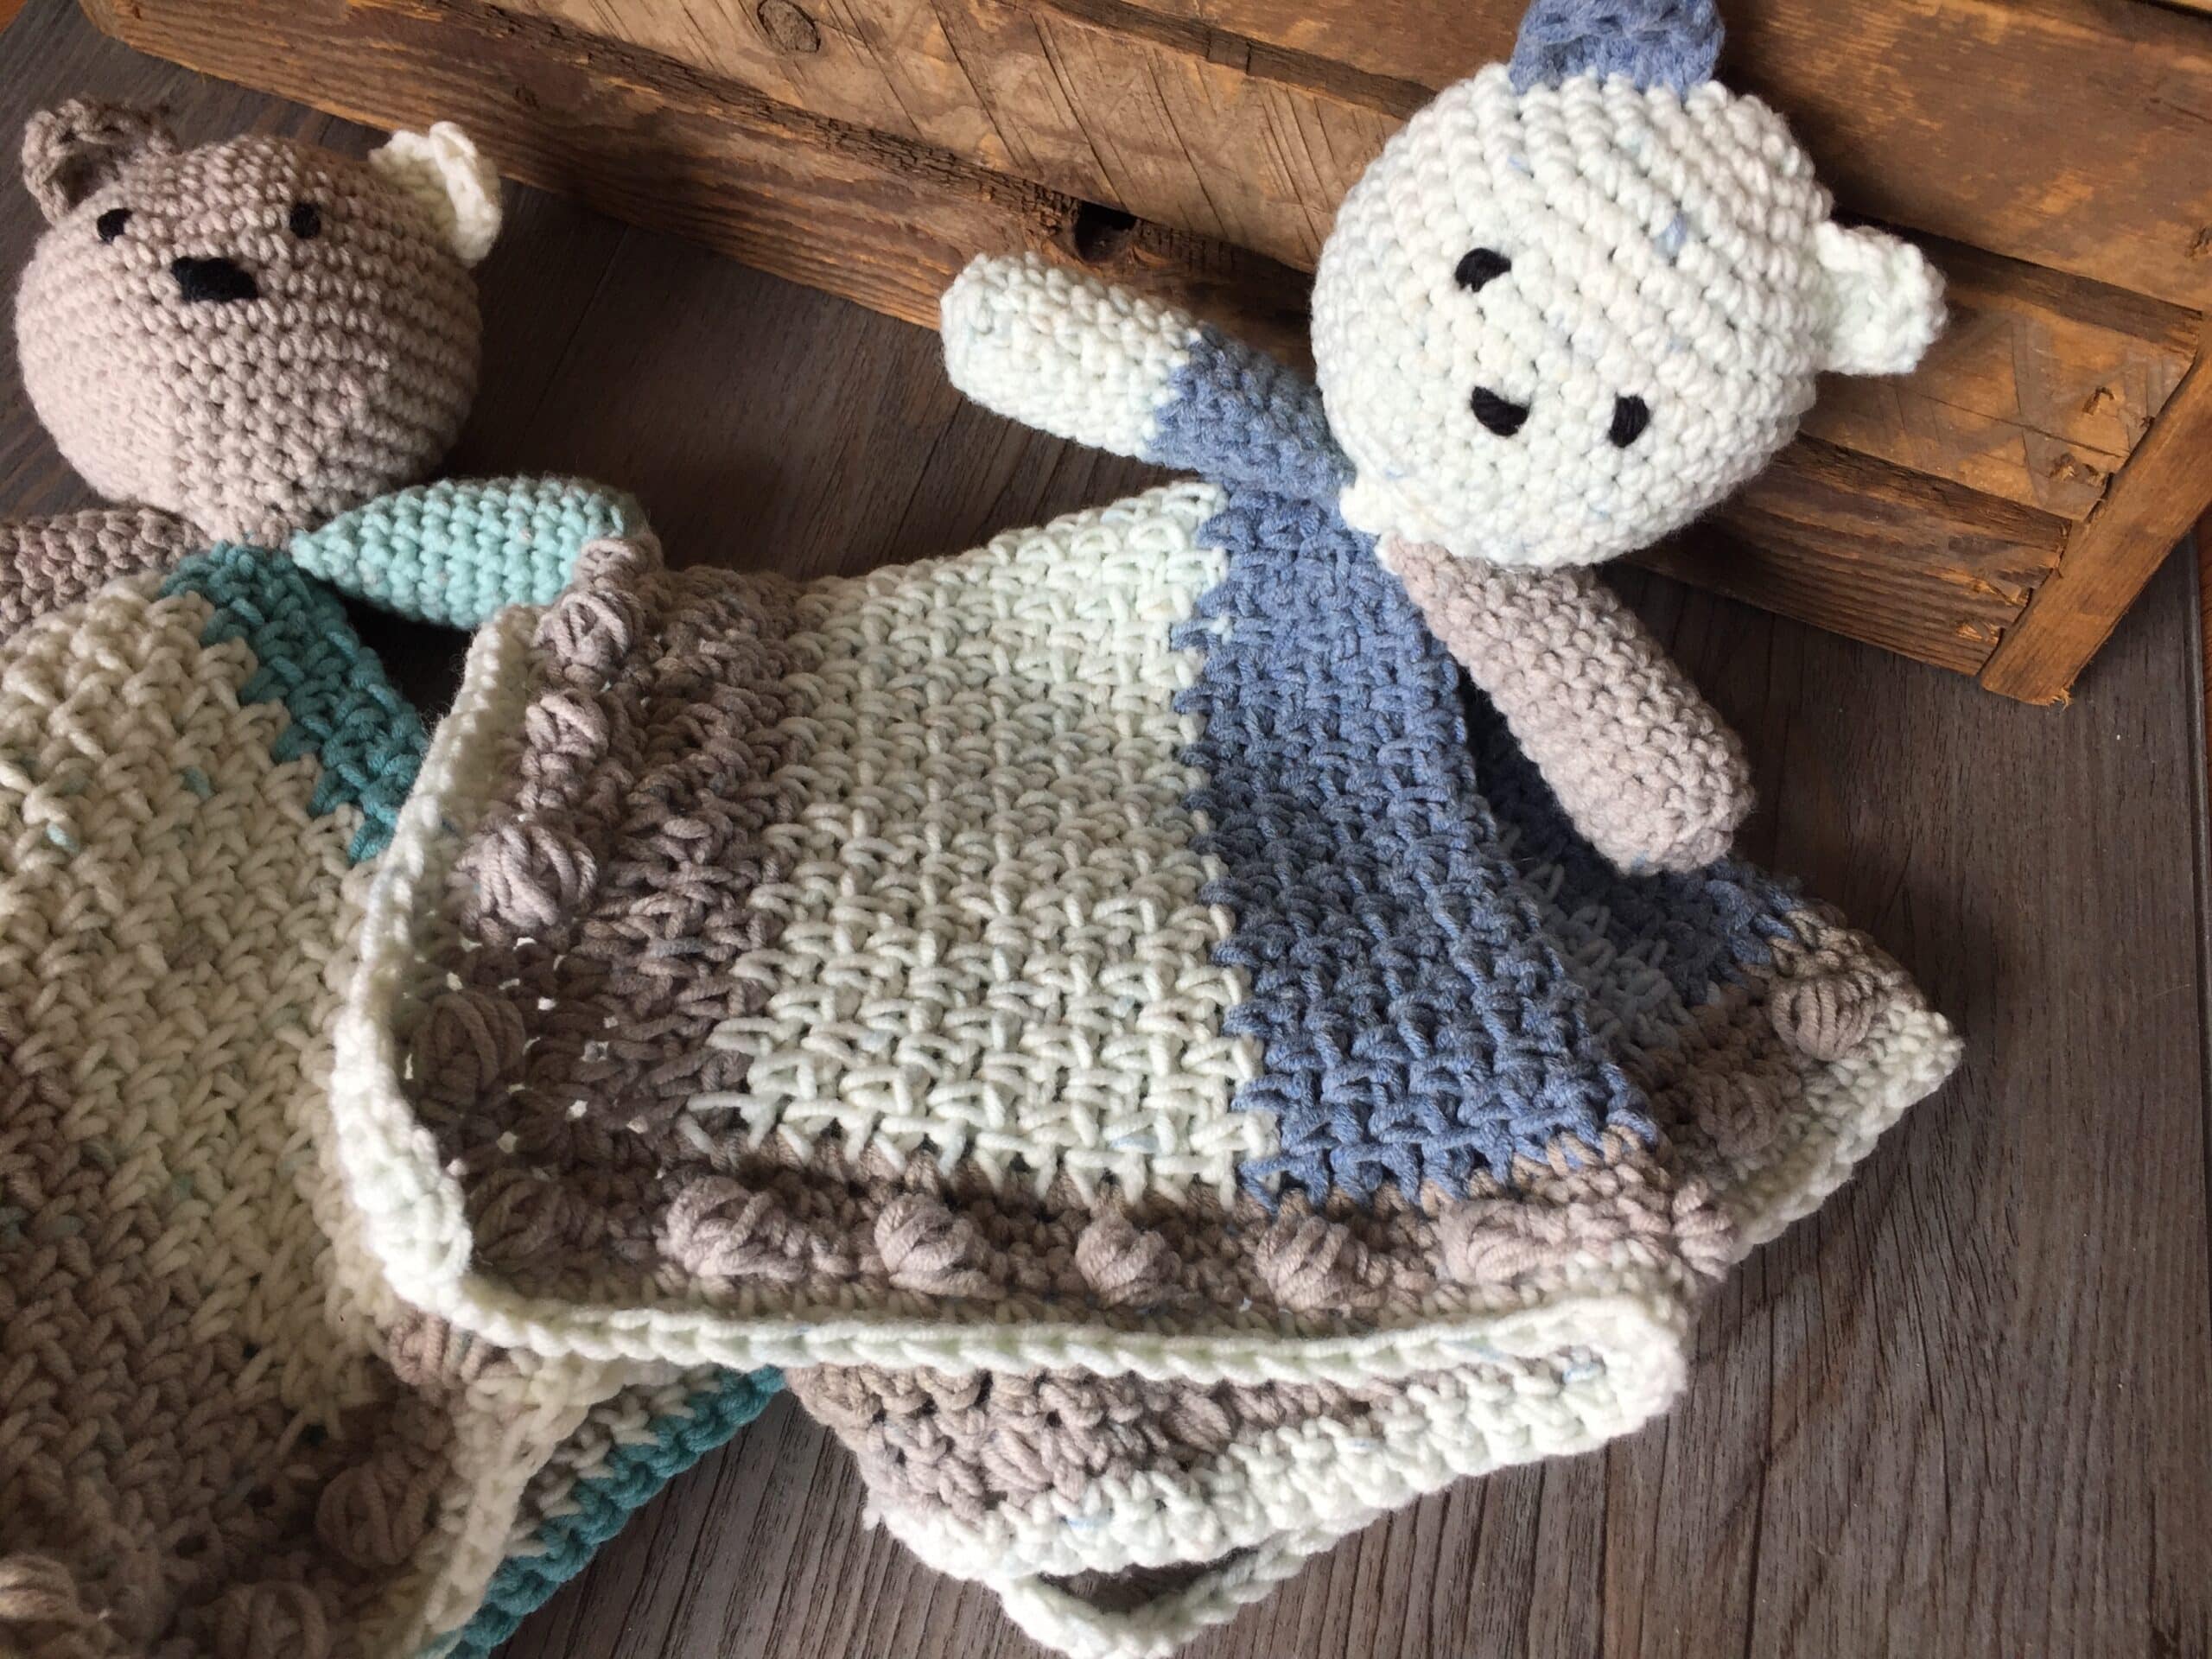
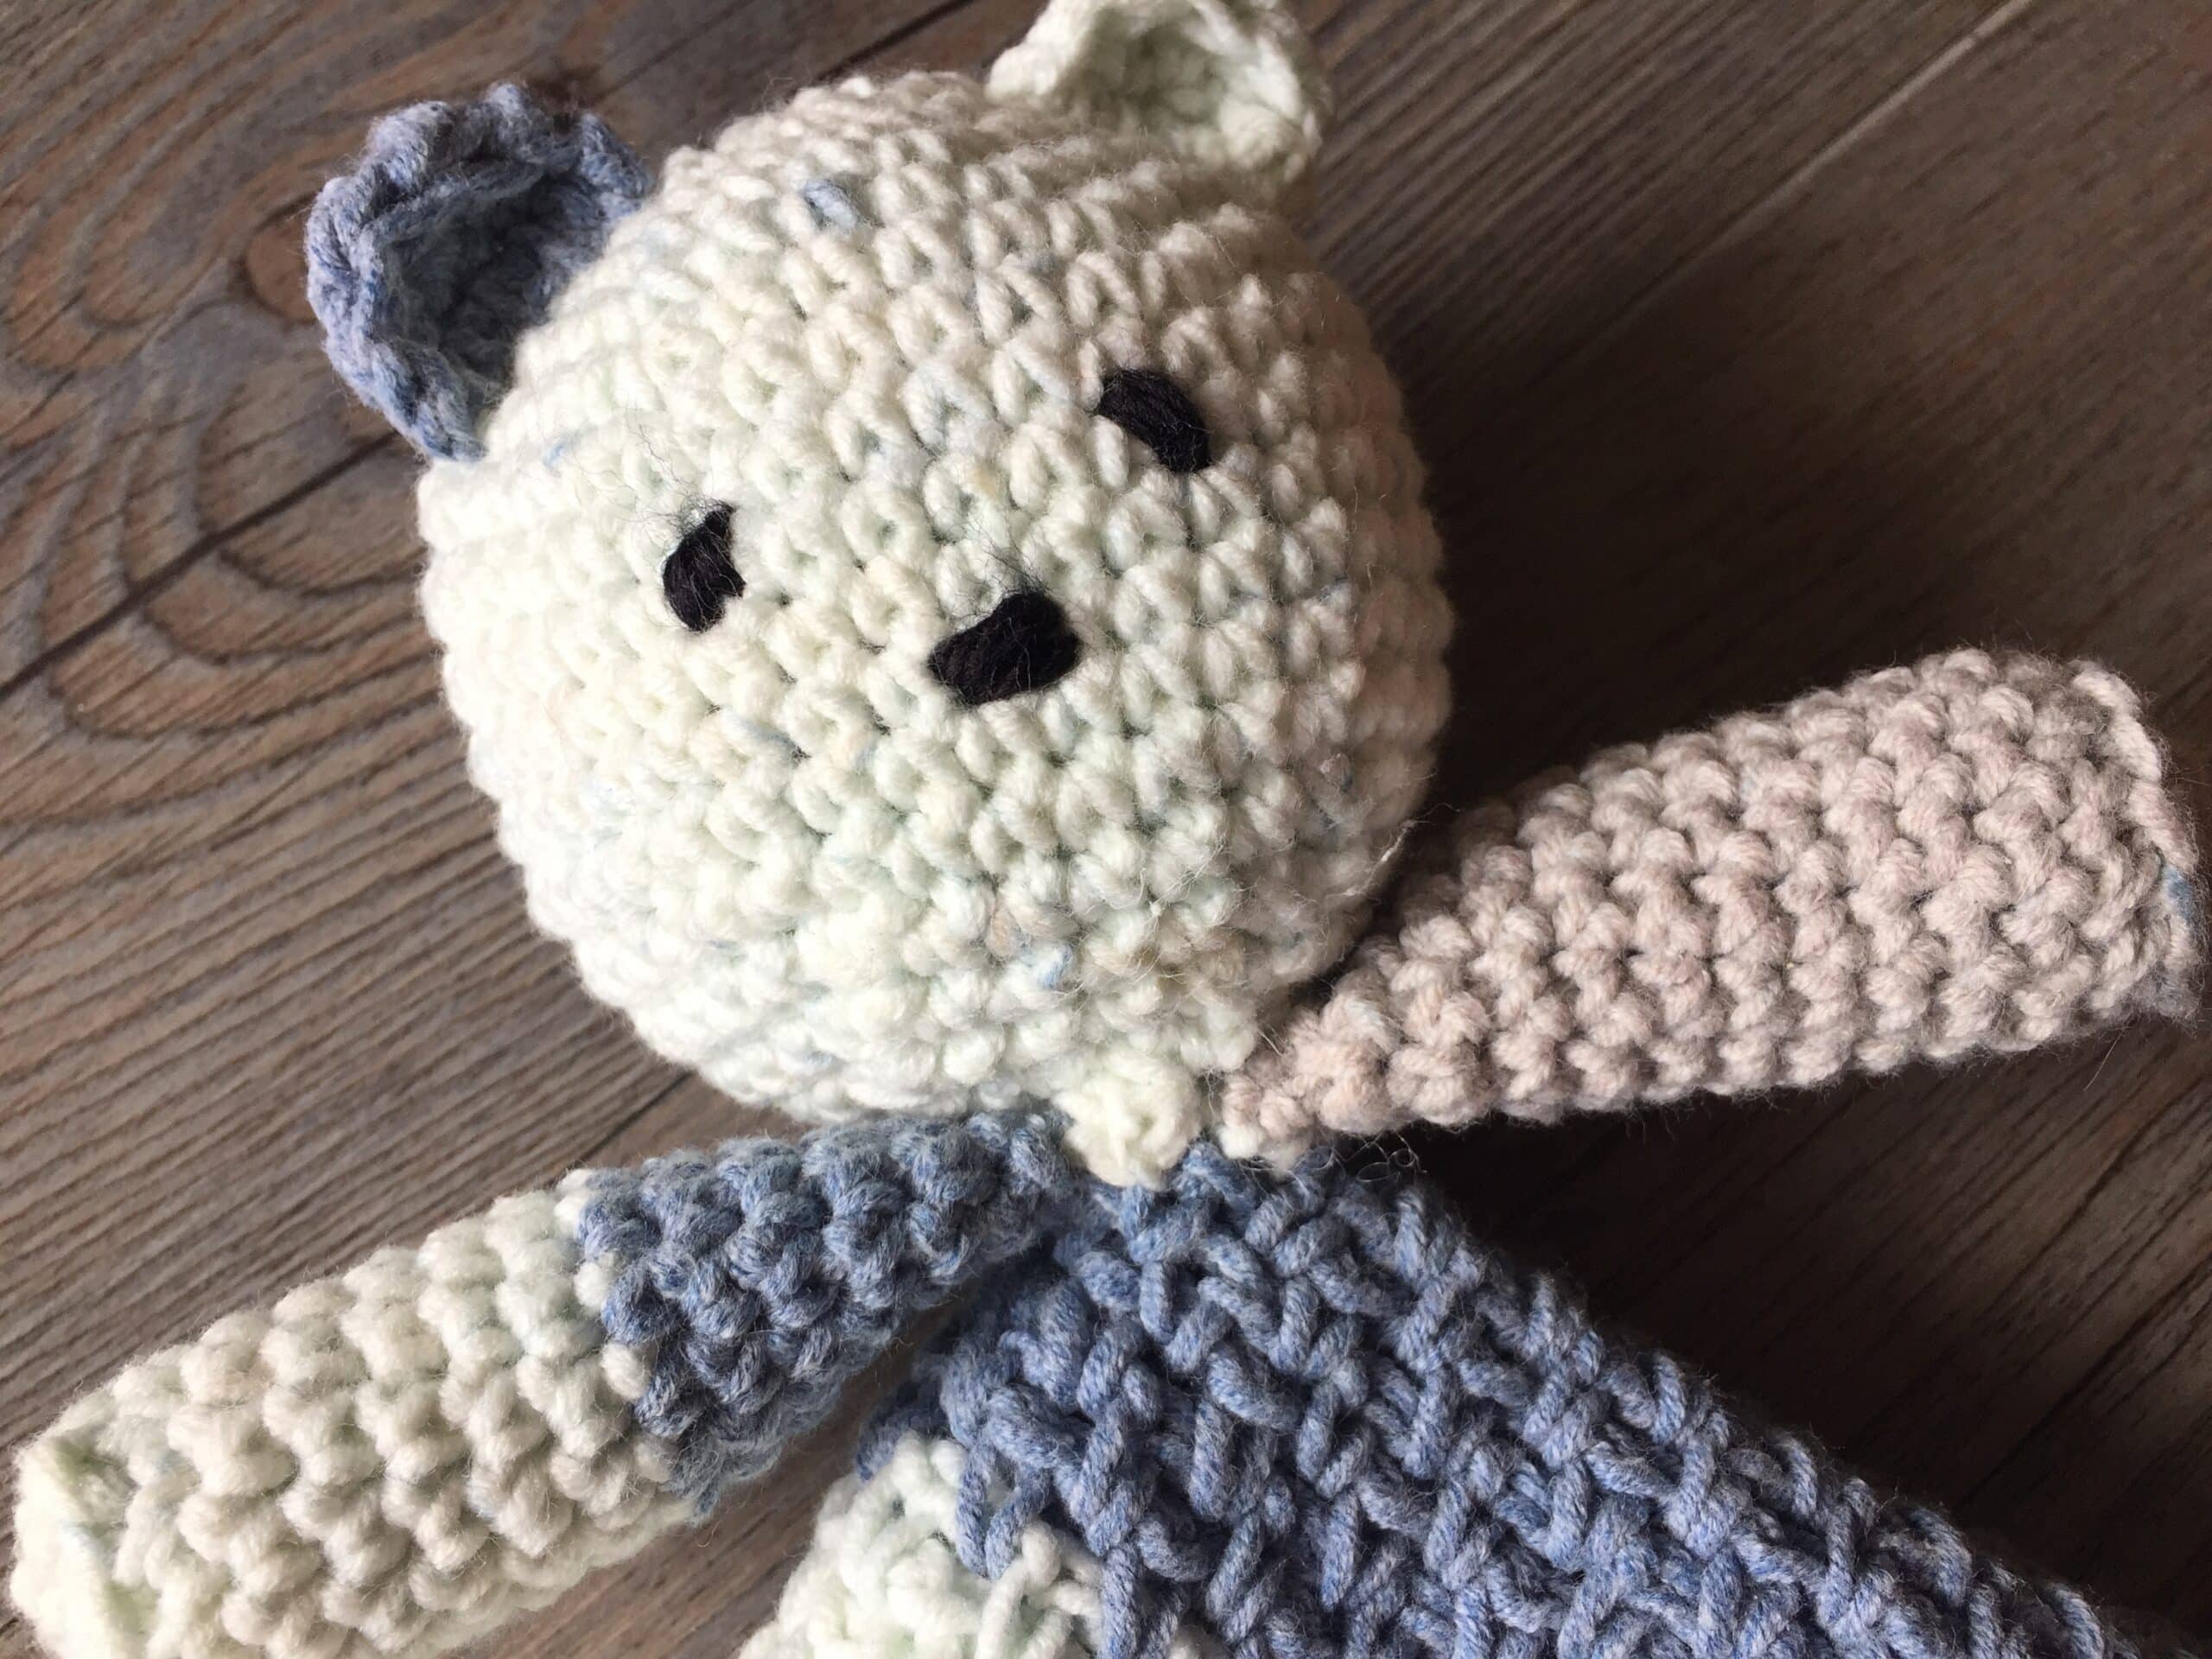
The face of the bear is embroidered on, making it extra safe for your little one. Also, by embroidering the face, you are able to change the expression the bear displayed.
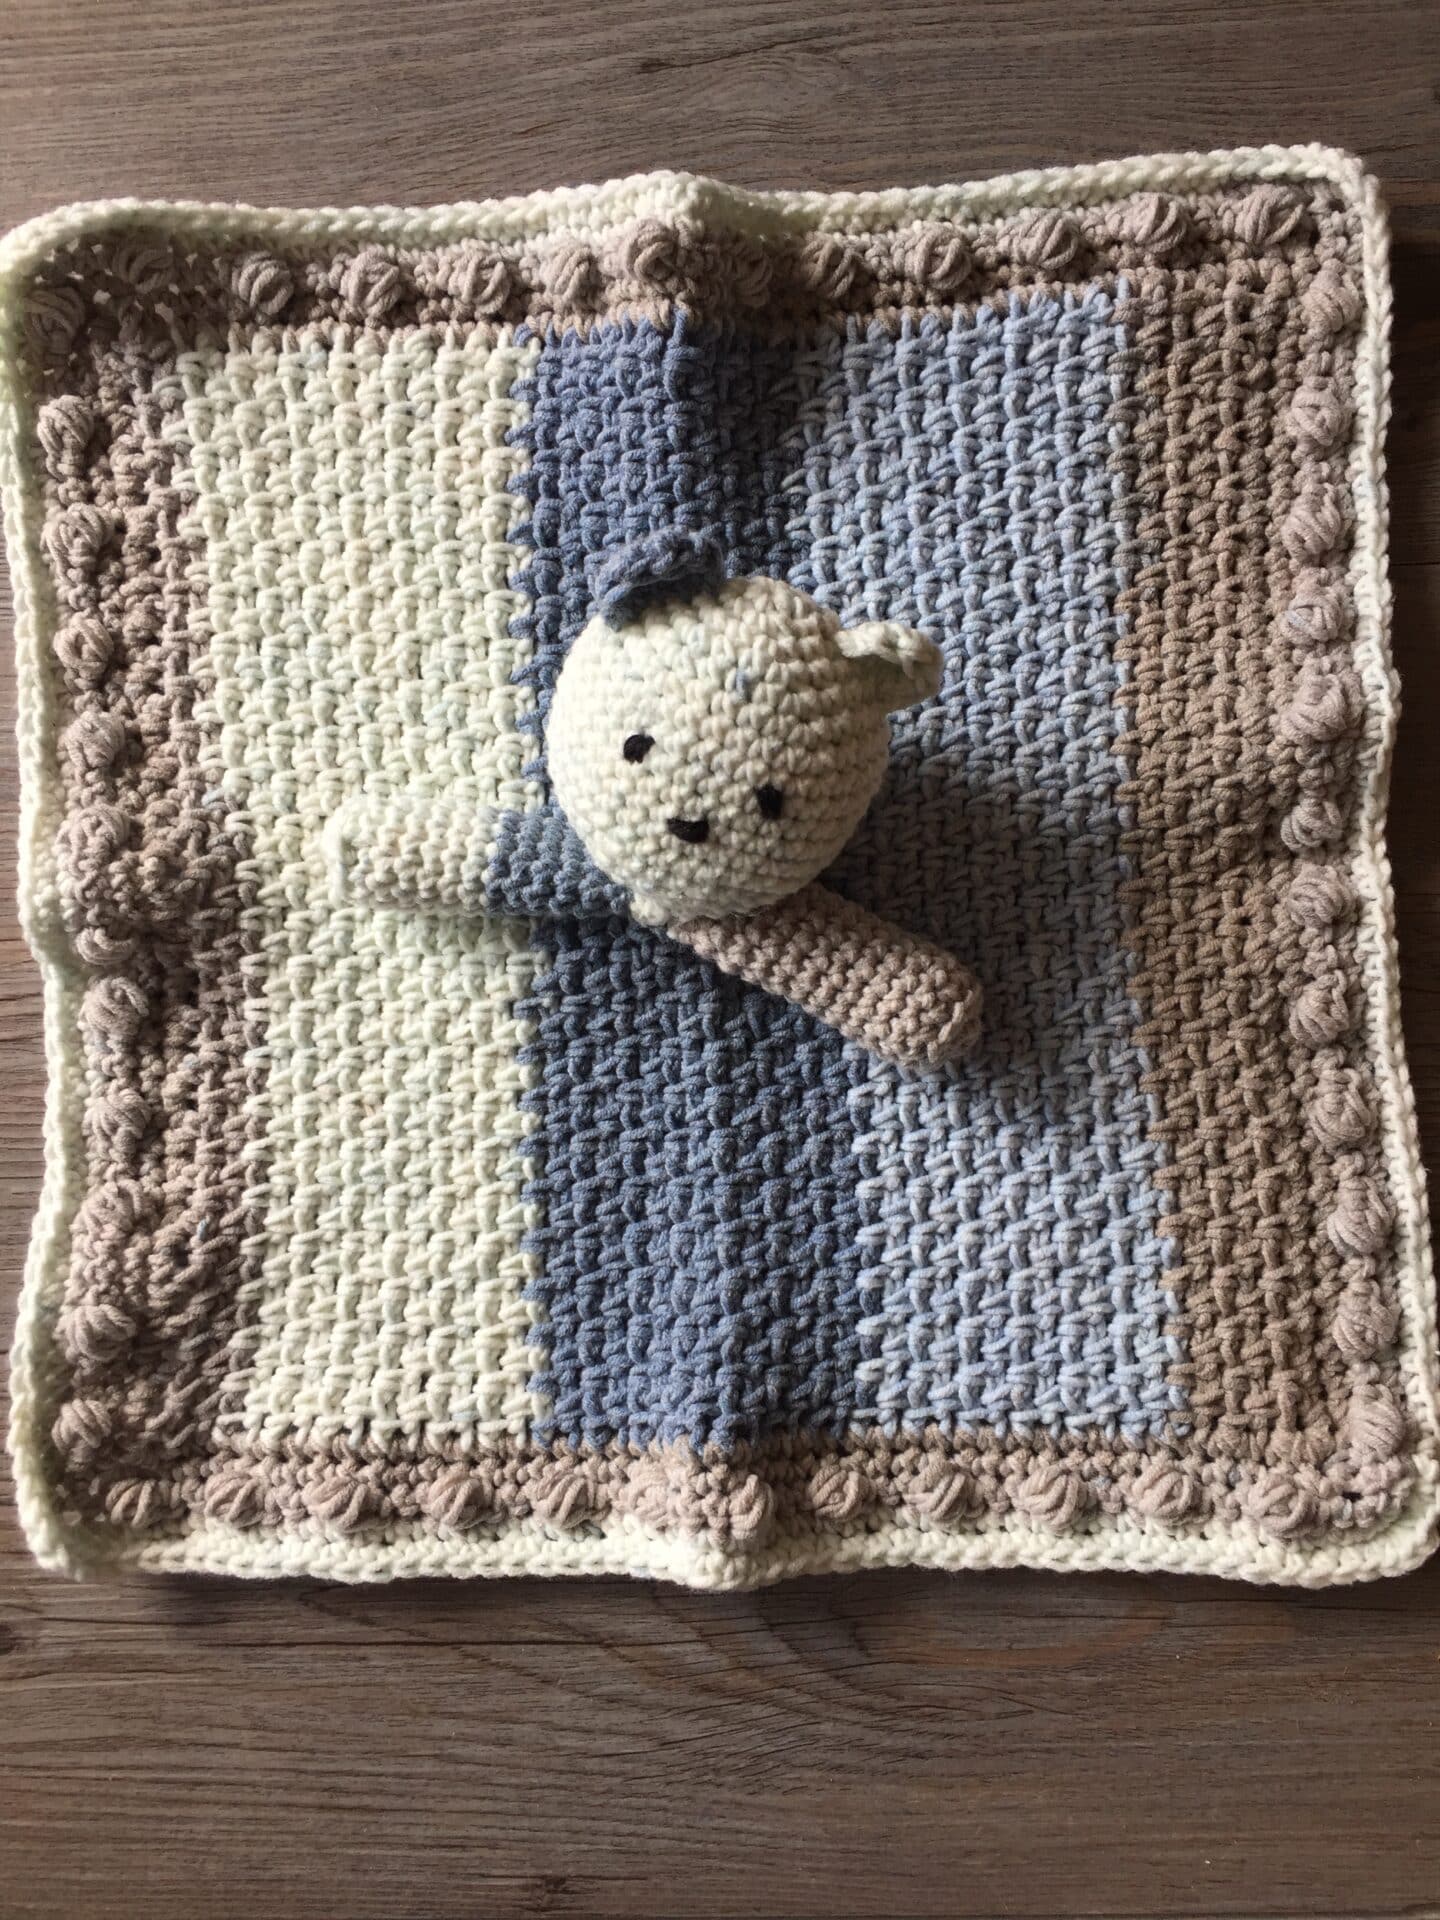
The bear lovey is comprised of six separate pieces that are sewn together after all the pieces have been worked. To make the project you will need a 6 mm and 4 mm crochet hook, a stitch marker and a little bit of fibrefill.
The bear head and arms are attached to a small blanket that measures approximately 12 x 12 inches.
PDF Copy:
The written pattern and free video will be found in full below, however if you would like to add this pattern to your library or purchase an ad free PDF, you may do so from either my Etsy or Ravelry shops:
Click here to find the Peek-A-Boo Lovey on Etsy
Click here to find the Peek-A-Boo Lovey on Ravelry
Thank you so much for stopping by! Be sure to come back soon and until then,
Happy Crocheting!
Sarah
Peek-A-Boo Lovey:
Skill Level: Easy
Gauge: 10 sc moss stitch x 19 rows = 4 inches
Finished Size: Blanket part measures approximately 12 x 12 inches.
Yarn: 1 Caron® Cotton Cakes™ (60% Cotton, 40% Acrylic; 8.8 oz./ 250 g; 530 yd. / 485 m; Medium/Worsted Weight); You will only need approximately 270 yards; Colour: Beach Glass or Nested Blues shown
Hook: J/10 (6.00 mm) crochet hook and a 6/8 (4 mm).
Notions: Yarn Needle, stitch marker, small amount of fibrefill.
Stitches and Abbreviations:
Ch – Chain
Puff – Puff Stitch ([Yarn over, insert hook in stitch indicated and draw up a loop] four times, yarn over and draw through all loops on hook)
Rpt – Repeat
Sc – Single Crochet
Sc2tog – Single Crochet 2 stitches together
Sk – Skip
Sl st – Slip stitch
Yo – Yarn over
Pattern Notes:
– Pattern is written in American English terms.
– Pattern is worked in rows.
– Ch 1 at beg of row does not count as stitch.
– When working head and arms, do not turn or join unless stated otherwise.
– Weave in ends as needed.

Free Crochet Pattern:
Blanket (With 6 mm crochet hook):
Ch 49.
Row 1: Sc in the 3rd ch from hook, * ch 1, sk 1, sc in the next st; rpt from * across placing final sc in the last ch st, ch 2, turn.
Row 2: Sk the first sc, sc in the 1st ch-1 sp, * ch 1, sk the next sc, sc in the next ch-1 sp; rpt from * across to last ch-2 sp, sc in last ch-2 sp, ch 2, turn.
Repeat row 2 until work from the beginning measures approximately 10 inches or the desired length.
Fasten off. Weave in ends.
Edging:
With right side facing, join yarn with a sl st in the top right corner.
Rnd 1: Ch 1, sc in each st across, work 3 sc in the corner st, work 45 sc evenly up the side, work 3 sc in the corner, sc in each st across the bottom (three sides now worked), 3 sc in corner st, work 45 sc evenly up the side, 2 sc in final corner. Join with a sl st in the first sc, do not turn.
Rnd 2: Ch 1, sc in each st all the way around, working 3 sc in each corner st; join with a sl st in the first st, turn.
Rnd 3: Ch 1, sc in the same st as joining, sc in the next st, 3 sc in the corner st, sc in the next st, puff, * sc in each of the next 3 sts, puff; rpt from * around the entire blanket, working 3 sc in each corner st, join with a sl st in the first st, turn.
Rnd 4: Ch 1, sc in each st all the way around, working 3 sc in each corner st; join with a sl st in the first st, do not turn.
Rnd 5: Repeat round 4.
Fasten off. Weave in ends. Block if desired.
Head (with 4 mm crochet hook):
(Worked in a Round):
Make a magic ring.
Rnd 1: Into ring work 6 sc, do not join but place stitch marker in the first stitch and move stitch marker as work progresses. Do not turn. (6 sc)
Rnd 2: 2 sc in each st around. Do not turn. (12 sc)
Rnd 3: * Sc in the next st, 2 sc in the next st; Rpt from * around, do not turn. (18 sc)
Rnd 4: * Sc in each of the next 2 sts, 2 sc in the next st; Rpt from * around, do not turn. (24 sc)
Rnd 5: * Sc in each of the next 3 sts, 2 sc in the next st; Rpt from * around, do not turn. (30 sc)
Rnd 6: * Sc in each of the next 4 sts, 2 sc in the next st; Rpt from * around, do not turn. (36 sc)
Rnd 7: * Sc in each of the next 5 sts, 2 sc in the next st; Rpt from * around, do not turn. (42 sc)
Rnds 8-13: Sc in each st around, do not turn. (42 sc)
Rnd 14: * Sc in each of the next 5 sts, sc2tog; Rpt from * around, do not turn. (36 sc)
Rnd 15: * Sc in each of the next 4 sts, sc2tog; Rpt from * around, do not turn. (30 sc)
Rnd 16: * Sc in each of the next 3 sts, sc2tog; Rpt from * around, do not turn. (24 sc)
Rnd 17: * Sc in each of the next 2 sts, sc2tog; Rpt from * around, do not turn. (18 sc)
Rnd 18: * Sc in each of the next st, sc2tog; Rpt from * around, join with a sl st in the 1st sc. (12 sc)
Fasten off leaving a long tail. With a small amount of embroidery floss or yarn, embroider easy and nose in desired place on head. Set aside.
Ears (Make 2):
With 4 mm crochet hook.
Make a magic ring.
Rnd 1: Ch 1, into the ring work 4 sc, ch 1, sl st into ring. Turn.
Rnd 2: Sk the sl st, sc in each of the next 4 sts, ch 1, sl st into ring. Turn.
Rnd 3: Sk the sl st, sc in each of the next 4 sts, ch 1, sl st into ring. Turn.
Fasten off and weave in ends. Set aside.
Arms (make 2):
Make a magic ring.
Rnd 1: Work 6 sc into ring, do not turn, do not join but place stitch marker in the first stitch and move as your work progresses.
Rnd 2: 2 sc in each st around.
Rnd 3: Working in the back loop only, sc in each st around.
Rnds 4-14: Sc in each st around.
Join with a sl st in the 1st sc. Fasten off leaving a long tail. Using fibrefill, stuff arms.
Joining:
First place the ears in the desired place on top of head and sew in place. After ears are secure, stuff head with fibrefill.
Join the arms to the head by placing arms so that they extend from either side out the underside of the head. Make sure arms are securely fastened to ensure that they do not come loose with use.
Lay out square blanket and mark the centre. Place head and arms (I placed the head facing one of the blanket corners. Securely sew head in place.
Fasten off and weave in ends.


These little lovies are so adorable! Such pretty yarn too. I’m pinning it for later.
Thank you for the pin!
How do you do your magic ring?