This post contains affiliate links. This means that when you purchase through one of these links we will receive a small commission at no additional cost to you. Thank you for supporting Rich Texture Crochet!
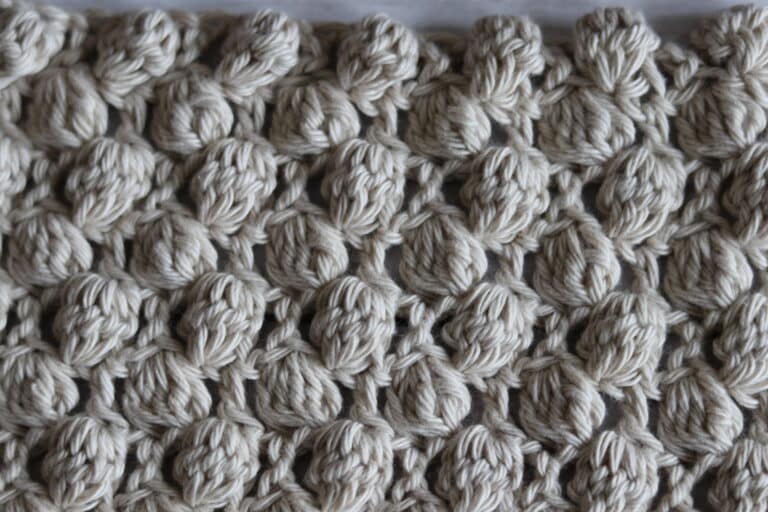
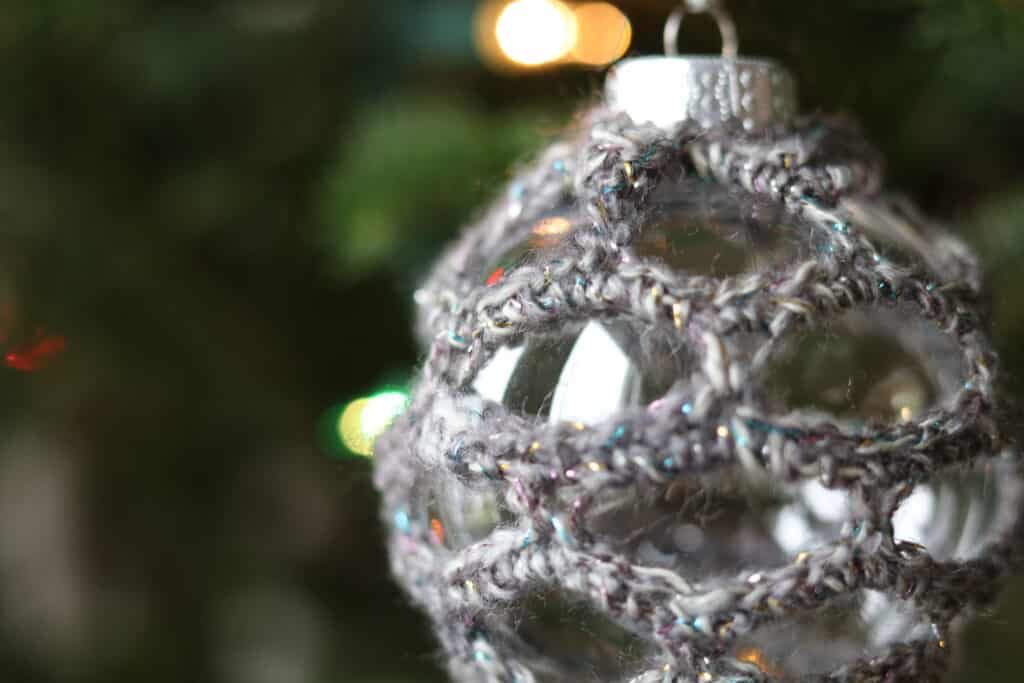
This Honeycomb Christmas Ornament will look pretty hanging on your tree! I love the way that the light reflects through it.
The Honeycomb Crochet Christmas Ornament is the third pattern in the Christmas-y Crochet Along here on Rich Textures Crochet. If this is your first time hearing about the Christmas-y CAL, you may want to check out this introduction post here: A Christmas-y Ornament Crochet Along
Day one of the Christmas-y CAL can be found here: Star of Wonder Christmas Ornament
Day two of the Christmas-y CAL can be found here: Snow Trails Christmas Ornament
Next week, be sure to check back for week four!
The Ornament this week:
This Christmas ornament is an easy ornament to work. The pattern is comprised of single crochet and chain stitches.
This post contains affiliate links. This means that when you make a purchase through one of these links, Rich Textures Crochet will earn a small commission at no additional cost to yourself. Thank you for supporting Rich Textures Crochet!

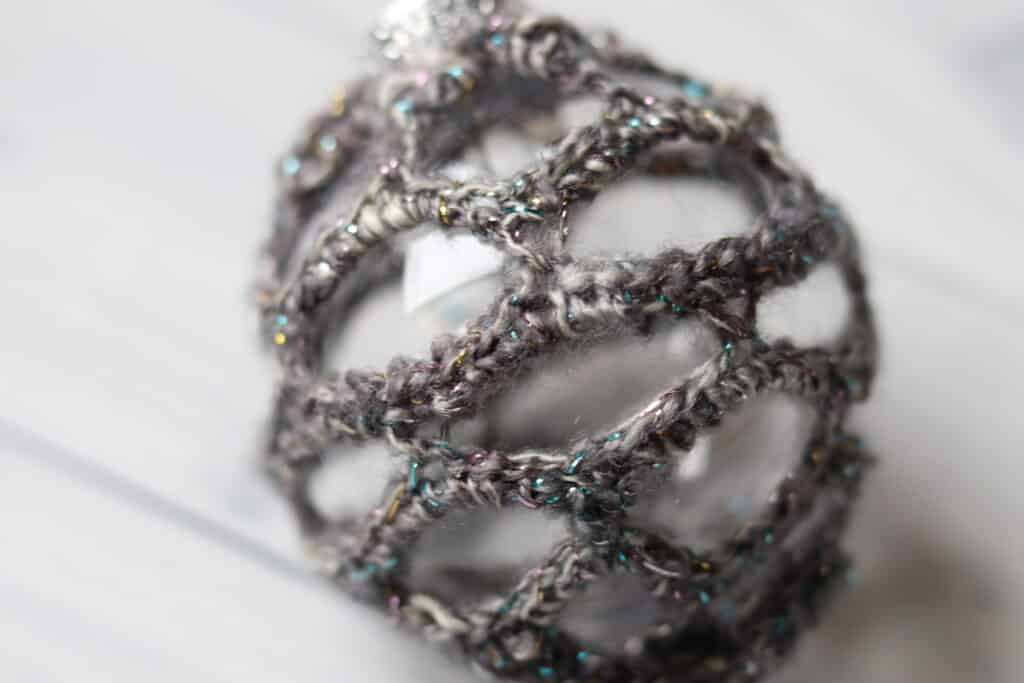
After you work the crochet portion of the pattern, the crochet fabric is slipped over top of a DIY plastic Christmas ornament. This helps the ornament keep its shape. The DIY ornament I have used has a circumference of 8 inches and was found at my local craft store.
Materials:
For this Honeycomb Crochet Christmas ornament, along with the plastic DIY Ornament which I purchased from my local craft store, you will need a small amount of a light weight yarn.
For my ornaments I used the Shawl in a Ball by Lion Brand Yarn. It is classified as a medium worsted weight, but I find it on the lighter side. So if you would like to substitute for a different yarn, you will want to find a light (#3) yarn. You will need approximately 20-30 yards.
You will also need a 4 mm crochet hook. I am using a wooden Streamline crochet hook in Ebony by Furls Crochet.
PDF Copies:
The crochet pattern will be written out in full below. However if you would like to add this pattern to your library or purchase an ad free PDF, you can so from my Etsy and Ravelry shops:
Click Here for the Honeycomb Ornament on Etsy
Click Here for the Honeycomb Ornament on Ravelry
Thank you so much for stopping by! I can’t wait to see all of your finished ornaments! Be sure to tag me (RichTexturesCrochet) across social media so I don’t miss it.
Happy Crocheting!
Sarah
Honeycomb Crochet Christmas Ornament:
Skill Level: Easy
Gauge: NA
Finished Size: 8 inch circumference
Yarn: Shawl in a Ball® by Lion Brand® (61% Cotton; 34% Acrylic; 5% Other; 5.3 oz, 150 g; Approx. 481 yds, 440 m). Worsted/medium Weight (4). You will be approximately 20-30 yards. You may substitute for another yarn: I would recommend a light weight (#3) yarn. In the video tutorial I use Patons Grace by Yarnspirations.
Hook: Size G/6 (4 mm) Hook. Adjust hook size if necessary to obtain correct gauge.
Notions: DIY Plastic Bauble with an 8 inch circumference, yarn needle.
Stitches and Abbreviations:
Ch – Chain
Rpt – Repeat
Sc – Single Crochet
Sk – Skip
Sl St – Slip Stitch
Yo – Yarn Over
Pattern Notes:
- Pattern is written in American English terms.
- Ornament is worked in rounds.
- Ch 1 at the beginning of the row does not count as a st.
- Do not turn at the end of each round.
- Weave in ends as needed.
Free Crochet Pattern:
Ch 36, without twisting the chain, join with a sl st in the first st.
Rnd 1: Ch 1, sc in each st around, join with a sl st in the first st. Ch 1, do not turn.
Rnd 2: Ch 1, sc in the same st as joining, *ch 5, sk the next 5 sts, sc in the next st; rpt from * around ending with a ch 5, sk the next 5 sts and join with a sl st in the 1st st. Ch 1, do not turn.
Rnd 3: Sc in the same st as joining, * 5 sc in the next ch-5 sp, sc in the next st; rpt from * around ending with 5 sc in the next ch-5 sp and join with a sl st in the 1st st. Do not turn.
Rnd 4: Sl st into each of the next 3 sts, ch 1, sc in the same st, * ch 5, sk the next 5 sts, sc in the next st; rpt from * around ending with a ch 5, sk the next 5 sts and join with a sl st in the 1st st. Ch 1, do not turn.
Rnd 5: Sc in the same st as joining, * 5 sc in the next ch-5 sp, sc in the next st; rpt from * around ending with 5 sc in the next ch-5 sp and join with a sl st in the 1st st. Do not turn.
Rnds 6-11: Repeat rnds 4 and 5 three more times.
Fasten off and weave in ends.
Finishing:
Cut 2 lengths of yarn approximately 6-8 inches each. Slip your crochet over the plastic ornament. Using one of the lengths of yarn, weave it in and out through the top sc round. Pull tight around the top of the ornament, and tie. Weave in your ends.
Repeat the same for the bottom of the ornament.