
This post contains affiliate links. This means that when you purchase through one of these links we will receive a small commission at no additional cost to you. Thank you for supporting Rich Texture Crochet!
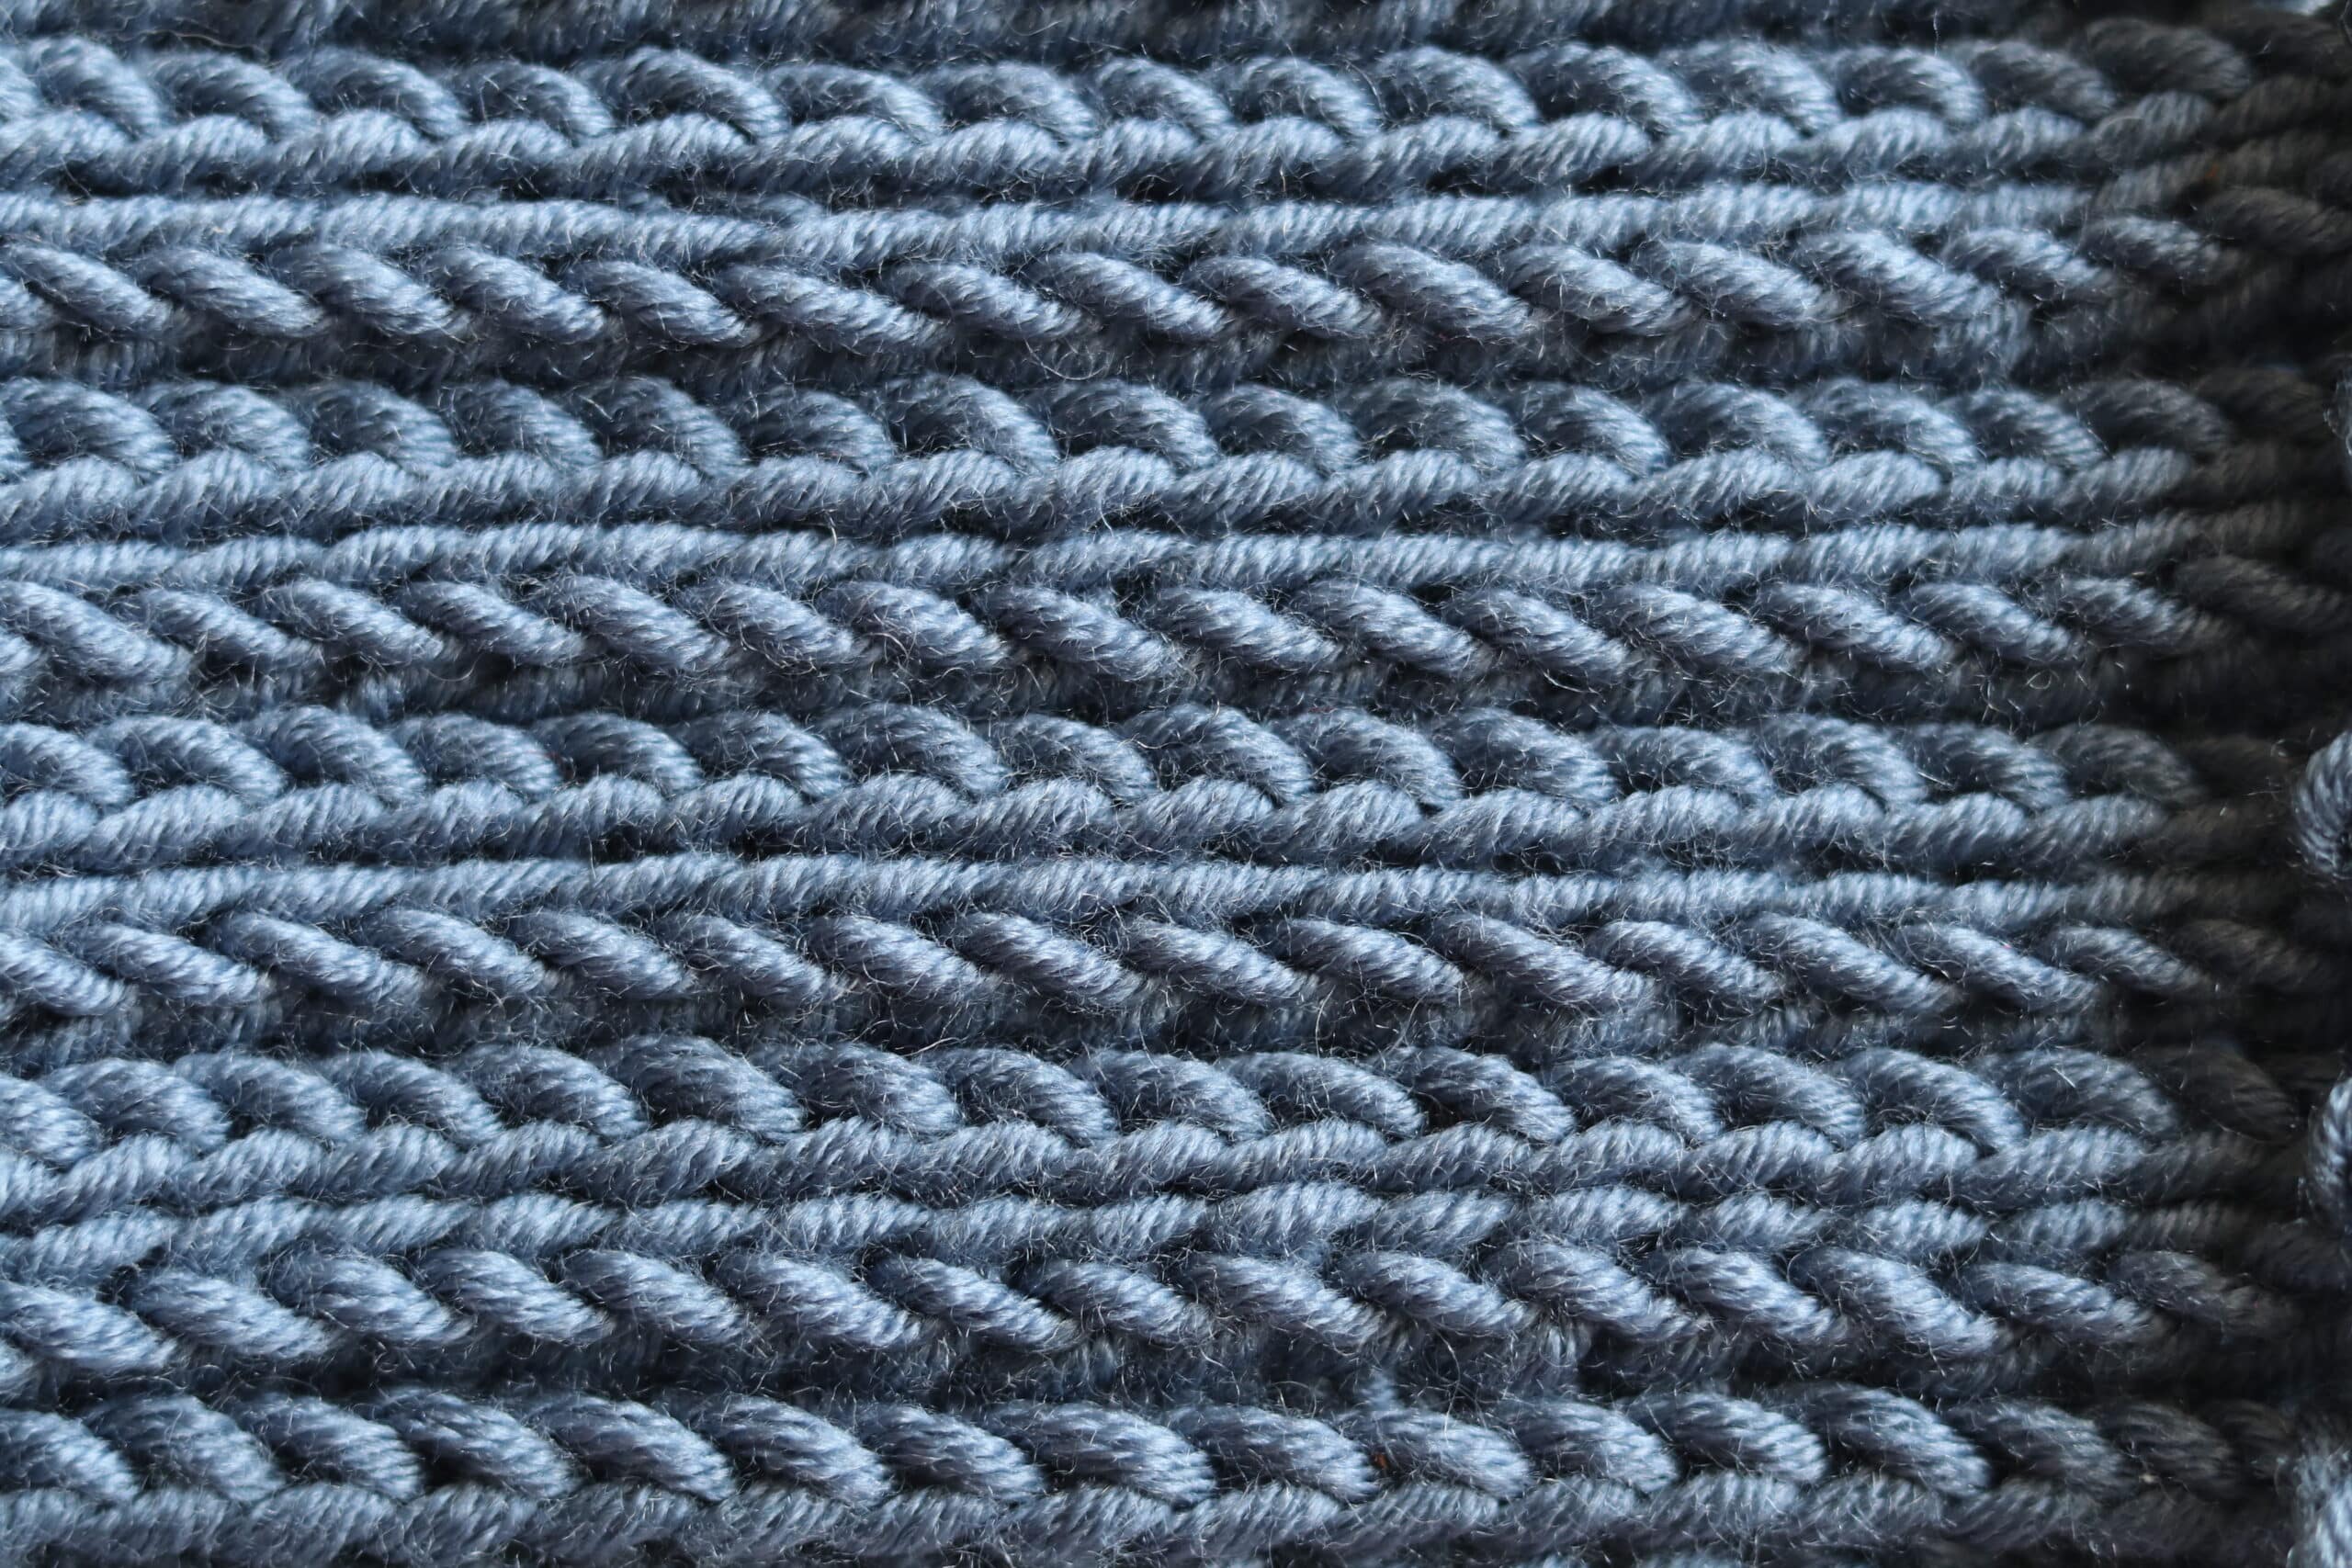
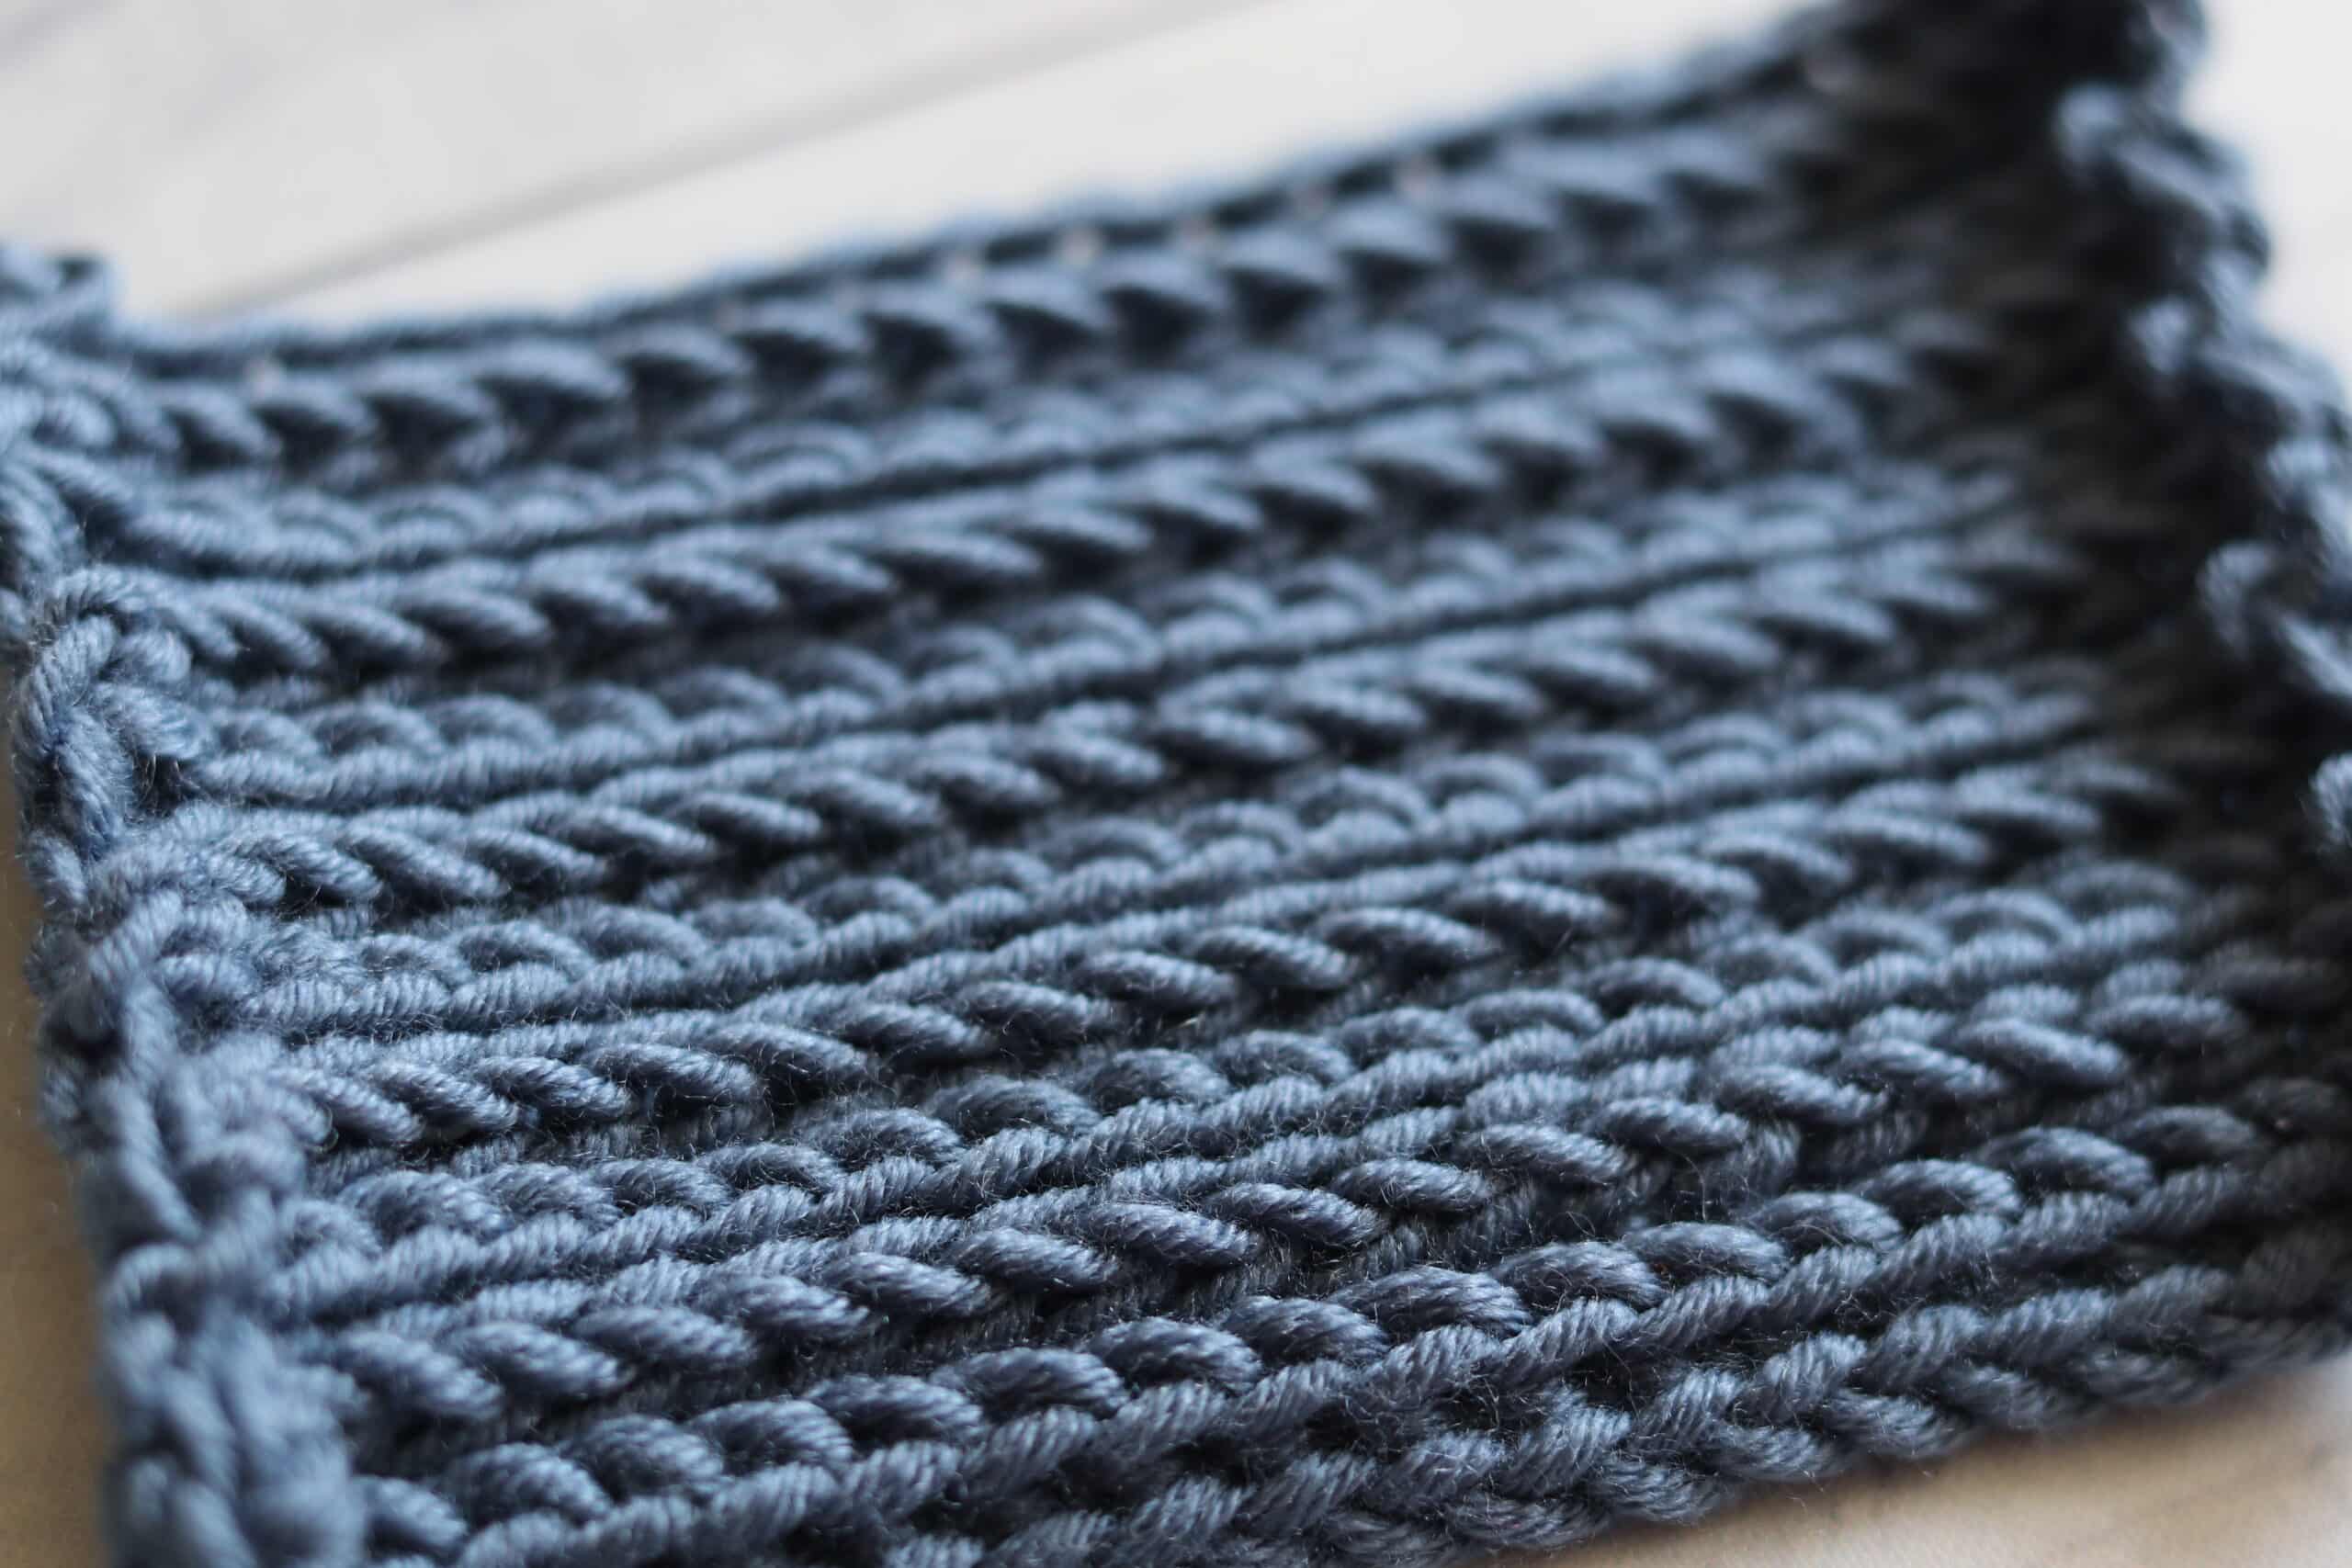
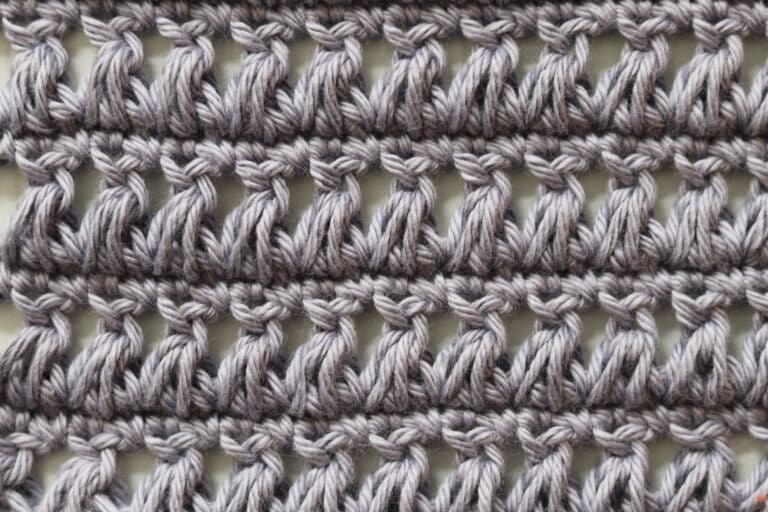
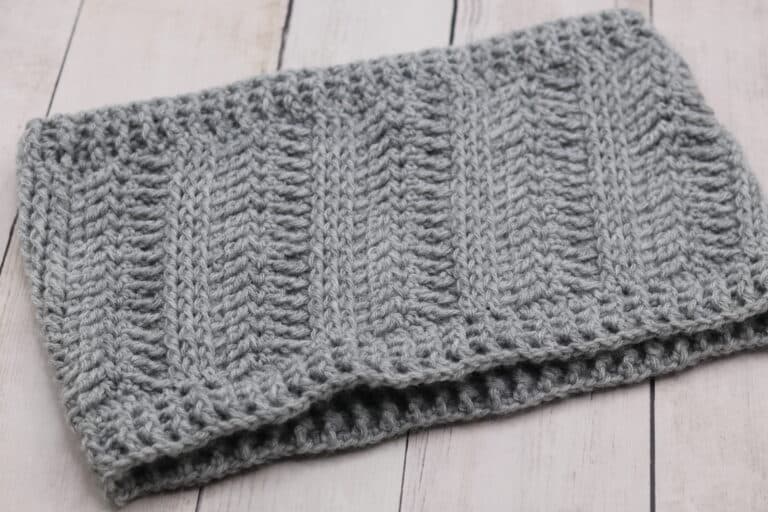
The crochet Camel Stitch is a popular stitch used in a variety of designs ranging from blanket edgings to hats!
Sometimes this stitch is referred to as working in the third loop. The third loop is typically most easily seen in the half double crochet stitch at the back of your work. Sometimes it can be a bit elusive and difficult to find! But, when you do find it, the end result in your fabric is unique and beautiful.
The Design:
Doesn’t it look like it is knit? When worked in continuous rows, as is shown above, the end result is a fabric that has quite a bit of stretch to it. This knit looking pattern is only found on the one side. It is a flexible pattern as you can work this design using any multiple.
How to Use this Stitch:
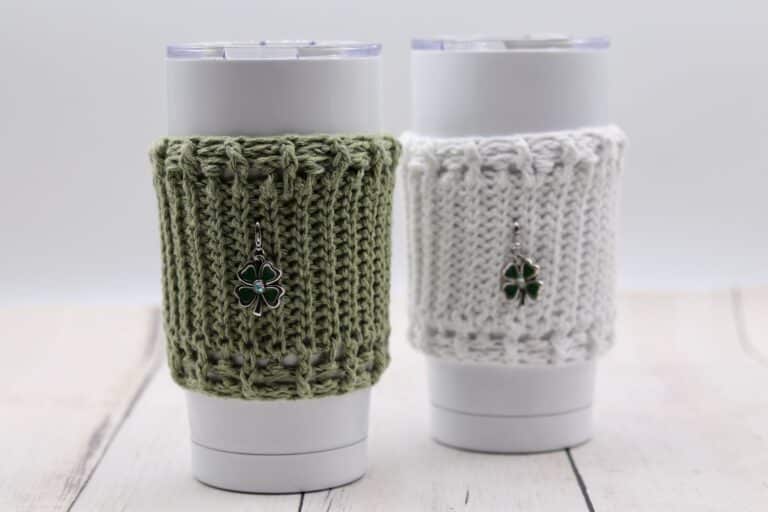
I have seen this technique used in a variety of patterns. Just recently I was shown a beautiful baby blanket using this stitch! It is also possible to use it in hats and garments as well. Feel free to let me know how you would use this stitch in the comments below!
Materials:
For this tutorial I will be using the Caron x Pantone yarn by Yarnspirations along with a 5.5 mm crochet hook. The hook shown here and in the video below is a wooden streamline hook by Furls Crochet.
You may use any hook and yarn combination though for your project! the camel stitch lends itself to a variety of yarn weights, from very fine to a super bulky.
Camel Stitch | How to Crochet
This stitch is worked in rows in this tutorial. The working in the third loop technique however can also be worked in a round!
Don’t forget to check out the free video tutorial linked below!
To begin, make a slip knot and then crochet a foundation chain of any multiple of stitches. Add one extra chain for your turning chain.
Today, for my tutorial, I am going to chain a total of 21 stitches.
Row 1:
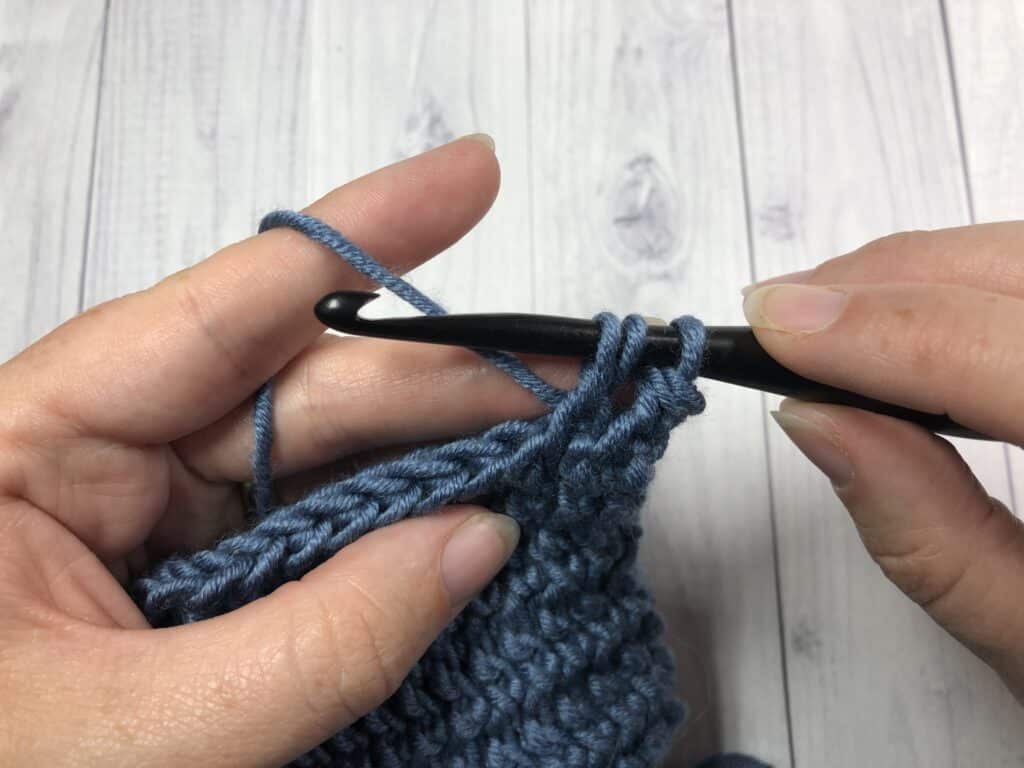
Half double crochet into the 2nd chain from your hook, and then work one (1) half double crochet into each chain all the way across. At the end, chain one (1) and turn your work.
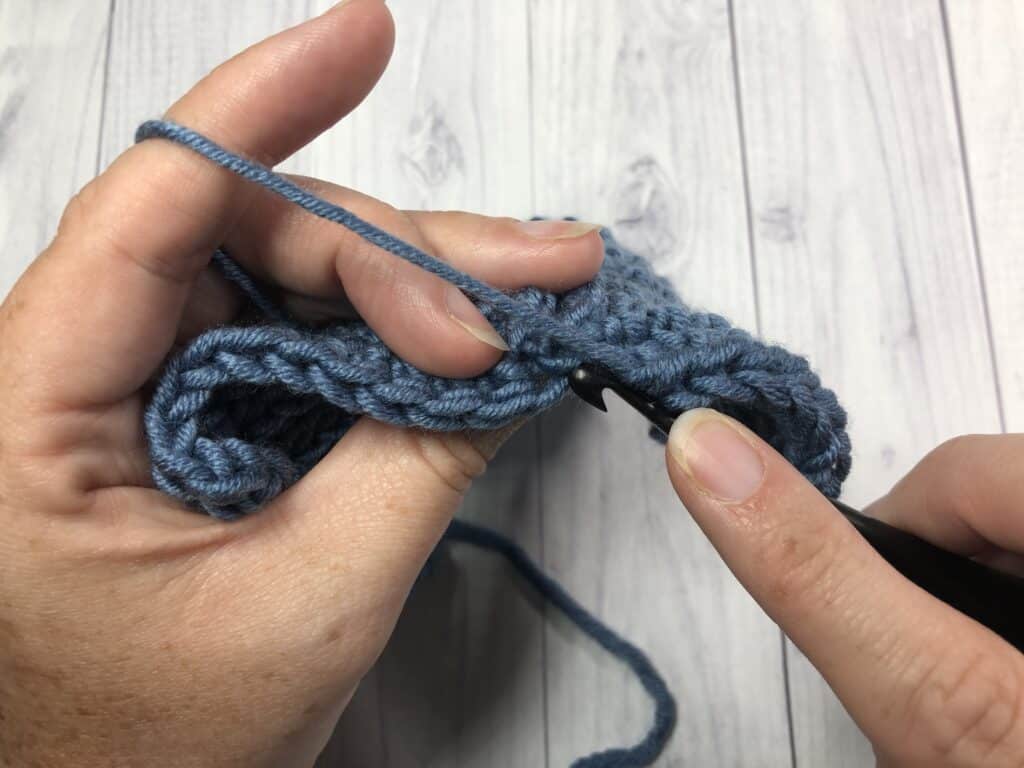
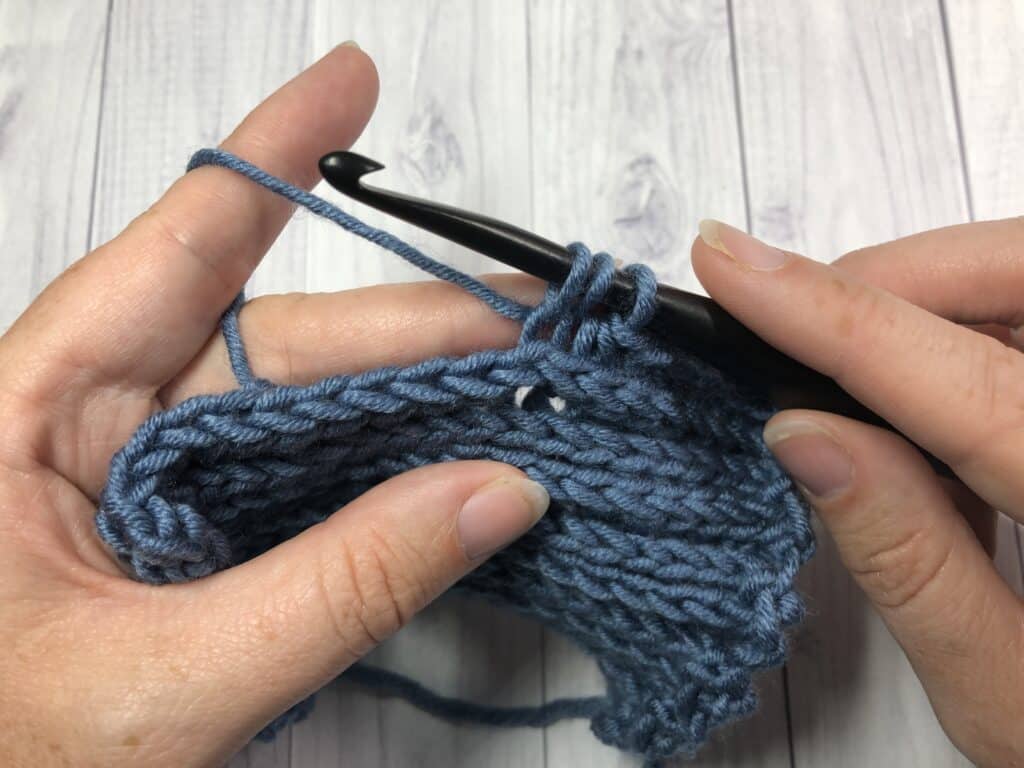
You will now be looking at the back of your work. When you look at the back of the half double crochet stitch, at the top of the stitch, you will see two horizontal bars: One along the top of the stitch, and one just below.
The second horizontal bar, the one below that top one, is the loop that is often referred to as the “3rd loop.” When you work the camel stitch, this is the loop that you work into.
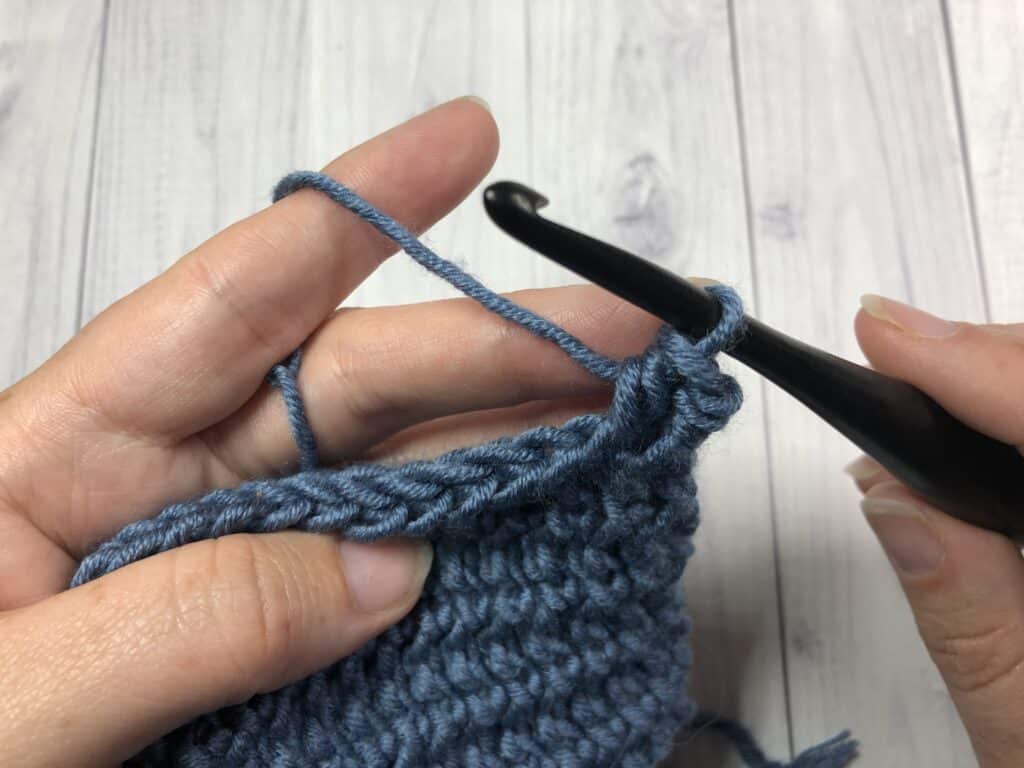
Row 2:
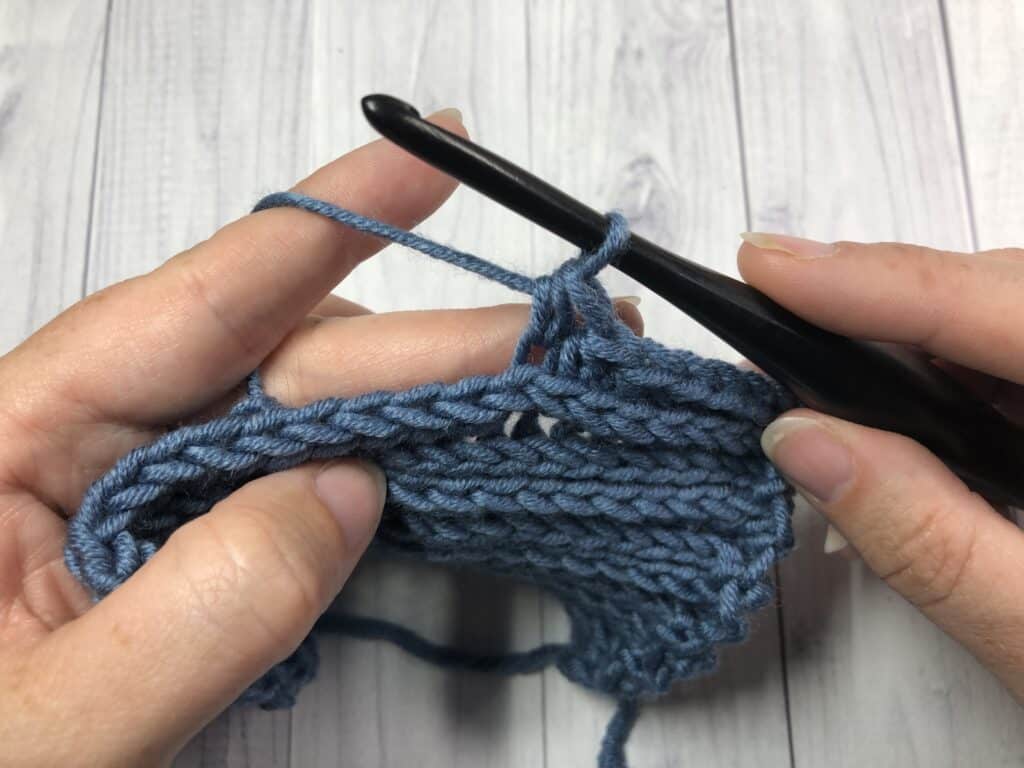
Inserting your hook only into the 3rd loop (working from under the bottom of the loop up through the top), work a half double crochet into the first stitch and then into each stitch all the way across. You will always work into that 3rd loop only. As a result you are going to see the top of your stitch being pushed forward, giving you that knot look. At the end of this row, chain one (1) and turn your work.
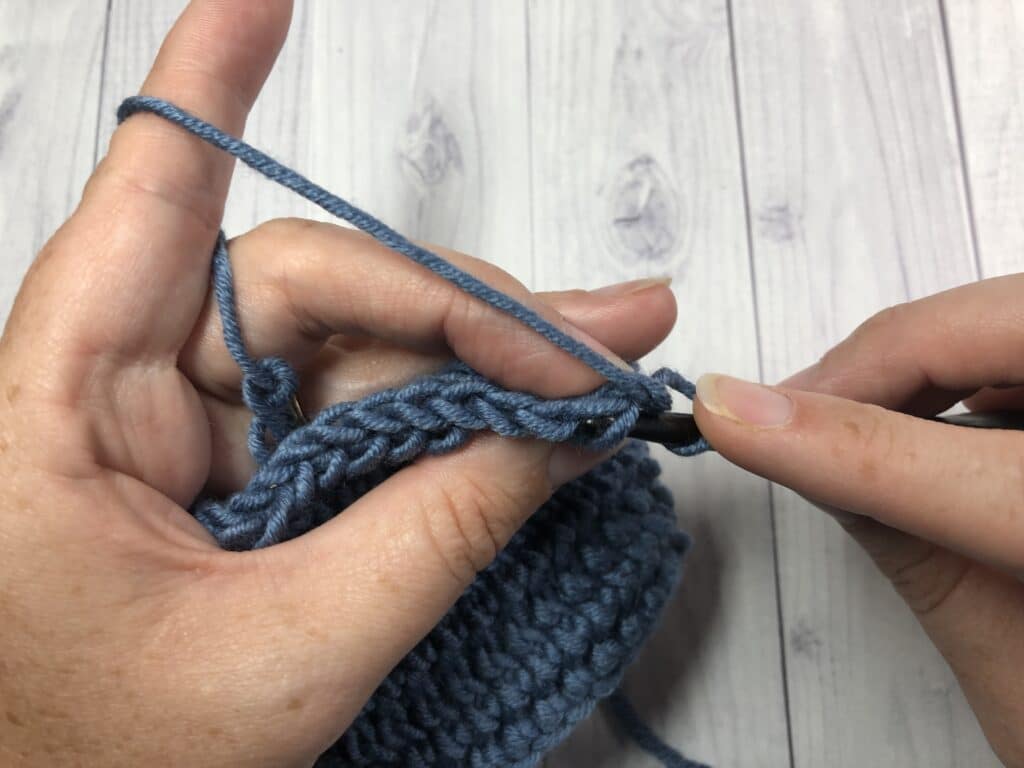

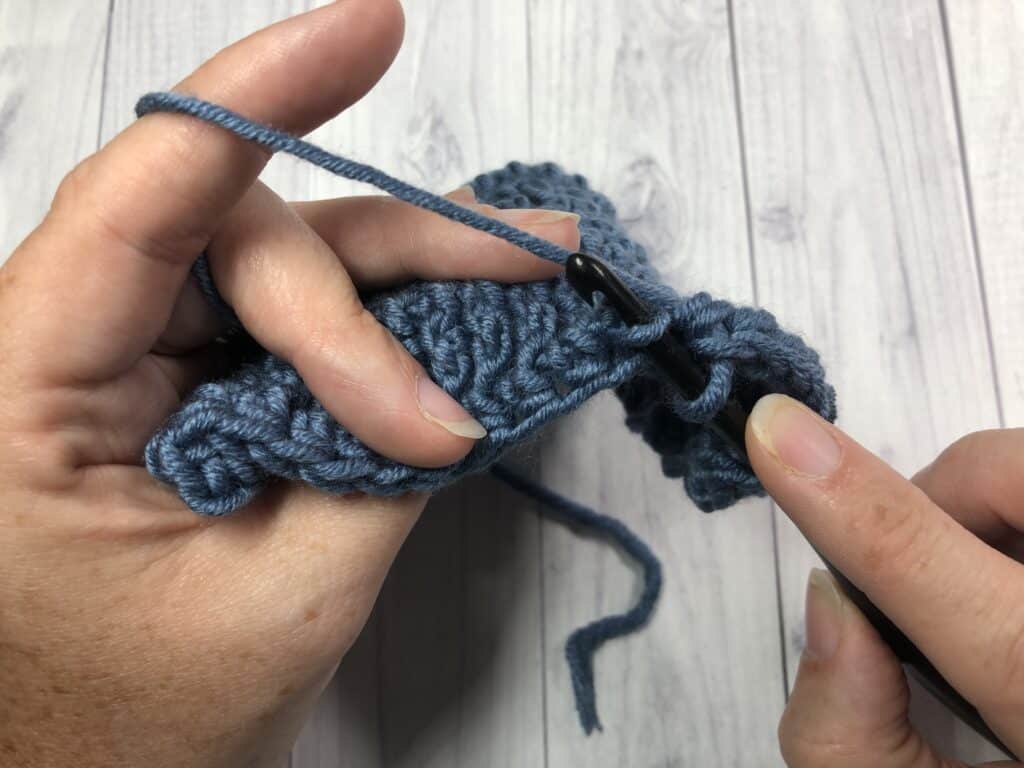
You will now be looking at the front of your work. You still want the tops of your stitches to be pushed in the same direction, so you will still insert your hook into the third loop at the back of your work, only this time and from this angle, the 3rd loop may look a little different and be slightly more challenging to find.
Row 3:
Looking down at the top of your stitch, you are then going to push the top of the stitch slightly forward. This will make it easier to see the 3rd loop. With the third loop now exposed, you can insert your hook from the top to the bottom under the 3rd loop and work a half double crochet stitch. Repeat that process in each stitch all the way across.
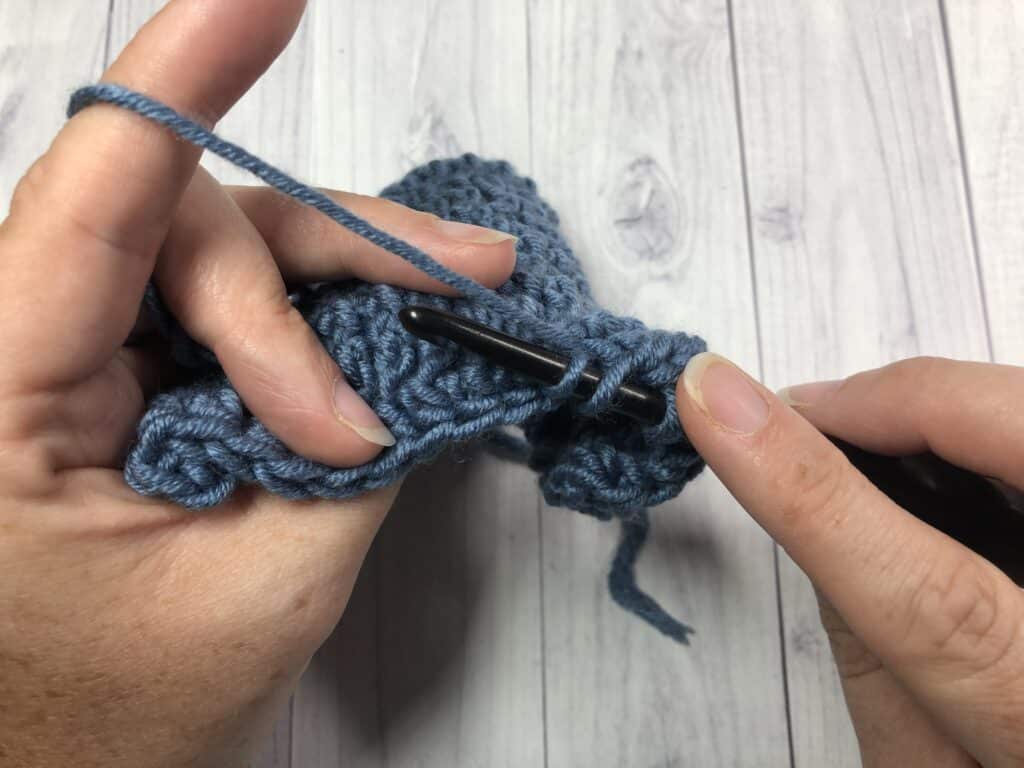
And that’s it! That’s all there is for working the camel stitch. Continue to work through rows two and three for the length of your pattern.
Below is a video tutorial where I demonstrate how to work this stitch design. If you like this video, you may consider checking out my YouTube Channel where you will find many other great stitch tutorials and crochet patterns!


Great written tutorial. Thank you!