This post contains affiliate links. This means that when you purchase through one of these links we will receive a small commission at no additional cost to you. Thank you for supporting Rich Texture Crochet!
Hello and welcome to Learn to Crochet: How to read a written crochet pattern.
When I first learned to crochet I was determined to learn how to read a written crochet pattern. At the time I felt that if I could teach myself how to read a crochet pattern then I could crochet anything that I wanted.
There are so many beautiful and intricate crochet patterns out there by fabulous designers – everything from stuffed animals and dolls, to clothing accessories and luxurious blankets. And all of them are at your finger tips once you learn how to read a written pattern.
In this tutorial I will break down the different components of a crochet pattern using a pattern that I designed as the foundation. So below you will see the written crochet pattern but if you continue to scroll down you will find that I have numbered each section and added a brief description. If you would like to have a hard copy of this tutorial, you may download the free PDF from the link here: Pattern tutorial.
Particular parts of the pattern such as the yarn, crochet hook and gauge will be explained in more detail in a later lesson, so don’t worry if, even as the end of this session, it’s still clear as mud.
Be sure to check out the companion video for this tutorial and subscribe to my Facebook (http://www.facebook.com/richtextures/) and YouTube Channel for instant updates.
Here we go!
How to Read a Written Crochet Pattern:
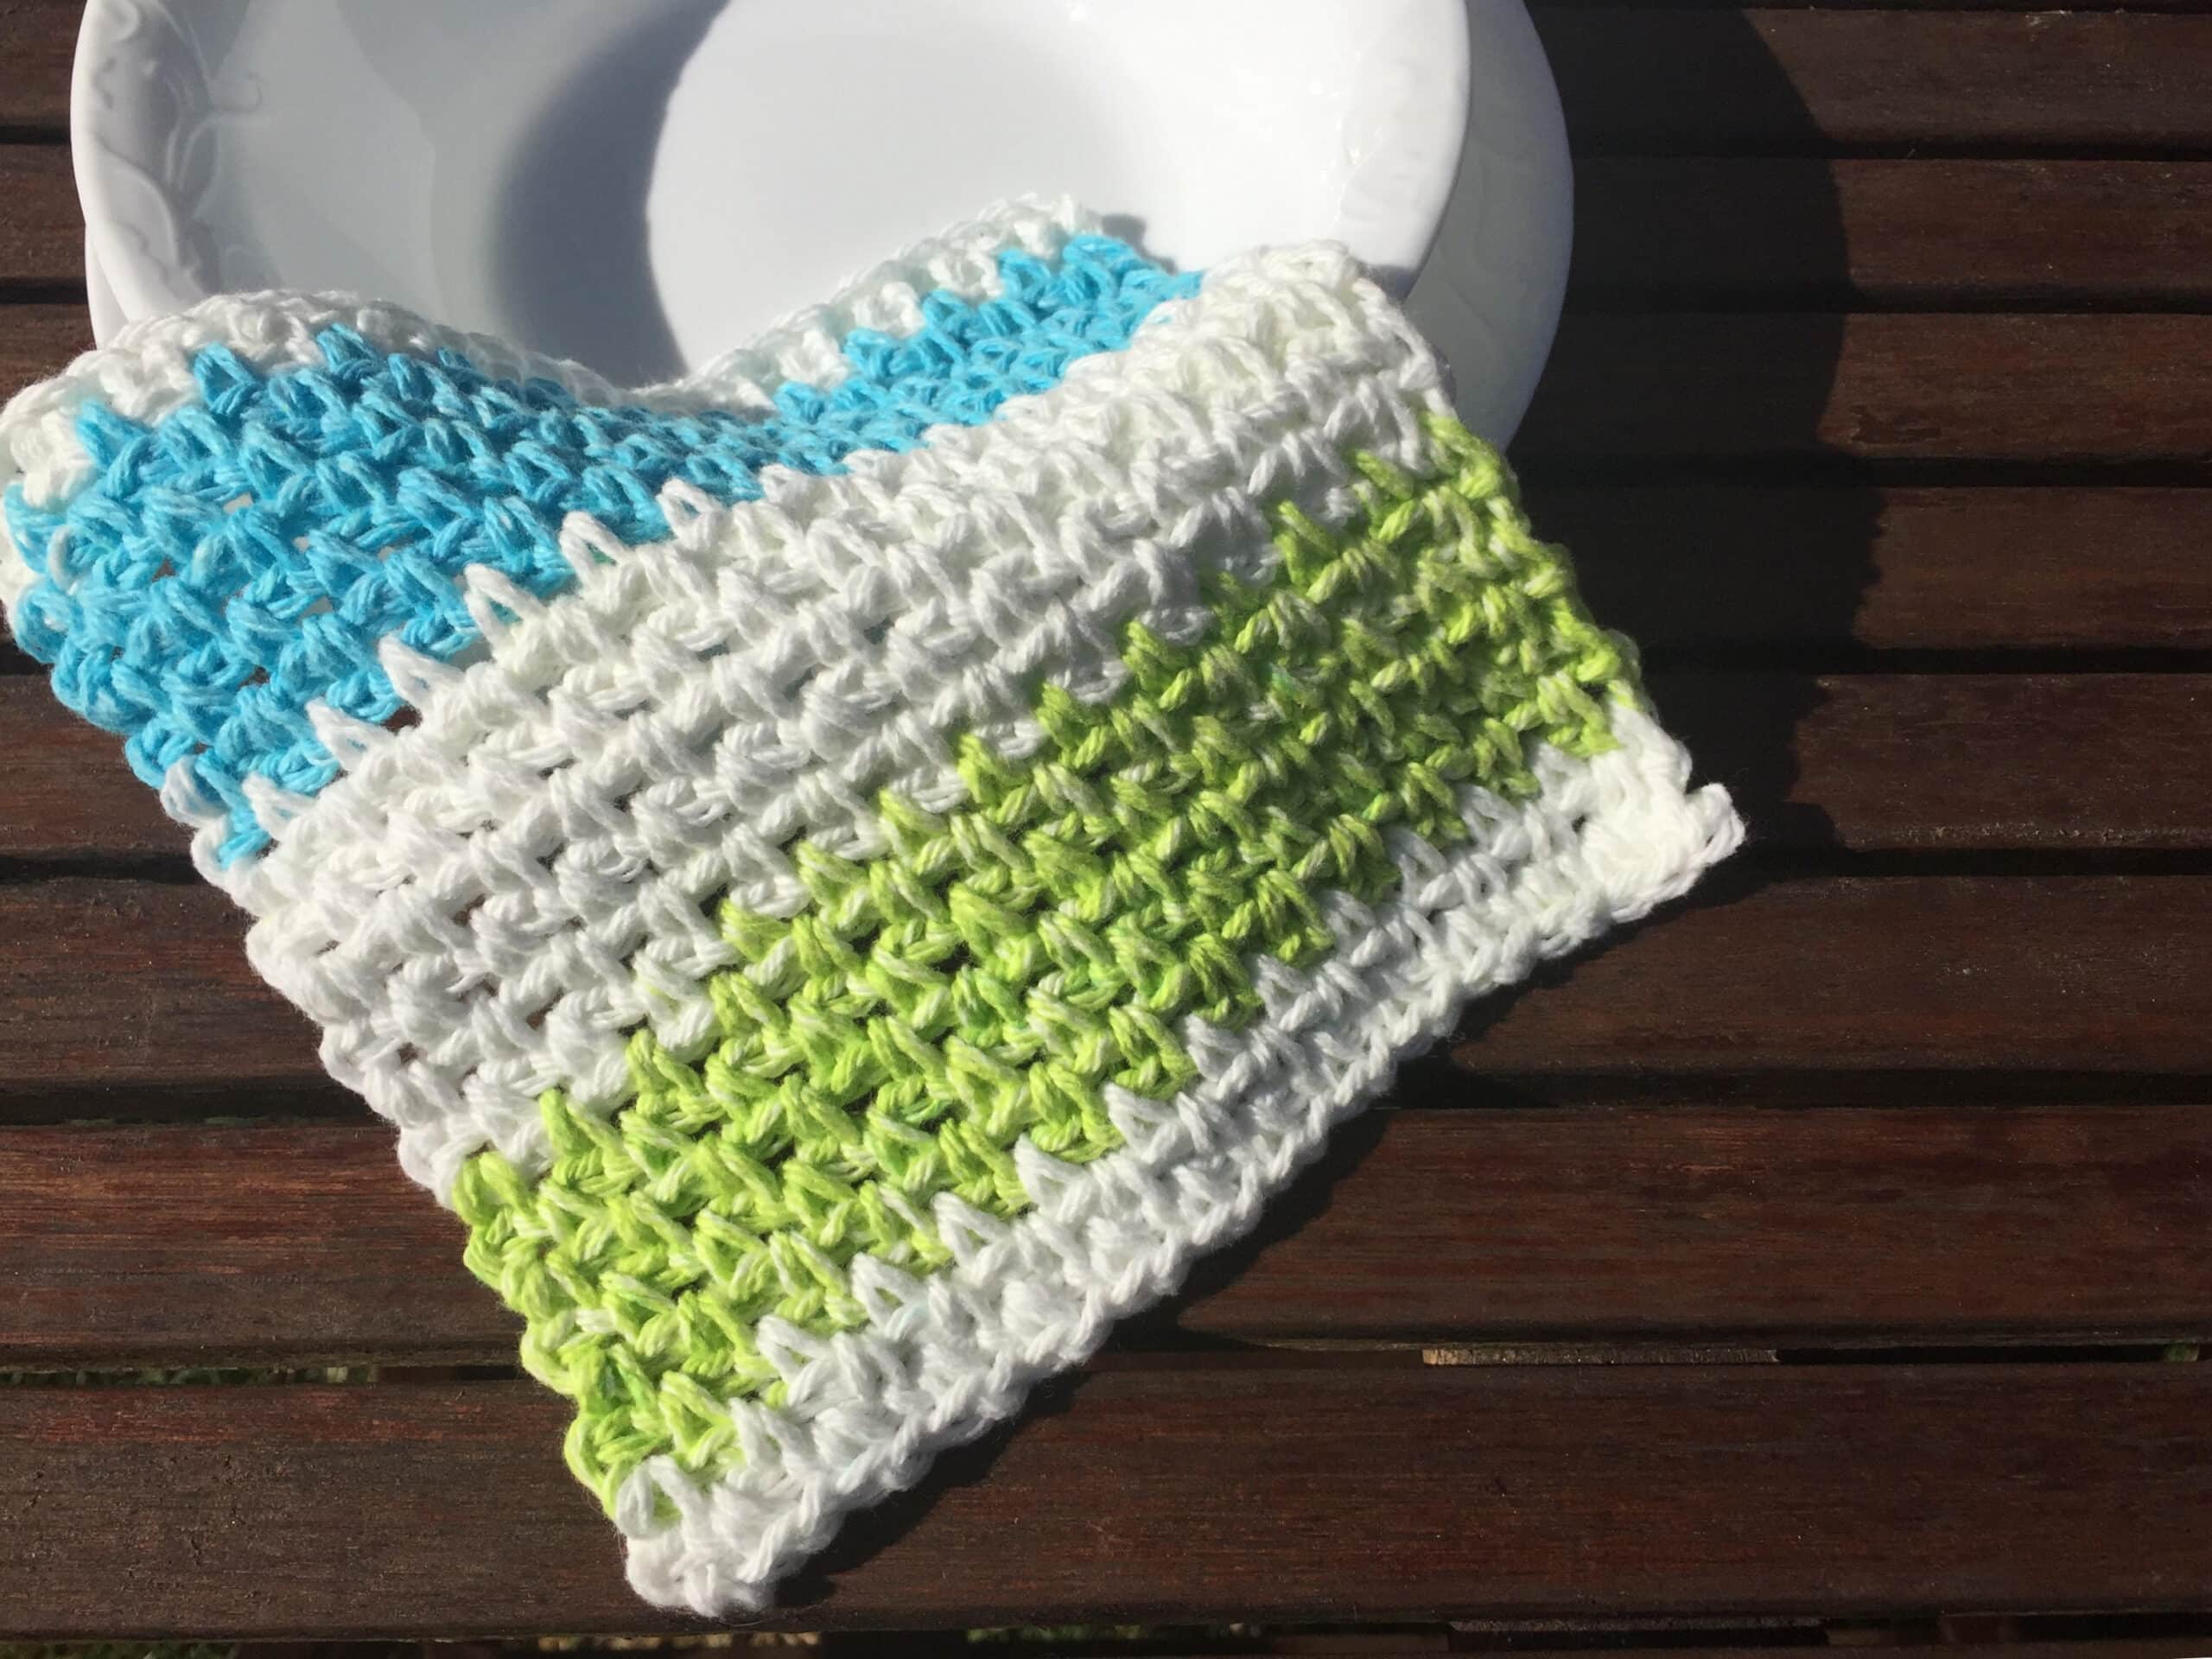
Single Crochet Wash Cloth
Getting Started Session 1: How to Read Crochet Pattern
A Crochet Pattern and Tutorial by Sarah Thompson of Rich Textures Crochet
Skill Level: Beginner
Gauge: 16 Sc x 16 rows = 4 inches
Finished Size: Approximately 6.5 x 6.5 inches
Yarn: Approximately 34 yards of Bernat Handicrafter Cotton Stripes™, colour Mod Stripes (100% Cotton; 43g / 1.5 oz, 62 meters / 68 yards; weight: 4 – Medium – Worsted)
Hook: 5 mm (US H/8)
Notions: Yarn Needle
Stitches and Abbreviations:
Ch – Chain
Lp – loop
Rpt – Repeat
Sc – Single Crochet
Sk – Skip
Sl st – Slip stitch
Sp – space
Sps – spaces
Yo – Yarn over
Pattern Notes:
- Pattern is written in American English terms.
- Pattern is worked in rows.
- Ch 1 at beginning of row does not count as a Sc.
- Weave in ends as needed
Pattern:
Ch 27.
Row 1: Sc in the 3rd ch from hook, * ch 1, sk next ch, Sc in the ch. Rpt from * to last ch. Turn. (13 Sc, 12 ch-1 sps, 1 ch-2)
Row 2: ch 2, Sc in the 1st ch1 sp, ch 1, * sk next Sc, sc in the next ch-1 sp. Rpt from * to last ch-1 sp, ch 1, sl next Sc, Sc in the ch-2 sp. Turn. (13 Sc, 12 ch-1, 1 ch-2)
Rows 3-22: Rpt row 2.
Fasten off. Weave in ends.
The photographs and pattern contained in this document are the property of Rich Textures Crochet.
This pattern is for personal use only.
No unauthorized reproduction, in whole or in part, or distribution of this pattern or content is permitted. ALL FINISHED PRODUCTS from this pattern can be used for local sales and sold online.
First of all, before breaking this pattern down, I always recommend that when you pick up a new pattern you make a quick read through of the pattern. This will allow you to make any helpful notes, mark things you’re unsure about and give you the chance to look up and practice new stitches before diving in.
1. Title and Author – Here is where you will find information about the title and the author of the pattern. It may also include helpful info such as a Webpage or Social Media.
2. Skill Level and Yarn Weight Symbols – These symbols are standard symbols regulated by the Craft Yarn Council in America. Their goal is to bring uniformity to pattern and labels.
Project Level symbols are helpful in helping you determine the skill level of
your pattern. There are 4 skill levels (Beginner, Easy, Intermediate and Complex). Each level is categorized according to things like the complexity of the stitches and techniques involved.
Yarn Weight Symbols can be found both on crochet patterns and on Yarn Labels. The
numbers represent the different weights of yarn. Yarn weight vary from lace weight (0) to Jumbo (7). Different weights of yarn a better suited to come projects than others. A lace weight yarn is simple to that of thread and is quite thin while Jumbo yarn is quite thick. Often times in a pattern you can substitute a particular yarn and brand for another (as long as it is a similar fibre) by matching the yarn weight symbols in the pattern and on the yarn label. (Source: Craft Yarn Council’s www.YarnStandards.com)
3. Gauge – this is the number of stitches per inch and rows per inch made with a specific yarn worked with a specific hook. Everyone crochets differently. Some people may make their stitches really tight, while others crochet looser. Because of this the final measurements of a crochet project may differ from one person to another. This is called gauge. We will talk a bit more about this in a later session.
4. Finished Size – Here you will find the approximate dimensions of your finished product.
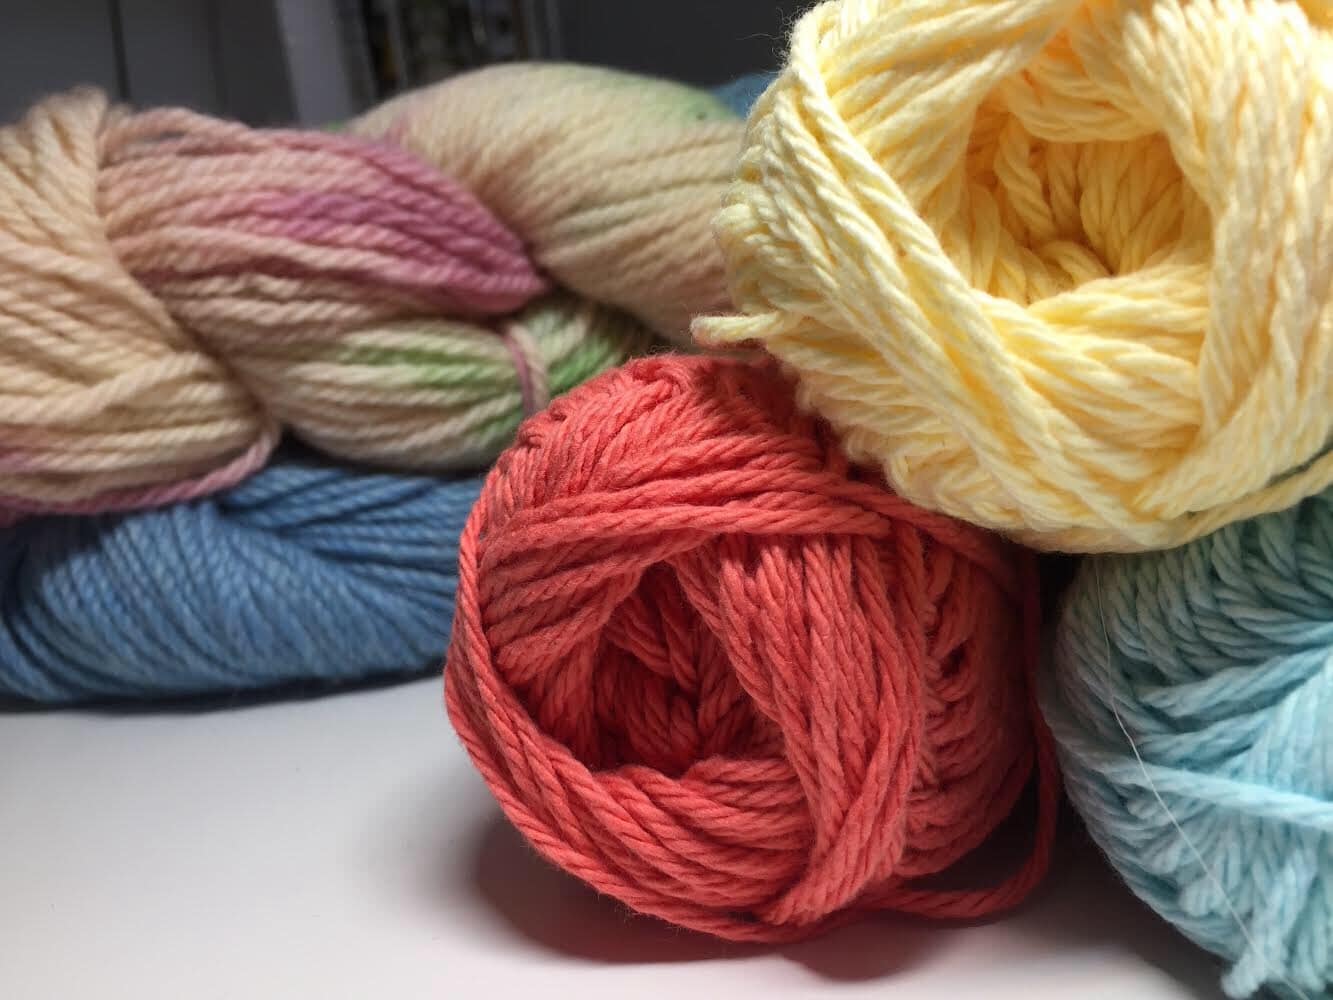
5. Yarn – There are so many choices when it comes to yarn! Here you will find the information about the yarn that the designer used and recommends to complete the project. This is not set in stone, however, and you may substitute one yarn for another. Although daunting at first, don’t be afraid to switch up your yarn and colour so that it suits your own personal style. More on yarn at a later date.
6. Hook – Here you will find information about the size of crochet hook you will need. There are many sizes and types of crochet hooks. Each hook is sized by millimetres with a corresponding letter/number. Steel crochet hooks are used for finer threads and range in size from 0.60 mm to 2.20mm. Aluminium crochet hooks are used for the thicker yarns and range in sizes from 2.25 mm to 30 mm.

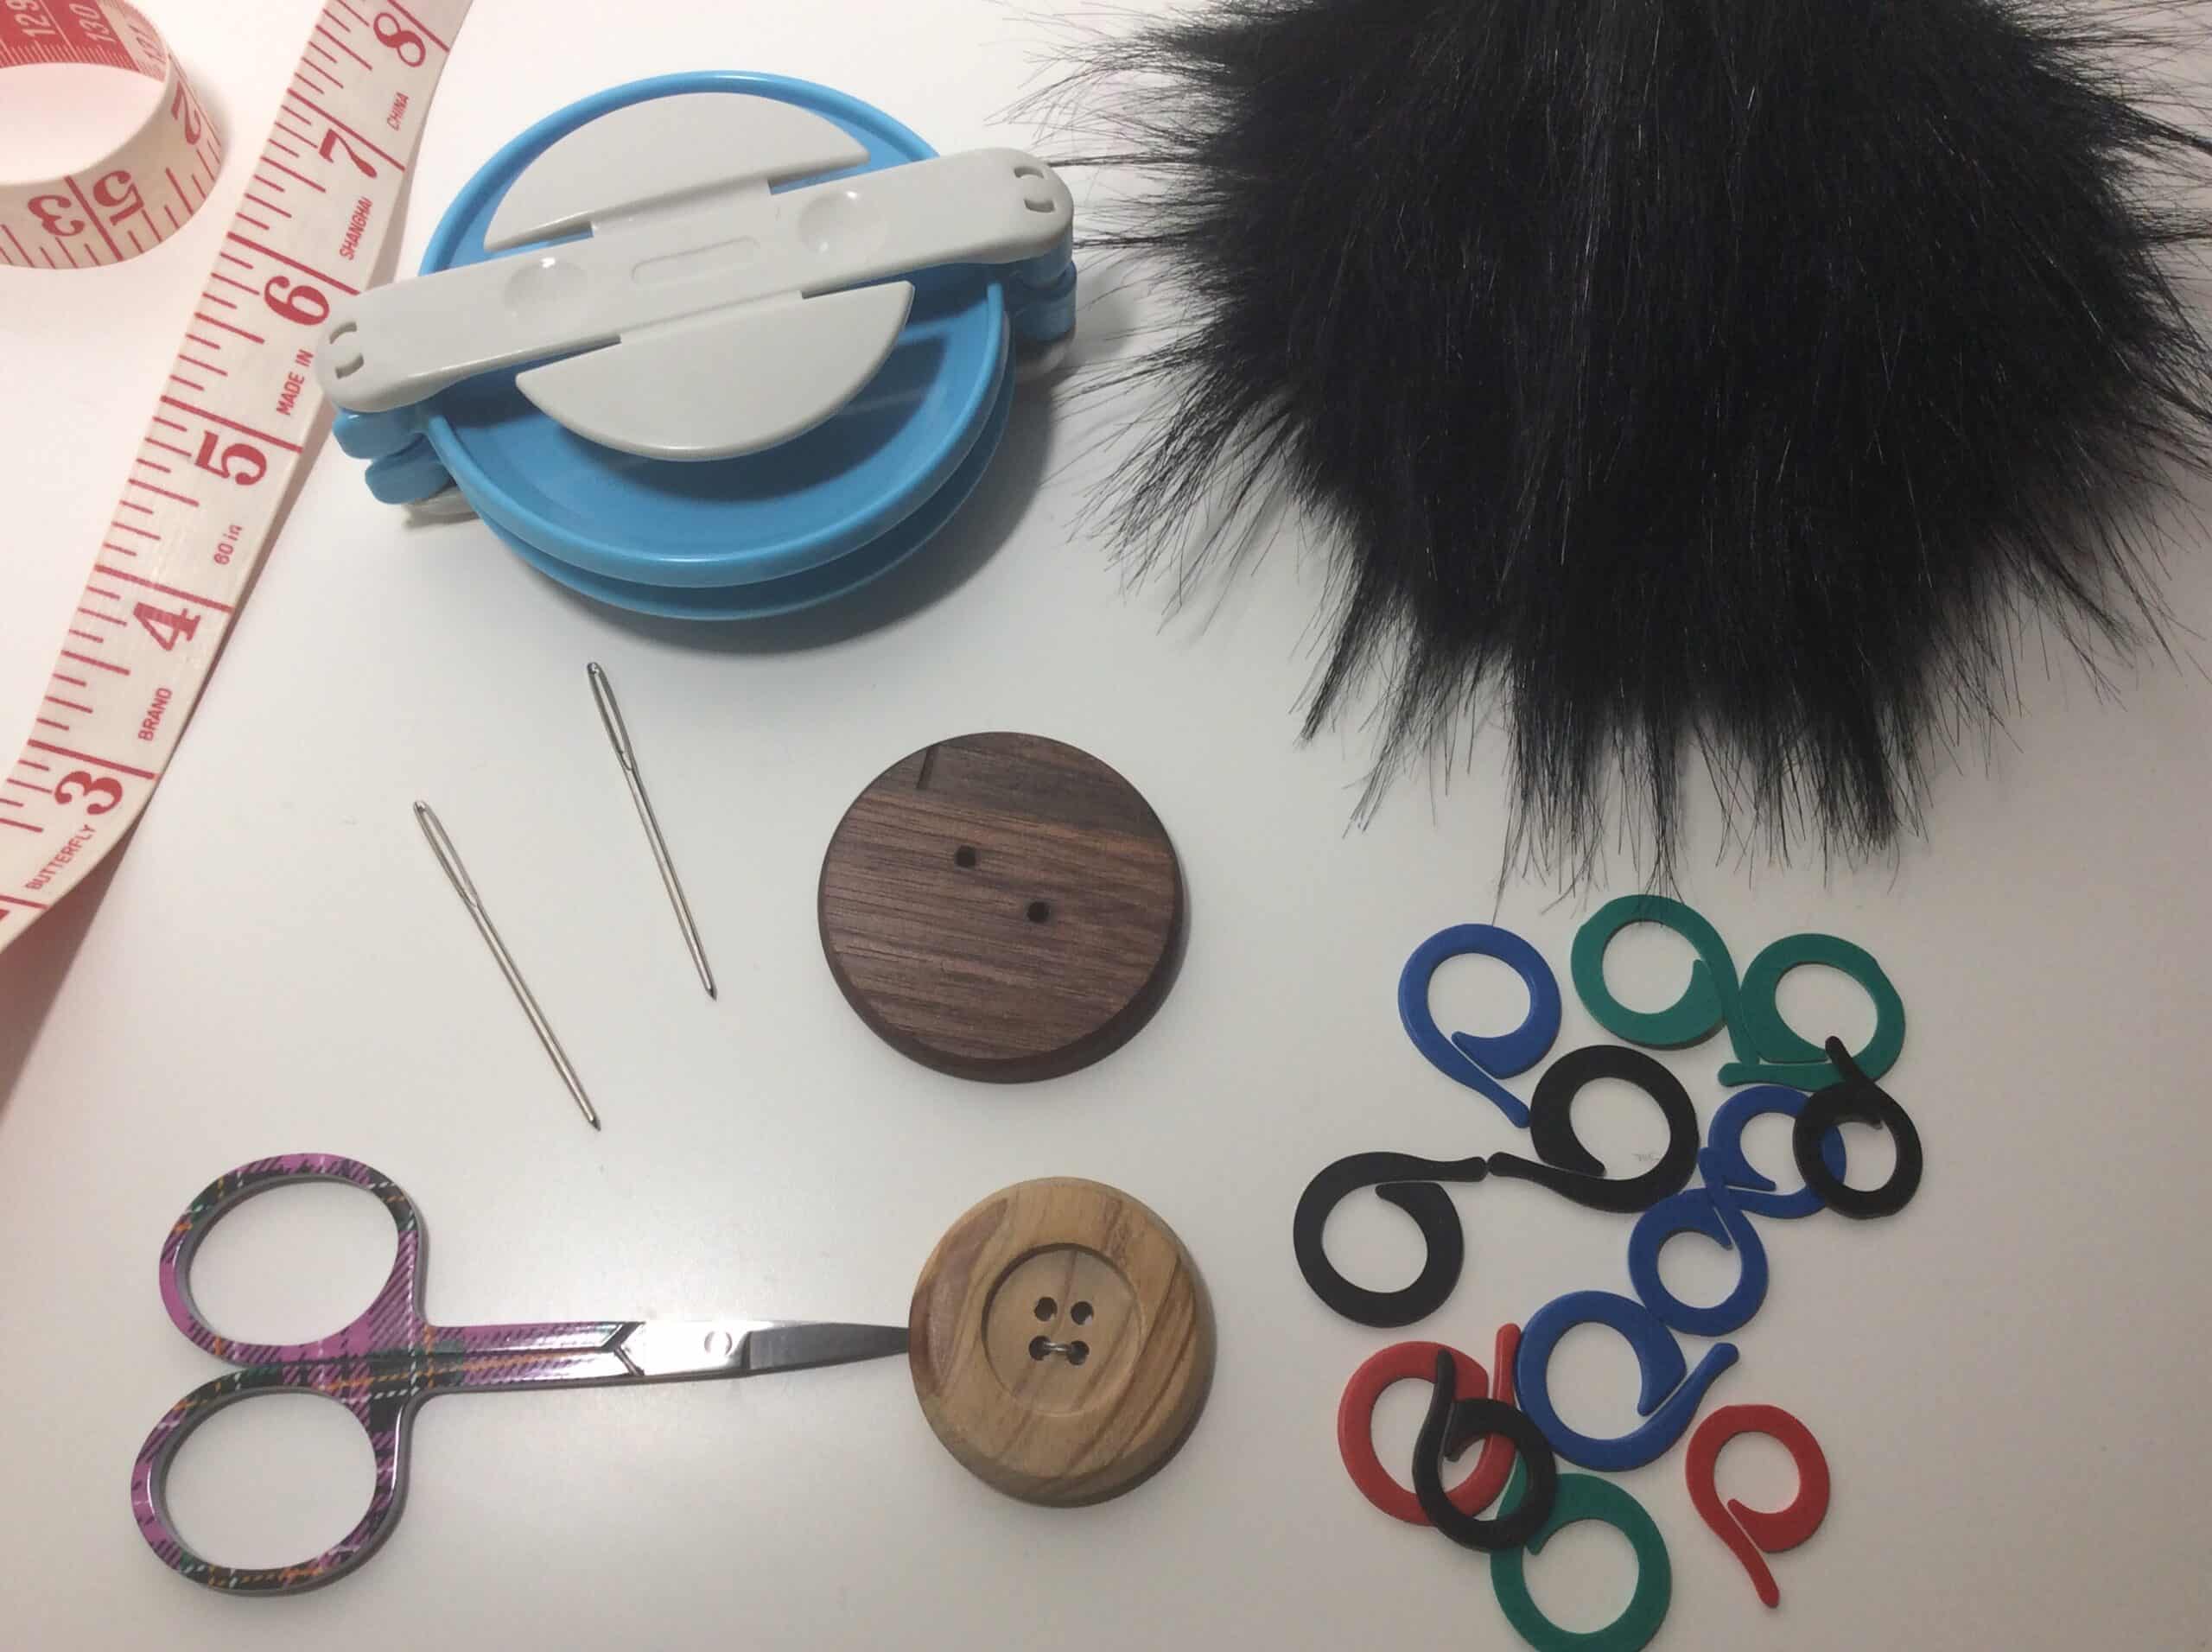
7. Notions – This is where you’ll find information about any further tools you will need. In this particular pattern you will need a yarn needle to help you weave in ends. Other Notions may include things like stitch markers, or buttons and ribbon that you may want to add to your projects. Stitch markers are used to mark particular stitches that you intend on coming back to and don’t want to misplace. They may also be used in instances where you are working in a round of a circle and need to remember where the beginning of the round is.
8. Stitches and Abbreviations – Usually at the beginning of each pattern you will find a list of stitches and abbreviations. This is a list of the stitches that will be used in that particular project. Occasionally, for a more complicated stitch, instructions may be provided in brackets. Abbreviations for the stitches are used in crochet patterns to help make it simple and create a shorter form. In some ways it is just like learning a new language. There are many different stitches and techniques out there!
9. Pattern Notes – Often near the start of a pattern the designer will include helpful instructions such as whether the project is worked in rounds or rows, and whether the chain stitches at the beginning count as a stitch or not. It is always helpful to make note of these before you begin your project.
10. Pattern instructions – Your pattern will be broken down into rows or rounds. These will be worked in order. Many patterns at the end of a row/round will include a stitch count in brackets ( ) – this will ensure that you have not missed any stitches in your work.
The pattern will be written in the short form using the abbreviations listed above. If it helps, you may consider writing out the pattern in full form until you become comfortable with the abbreviations.
Occasionally in your pattern you will come across a repeat symbol such as *. As you come to the end of the row the instructions will tell you to return to that mark and repeat the sequence a certain number of times.
Also, occasionally (although not in the pattern above), you may come across a set of brackets ( ) or [ ] which will indicate that the stitches within those brackets are worked together – possibly in the same stitch – or perhaps after the bracket you will be asked to repeat those particular stitches a number of times. The pattern itself will give you further instructions at that time.
When you come to the end of your pattern you will be told to “fasten off and weave in ends” – don’t worry, we will go over this soon!
This should give you a basic introduction to reading a written crochet pattern. The best way to affirm your understanding is to practice which we shall do over the next several sessions!
See you soon!
Sarah