This post contains affiliate links. This means that when you purchase through one of these links we will receive a small commission at no additional cost to you. Thank you for supporting Rich Texture Crochet!
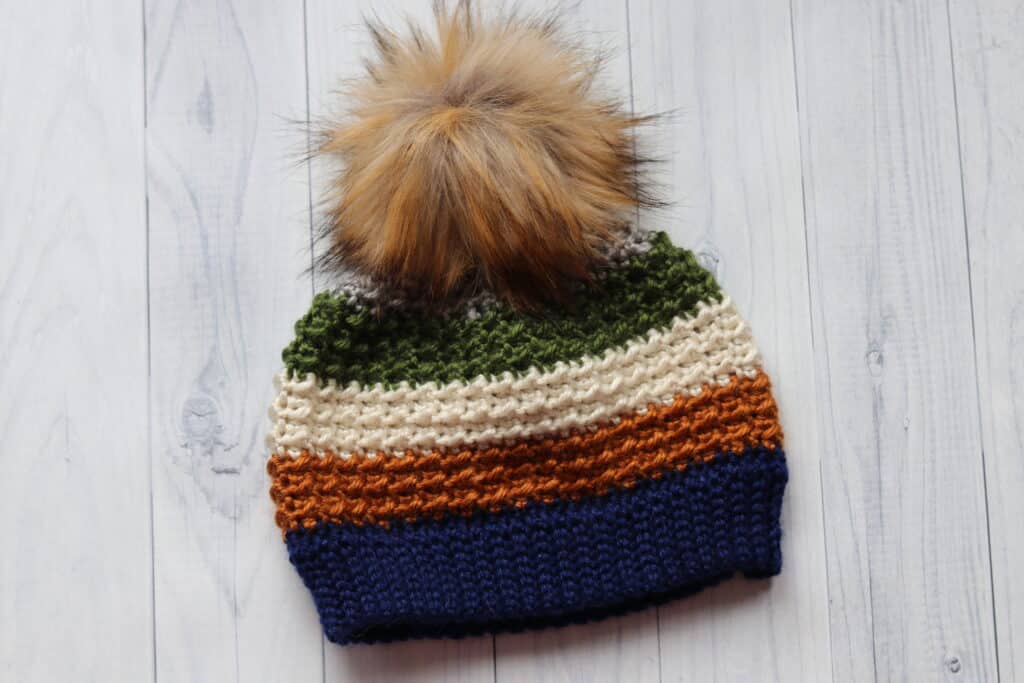
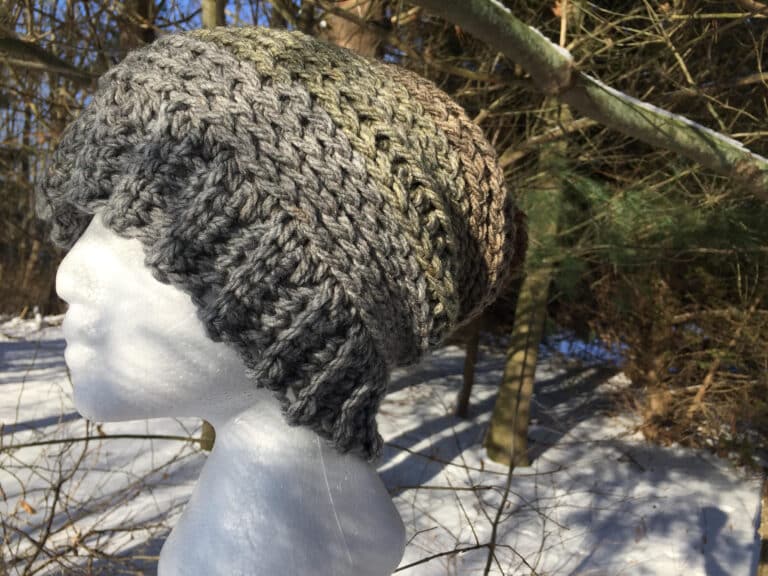
The Terra Nova Beanie is a beautiful beanie crochet pattern! It features the even moss crochet stitch.
Not too long ago I received a small box of yarn in the mail. Inside was five colours of the new Wander yarn by Furls Fiberarts. I was thrilled!
This yarn is beautiful! The Wander yarn is a 100% acrylic yarn. It is super soft and has a beautiful sheen. It is available in 14 different colours!
The earthy tones I was sent were perfect for me, and from them I designed this Terra Nova Beanie.
This post contains affiliate links. This means that when you make a purchase through one of these links, Rich Textures Crochet will earn a small commission at no additional cost to yourself. Thank you for supporting Rich Textures Crochet!
Construction:
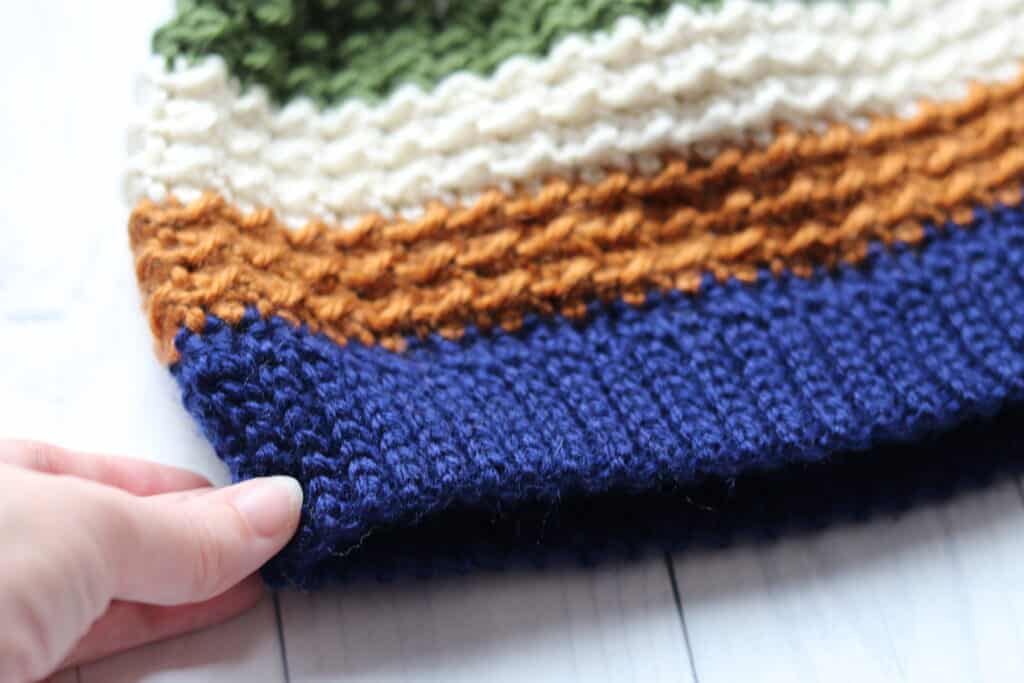
This beanie crochet pattern is worked from the bottom/brim up. I have created a slip stitch brim, however if you are not a fan of slip stitches, feel free to use a single crochet or even half double crochet to make the brim.
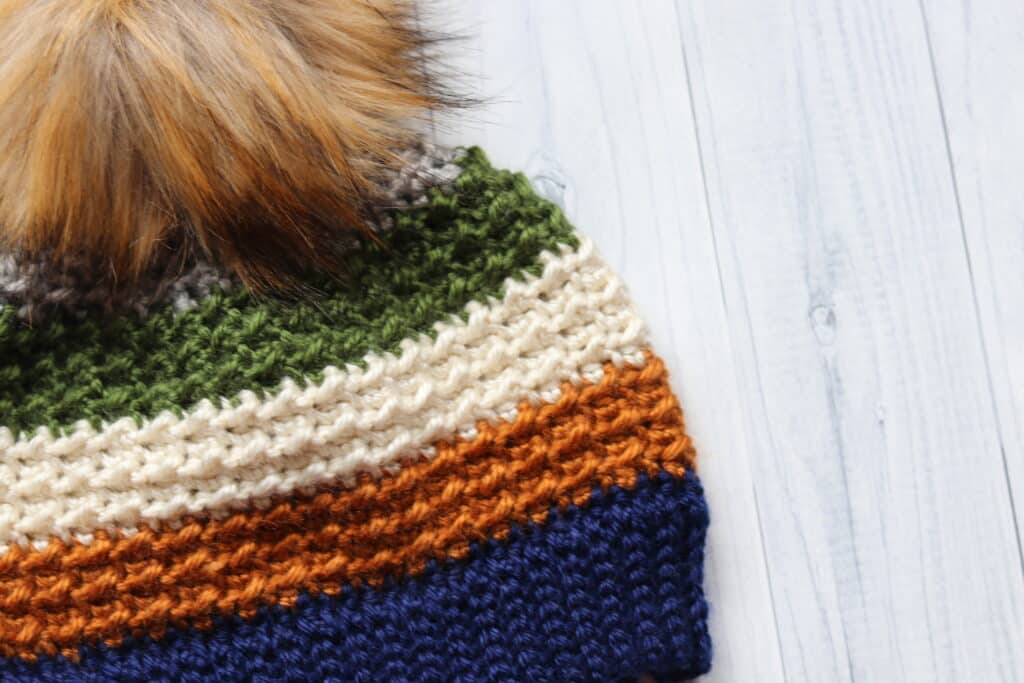
The brim of the hat is worked in rows and then the body of the hat is worked in rounds. The stitch featured in the body of the hat is called the even moss stitch.
Materials:
For my hat, I have used five different colours of yarn. You may use more or less. As well, the pompom added to the top is optional as this beanie crochet pattern looks great both ways.
With this pattern I have also used a 5.5 mm crochet hook.
PDFs are also available:
The crochet pattern will be written out in full below followed by a free video tutorial. Ad free pdfs are also available and can be purchased in my Etsy and Ravelry Shops linked below:
Click here for the Terra Nova Beanie on Etsy
Click here for the Terra Nova Beanie on Ravelry
Thank you for stopping by! If you like this beanie crochet pattern, you may also want to check out the Elizabeth Beanie Crochet Pattern.
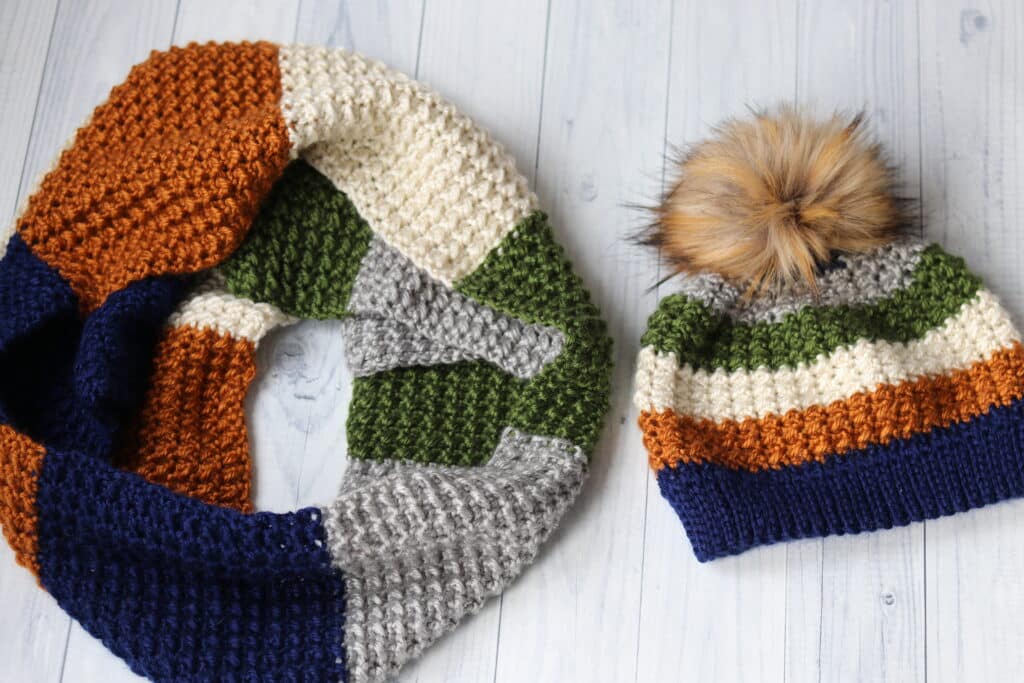
Make it a set!
The Terra Nova Scarf crochet pattern is now available! Find the free crochet pattern here: Terra Nova Scarf Crochet Pattern
Happy crocheting!
Sarah
Terra Nova Beanie:
Skill Level: Easy
Gauge: 15sts x 17 rows of Even Moss Stitch = 4 inches
Finished Size: 10 x 9 inches laid flat
Yarn: Wander by Furls Fiberarts (100% Acrylic; 3.5 oz, 100 g; Approx. 120 yds, 109 m). Worsted/medium Weight (4). You will need approximately 220 yards per hat.
If using multiple colours as shown:
Colour A: Midnight 60 yards
Colour B: Thatch 40 yards
Colour C: Snow 40 yards
Colour D: Meadow 40 yards
Colour E: Mist 40 yards
Hook: Size I/9 (5.5 mm) Hook. Adjust hook size if necessary to obtain correct gauge
OPTIONAL: Pompom to attach to the top
Stitches and Abbreviations:
Ch – Chain
Hdc – Half Double Crochet
Hdc3tog – Half Double Crochet three stitches together
Rpt – Repeat
Sc – Single Crochet
Sk – Skip
Sl St – Slip Stitch
Sl St3tog – Slip Stitch three stitches together
Yo – Yarn Over
Pattern Notes:
- Pattern is written in American English terms.
- Brim of hat is worked in rows, body of hat is worked in rounds.
- Ch 1 at beginning of round does not count as stitch.
- Turn at the end of round.
- Weave in ends as needed.
- OPTIONAL: Brim of hat may be worked using either single crochet stitches or half double crochet stitches instead of the slip stitches.
Crochet Pattern:
Brim (Worked in rows):
WITH COLOUR A
Ch 10.
Row 1: Sl st in the 2nd ch from hook and in each ch across. Ch 1, turn. (9 sl sts)
Row 2: Working in the blo, sl st in each st across. Ch 1, turn. (9 sl sts)
Continue to repeat row 2 until work from the beginning measures approximately 18-19 inches.
Do not fasten off, but fold brim of hat so that two shorter ends meet. Now working through both thicknesses, sl st across working through the blo on each side. Do not fasten off, turn work right side out (so that the right side is facing you).
Now working around the edge of the brim, continue working in rounds as follows:
Hat Body (Worked in rounds):
Rnd 1: Ch 1, evenly work 74 hdc all the way around. Join with a sl st in the first st, do not turn. SWITCH TO COLOUR B (75 sts)
Rnd 2: WITH COLOUR B, Ch 1, sl st in the first st, * hdc in the next st, sl st in the next st; rpt from * all the way around ending with a hdc in the final st. Join with a sl st in the first st, ch 1 and turn your work.
Rnd 3: Hdc in the 1st hdc, * sl st in the next sl st, hdc in the next hdc; Rpt from * around ending with a sl st in the last st. Ch 1 and turn your work.
Rnd 4: Sl st in the 1st sl st, *hdc in the next st, sl st in the next sl st; rpt from * around ending with an hdc in the final st.
Rnd 5: Hdc in the 1st hdc, * sl st in the next sl st, hdc in the next hdc; Rpt from * around ending with a sl st in the last st. Ch 1 and turn your work.
Rnd 6: Sl st in the 1st sl st, *hdc in the next st, sl st in the next sl st; rpt from * around ending with an hdc in the final st.
Rnd 7: Hdc in the 1st hdc, * sl st in the next sl st, hdc in the next hdc; Rpt from * around ending with a sl st in the last st. Ch 1 and turn your work. SWITCH TO COLOUR C
Rnds 8-13: WITH COLOUR C repeat rounds 2-7. SWITCH TO COLOUR D
Rnds 14-19: WITH COLOUR D repeat rounds 2-7. SWITCH TO COLOUR E
Rnd 20: WITH COLOUR E, * [Sl st in the next sl st, hdc in the next hdc] 3 times, sl st3tog, [hdc in the next hdc, sl st in the next sl st] 3 times, hdc3tog; rpt from * all the around. Ch 1, turn.
Rnd 21: Hdc in the 1st hdc, * sl st in the next sl st, hdc in the next hdc; Rpt from * around ending with a sl st in the last st. Ch 1 and turn your work.
Rnd 22: Sl st in the first st * [hdc in the next hdc, sl st in the next sl st] 2 times, hdc3tog, sl st in the next sl st; rpt from * all the around to the final st, hdc in the next hdc. Ch 1, turn.
Rnd 23: Hdc in the 1st hdc, * sl st in the next sl st, hdc in the next hdc; Rpt from * around ending with a sl st in the last st. Ch 1 and turn your work.
Rnd 24: * [Sl st in the next sl st, hdc in the next hdc] 2 times, sl st3tog, [hdc in the next hdc, sl st in the next sl st] 2 times, hdc3tog; rpt from * all the around to the final 2 sts, sl st in the next sl st, hdc in the next hdc. Ch 1, turn.
Rnd 25: Hdc in the 1st hdc, * sl st in the next sl st, hdc in the next hdc; Rpt from * around ending with a sl st in the last st. Ch 1 and turn your work. SWITCH TO COLOUR A
Rnd 26: WITH COLOUR A, Sl st in the first st * hdc in the next hdc, sl st in the next sl st, hdc3tog, sl st in the next sl st; rpt from * all the around to the final st, hdc in the next hdc. Ch 1, turn.
Rnd 27: Hdc in the 1st hdc, * sl st in the next sl st, hdc in the next hdc; Rpt from * around ending with a sl st in the last st. Ch 1 and turn your work.
Rnd 28: * Sl st in the next sl st, hdc in the next hdc, sl st3tog, hdc in the next hdc, sl st in the next sl st, hdc3tog; rpt from * all the around to the final 2 sts, sl st in the next sl st, hdc in the next hdc. Ch 1, turn.
Rnd 29: Hdc in the 1st hdc, * sl st in the next sl st, hdc in the next hdc; Rpt from * around ending with a sl st in the last st. Ch 1 and turn your work.
Rnd 30: * Sl st in the next sl st, hdc3tog, sl st in the next sl st, hdc3tog; rpt from * all the around to the final 2 sts, sl st in the next sl st, hdc in the next hdc.
Fasten off leaving a long tail. Using the long tail, sew the top of the hat closed. Fasten off and weave in your ends. Attach Pompom to the top.


Thank you for this beautiful pattern. I do have one question. On the video, it looks like you are working in the back of the stitches instead of in the stitches in the body of the beanie’s ilast green row and the beginning of the white rows. Which is correct and does it matter?
I love this gorgeous hat and am attempting to crochet it. The pattern says to Crochet 74 hdc for round 1 of the body of the hat. Then switch to color B and (75). Does this mean that I am to have 75 stitches instead of 74 for round 2? The (75) in the directions has me confused. I have watched the video, and in the video nothing is said about switching to 75 stitches. I also purchased the pattern. Thank you in advance for answering my question. I am so ready to get started making some of these hats for Christmas presents.
It may be a typo – I will take a look
Thank you so much for your quick response. I will wait to hear if the (75) is a typo, before continuing with the hat. I would love to crochet a terra nova beanie for each of my sons for Christmas.
I have read all about you on your website. I can scarcely believe all that you have accomplished. You must be a very high energy person. Thanks for creating the terra nova beanie ~~ and for helping understand the pattern!