
This post contains affiliate links. This means that when you purchase through one of these links we will receive a small commission at no additional cost to you. Thank you for supporting Rich Texture Crochet!
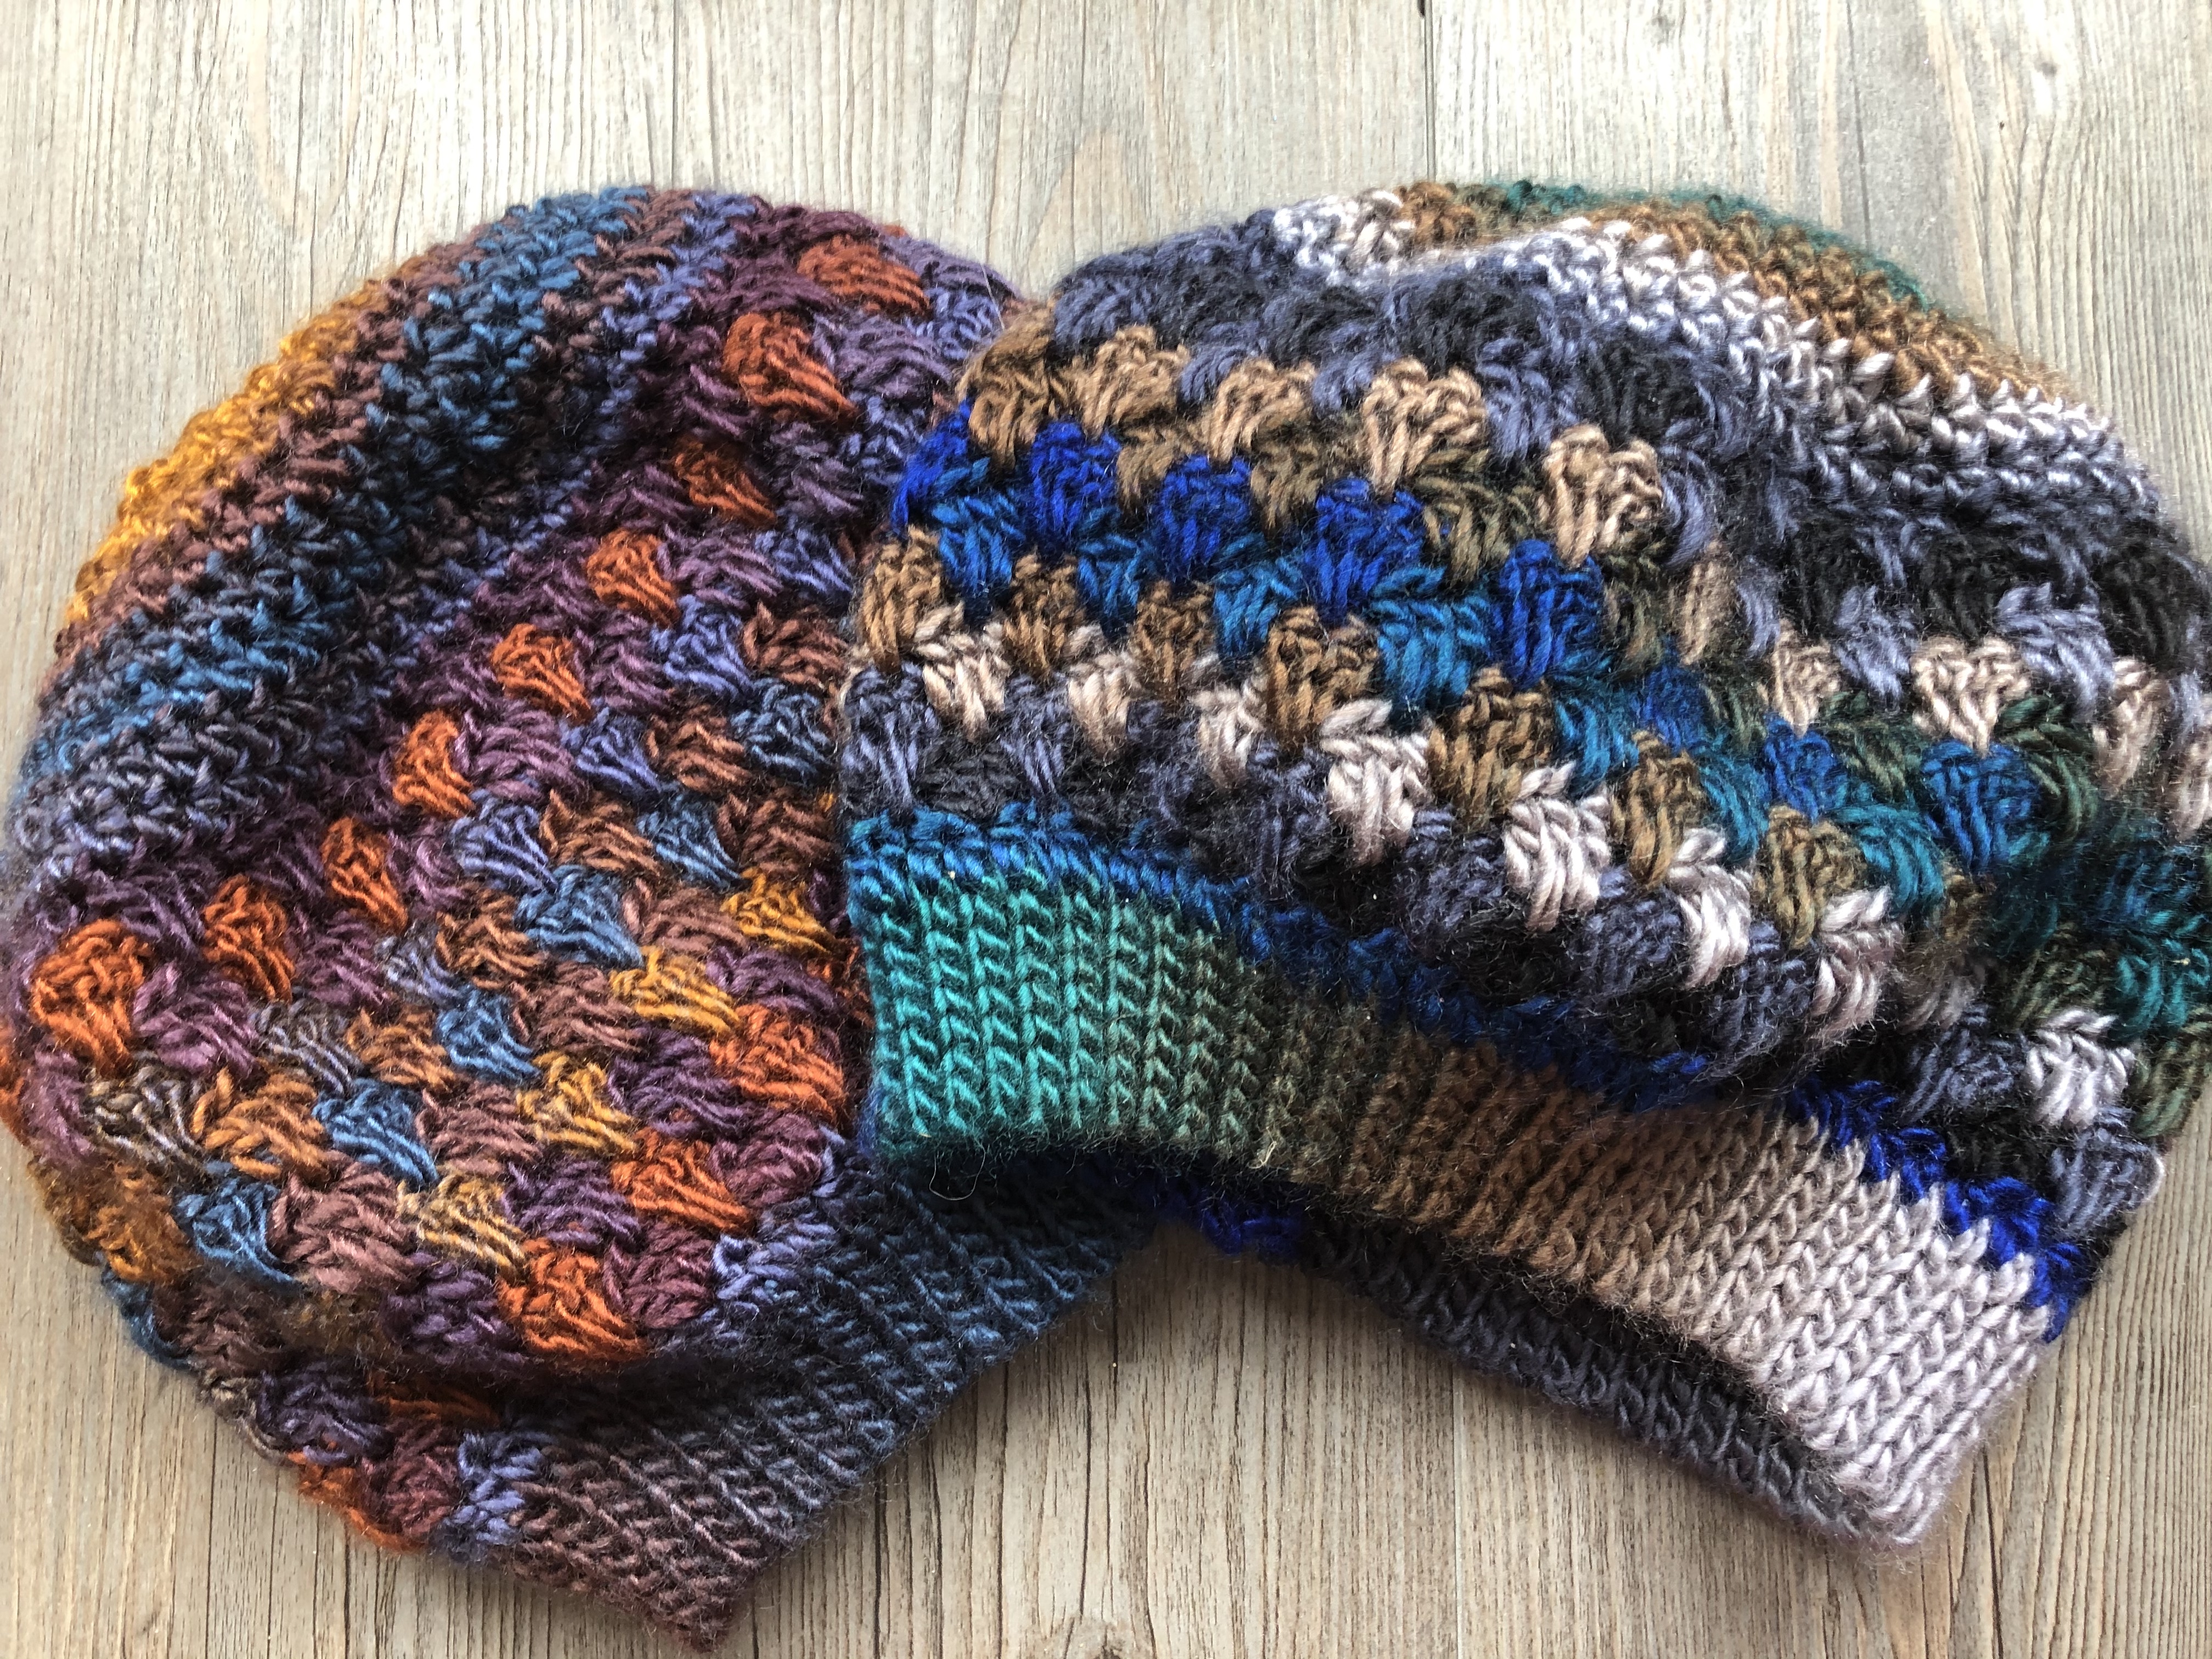
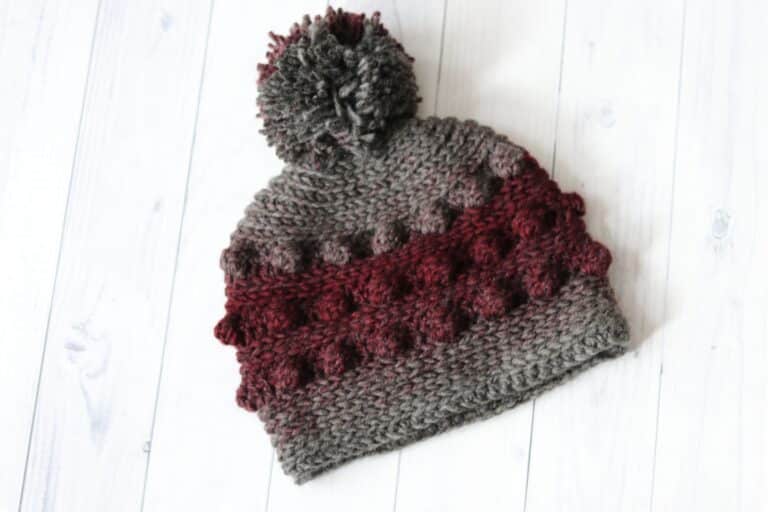
Hello and welcome to Rich Textures Crochet! Are you a fan of granny stitches? I love the spiked granny stitch and I love how this slouch hat shows this particular stitch off!
Lately I have been loving the granny stitch! I have also been loving the soft roving texture and colour of the Landscapes yarn by Lion Brand.
Landscapes by Lion Brand Yarns:
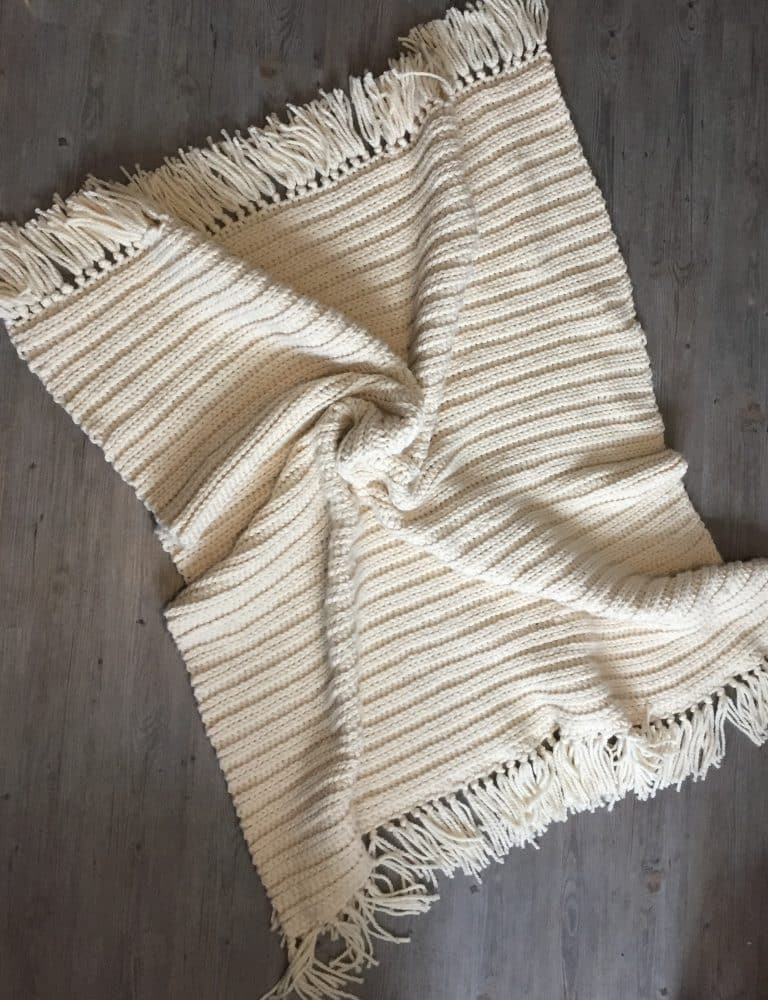
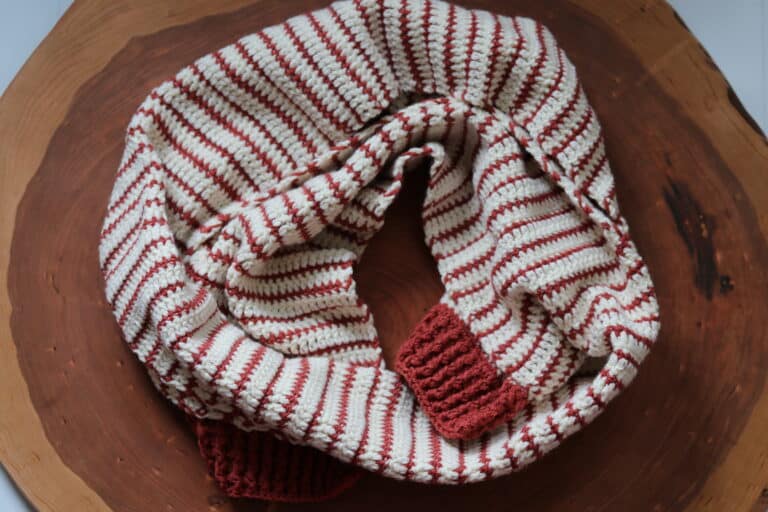
Over the past several weeks I have worked several patterns using this yarn. My Twisted Cowl Crochet Pattern, Rachel Beanie – Free Crochet Pattern! and Rachel Scarf – Free Crochet Pattern continue to be popular patterns both here on my blog and on my YouTube Channel. After completing these projects I still had a few balls of the Landscape left and so instead of allowing them to sit in my yarn stash I took one of my favourite stitches and designed a new slouch hat!
Hat Construction:
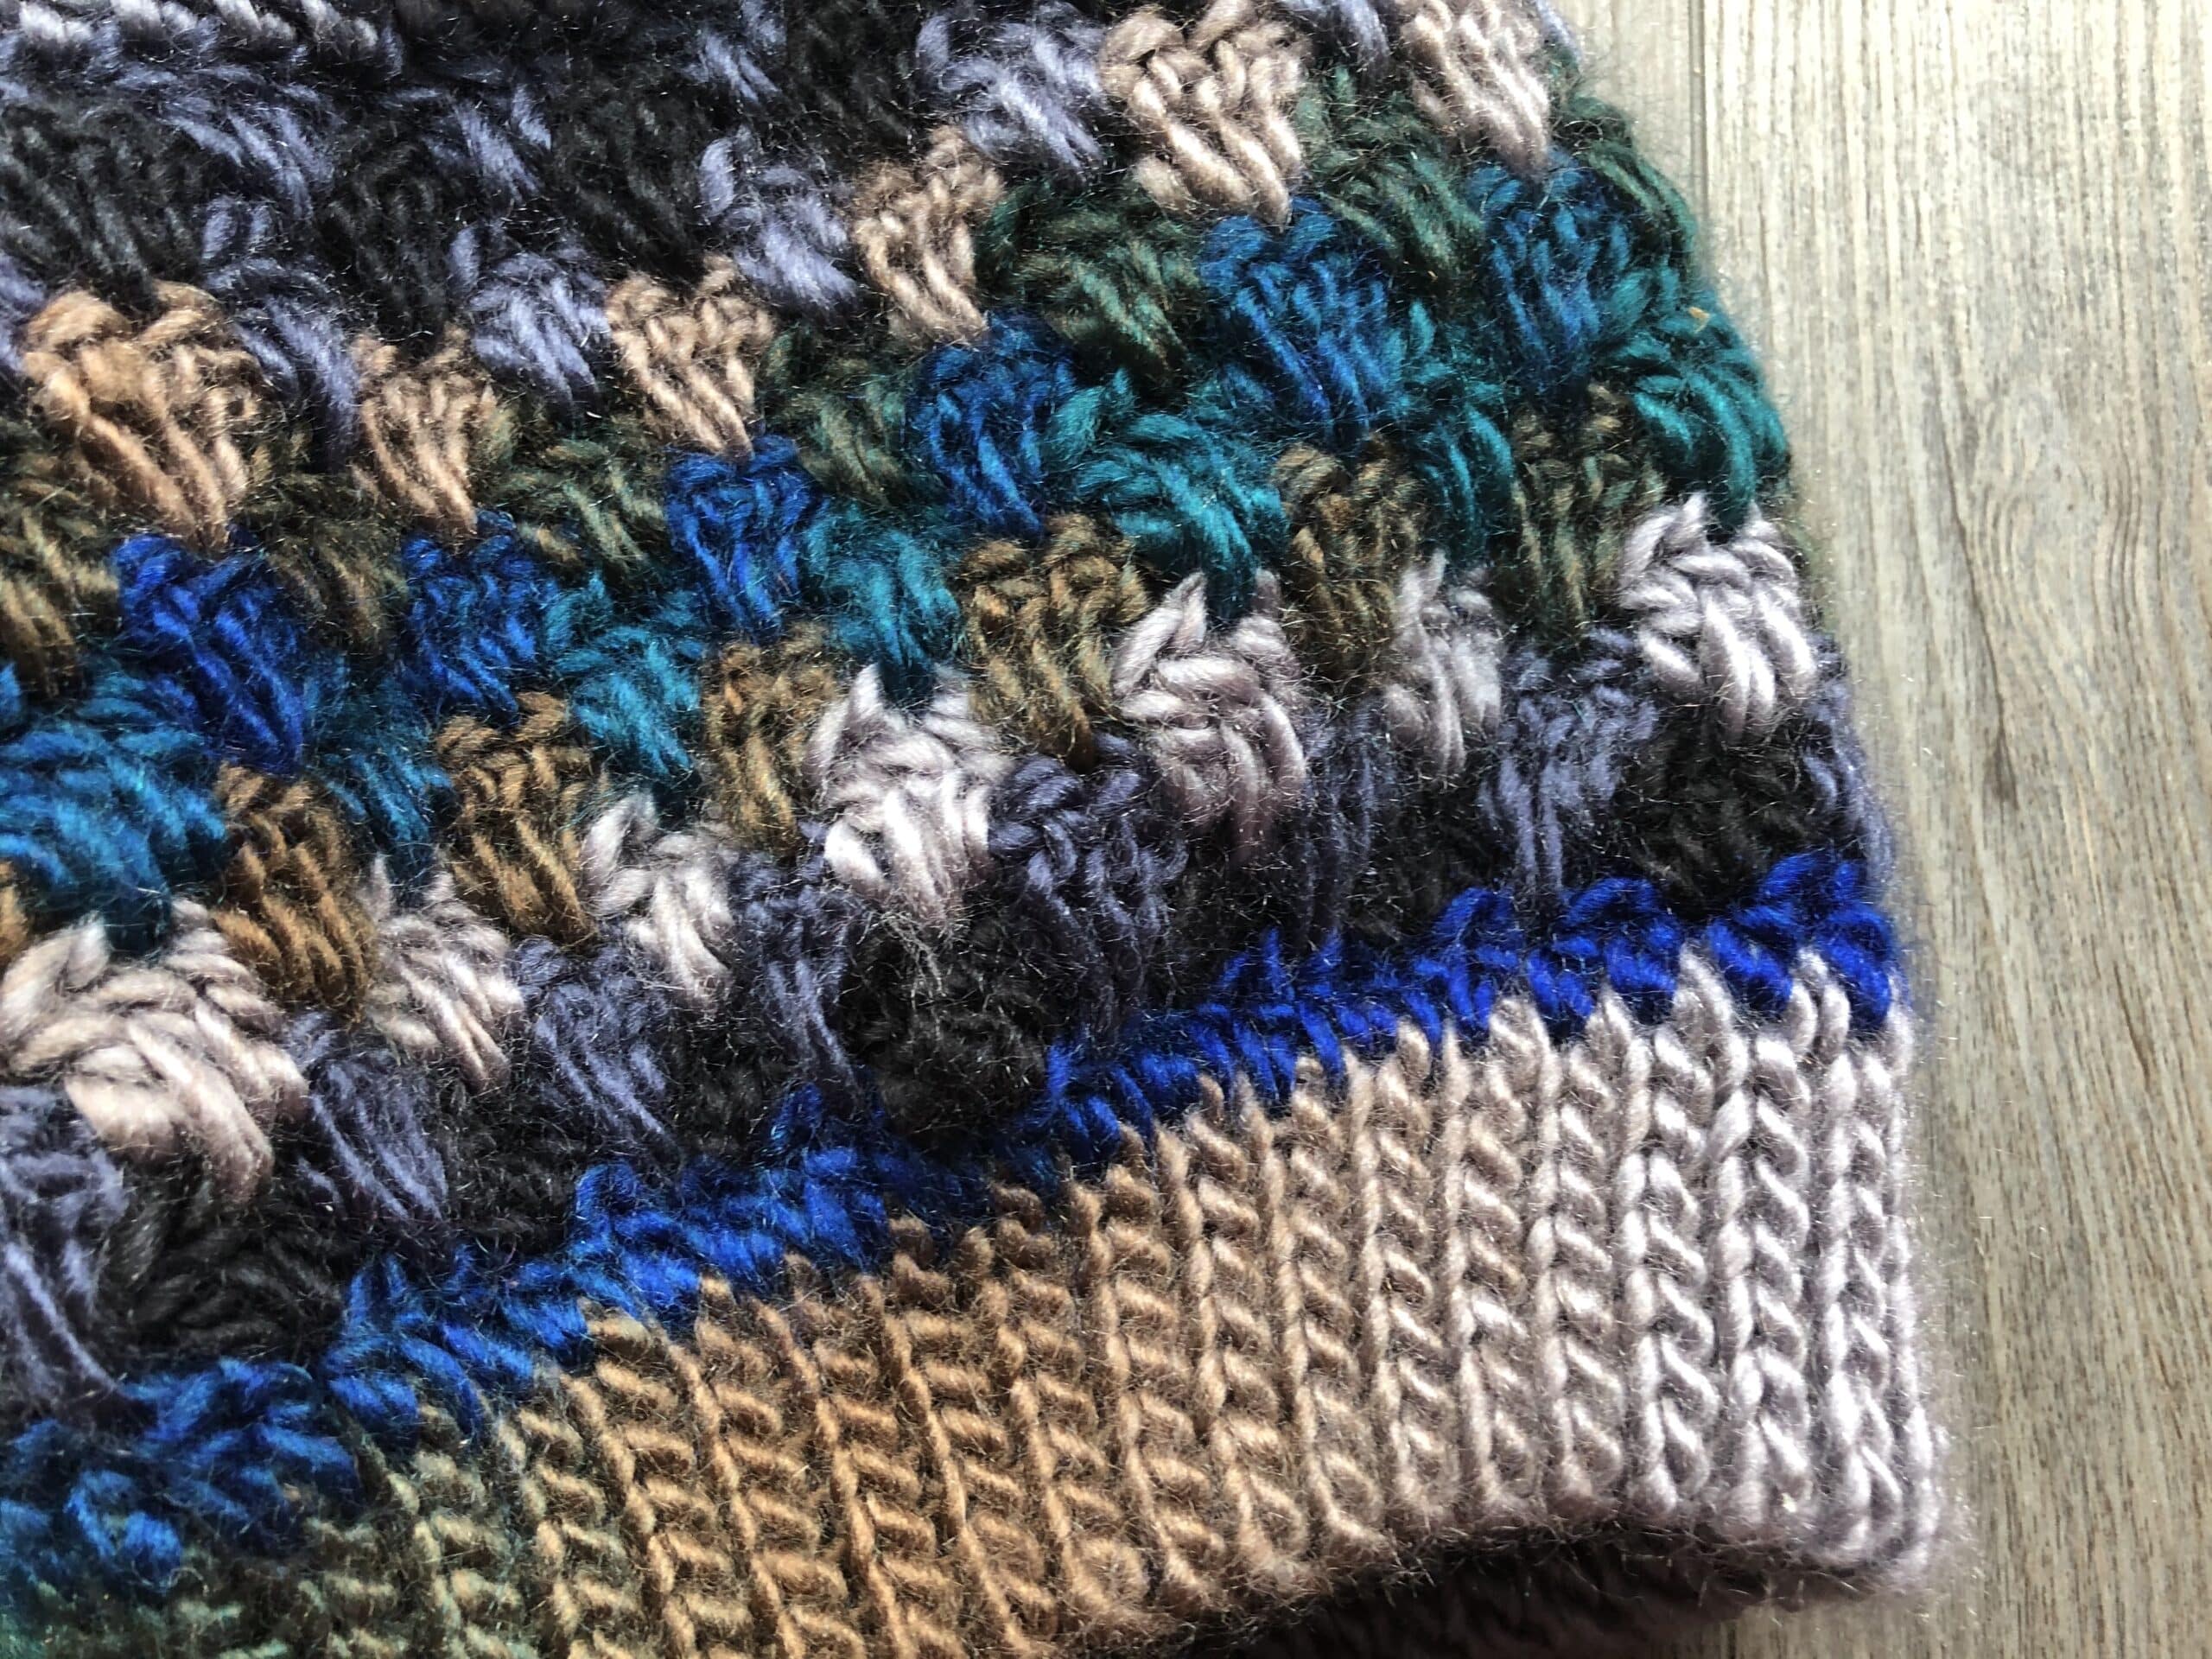
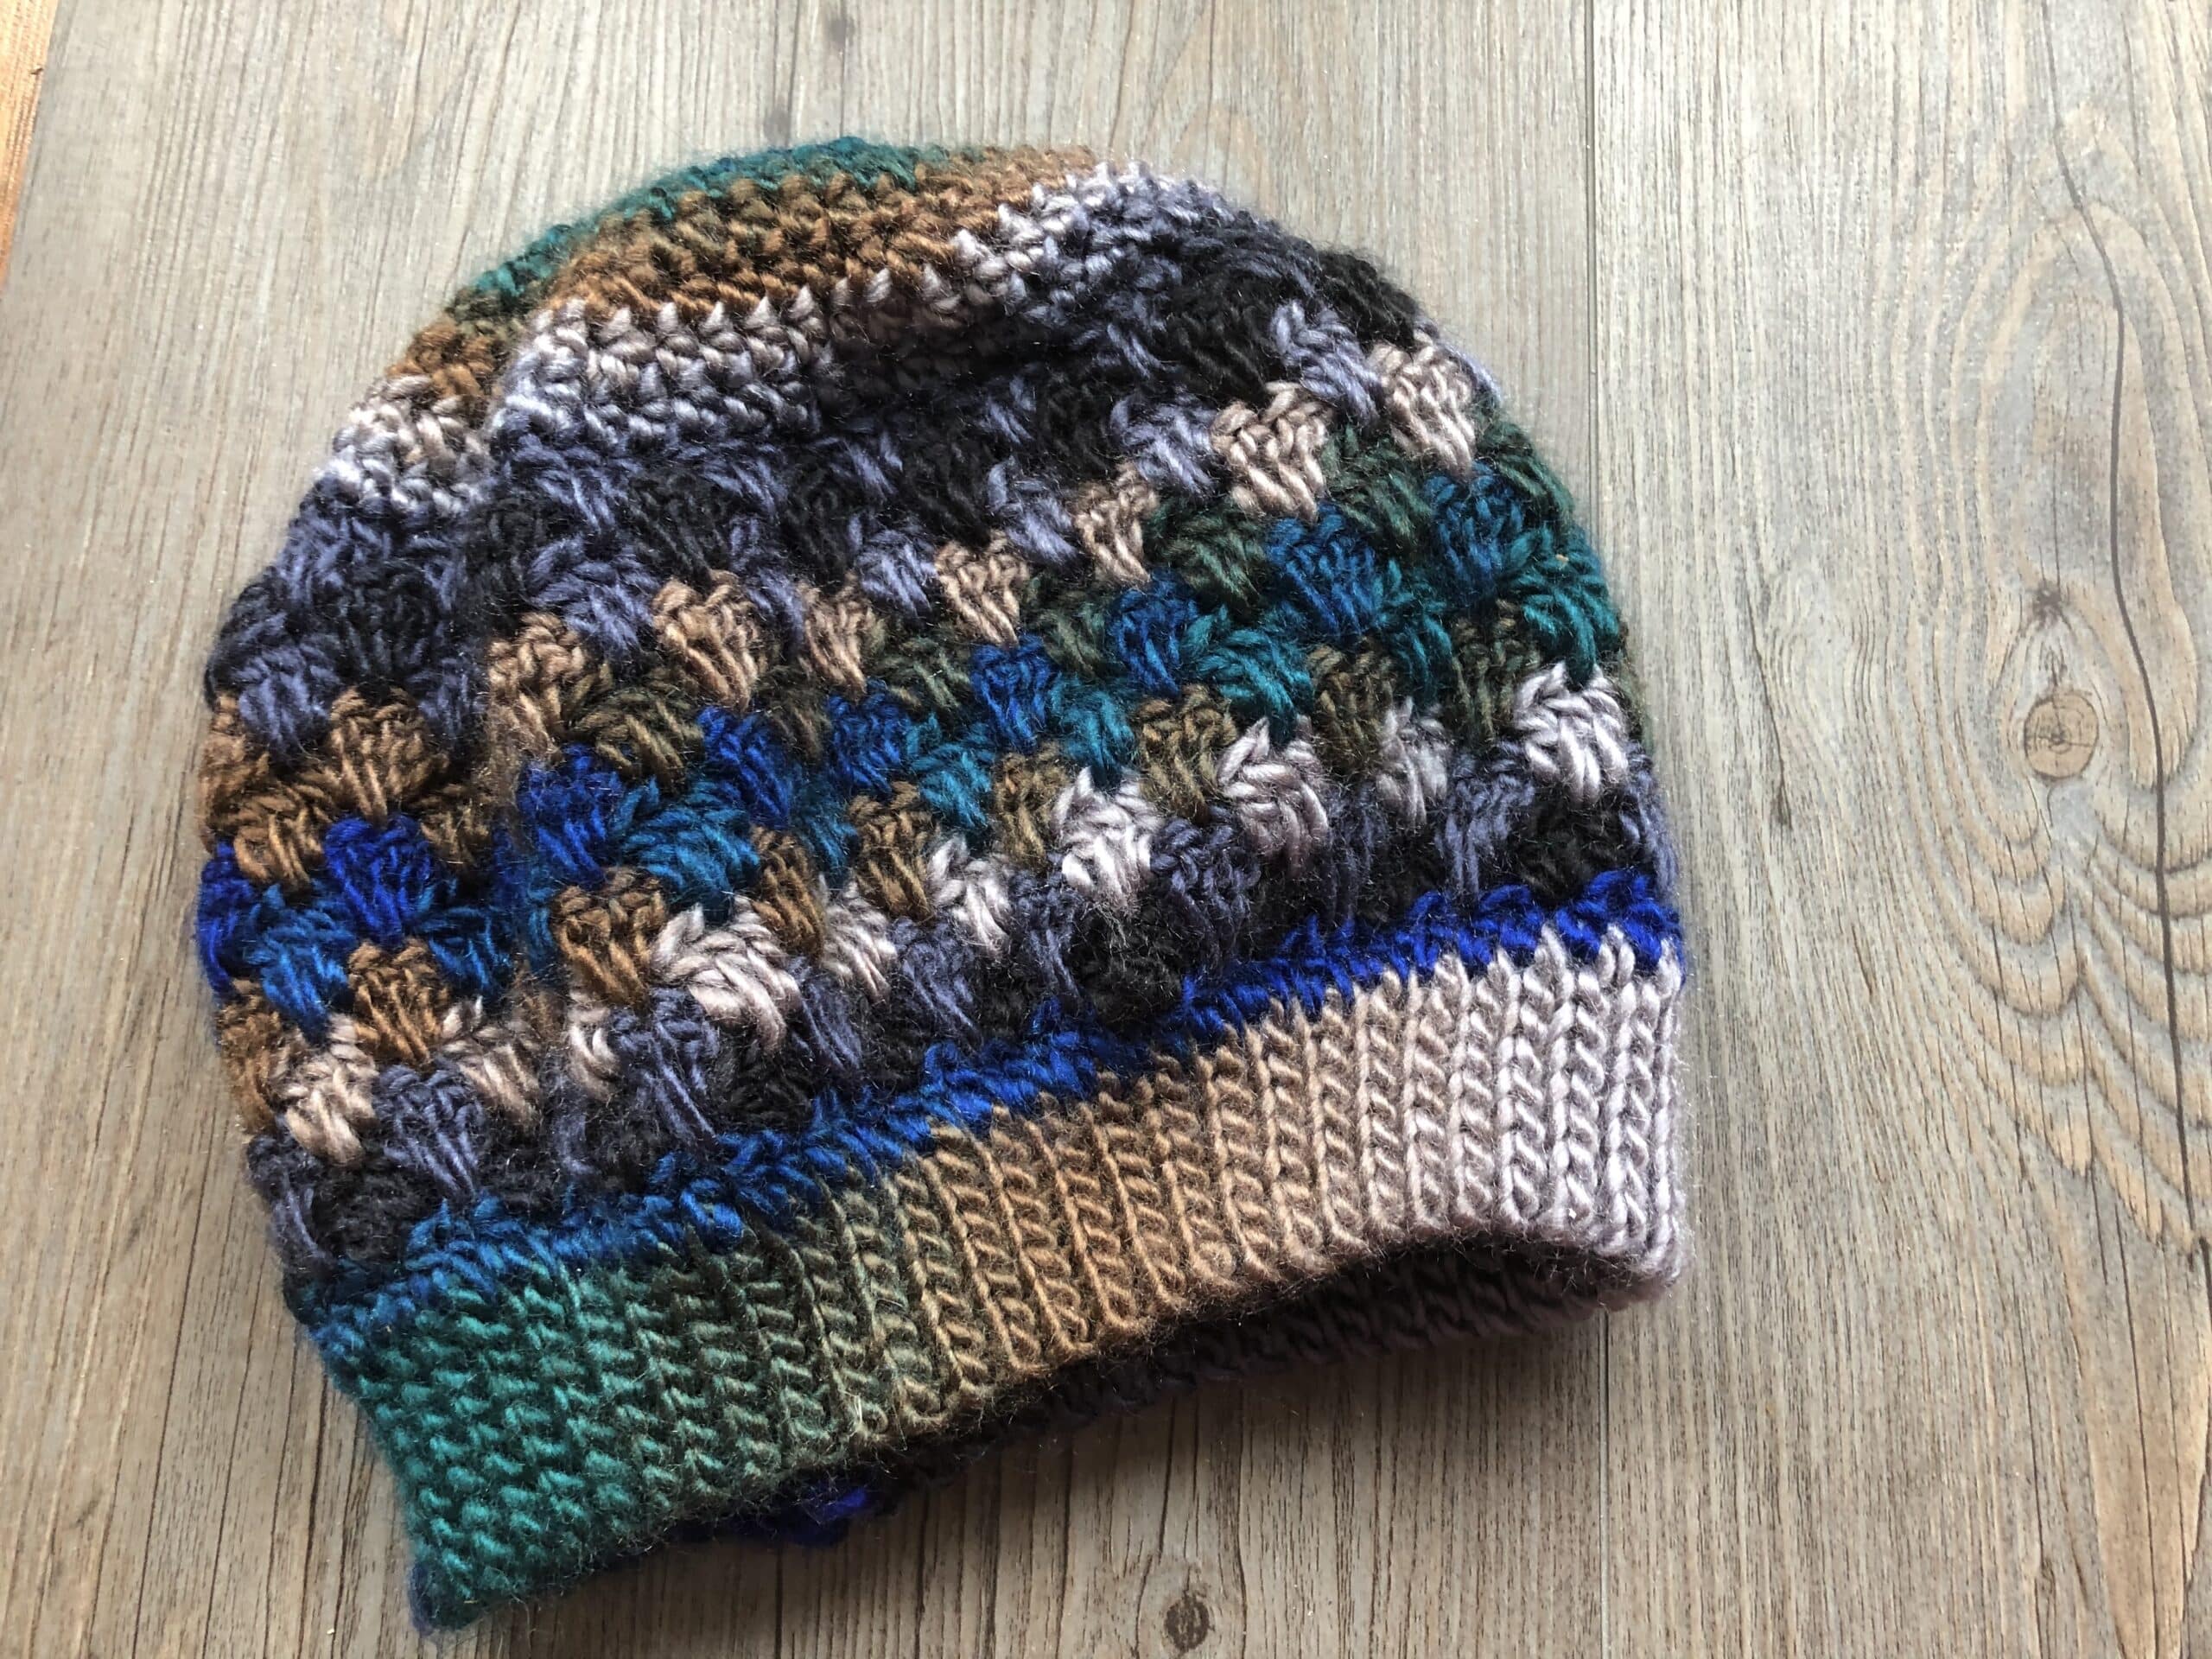
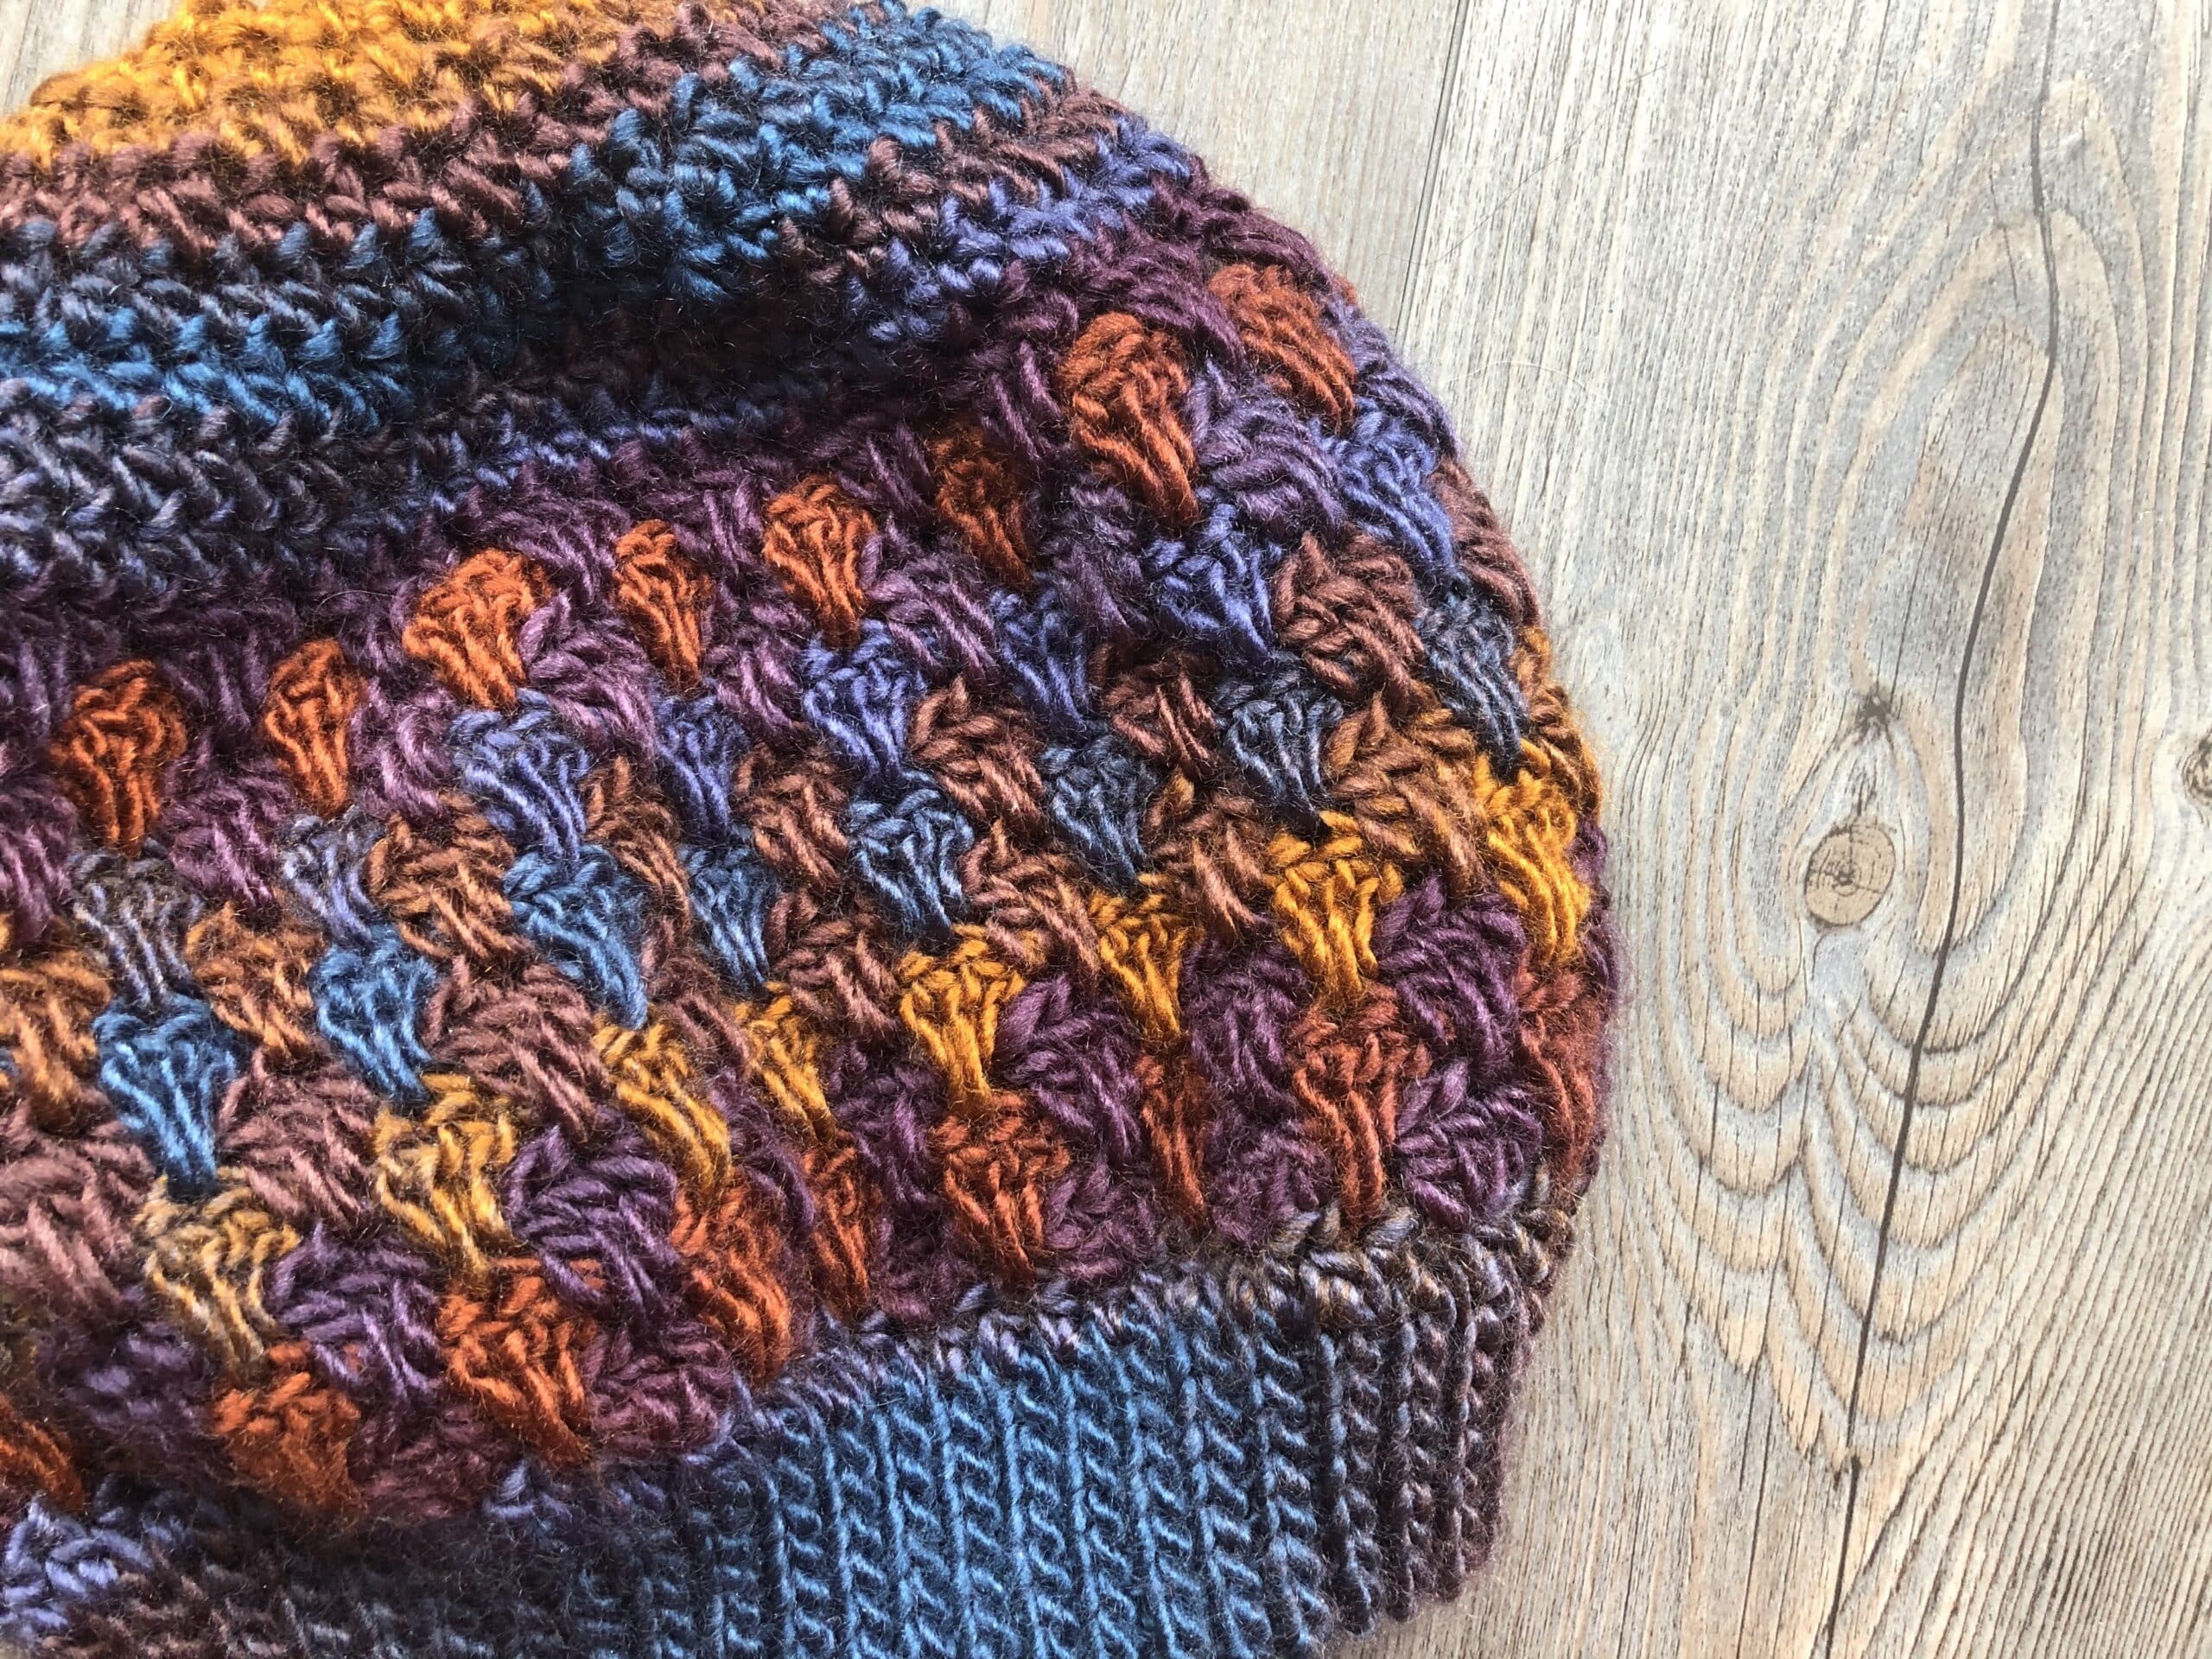
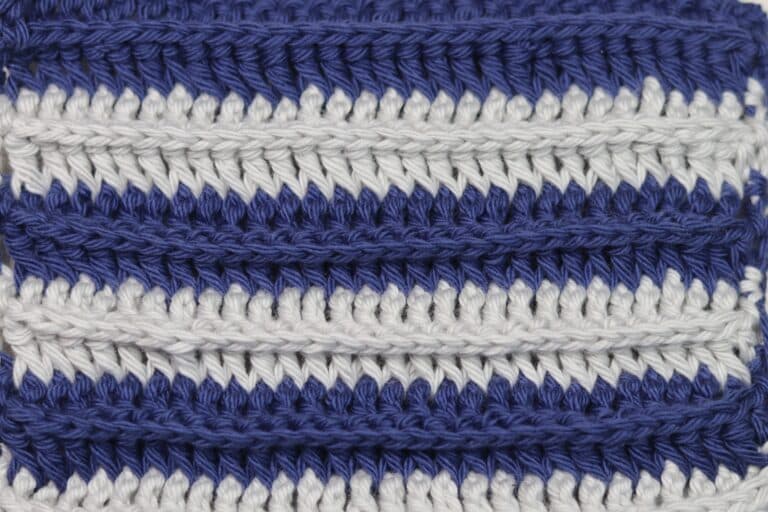
I think the spike stitch in the middle of these granny stitches gives the design a little more dimension and I love how the stitch shows off the colour in the Lion Brand Landscapes yarn! It is a worsted weight yarn so you may easily exchange it for a favourite.
I used about 200 yards of the Landscapes yarn and I paired it with a 6mm crochet hook. I the video tutorial below you will see me use a Furls Streamline Wooden Hook in Ebony. You can learn more about them here: Furls Crochet Homepage
Purchase a PDF Copy:
The crochet pattern will be written out in full below followed by a complete video tutorial, however if you would like to add this pattern to your library and/or purchase an ad free PDF you may do so through either my Etsy or Ravelry Shop:
Click here for the Spiked Granny Stitch Slouch on Etsy
Click here for the Spiked Granny Stitch Slouch on Ravelry
Thank you so much for stopping by and I invite you to take a look around and don’t be a stranger! Connect on social media!
Happy Crocheting!
Sarah

Spiked Granny Stitch Slouch Hat Pattern:
Skill Level: Easy
Gauge: 8 sts x 6 rows of granny stitch = 4 inches
Finished Size: 10 x 9 inches laid flat
Yarn: Landscapes® by Lion Brand® (100% Acrylic; 5.3 oz, 150 g; Approx. 147 yds, 134 m). Worsted/medium Weight (4). You will need 1.5 balls hat. Colours Shown: Skyline (Grey/Blue) and Mountain Range (Brown/Blue)
BUY THE YARN HERE ON LIONBRAND.COM
Hook: Size J/10 (6 mm) Hook. Adjust hook size if necessary to obtain correct gauge.
Stitches and Abbreviations:
Blo – Back Loop Only
Ch – Chain
Dc – Double Crochet
Hdc – Half Double Crochet
Hdc2tog – Half Double Crochet Two Stitches Together Rpt – Repeat
Sk – Skip
Sl St – Slip Stitch
Yo – Yarn Over
Pattern Notes:
- Pattern is written in American English terms.
- Brim of hat is worked in rows, body of hat is worked in rounds (You will turn at the end of each round).
- Ch 1 at beginning of round does not count as stitch.
- Ch 3 at beginning of round counts as a double crochet.
- Weave in ends as needed.
- OPTIONAL: Brim of hat may be worked using either single crochet stitches or half double crochet stitches instead of the slip stitches.
Free Crochet Pattern:
Brim (Worked in Rows):
Ch 9.
Row 1: Sl st in the 2nd ch from hook and in each ch across. Ch 1, turn. (8 sl sts)
Row 2: Working in the blo, sl st in each st across. Ch 1, turn. (8 sl sts)
Continue to repeat row 2 until work from the beginning measures approximately 19 inches.
Do not fasten off, but fold brim of hat so that two shorter ends meet. Now working through both thicknesses, sl st across working through the blo on each side. Do not fasten off, turn work right side out (so that the right side is facing you).
Now working around the edge of the brim, continue working in rounds as follows:
Hat Body (worked in rounds):
Rnd 1: Ch 1, evenly work 84 hdc all the way around. Join with a sl st in the first st, do not turn. (84 sts)
Rnd 2: Ch 3, 2 dc in the same st as joining, * sk next 3 sts, 3 dc in the next st; rpt from * all the way around, join with a sl st in the top of the starting ch-3, ch 3, TURN. (21 sets of 3 dc)
Rnds 3-12: Dc in the top of the next st 2 rows below, dc in the space between the first set and next set of dc sts, * skip the next 3 dc, dc in the next space, dc in the next st 2 rows below, dc in the same space; Rpt from * all the way around, join with a sl st in the top of the first ch-3, ch 3, TURN.
At the end of round 12, ch 1 and turn.
Rnd 13: Hdc in each st all the way around. Do not turn. (63 hdc)
Rnd 14: Ch 1, * hdc in each of the next 6 sts, hdc2tog; rpt from * around, join with a sl st. (56 sts)
Rnd 15: Ch 1, * hdc in each of the next 5 sts, hdc2tog; rpt from * around, join with a sl st. (48 sts)
Rnd 16: Ch 1, * hdc in each of the next 4 sts, hdc2tog; rpt from * around, join with a sl st. (40 sts)
Rnd 17: Ch 1, * hdc in each of the next 3 sts, hdc2tog; rpt from * around, join with a sl st. (32 sts)
Rnd 18: Ch 1, * hdc in each of the next 2 sts, hdc2tog; rpt from * around, join with a sl st. (24 sts)
Rnd 19: Ch 1, * hdc in the next st, hdc2tog; rpt from * around, join with a sl st. (16 sts)
Rnd 20: Ch 1, hdc in each st around; join with a sl st in the first st.
Fasten off leaving a long tail. Using the long tail, sew the top of the hat closed. Fasten off and weave in your ends.
Video Tutorial:


Help! I’m new to crochet and decided to make your spiked granny stitch hat, by watching the YouTube video. I’ve hit a point where I am confused and would like to request clarification.
After making the first row where there are spiked stitches, you said to keep repeating that row. But when I go to make a spike, I now only have two stitches instead of three, so I can’t spike in the middle one any longer. So then I thought, well maybe I’m supposed to recreate the row before the spiked stitches (the one with 3 double crochet, skip 4 stitches, etc). But now I don’t think that is right either.
Am I supposed to keep repeating both of those rows? Or just the spiked stitch row? And if just the spiked stitch row, where do I put the spike since I’ve lost the middle stitch?
Thank you for any clarification!
Hi Katrina, you will just repeat that spike stitch round, remembering to turn your work at the end of each round. You are welcome to send an email to RichTexturesCrochet@gmail.com – then I can possibly see where your 3rd stitch is running off to 🙂
Why do you turn at the end of the row instead of just slip stitching, chaining 3 and continuing?..
I liked the look of it better, but it’s probably a matter of personal preference 🙂
Hi, thank you for this pattern and the video tutorial. I’m having a bit of an issue with the brim. I’d say I’m an advanced beginner going on intermediate but this is my first time working with a slip stitch brim. I like the look and feel, so I want to stick with it. When I get to the 8th stitch in each row, the back loop is completely buried under the chain which has sort of twisted around and over it. So I have to spend a rather significant amount of time at the end of each row digging that back loop out. The end result looks like yours, but it’s very tedious and time consuming, and I don’t see you having that problem in the video. I tried loosening my gauge a bit but it didn’t seem to make much difference. I’m wondering if I’m doing something wrong? Does this sound like a typical problem that people have when they do a specific thing wrong? Advice would be greatly appreciated!