
This post contains affiliate links. This means that when you purchase through one of these links we will receive a small commission at no additional cost to you. Thank you for supporting Rich Texture Crochet!
We have had quite a few snowy days this winter! Which means always having a good toque on hand is important!

While during the midst of the heavy snow falls, we kind of groaned and hunkered down until they passed, I always love that next day when the sun is out.
The trees and ground is covered in this fresh clean snow, and the sun is gleaming down on it. It’s quieter outside, and all looks so new.
I send the kids and dog out and you would swear it’s Christmas. They are all so excited and the snow castle building begins.
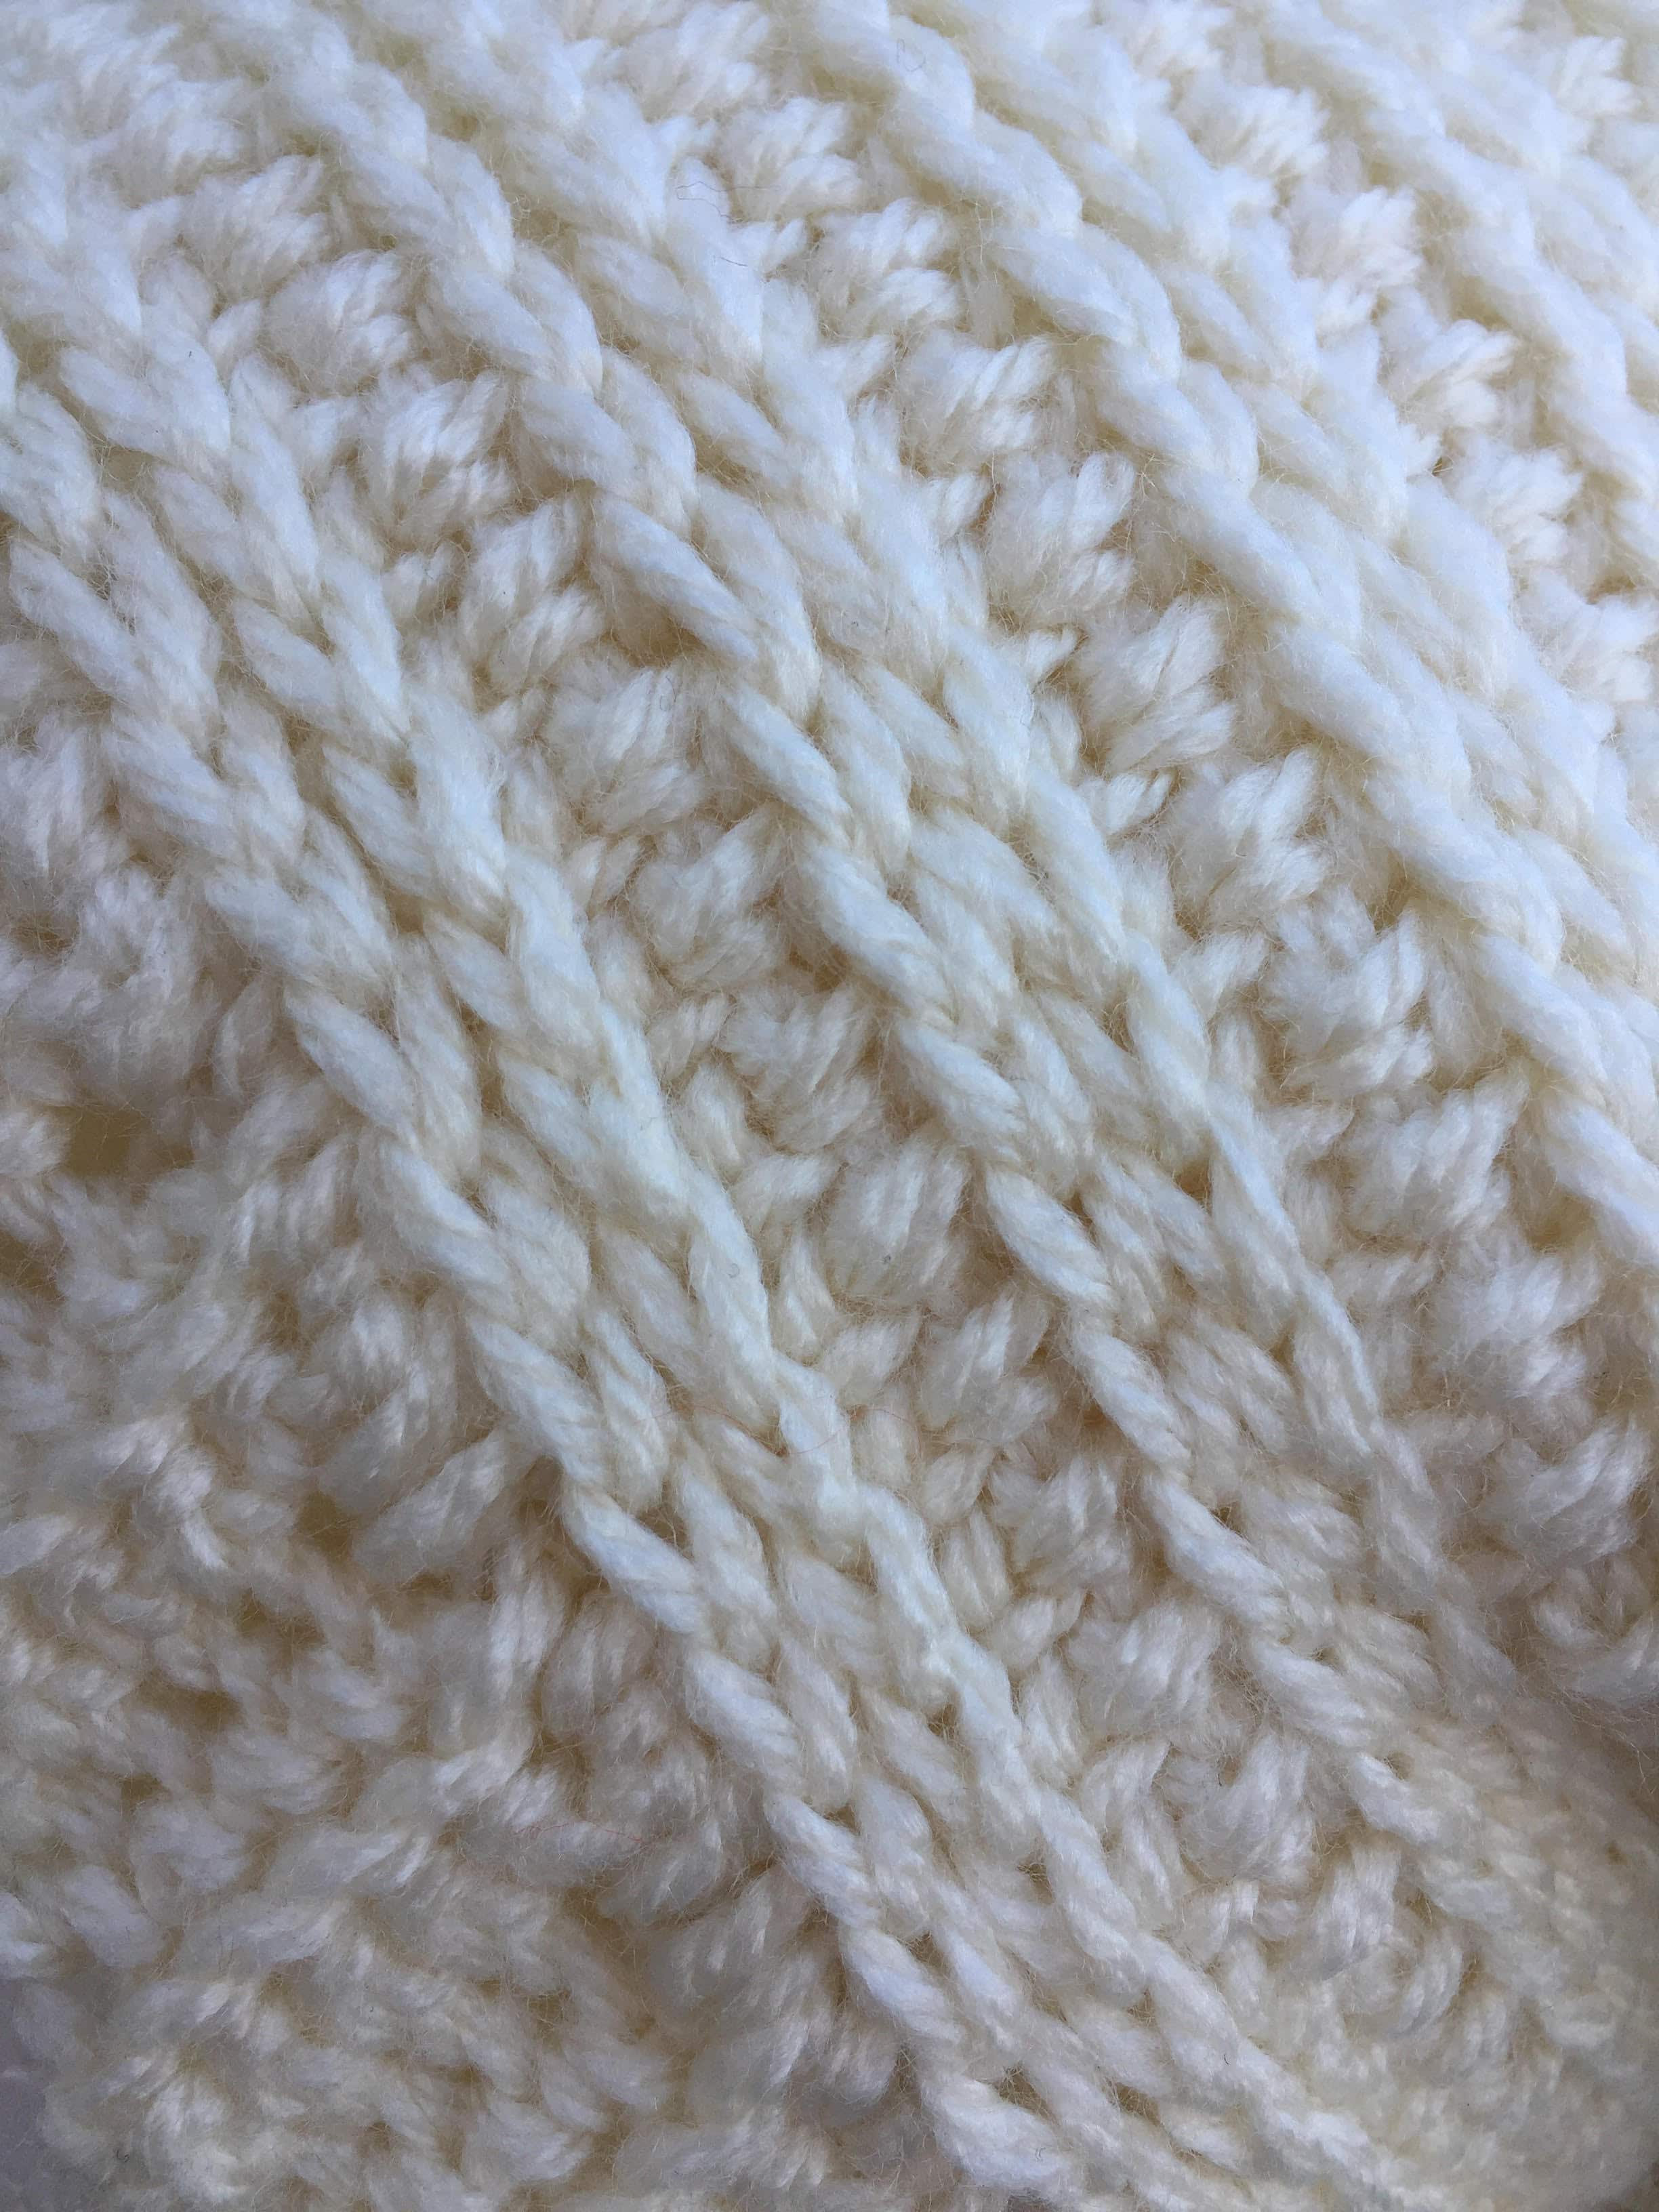
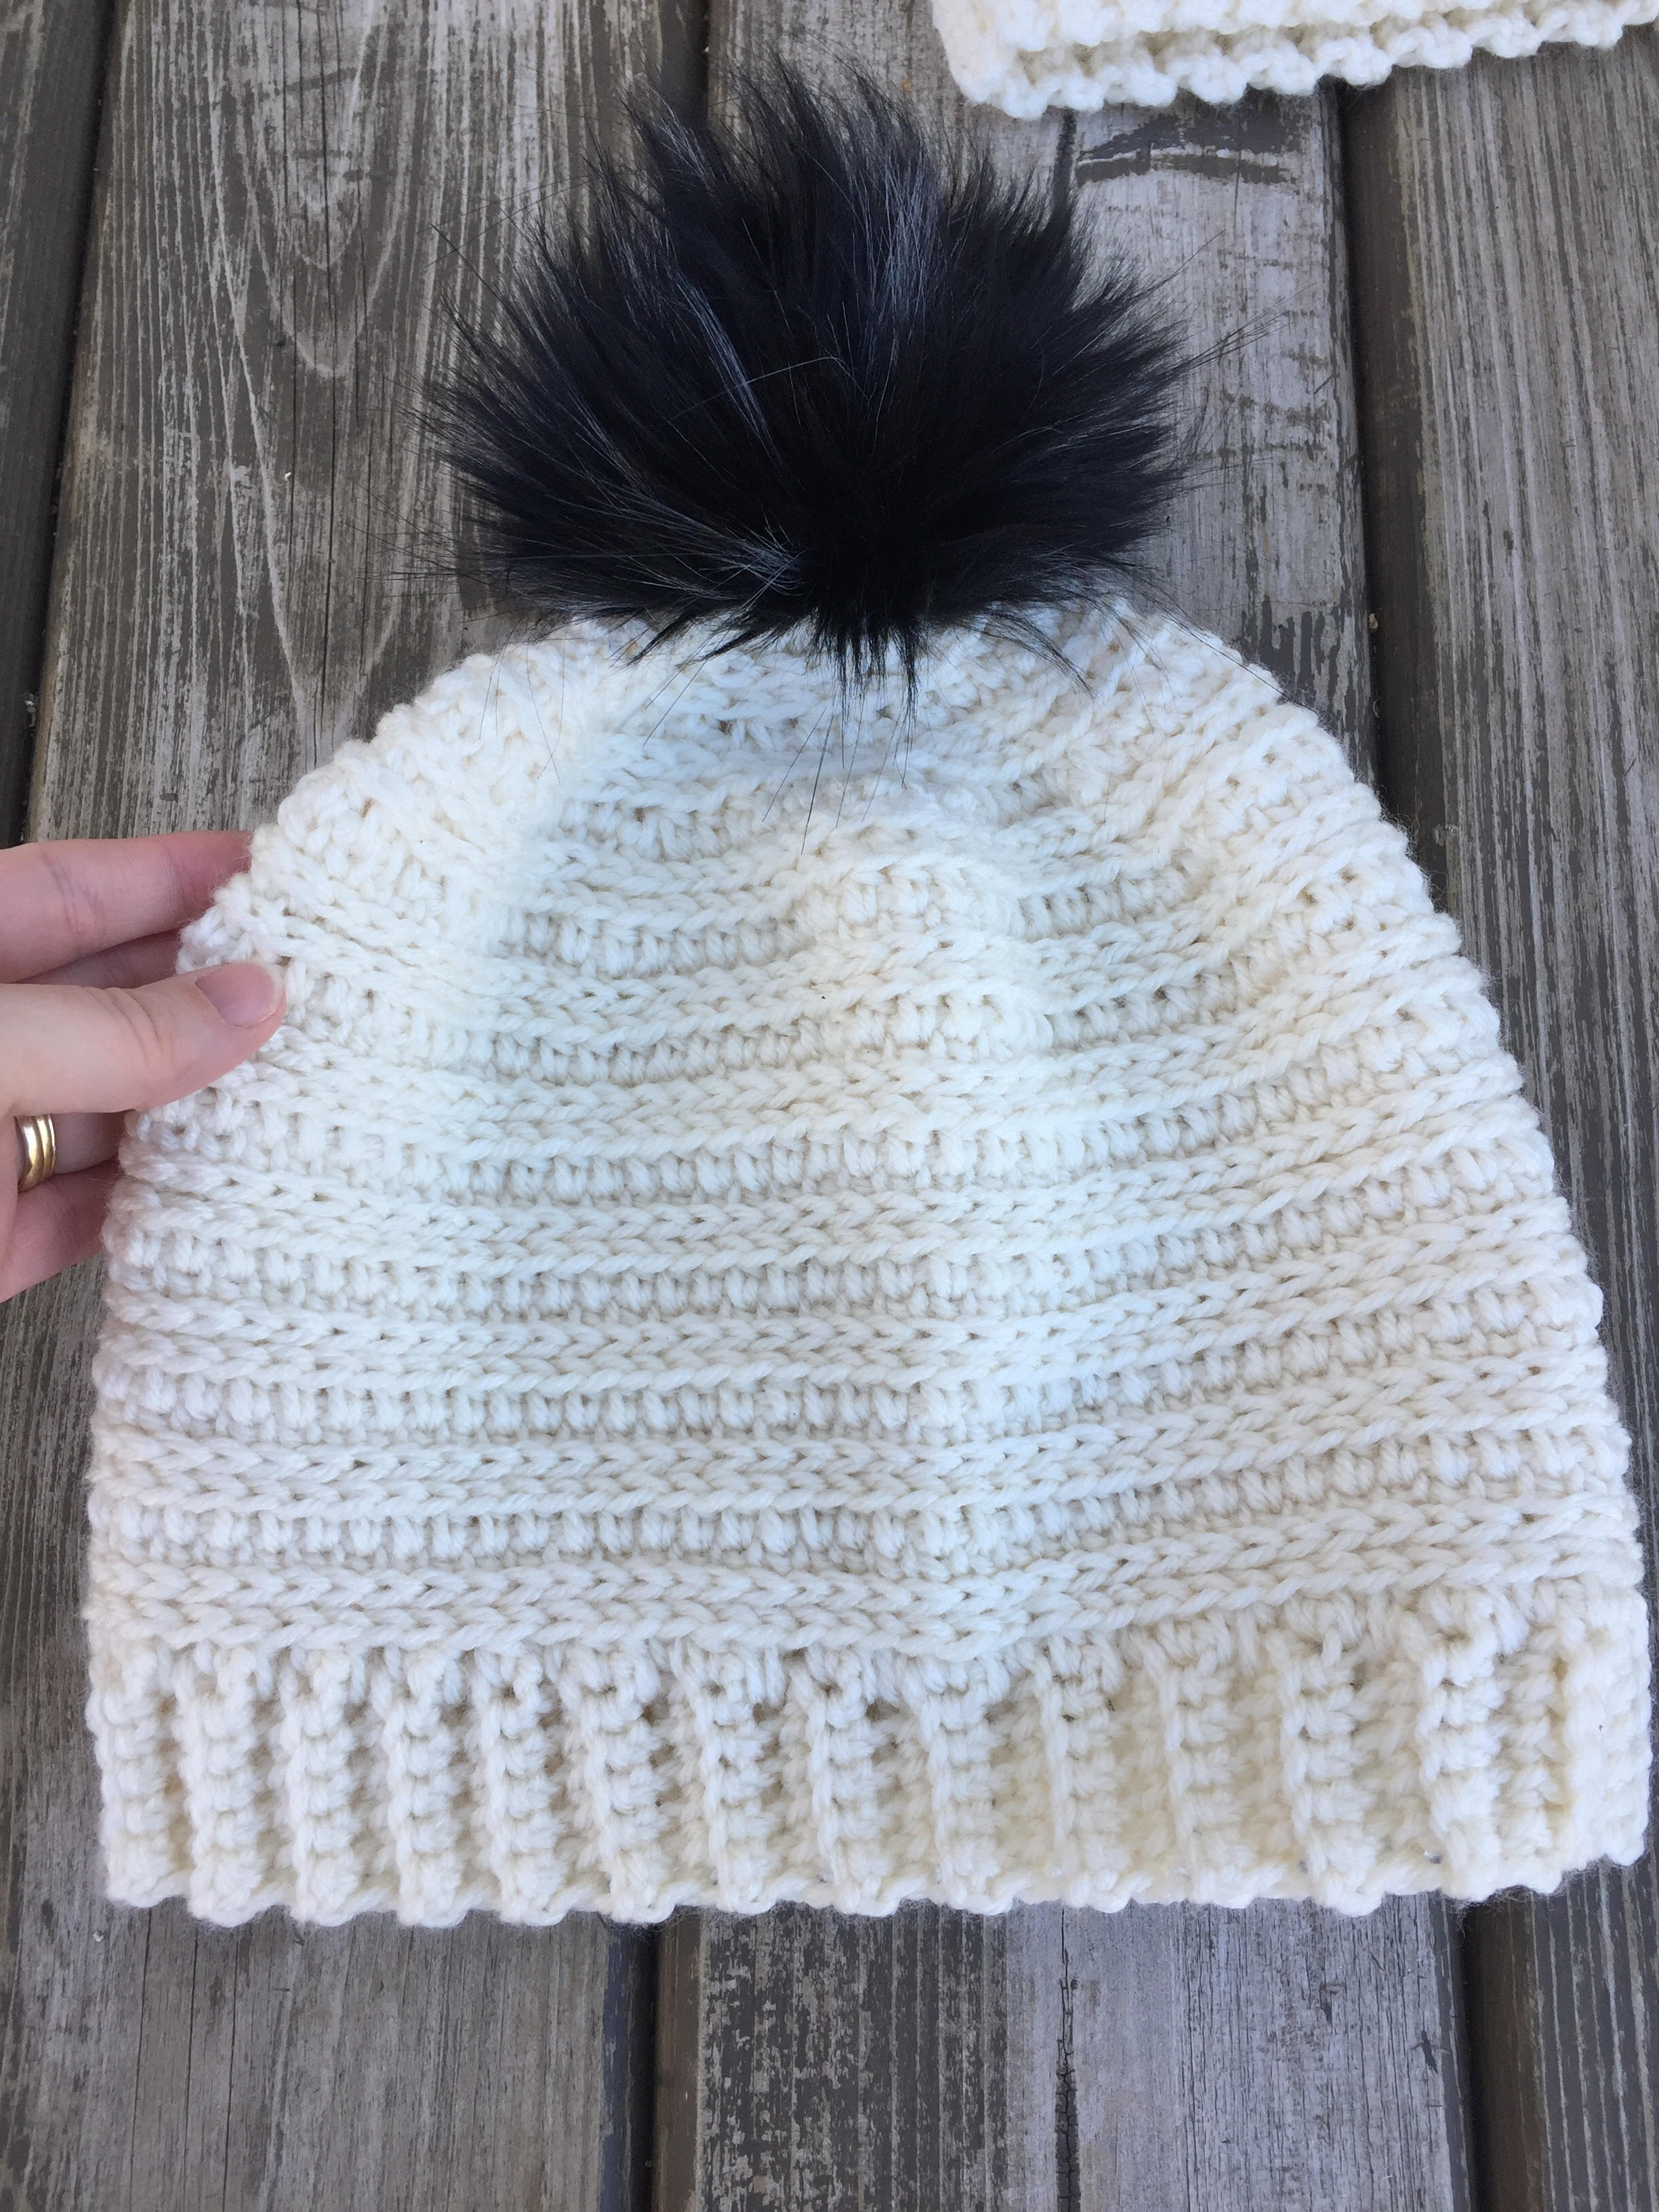
I love these snowy days and these hats remind me of them.
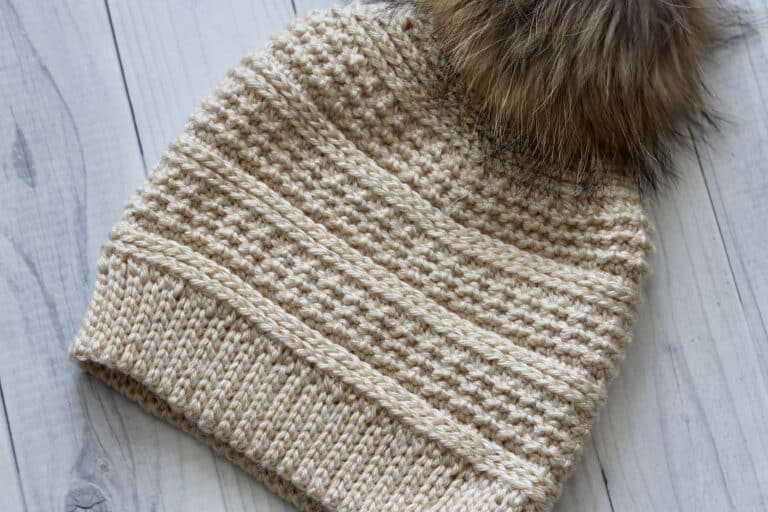
They are worked in a worsted weight yarn and 5 mm crochet hook. Instead of making my own pompoms this time around I decided to add some gorgeous faux fur ones. They have convenient snaps on them, that make them super easy for taking off in order to wash the rest of the hat. (For those interested, I purchased the pompoms from Northern Bay Fibres, a Canadian Company. You can find them HERE.)
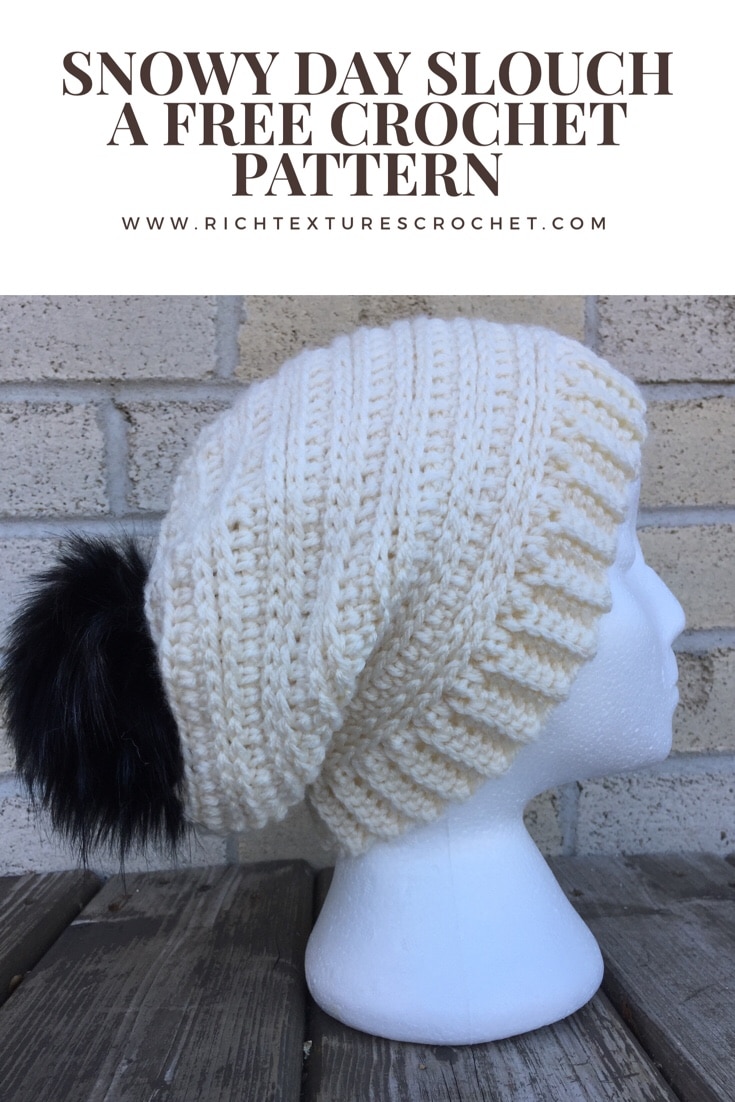
Below I have written out in full the patterns for the three versions: Toque, messy bun and slouch.
If you would like to purchase an ad free PDF, or save them to your libraries, you may do so HERE FOR ETSY and HERE FOR RAVELRY.
Thank you for supporting Rich Textures Crochet!
Happy Crocheting!
Sarah
Materials and Notes:
Skill Level: Easy
Gauge: 13 sc x 16 rows = 4 inches
Finished Size (Not including Pompom): Toque: Approximately 9 inches tall, 21 inches circumference. Slouch: Approximately 10 inches tall, 21 inches circumference
Yarn: 1 ball Bernat Premium™, colour Aran (100% Acrylic; 198g / 7 oz, 329 meters / 360 yards; weight: 4 – Medium – Worsted)
Hook: Size H/8 (5 mm) Hook. Adjust hook size if necessary to obtain correct gauge.
Notions: Yarn Needle.
Stitches and Abbreviations:
Blo – Back Loop Only
Ch – Chain
Hdc – Half Double Crochet
Hdc2tog – Half double Crochet two together (yo, insert hook in st indicated and draw up a loop (3 loops on hook). Yo insert hook in next st and draw up a loop (5 loops on hook). Yo and pull through all five loops on hook. Hdc2tog made.
Kshdc – An hdc worked in the space where a knit/waistcoat stitch would be worked (through the center of the post of the stitch below.)
Kshdc2tog – An hdc2tog worked in the space where a knit/waistcoat stitch would be worked (through the center of the post of the stitch below.)
Rpt – Repeat
Sc – Single Crochet
Sc2tog – Single crochet two together
Sk – Skip
Sl st – Slip stitch
Yo – Yarn over
Pattern Notes:
- This pattern includes the instructions for both the Snow Trails Toque and Messy Bun Hat
- Pattern is written in American English terms.
- Pattern is worked rounds (except for the brim) and worked from the bottom up.
- Ch 1 at beginning of row does not count as sc or hdc.
Weave in ends as needed.
Snowy Day Toque and Messy Bun Pattern:
Hat Brim (worked in rows):
Ch 7.
Row 1: Working in blo, 1 sc in the second ch from hook and in each ch across. Turn. (6 sts)
Row 2: Ch 1, working in blo, sc in each sc across. Turn. (6 sts)
Rows 3-62: Repeat row 2. Do not turn, do not fasten off.
Now you are going to sew the two ends of your brim together. Being careful not to twist, holding both ends of the brim together and working through both thickness, work 6 sc across (6 sts). Do not fasten off.
Turn work so that you are now working around the edge of the brim of the hat. Please continue as follows, working in rounds:
Hat Body:
Rnd 1: With right side facing, hdc 62 evenly around. Join with a sl st in the first st. (62 sts)
Rnd 2: Ch 1, in the 3rd loop, hdc in each st around. Join with a sl st in the first st. (62 sts)
Rnd 3: Ch 1, in the 3rd loop, loosely sc in each st around. Join with a sl st in the first st. (62 sts)
Rnd 4: Ch 1, kshdc (See stitches and abbreviations) in each st around. Join with a sl st in the first st. (62 sts)
Rnds 5-16: Rpt rounds 2-4 four times. Begin decrease.
Decrease Rounds:
Rnd 17: Ch 1, * in the 3rd loop, hdc in the next 6 sts, hdc2tog. Rpt from * round. Join with a sl st in the first st. (55 sts)
Rnd 18: Ch 1, * in the 3rd loop, loosely sc in the next 5 sts, sc2tog. Rpt from * around. Join with a sl st in the first st. (48 sts)
Rnd 19: Ch 1, * kshdc in the next 4 sts, kshdc2tog. Rpt from * around. Join with a sl st in the first st. (40 sts)
Rnd 20: Ch 1, * in the 3rd loop, hdc in the next 3 sts, hdc2tog. Rpt from * around. Join with a sl st in the first st. (32 sts)
Rnd 21: Ch 1, * in the 3rd loop, loosely sc in the next 2 sts, sc2tog. Rpt from * around. Join with a sl st in the first st. (24 sts)
For Messy Bun hat only: Fasten off and weave in ends.
For Toque, continue as follows:
Rnd 22: Ch 1, * kshdc in the next st, kshdc2tog. Rpt from * around. Join with a sl st in the first st. (16 sts)
Rnd 23: Ch 1, in the 3rd loop, hdc2tog around. Join with a sl st. (8 sts)
Fasten off leaving a long tail. Sew top of hat closed. Optional. Add pompom to top.
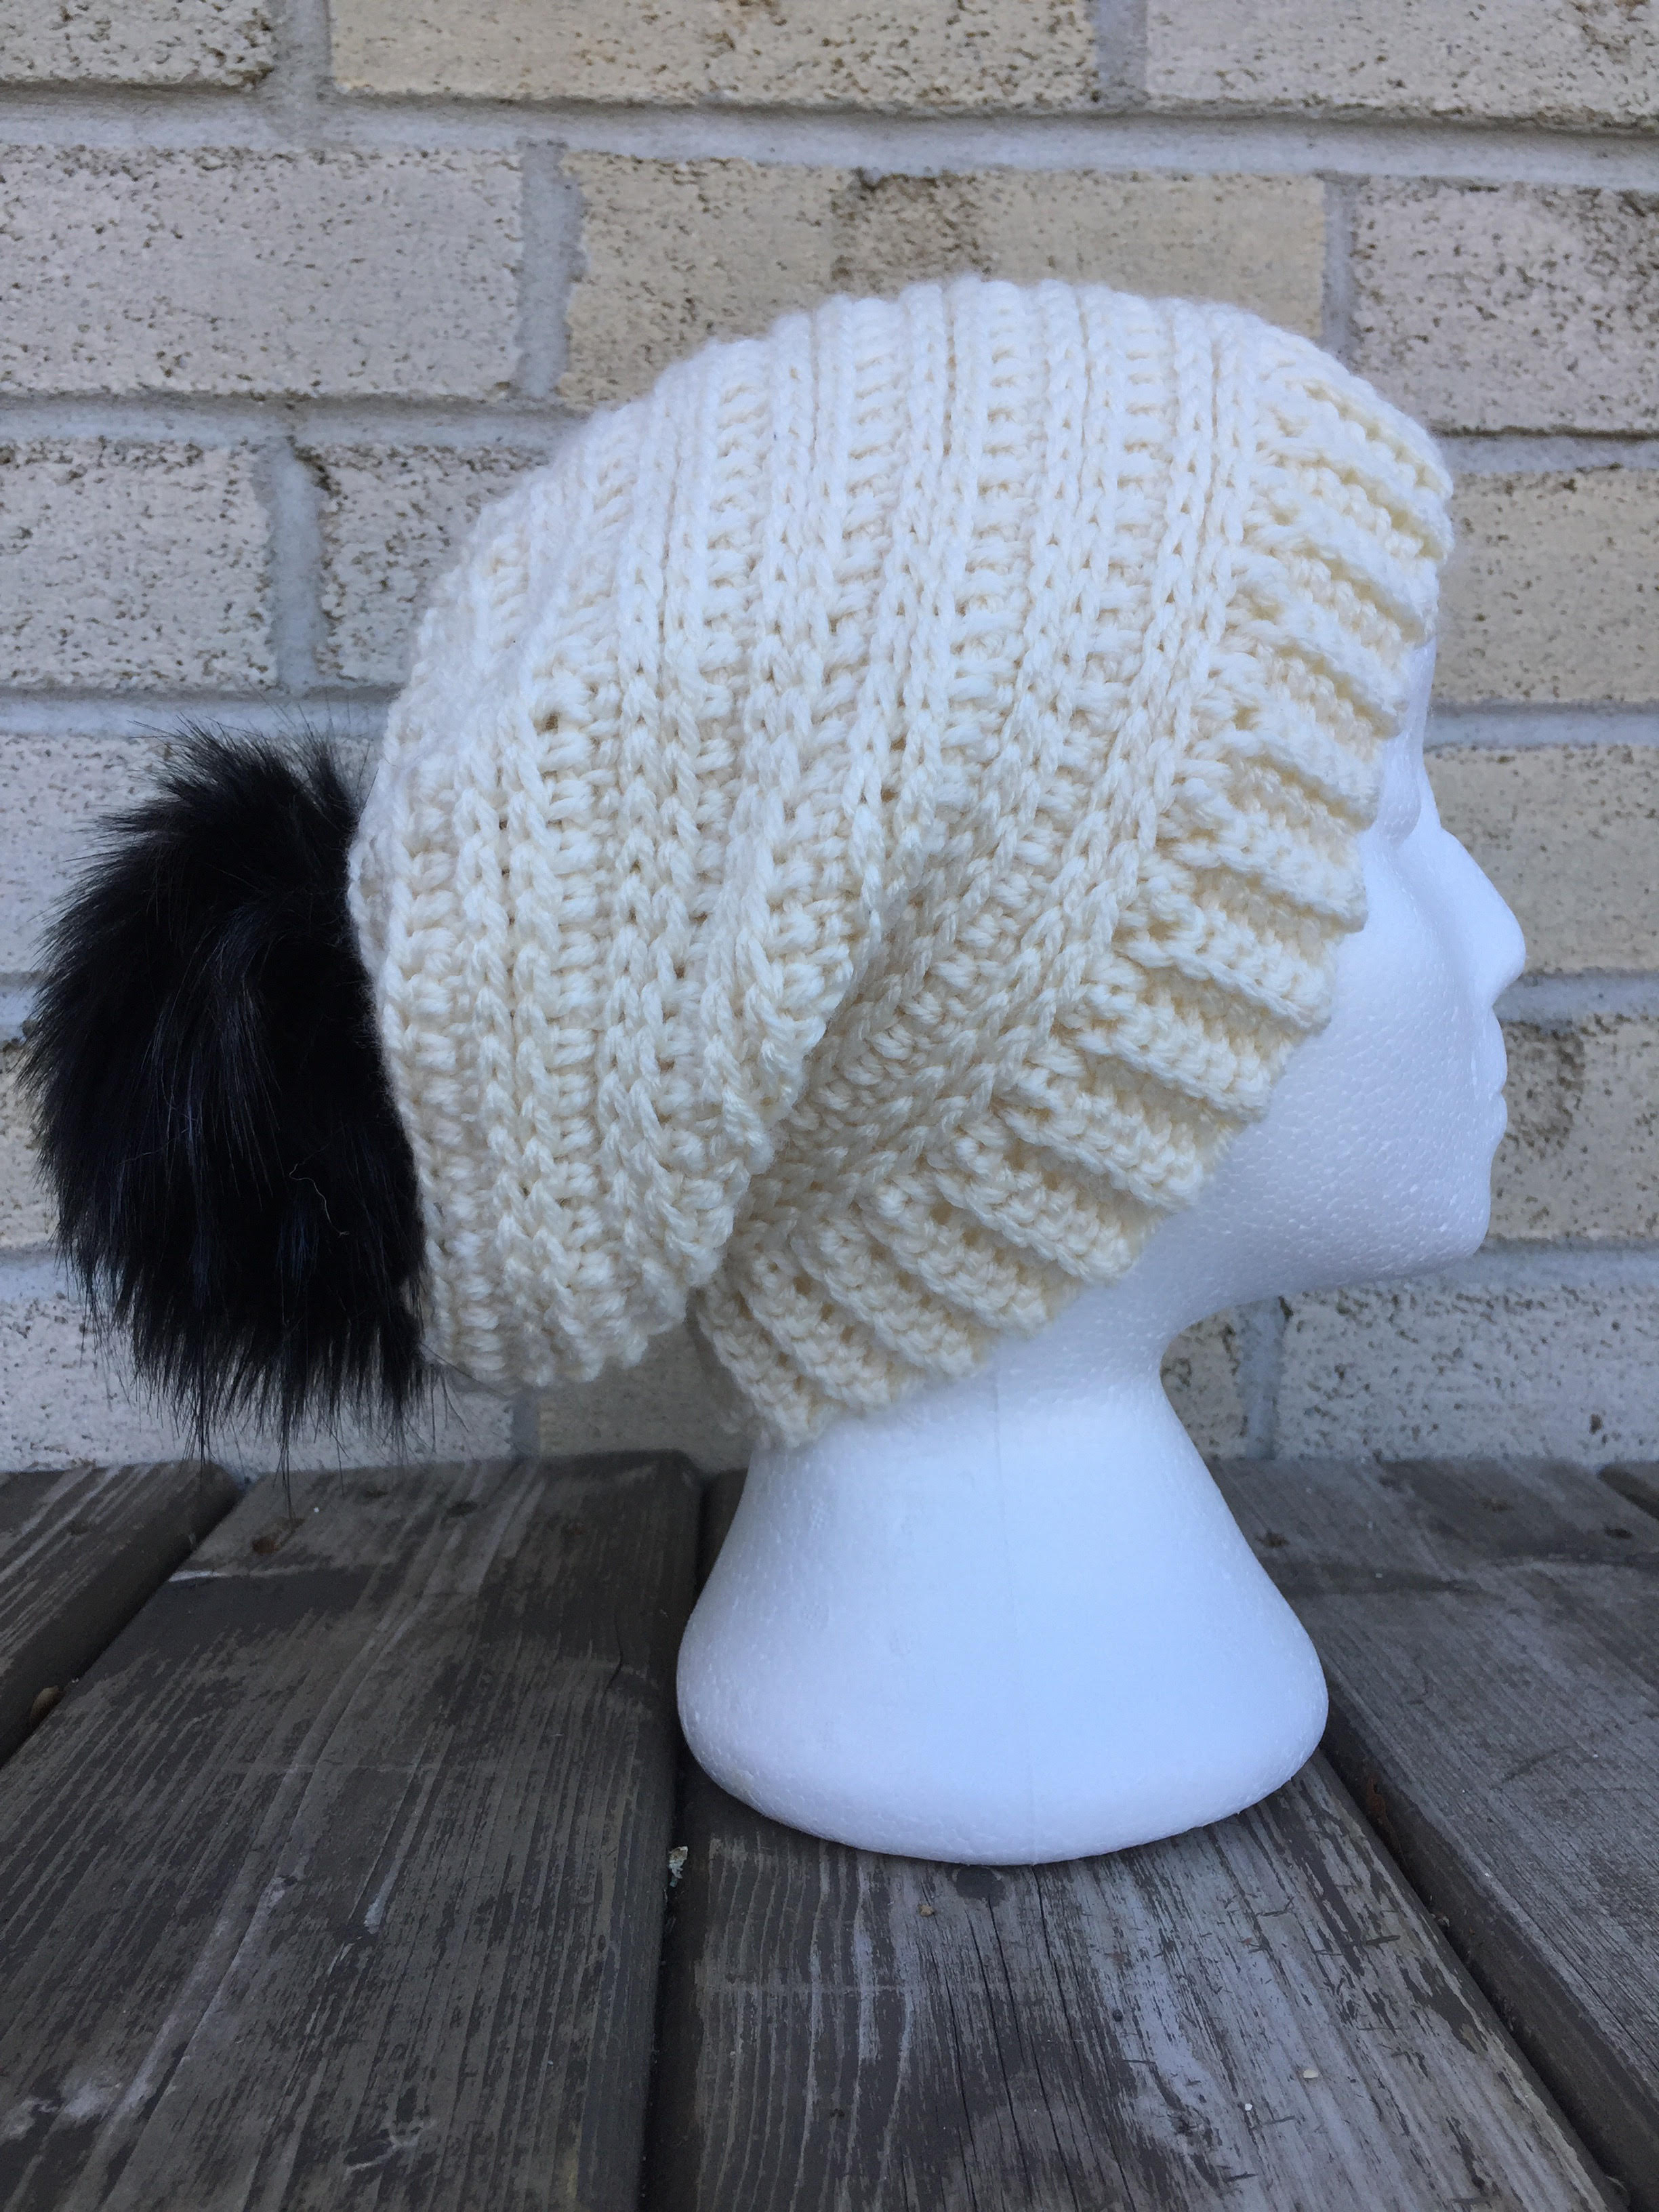
Snowy Day Slouch Pattern:
Hat Brim (worked in rows):
Ch 7.
Row 1: Working in blo, 1 sc in the second ch from hook and in each ch across. Turn. (6 sts)
Row 2: Ch 1, working in blo, sc in each sc across. Turn. (6 sts)
Rows 3-62: Repeat row 2. Do not turn, do not fasten off.
Now you are going to sew the two ends of your brim together. Being careful not to twist, holding both ends of the brim together and working through both thickness, work 6 sc across (6 sts). Do not fasten off.
Turn work so that you are now working around the edge of the brim of the hat. Please continue as follows, working in rounds:
Hat Body:
Rnd 1: With right side facing, hdc 72 evenly around. Join with a sl st in the first st. (72 sts)
Rnd 2: Ch 1, in the 3rd loop, hdc in each st around. Join with a sl st in the first st. (72 sts)
Rnd 3: Ch 1, in the 3rd loop, loosely sc in each st around. Join with a sl st in the first st. (72 sts)
Rnd 4: Ch 1, kshdc (See stitches and abbreviations) in each st around. Join with a sl st in the first st. (72 sts)
Rnds 5-19: Rpt rounds 2-4 five times. Begin decrease.
Decrease Rounds:
Rnd 17: Ch 1, * in the 3rd loop, hdc in the next 7 sts, hdc2tog. Rpt from * round. Join with a sl st in the first st. (64 sts)
Rnd 18: Ch 1, * in the 3rd loop, loosely sc in the next 6 sts, sc2tog. Rpt from * around. Join with a sl st in the first st. (56 sts)
Rnd 19: Ch 1, * kshdc in the next 5 sts, kshdc2tog. Rpt from * around. Join with a sl st in the first st. (48 sts)
Rnd 20: Ch 1, * in the 3rd loop, hdc in the next 4 sts, hdc2tog. Rpt from * around. Join with a sl st in the first st. (40 sts)
Rnd 21: Ch 1, * in the 3rd loop, loosely sc in the next 3 sts, sc2tog. Rpt from * around. Join with a sl st in the first st. (32 sts)
Rnd 22: Ch 1, * kshdc in the next 2 sts, kshdc2tog. Rpt from * around. Join with a sl st in the first st. (24 sts)
Rnd 23: Ch 1, * in the 3rd loop, hdc in the next st, hdc2tog around. Join with a sl st in the first st. (16 sts)
Rnd 24: Ch 1, * in the 3rd loop, hdc2tog around. Join with a sl st in the first st. (8 sts)
Fasten off leaving a long tail. Sew top of hat closed. Optional. Add pompom to top.


what is a kshdc ?
The Kshdc is an hdc worked in the space you would work a knit stitch
What does with right side facing mean?
With the front facing you 🙂
What does in the 3rd loop mean?
Hi! When you look at the back of the hdc stitch you will see two horizontal bars – the second (under the top bar) is the 3rd loop. How to Crochet in the 3rd Loop. Here Is a tutorial that may help! https://youtu.be/fYc4IHu8DQU
Sorry — for the slouch version, is the hat brim supposed to be 72 rows?
I am doing the Snowy Day Slouch hat. I am kinda confused in a few different areas.1) When you first start, you do the brim. They tell you to do 62 rows, however, when you start doing the body of the hat, you are to crochet 72 stitches. Which one, or does it depend on you head size. 2)In the body of the pattern it tell you to start decreasing basically at row 20. Then on the Decrease Rounds, it starts at row 17. Thank you for you patience and your listening to what I have to say. Thank you. Victoria.
Absolutely live the pattern THANKS
You’re welcome 🙂
Hi Sarah!
You wouldn’t by chance have a matching scarf pattern? I think as a set it would be a lovely gift.
Thank you for all of your beautiful patterns.
Maria
I don’t at the moment, but it’s a great idea! I’ll let you know if I come up with one 🙂
It’s easy to mk scarf from patter of hat, if you want to put a brim at bottom of ends of scarf just cut stitches in half depending on size so original stitches are 62 just do 31 or 15. Then just do the stitches like your making hat just dont do in circles do it in flats.im going to make set so I’ll let you know how it turns out I’ll send pictures if interested if you dont understand lmk. I’ll help you. Ty
I’m working on the slouch pattern but I don’t understand how I go from 62 stitches for the brim to 72 when I start hdc?
It may be a typo 🙂 I will check! Thanks!
Just checked – for the beanie (not slouch) you start by placing 62 hdc. If you are working the slouch you start with 72
Hi, I’m stuck on the Slouch pattern – how do you work in 72 stitches for the body into the 62 row brim? Where do we work in those extra 10 stitches? Thanks!
It may be a typo! I’ll check! Thanks!
Just checked – for the beanie (not slouch) you start by placing 62 hdc. If you are working the slouch you start with 72 hdc
So, the BRIM on the slouch should be 72 rows? So that when you turn it and work the body into the side of the brim, you’re working 72 HDC’s into the 72 row brim?
No the brim should still be 62, the extra hdc in that first round make the body of the hat a bit wider than the brim which gives it its slouch. I would mark the half way point around the brim and work half the stitches on one side and half on the other. They won’t work perfectly into the rows of the brim as they do for the beanie.
I do an inc every 6 stitches and it comes out perfect! The slouch version is amazing thank you for the pattern!
Row 5 to 19 …says repeat row 2 to 4, 5 times …
Does that mean eg row 5 do row 2 to 4 ,,5 times and 6 to 19 the same.
Each row ,worked in 5 times. Hope its clear, it just look like a lot of row
Thank you ,appreciated
It just means that you will work row 2, then 3, then 4. Then go back to row 2, then 3, then 4. You will do that five times (it will total 15 more rows). Hope that helps!
Sorry still learning to read patterns. Question, When you complete second row, ends with blsc and turn. Row 3 is continue as rows 2 but do not turn. How do you work rows without turning?
Working on the slouch pattern. It says to do rounds 5-19 and then begin decrease. But the decrease instructions start with round 17, not 20 like I would expect. Does that mean we start the decrease instructions before we finish the 5-19 instructions?
No it’s probably a typo! Lol thanks for letting me know – start the decrease at 20 🙂
Can we sell our finished pieces?
Yes, you can sell your finished pieces 🙂
Thank you!!! It came out amazing I’m so excited to show it off!
Wonderful! 🙂