
This post contains affiliate links. This means that when you purchase through one of these links we will receive a small commission at no additional cost to you. Thank you for supporting Rich Texture Crochet!
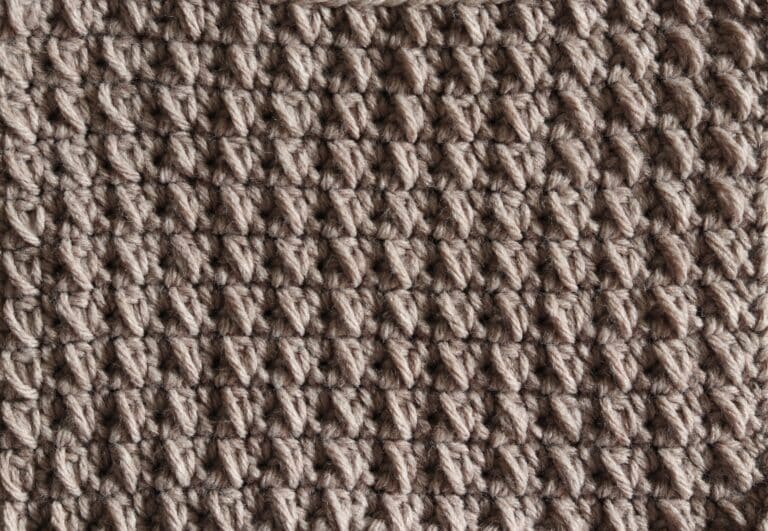
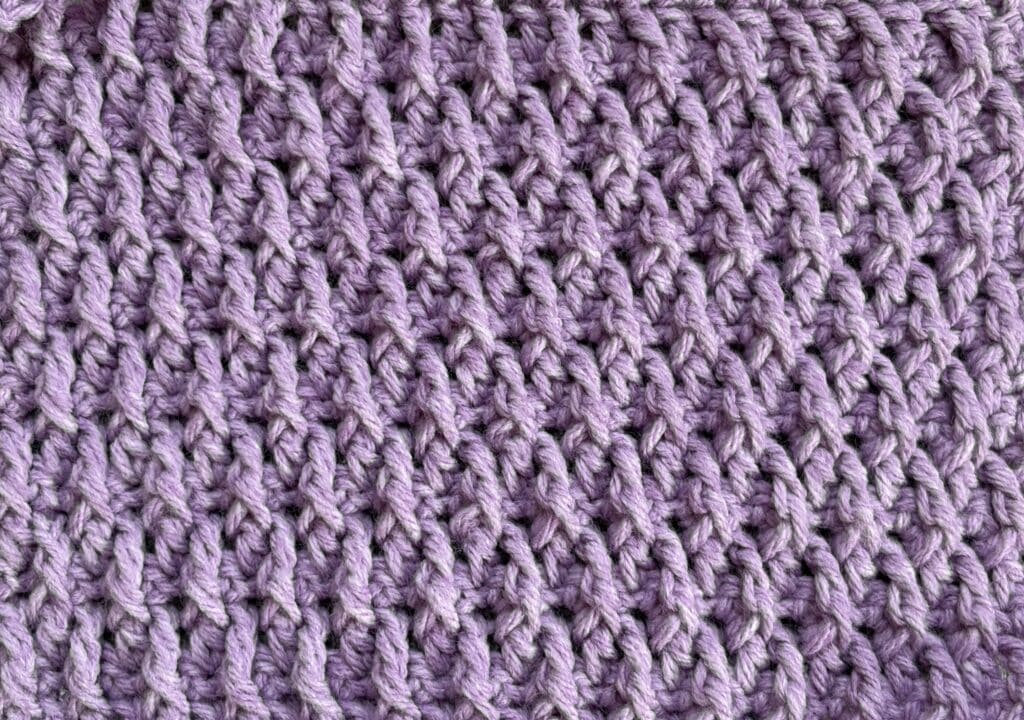
The Raised Ripple Stitch crochet pattern is one of my favourites with its thick texture that makes beautiful blankets!
The Raised Ripple stitch pattern is easily worked using front post triple stitches and double crochet. The end fabric is fairly thick, but not too stiff. The texture is all to the front but that would not cause me to shy away from using it in double sided projects. It is a beautiful stitch and would make a cozy blanket, trendy scarf or stylish cardigan. I look forward to seeing how you incorporate it into your next project!
The Materials:
For this tutorial today, I will be using a small amount of Heatherly by KnitPicks and WeCrochet in a single colour. You are also able to work this stitch in a single colour or more. The Heatherly yarn is a medium/worsted weight yarn that is a wool blend. Along with my worsted weight yarn, I will also be working with a 5 mm (H/8) crochet hook.

Intermediate Crochet Stitches includes 102 crochet stitches focused on texture and colour! If you love learning new crochet stitches, this book is for you! It is available on Amazon in ebook, paperback and hardcover formats. Learn more about it here: Intermediate Crochet Stitches.
Raised Ripple Stitch Crochet Pattern:
Stitches and Abbreviations:
Ch – Chain
Dc – Double Crochet
Fptr – Front Post Triple/Treble Stitch
Lp – Loop
Rpt – Repeat
Sc – Single Crochet
Sk – Skip
Sl st – Slip stitch
Sp – Space
Yo – Yarn over
Pattern Notes:
This stitch is worked in rows in this tutorial and it may be worked in one colour or many. I will be working this pattern in a single colour.
This pattern is written in American crochet terms.
o begin, make a slip knot and make a foundation chain. For this stitch pattern, you will need an odd number of chains for your foundation chain.
For example, ch 31.
Row One:
Dc in the 4th ch (Starting ch-3 counts as a double crochet st here and throughout) from your hook and in each ch across. Ch 1, turn.
Row Two:
Sc in the 1st st and in each st across. Ch 3, turn.
Row Three:
Fptr around the post of the next st 2 rows below, *dc in the next st (Note that you will not work into the stitch directly behind the fptr), fptr around the post of the next st 2 rows below; Rpt from * across, dc in the final st. Ch 1, turn.
Row Four:
Sc in the 1st st and in each st across. Ch 3, turn.
Row Five:
Dc in the next st, *fptr around the post of the next st 2 rows below, dc in the next st; Rpt from * across, dc in the final st. Ch 1, turn.
And that’s it!
For the rest of the pattern simply repeat rows 2-5. Fasten off and weave in your ends.