
This post contains affiliate links. This means that when you purchase through one of these links we will receive a small commission at no additional cost to you. Thank you for supporting Rich Texture Crochet!
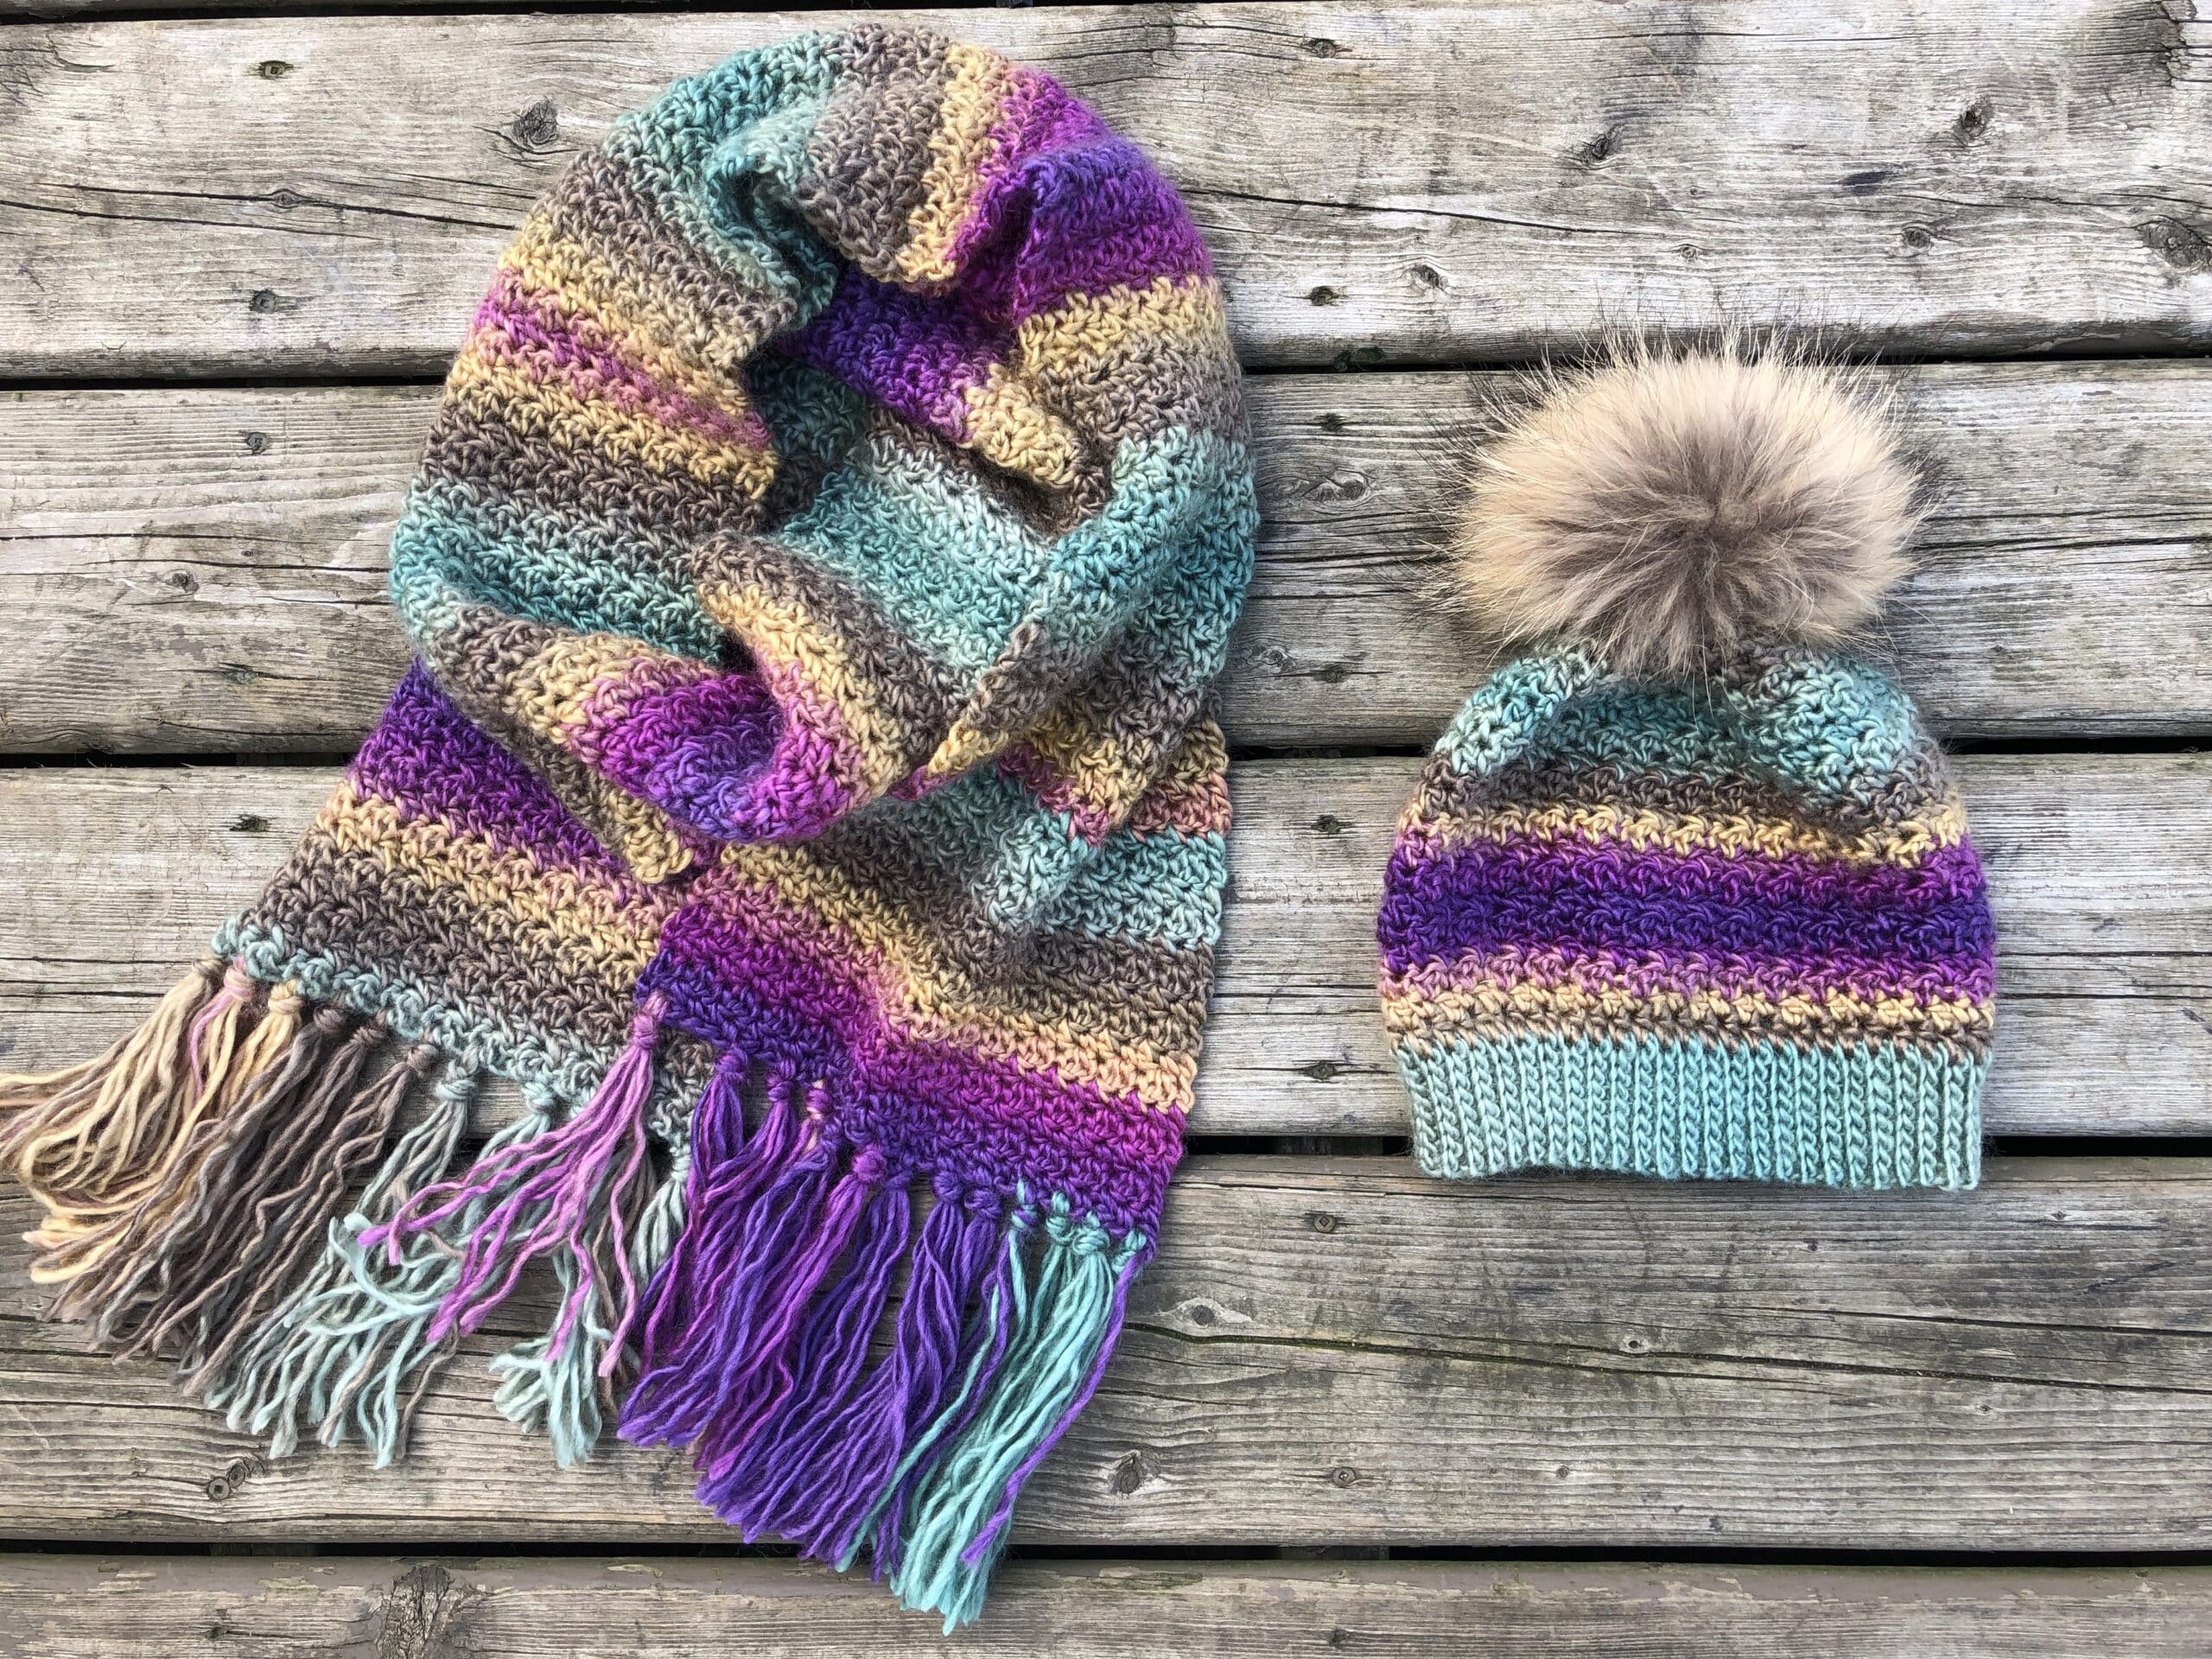
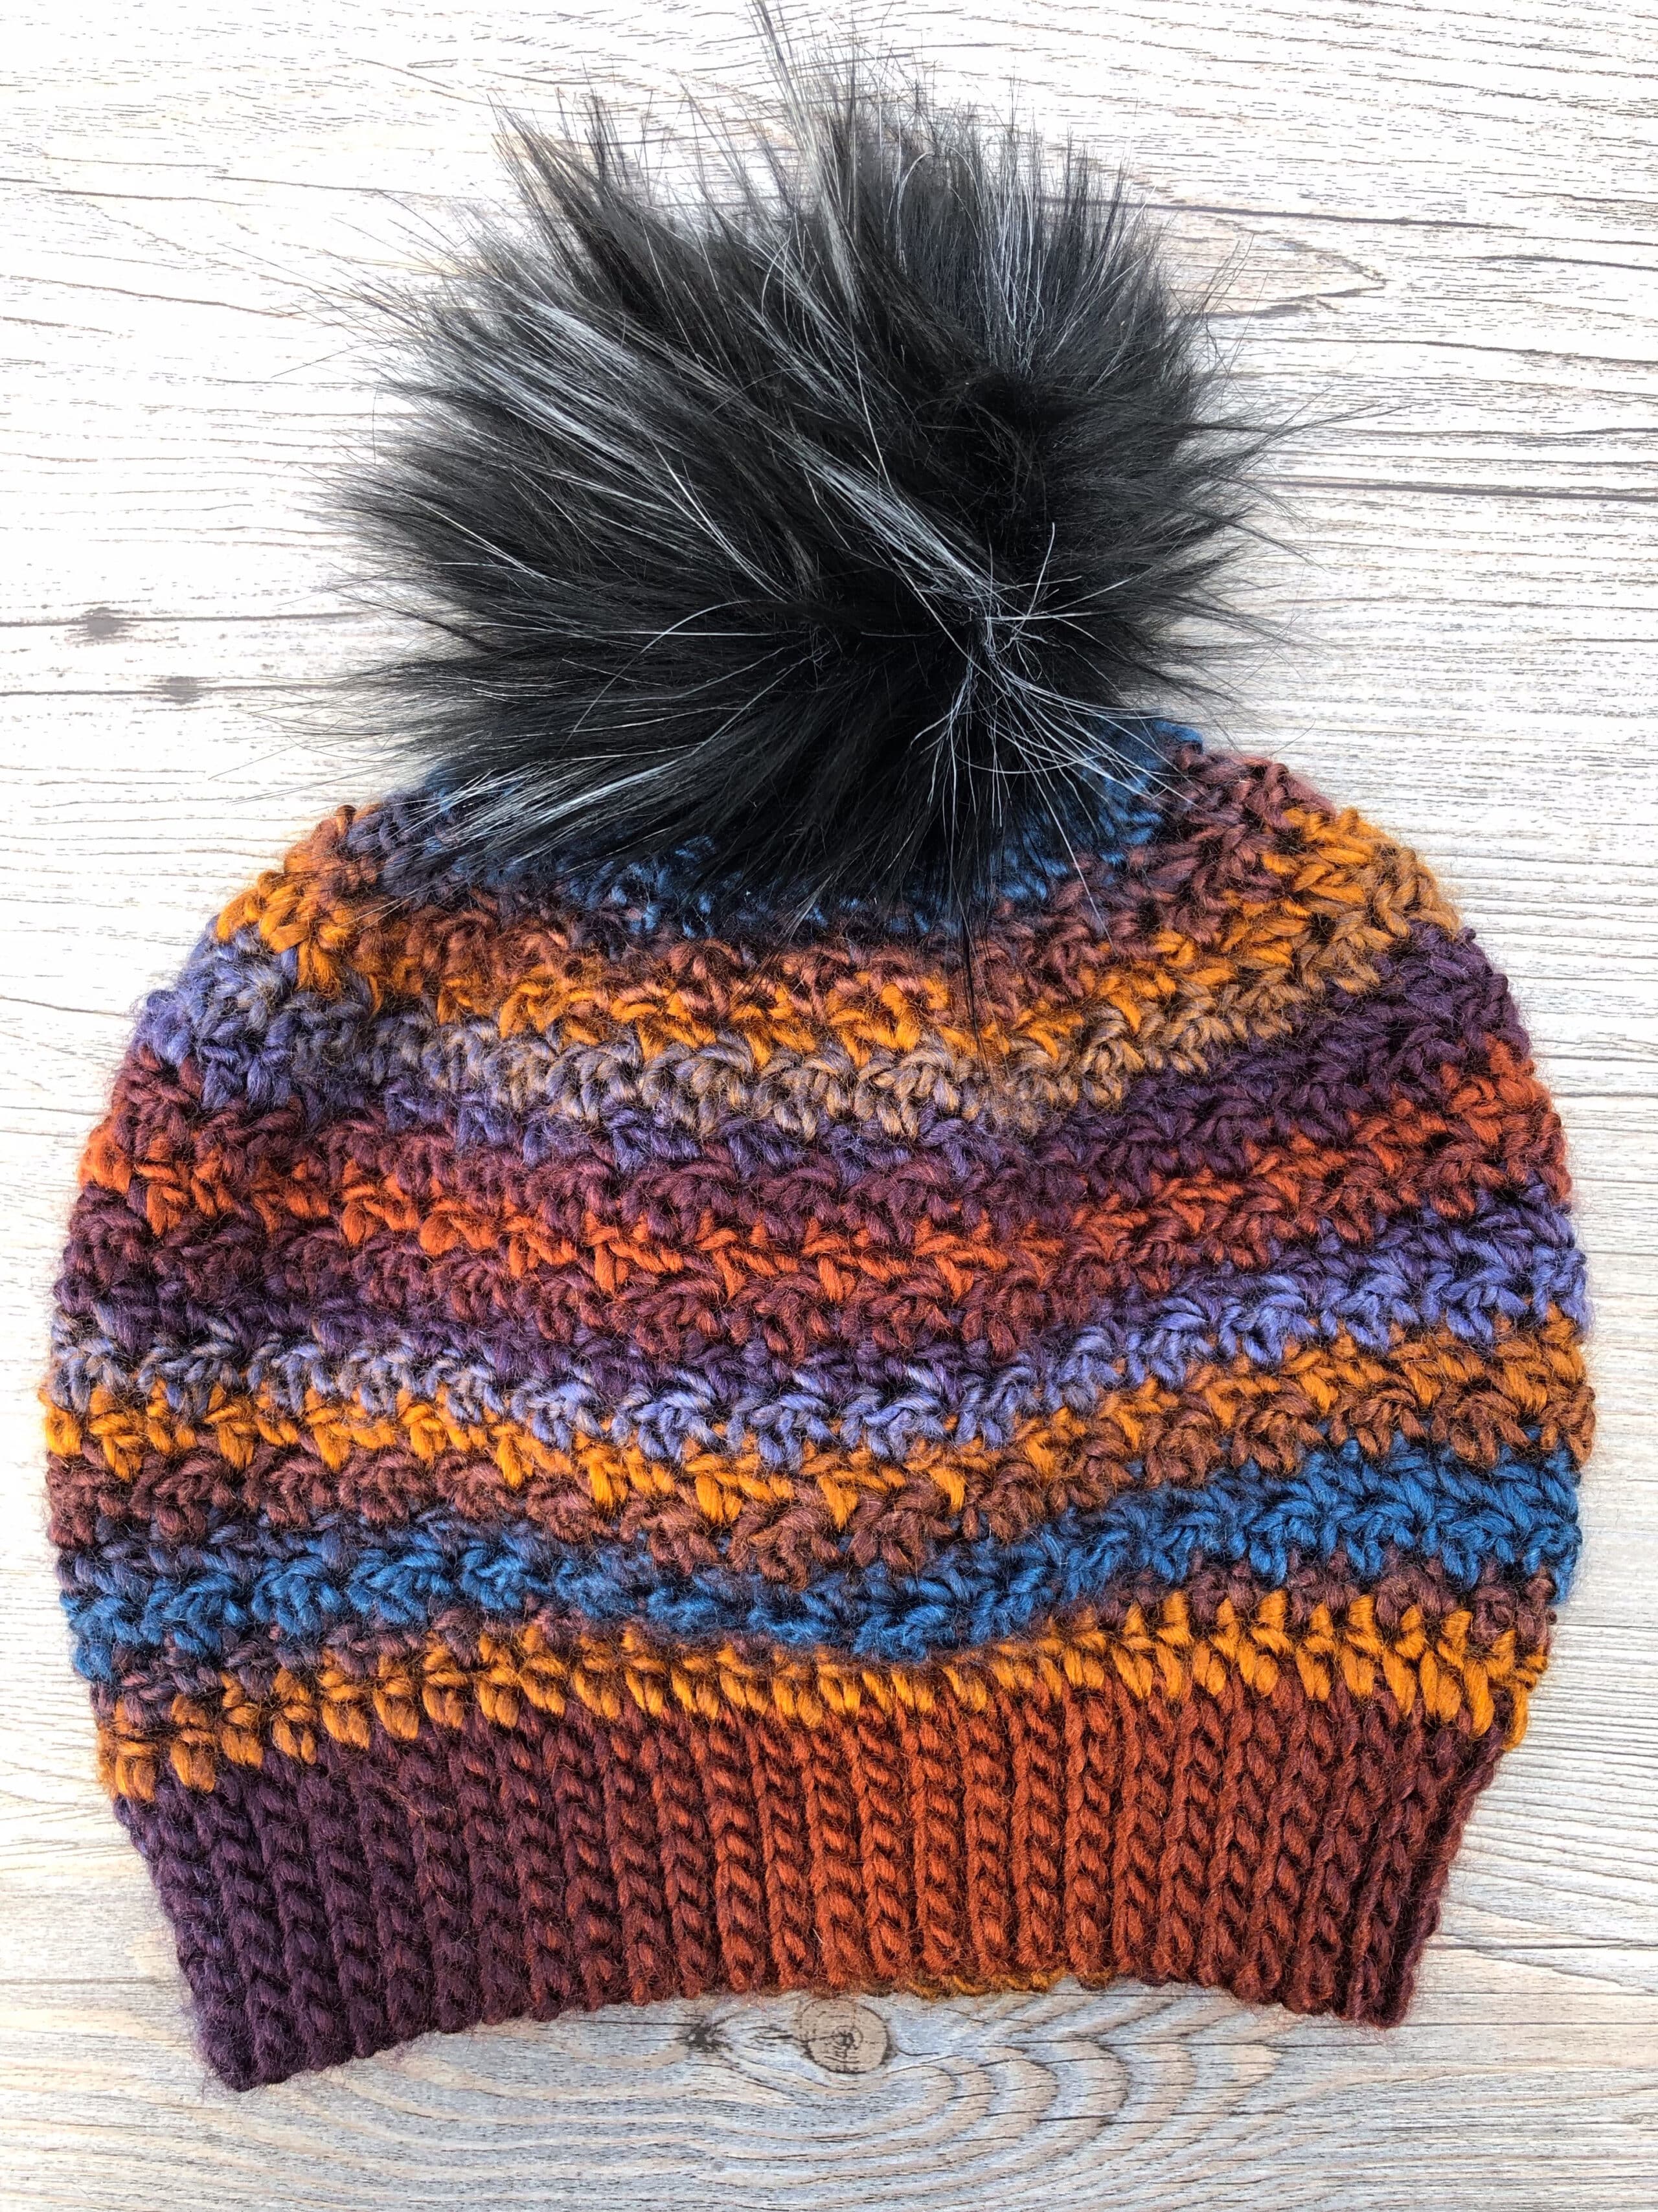
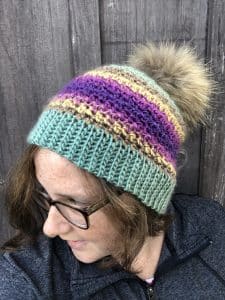
This new beanie crochet pattern shows off colour so well! The crochet pattern for the Rachel Beanie is a simple design what works up quickly. Customize it with a button or pom!
I love it when a pattern shows off the colours in which it is worked and that’s exactly how I felt about this design!
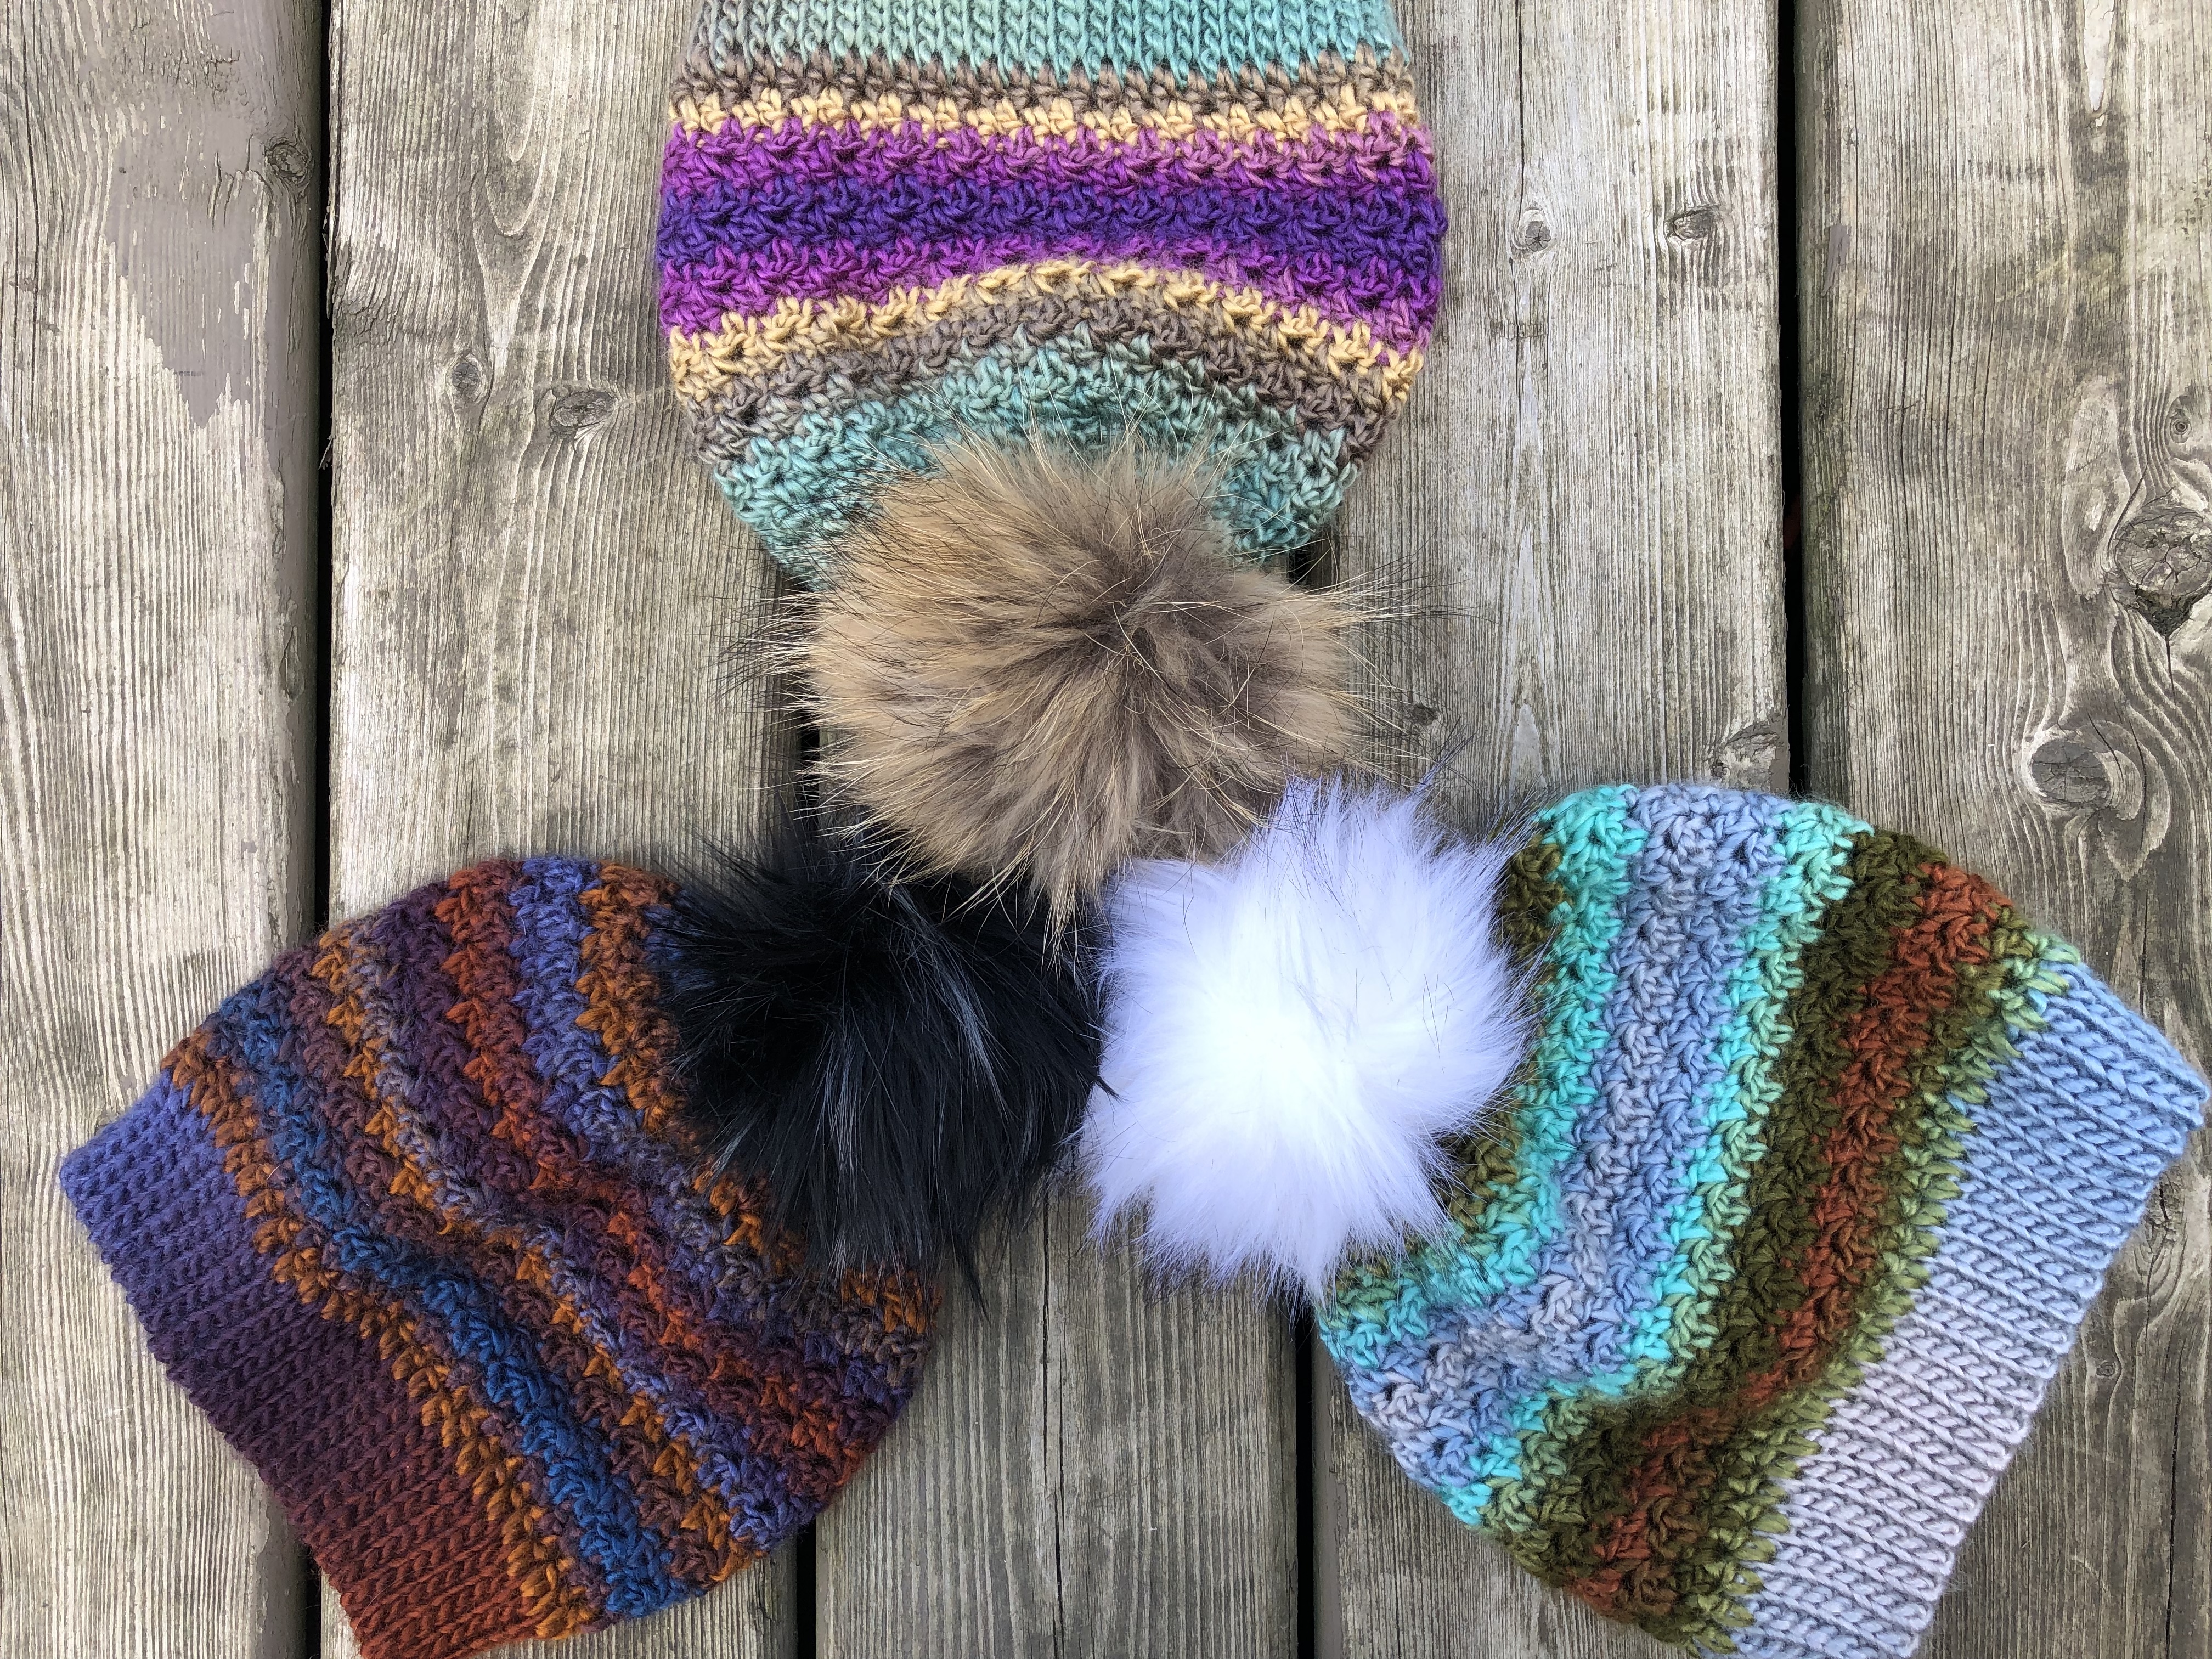
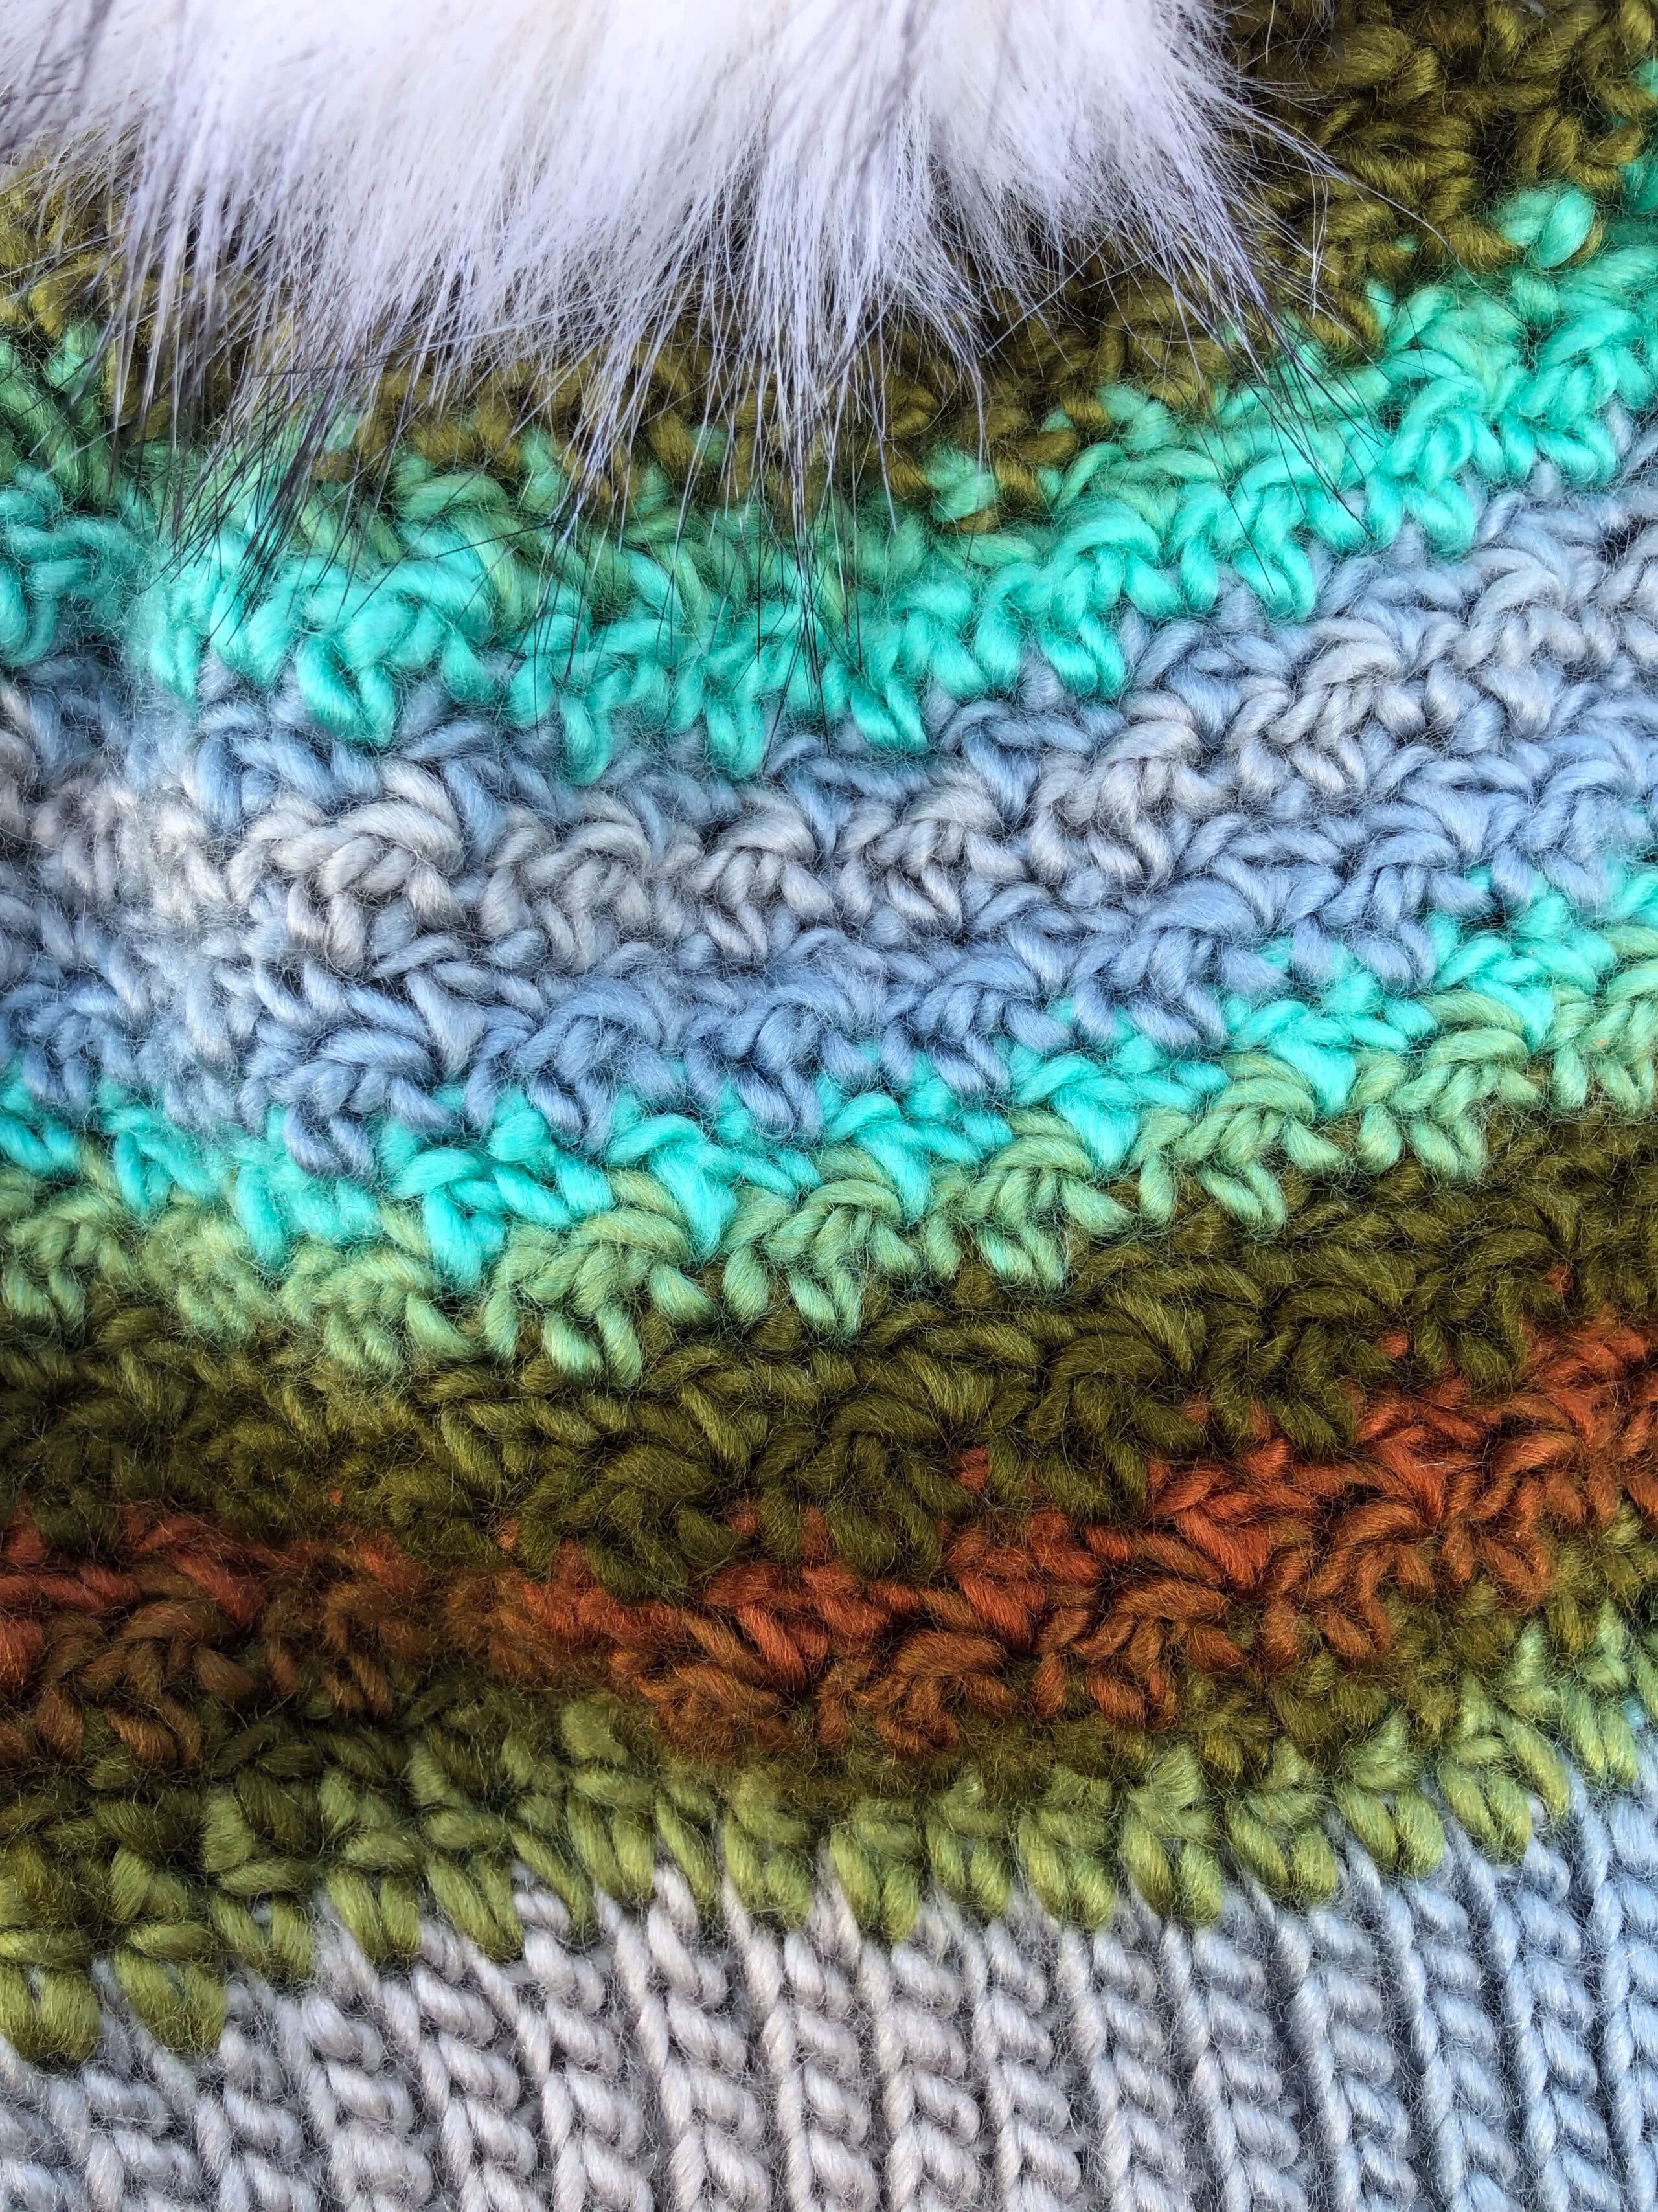
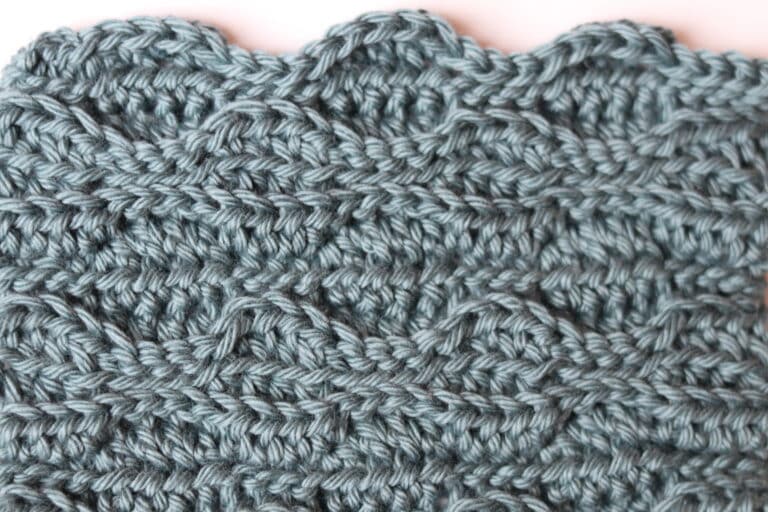
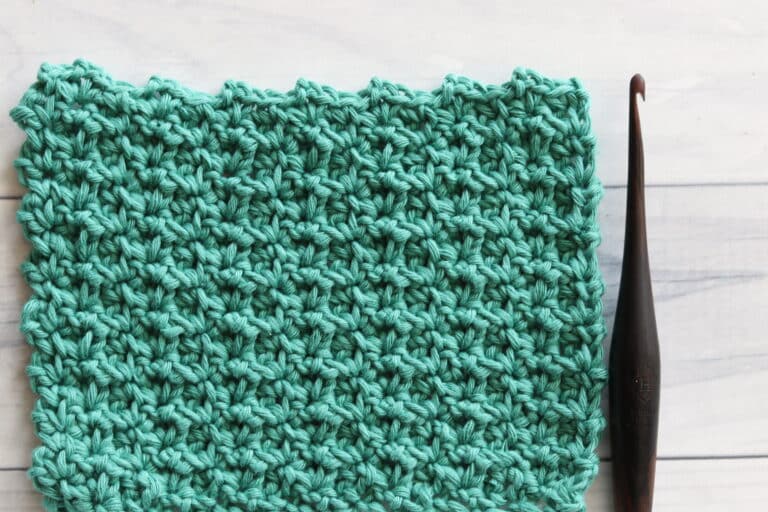
This crochet pattern for the Rachel Beanie is worked in a stitch pattern called the seed stitch. Recently it has become a favourite of mine because it’s versatile and simple, so easy to catch onto.
Landscapes by Lion Brand:
I have worked the beanie pattern using the Landscapes yarn by Lion Brand. It is a 100% acrylic yarn that’s been loosely spun. Because it does not have a lot of twist, it can be a bit of a challenge to take apart if you make a mistake, so if you do, have patience!
Despite it being hard to take apart, the results are amazing simply because of the colour!
The Landscapes yarn is a worsted weight yarn, so don’t be afraid to dive into other brands/types of worsted weight yarn that you may already have in your stash. Each hat requires only about 150 yards.
I have paired this yarn with a 6 mm crochet hook.
Is the Landscapes yarn new to you? Check out this YouTube Live Yarn review:
Make the set!
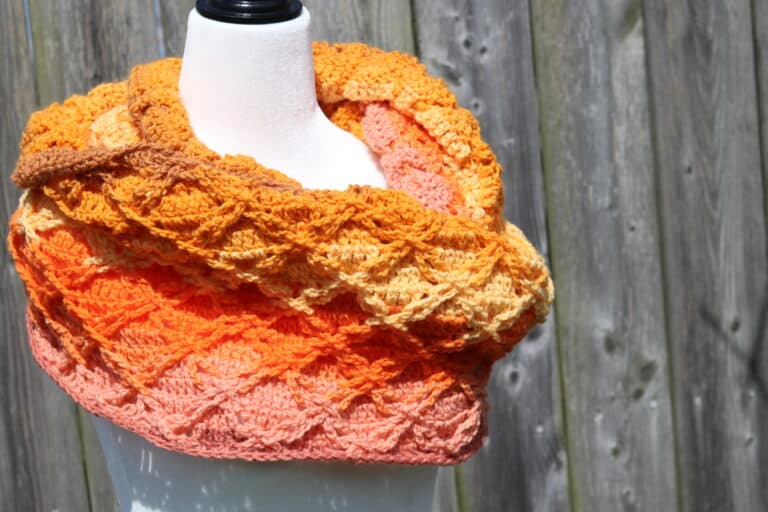
Along with the hat, I worked up a very simple seed stitch scarf to coordinate. You can find the free crochet pattern for the scarf here: Rachel Scarf – Free Crochet Pattern!
Would you like to see some other hat patterns that feature some great texture? You may want to check out the Falling Leaves Slouch Hat Free Crochet Pattern or the Rustic River Beanie – Free Crochet Pattern – Both free with video tutorials!
The crochet pattern will be written out in full below followed by a free video tutorial, however if you would like a PDF copy to add to your library, you may purchase one from either my Etsy or Ravelry Shops linked below (The one PDF includes the beanie and scarf patterns):
Thank you so much for stopping by! I invite you to subscribe to my newsletter and YouTube Channels. And don’t forget to connect on social media!
Until next time, happy crocheting!
Sarah
Rachel Beanie – Free Crochet Pattern:
Skill Level: Easy
Gauge: 12 sts x 11 rows of seed stitch = 4 inches
Finished Size: Hat: 8.5 x 9 inches (Laid flat, excluding pompom)
Yarn: Landscapes® by Lion Brand® (100% Acrylic; 5.3 oz, 150 g; Approx. 147 yds, 134 m). Worsted/medium Weight (4). You will need 1 ball for the hat.
Hook: Size J/10 (6 mm) Hook. Adjust hook size if necessary to obtain correct gauge.
Stitches and Abbreviations:
Blo – Back Loop Only
Ch – Chain
Dc – Double Crochet
Hdc – Half Double Crochet
Rpt – Repeat
Sc2tog – Single Crochet Two Stitches Together
Sk – Skip
Sl St – Slip Stitch
Yo – Yarn Over
Pattern Notes
- Pattern is written in American English terms.
- Brim of hat is worked in rows, body of hat is worked in rounds (You will turn at the end of each round). Scarf is worked in rows.
- Ch 1 at beginning of row does not count as stitch.
- Weave in ends as needed.
- OPTIONAL – Add pompom to the top.
Free Crochet Pattern:
Brim (Worked in rows):
Ch 9.
Row 1: Sl st in the 2nd ch from hook and in each ch across. Ch 1, turn. (8 sl sts)
Row 2: Working in the blo, sl st in each st across. Ch 1, turn. (8 sl sts)
Continue to repeat row 2 until work from the beginning measures approximately 19 inches.
Do not fasten off, but fold brim of hat so that two shorter ends meet. Now working through both thicknesses, sl st across working through the blo on each side. Do not fasten off, turn work right side out (so that the right side is facing you).
Now working around the edge of the brim, continue working in rounds as follows:
Hat Body (Worked in rounds):
Rnd 1: Ch 1, evenly work 52 hdc all the way around. Join with a sl st in the first st, do not turn. (52 sts)
Rnd 2: Ch 1, sc in the first st, dc in the next st, * sc in the next stitch, dc in the next st; Rpt from * all the way around ending with a dc. Join with a sl st in the first st, TURN. (52 sts)
Rnds 3-13: Ch 1, sc in the first st, dc in the next st, * sc in the next stitch, dc in the next st; Rpt from * all the way around ending with a dc. Join with a sl st in the first st, TURN. (52 sts)
Rnd 14: Ch 1, *[sc in the next st, dc in the next st] 3 times, sc2tog; Rpt from * all the way around, Join with a sl st in the 1st st, TURN.
Rnd 15: Ch 1, *[sc in the next st, dc in the next st] 2 times, sc in the next st, sc2tog, [dc in the next st, sc in the next st] 2 times, dc in the next st; Rpt from * all the way around, Join with a sl st in the 1st st, TURN.
Rnd 16: Ch 1, *[dc in the next st, sc in the next st] 2 times, sc2tog, [sc in the next st, dc in the next st] 2 times; Rpt from * all the way around, Join with a sl st in the 1st st, TURN.
Rnd 17: Ch 1, * dc in the next st, sc in the next st, dc in the next st, sc2tog, dc in the next st, sc in the next st, dc in the next st; Rpt from * all the way around, Join with a sl st in the 1st st, TURN.
Rnd 18: Ch 1, * sc in the next st, dc in the next st, sc2tog; Rpt from * all the way around, Join with a sl st in the 1st st, TURN.
Rnd 19: Ch 1, *dc in the next st, sc2tog; Rpt from * all the way around, Join with a sl st in the 1st st, TURN.
Rnd 20: Ch 1, sc2tog all the way around, Join with a sl st in the 1st st.
Fasten off leaving a long tail. Using the long tail, sew the top of the hat closed. Fasten off and weave in your ends.


Great pattern!
I made the Rachel scarf and LOVED it, so started on the matching beanie. All went well until the pattern diverged from the standard seed stitches into the rows of decrease stitches. From the written instructions I inferred that “two sc’s together” meant two single crochet stitches in the next loop which INCREASED the number of stitches in the round instead of decreasing. After a few rows of this I had this huge floppy ruffle at the top of the hat and was very frustrated. I KNEW that couldn’t be right and I’m not a beginner! It wasn’t until I went back online and watched the video tutorial that I understood what was meant by two sc’s together to DECREASE. It meant frogging a LOT of rows and as you warned, this yarn is not easy to undo. Perhaps you could modify the instructions so that it is understood how this decrease is accomplished, as well as continue to show the number of finished stitches at the end of each row? It may help others from the same frustration. This is such a beautiful project and it is worth finishing, which I almost did not do when things started going so wrong! Thank you for these lovely patterns.
Thanks for the feedback! I’ll take a look at the pattern 🙂
Hi i loved ur pattern. In the hat body, please tell me what does evenly working of hdc means?u hv said 52 hdc. Do I need to put hdc randomly on the brim so as to make 52 hdc? Does this depend on the head circumference? Please pls clarify…I have started working on it. Pls help
Yes it means you’re just going to work 52 hdc around the brim of the hat. Evenly because there is no clear stitches to work into 🙂
So, for head circumference of 15 inch, 52 hdc is sufficient?
The pattern is for an adult size of 21 inches. It will be large for a child/toddler size
If I wanted to make this for a smaller head, how can I reduce? I can obviously make the band size a bit smaller but I’m not sure to what proportion of head size, and also how may hdc when starting the body? Any suggestions appreciated! I would love to make a set of these for the family for christmas 🙂
What do you use to make the “furry” Pom Pom on top?
This one I purchased from a local yarn shop – otherwise you can make one with a little bit of faux fur fabric