This post contains affiliate links. This means that when you purchase through one of these links we will receive a small commission at no additional cost to you. Thank you for supporting Rich Texture Crochet!
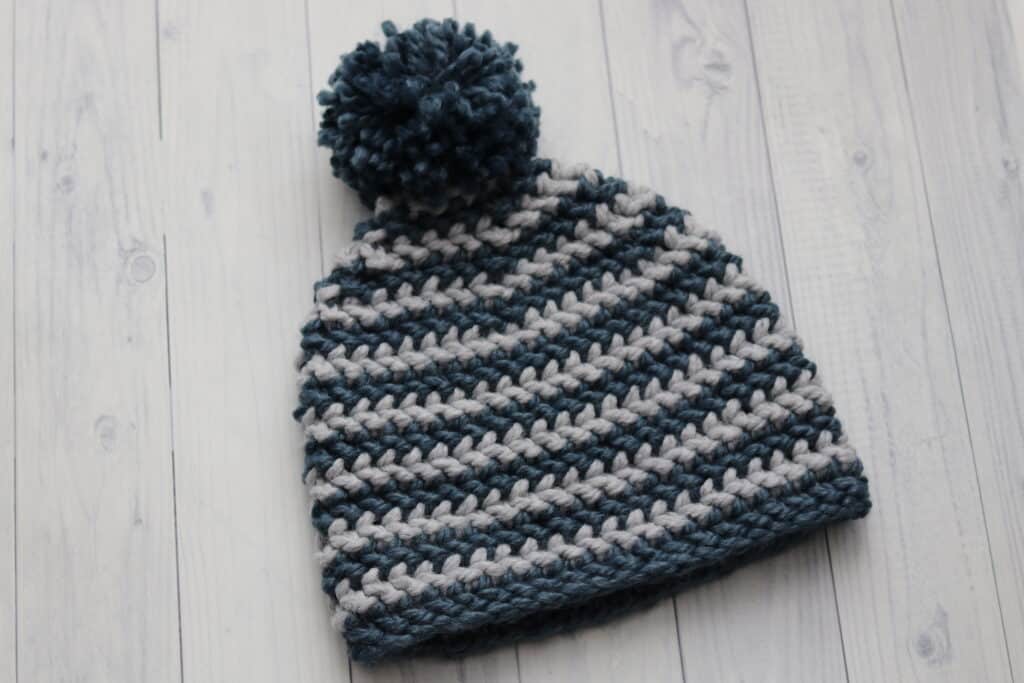
Finishing a crochet project is such a great feeling! This One Hour Beanie is one you can finish in one sitting!
Not too long ago I was approached by Hobbii and challenged to see how fast I could design and create a crochet project that could be worked in two hours or less.
I LOVE quick projects! It’s always such a great feeling when you start a new project, but it’s even better when you finished one! Needless to say, I felt up to the challenge and am excited to bring the One Hour Beanie to you today!
This post contains affiliate Links. This means that when you make a purchase through one of these links, Rich Textures Crochet will earn a small commission at no additional cost to yourself. Thank you for supporting Rich Textures Crochet!
The Yarn:
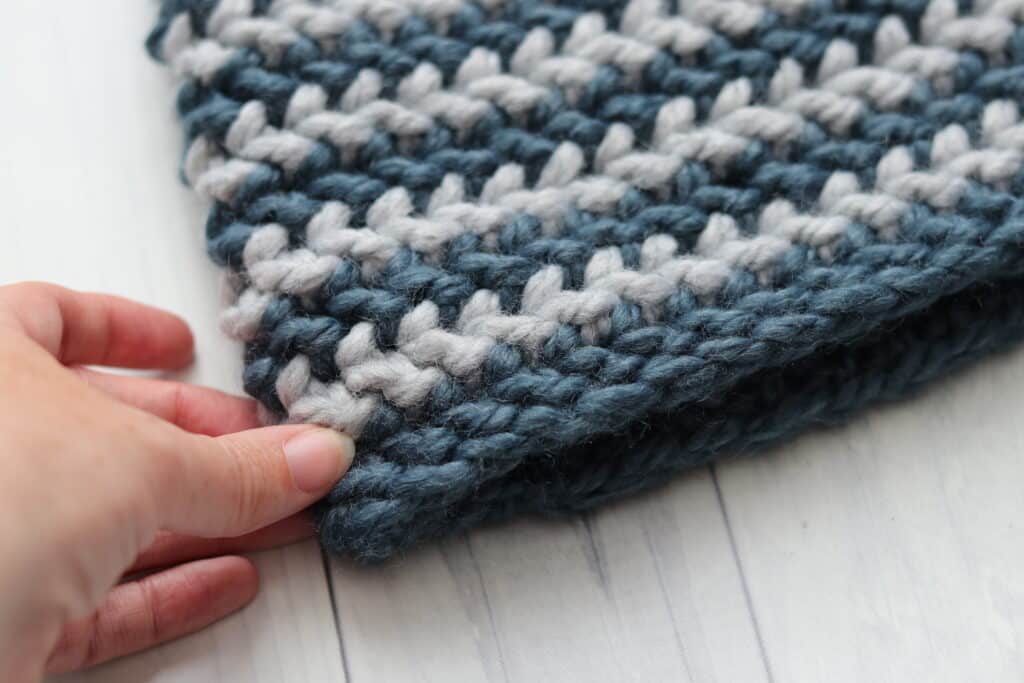
This crochet beanie is so soft and plush! I features a great easy texture that you can work in one or more colours. The one that I have worked below is done in two colours, but I invite you to experiment!
One of the reasons why this beanie is so quick to work up is that it is made with a super bulky weight yarn. In the photos and video below, I am using Umami yarn by Hobbii and I thank them so much for providing yarn support!
The Construction:
This quick crochet beanie is worked all as one piece (excluding the pompom) and it has a subtle seam up the backside. It is worked in rounds from the bottom up and it looks great with a pompom or without!
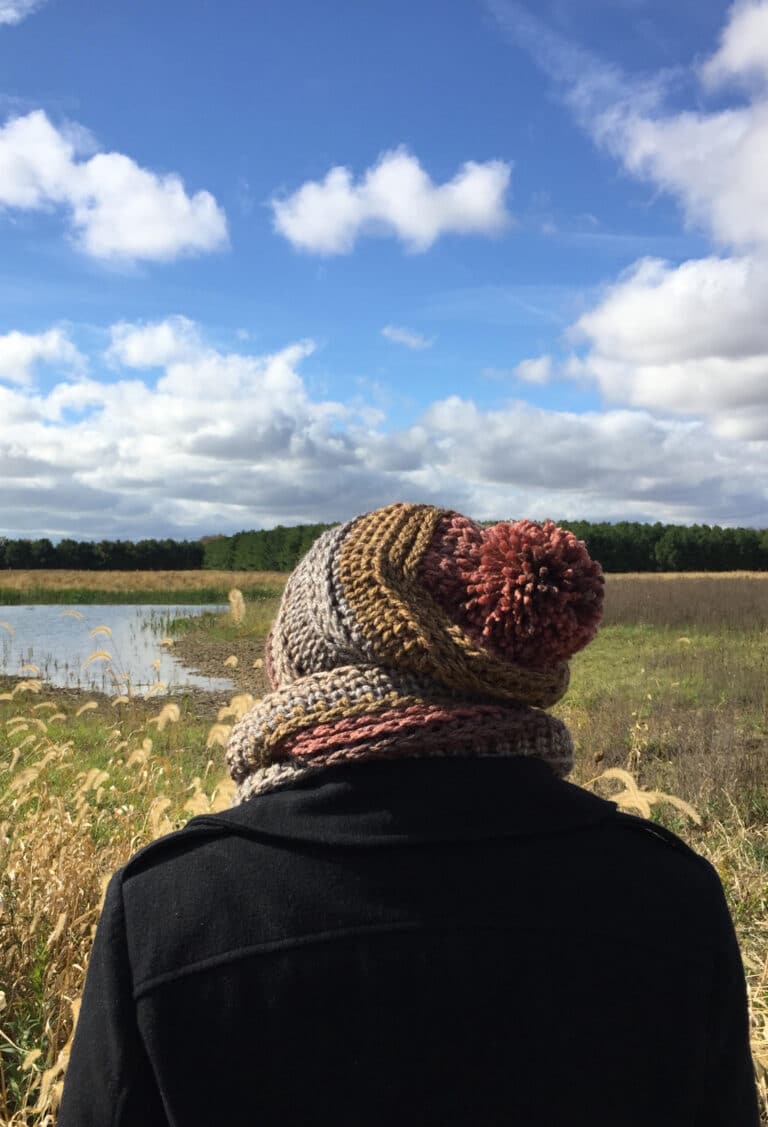
This crochet beanie is slouchy when worn and sized to fit an adult head, but in the video tutorial below I will tell you how you can adjust the size and fit.
I cannot wait to see your finished beanies so be sure to tag Rich Textures Crochet when posting on social media!
PDF Copies
The pattern will be written out in full below followed by the free video tutorial, however if you would like to add this pattern to your library or purchase an ad free PDF, you may do so from either my Etsy or Ravelry Shop linked below:
Click here for the One Hour Beanie on Etsy
Click here for the One Hour Beanie on Ravelry
Thank you so much for stopping by! Don’t forget to sign up for my newsletter so that you never miss a new pattern!
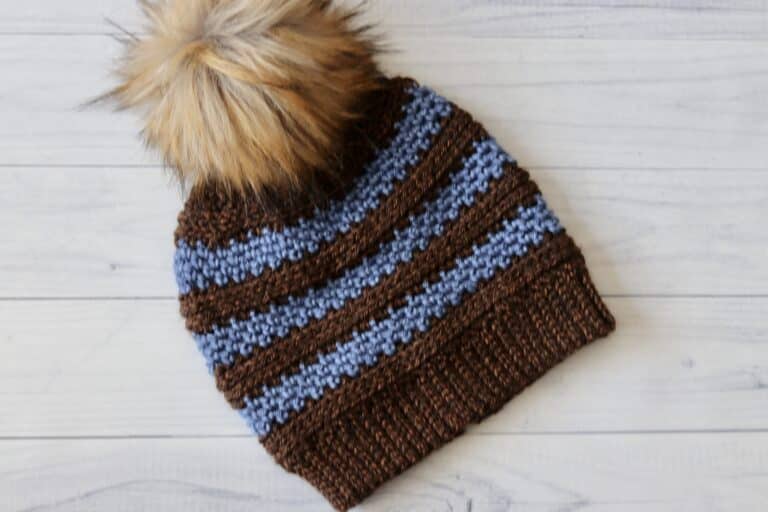
If you like this blanket, you may also like the Pumpkin Spice Beanie Crochet Pattern.
Sarah
The One Hour Beanie:
Skill Level: Beginner
Gauge: 8 sts x 7 rows hdc in 3rd loop = 4 inches
Finished Size: 11 x 10 inches laid flat excluding pompom
Yarn: Umami® by Hobbii (78% Premium Acrylic, 22% wool; 5.3 oz, 150 g; Approx. 90 yds, 83 m). Super Bulky Weight (5). You will need 1 ball of each colour per hat. Colours Shown: 11 and 4.
Hook: Size P (10 mm) Hook. Adjust hook size if necessary to obtain correct gauge
OPTIONAL: Pompom to attach to the top
Stitches and Abbreviations:
Ch – Chain
Hhdc – Herringbone Half Double Crochet (Yarn over, insert your hook into the next stitch. Yarn over and draw up a loop also drawing it through the first loop on your hook. Yarn over and draw through all the loops on your hook)
Hhdc2tog – Herringbone Half Double Crochet Two Stitches Together (Yarn over, insert your hook into the next stitch. Yarn over and draw up a loop also drawing it through the first loop on your hook. Insert your hook into the next stitch, yarn over and draw up a loop also drawing it through the first loop on your hook. Yarn over and draw through all the loops on your hook.)
Rpt – Repeat
Sk – Skip
Sl St – Slip Stitch
Yo – Yarn Over
Pattern Notes:
- Pattern is written in American English terms.
- Hat is worked as one piece in rounds.
- Ch 1 at beginning of round does not count as stitch.
- Do not turn at the end of round.
- Weave in ends as needed.
- OPTIONAL: Add pompom to the top of the hat.
- To adjust the size of your hat you may use any multiple of stitches for your foundation chain.
Free Crochet Pattern
With colour A, ch 40 and without twisting, join with a sl st in the first st.
Rnd 1: Ch 1, hhdc in the same st as joining and in each st all the way around. Switch to colour B in the final st and join with a sl st in the top of the first st. (40 Sts)
Rnd 2: With colour B, ch 1, hhdc in the same st as joining and in each st all the way around. Switch to colour A in the final st and join with a sl st in the top of the first st.
Repeat rnds 1 and 2 four more times.
Rnd 11: With colour A, ch 1, * hhdc in each of the next 6 sts, hhdc2tog; Rpt from * around changing to colour B in the final st and join with a sl st in the top of the first st.
Rnd 12: With colour B, ch 1, * hhdc in each of the next 5 sts, hhdc2tog; Rpt from * around changing to colour A in the final st and join with a sl st in the top of the first st.
Rnd 13: With colour A, ch 1, * hhdc in each of the next 4 sts, hhdc2tog; Rpt from * around changing to colour B in the final st and join with a sl st in the top of the first st.
Rnd 14: With colour B, ch 1, * hhdc in each of the next 3 sts, hhdc2tog; Rpt from * around changing to colour A in the final st and join with a sl st in the top of the first st.
Rnd 15: With colour A, ch 1, * hhdc in each of the next 2 sts, hhdc2tog; Rpt from * around changing to colour B in the final st and join with a sl st in the top of the first st.
Rnd 16: With colour B, ch 1, * hhdc in the next st, hhdc2tog; Rpt from * around changing to colour A in the final st and join with a sl st in the top of the first st.
Rnd 17: With colour A, ch 1, * hhdc2tog; Rpt from * around, join with a sl st in the top of the first st.
Fasten off leaving a long tail. Using the long tail, sew the top of the hat closed. Fasten off and weave in your ends. Attach Pompom to the top.
Video Tutorial:
The photographs and pattern contained in this document are the property of Rich Textures Crochet.
This pattern is for personal use only.
No unauthorized reproduction, in whole or in part, or distribution of this pattern or content is permitted. ALL FINISHED PRODUCTS from this pattern can be used for local sales and sold online.
Thank you so much for supporting Rich Textures Crochet! To stay in touch or see more great products, be sure to visit me on Facebook and Instagram (Rich Textures Crochet). Thanks again! Happy Crocheting!



Is it possible to convert supplies to chunky 5 yarn (have a lot left over) and a smaller hook?
It is! There is no particular stitch count needed – simply work your foundation chain to the desired size. You may need to add a couple of extra rounds to the body and then start your decrease
I just finished this hat with 5 yarn and 6mm hook. Did 63 in the chain, 9 rows before decreasing, added 1 decreasing row (so 7 total) as hhdc in 7 st, 2 together. Worked perfectly!