This post contains affiliate links. This means that when you purchase through one of these links we will receive a small commission at no additional cost to you. Thank you for supporting Rich Texture Crochet!
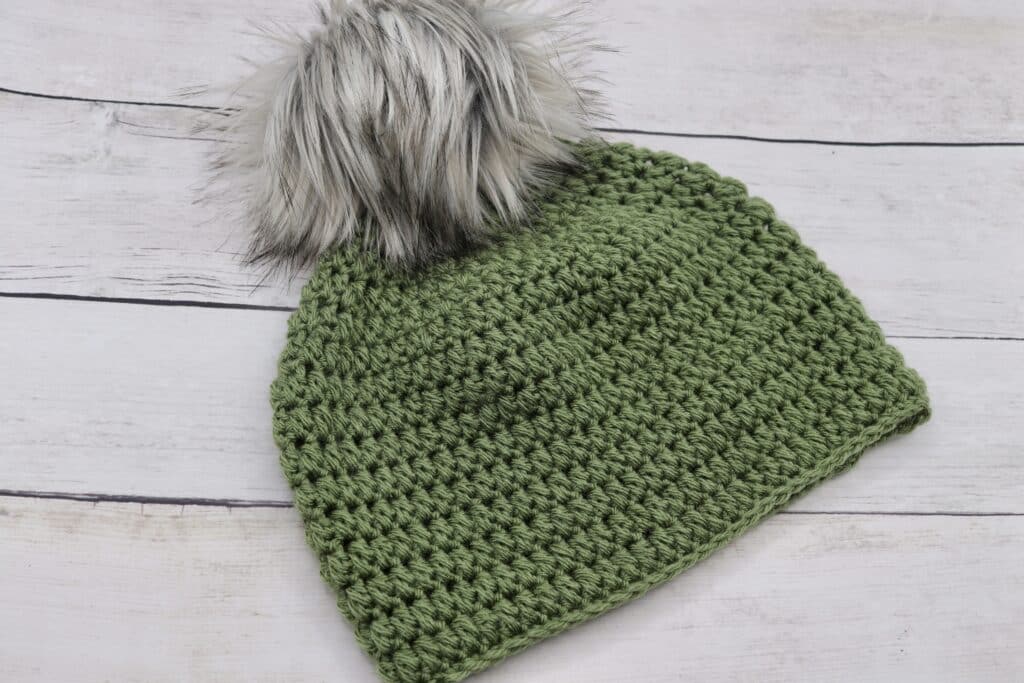
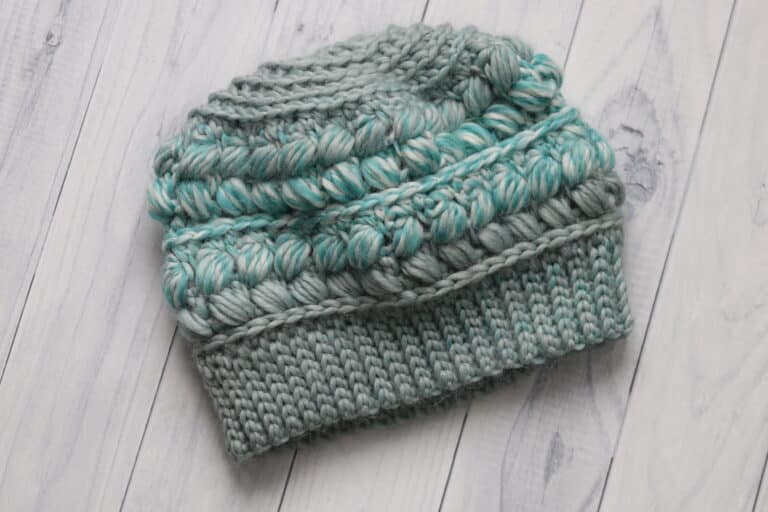
The Glenwood Beanie crochet pattern is the final beautiful crochet hat in the 2023 Wonderful Hats Crochet Along.
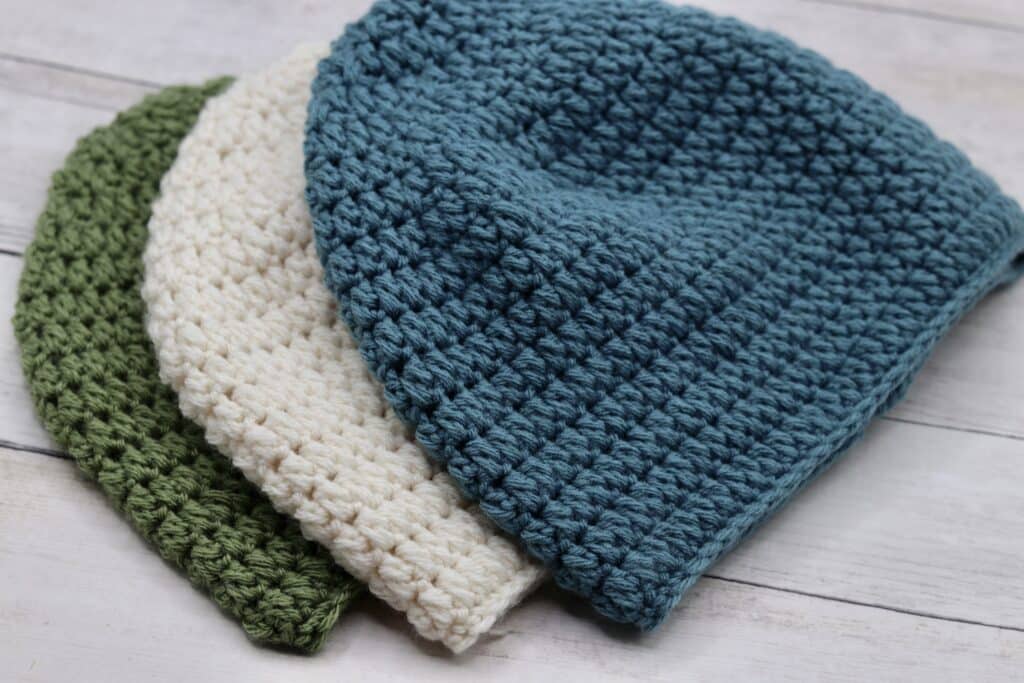
I really love this hat. It is so easy to work and can be made in a few hours. The thick cone stitches make this hat very cozy to wear. It is worked from the bottom up and, as always, looks great with a pompom or without. I look forward to seeing and hearing about your completion of it!
Welcome to week five of the 2023 Wonderful Hats Crochet Along! These past weeks have been a lot of fun! We have explored a lot of crochet stitch patterns and have created some beautiful hat and scarf/cowl combinations. I am so happy that you have joined me for this event and have enjoyed seeing all of your finished sets. Did you have a favourite? Let me know about it in the comments below!
PDF Copies:
The Glenwood Beanie crochet pattern will be written out in full below followed by a free video tutorial. The pattern is free to follow on my site and will always be free! If, however, you would like a printable copy, you may purchase one from my Etsy and Ravelry Shops linked below:
Click Here for the Glenwood Beanie on Ravelry
Click Here for the Glenwood Beanie on Etsy
Enjoy and happy crocheting!
Sarah
Glenwood Beanie Crochet Pattern:
Skill Level: Easy
Gauge: 17 sts x 16 rows of sc = 4 inches
Finished Size: 11 x 9.5 inches laid flat, 23 inch circumference.
Yarn: Impeccable by Loops & Threads ® (100% acrylic; 285 yds/260 m; 4.5oz/127.5 g; (4) Medium/worsted weight): 1 ball per beanie.
Hook: Size H/8 (5 mm) Hook. Adjust hook size if necessary to obtain correct gauge
Stitches and Abbreviations:
Blo – Back Loop Only
Ch – Chain
Cone St – Cone Stitch (yarn over and insert your hook into the next st, yarn over and draw up a loop, yarn over and insert your hook in the space under the same st, yarn over and draw up a loop, yarn over and draw through all five loops).
Hdc – Half Double Crochet
Hdc2tog – Half Double Crochet Two Stitches Together
Rpt – Repeat
Sc – Single Crochet
Sc2tog – Single Crochet Two Stitches Together
Sk – Skip
Sl St – Slip Stitch
Yo – Yarn Over
Pattern Notes:
- Pattern is written in American English terms.
- Hat is worked in rounds.
- Ch 1 at beginning of round does not count as stitch.
- Weave in ends as needed.
- NOTE: This hat does not have much stretch due to the nature of the cone stitches and single crochet brim. When working the foundation chain, make sure that it reaches the circumference desired. If not, you will need to change the number of stitches in the foundation chain.
- To change the size of your beanie, you may use any number of stitches and adjust the stitch counts when it come to the decrease in the hat top as necessary. I worked my foundation chain in a multiple of 9 stitches which allowed the decreases in the top of the hat to work out evenly
Free Crochet Pattern:
Ch 63, join with a sl st in the 1st st.
Rnd 1: Ch 1, sc in the 1st st and in each st around. Join with a sl st in the 1st st. (63 sts)
Rnd 2: Ch 1, sc in the 1st st and in each st around. Join with a sl st in the 1st st.
Rnd 3: Ch 1, cone st (See “Stitches and Abbreviations” above) in the 1st st and in each st around. Join with a sl st in the 1st st.
Rnd 4: Ch 1, sc in the 1st st and in each st around. Join with a sl st in the 1st st.
Rnds 5-20: Repeat rnds 3 and 4 eight more times.
Rnd 21: Ch 1, sc in the 1st st and in each of the next 6 sts, sc2tog, *sc in each of the next 7 sts, sc2tog; Rpt from * around, join with a sl st in the 1st st. (56 sts)
Rnd 22: Ch 1, cone st in the 1st st and in each st around. Join with a sl st in the 1st st. (56 sts)
Rnd 23: Ch 1, sc in the 1st st and in each of the next 5 sts, sc2tog, *sc in each of the next 6 sts, sc2tog; Rpt from * around, join with a sl st in the 1st st. (49 sts)
Rnd 24: Ch 1, cone st in the 1st st and in each st around. Join with a sl st in the 1st st.
Rnd 25: Ch 1, sc in the 1st st and in each of the next 4 sts, sc2tog, *sc in each of the next 5 sts, sc2tog; Rpt from * around, join with a sl st in the 1st st. (42 sts)
Rnd 26: Ch 1, cone st in the 1st st and in each st around. Join with a sl st in the 1st st.
Rnd 27: Ch 1, sc in the 1st st and in each of the next 3 sts, sc2tog, *sc in each of the next 4 sts, sc2tog; Rpt from * around, join with a sl st in the 1st st. (35 sts)
Rnd 28: Ch 1, cone st in the 1st st and in each st around. Join with a sl st in the 1st st.
Rnd 29: Ch 1, sc in the 1st st and in each of the next 2 sts, sc2tog, *sc in each of the next 3 sts, sc2tog; Rpt from * around, join with a sl st in the 1st st. (28 sts)
Rnd 30: Ch 1, cone st in the 1st st and in each st around. Join with a sl st in the 1st st.
Rnd 31: Ch 1, sc in the 1st st and in the next st, sc2tog, *sc in each of the next 2 sts, sc2tog; Rpt from * around, join with a sl st in the 1st st. (21 sts)
Rnd 32: Ch 1, cone st in the 1st st and in each st around. Join with a sl st in the 1st st.
Rnd 33: Ch 1, sc in the 1st st, sc2tog, *sc in the next st, sc2tog; Rpt from * around, join with a sl st in the 1st st. (14 sts)
Rnd 34: Ch 1, cone st in the 1st st and in each st around. Join with a sl st in the 1st st.
Rnd 35: Ch 1, hdc2tog in each st around. Join with a sl st in the 1st st. (7 sts)
Fasten off leaving an extra long tail. Using the long tail, sew the top of the hat closed by weaving the yarn in and out through the stitches at the top of the hat, then gently pull closed. Fasten off and weave in your ends. Attach Pompom to the top if desired.
Video Tutorial:
The photographs and pattern contained in this document are the property of Rich Textures Crochet.
This pattern is for personal use only.
No unauthorized reproduction, in whole or in part, or distribution of this pattern or content is permitted. ALL FINISHED PRODUCTS from this pattern can be used for local sales and sold online.
Thank you for supporting Rich Textures Crochet! To stay in touch, be sure to visit me on Facebook and Instagram. Thanks again! Happy Crocheting!



Row 21 and beyond are reversed. Row 20 is single crochet st around. Row 21 should be cone st…….not another single crochet around .