This post contains affiliate links. This means that when you purchase through one of these links we will receive a small commission at no additional cost to you. Thank you for supporting Rich Texture Crochet!
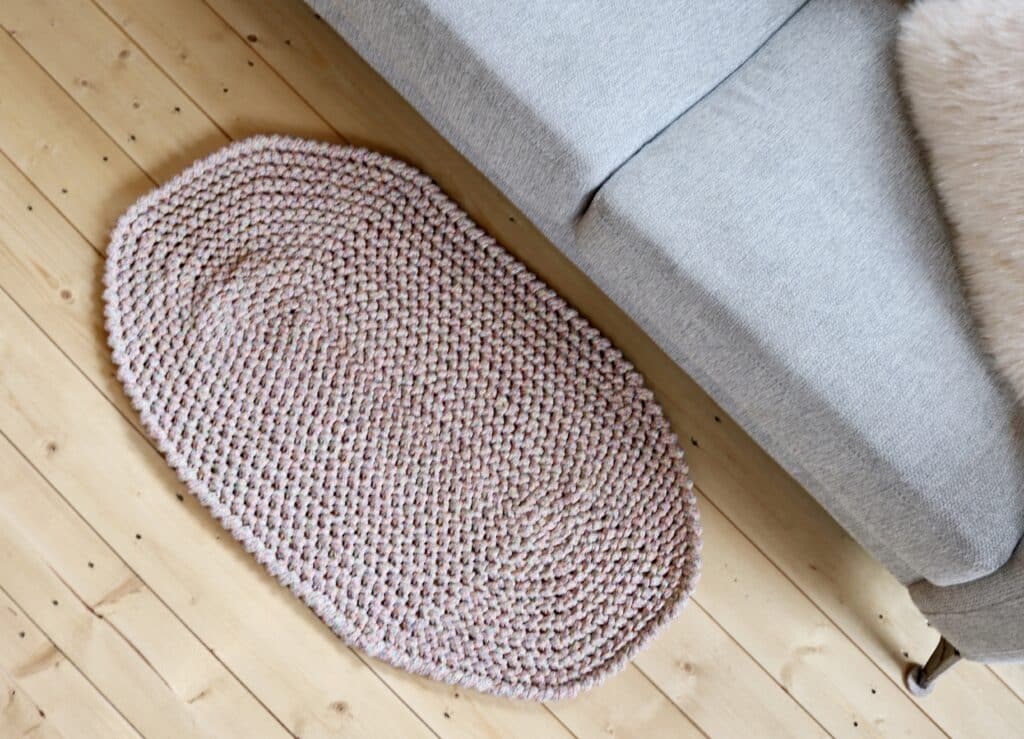
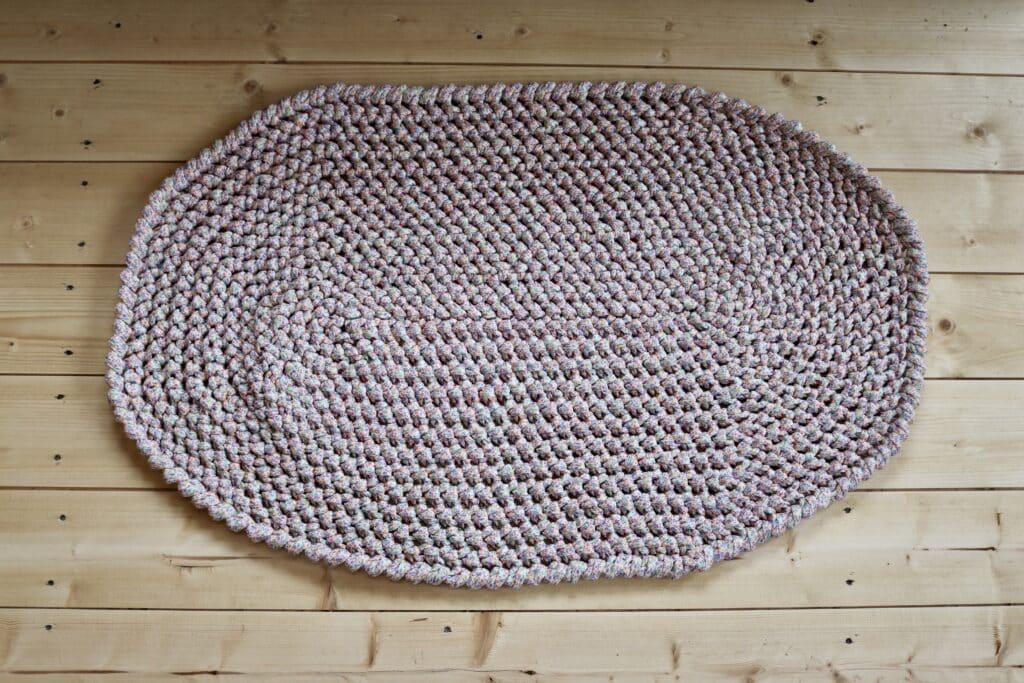
Whip up this easy, oval shaped, Cottage Rug Crochet Pattern with a retro vibe for your home or cottage!
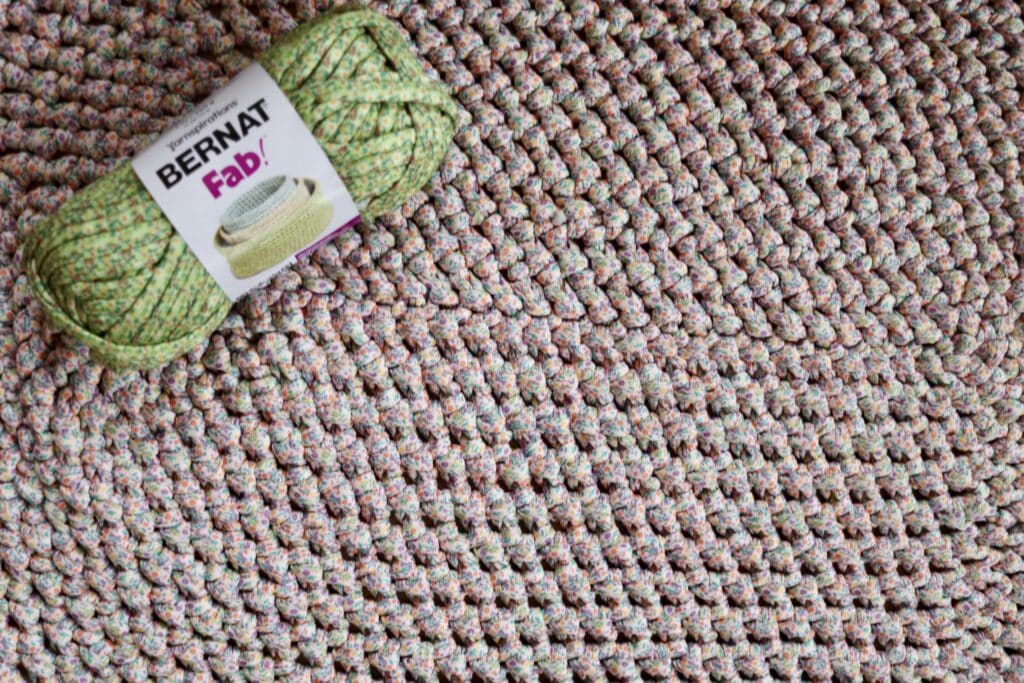
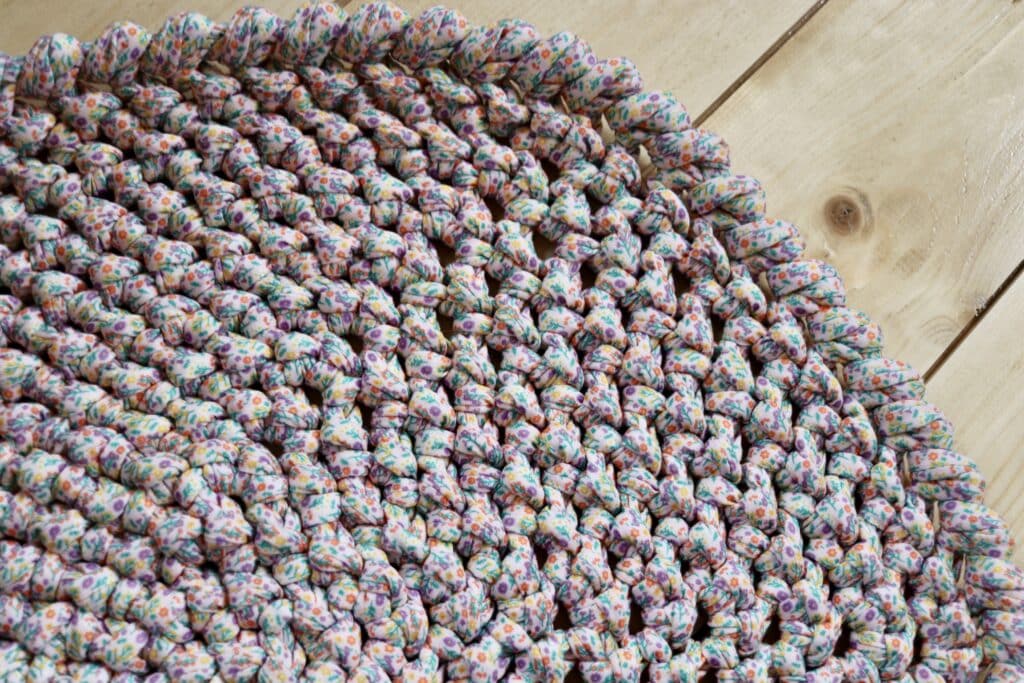
Not too long ago Yarnspirations sent me some of their new yarn lines to give a try! Amongst it was the new Bernat© Fab!™, a 100% polyester tube yarn. The “yarn” is lined with a fibre fill that makes it extra plush. One of my favourite aspects of the yarn is the tiny flowers and vines that are printed on it.
After playing with the yarn a bit I landed on this easy, crochet oval rug crochet pattern that is perfect for the home or cottage.

I love crochet rugs. Once a non slip backing is added they can add a lot of charm to a room. This Cottage Rug crochet pattern is worked from the centre out which makes it easy to adjust the size if desired. My finished rug measured approximately 22 inches wide by 37 inches long which is a great size for a bedside or entryway.
How to crochet a rug:
For my Cottage Rug Crochet Pattern, I begin by working a foundation chain for the centre. The length of your chain will determine the length of the finished mat, and to some extent the width of your rug. I then chose a simple stitch, in this case a herringbone stitch, and worked in rounds around the foundation chain. At the ends of the rug I used stitch markers to mark where the increase arches would be worked which allowed me to work in continuous rounds and not have a seam or join running along the side.
The result is a wonderful retro looking mat!
What kind of yarn do you need to crochet a rug?
When looking at a yarn for a rug you will want to choose something that is robust and going to hold up with potentially a lot of foot traffic. This is why I felt the polyester Bernat© Fab!™ would be perfect! It is thick which means that it works up quickly and features delicate flowers printed onto it. It’s so cute!
Each ball contains approximately 37 yards and I used 9 balls of yarn for my rug. I paired the yarn with a large, 15 mm crochet hook. If you don’t have one in your crochet hook stash, they do also have them available on the Yarnspirations website. Before picking up this yarn, it was one size that I neglected to have in my hook collection!
PDF Copies are available.:
This crochet pattern will be written out in full below followed by a free video tutorial. The pattern is free to follow on my site and will always be free! If, however, you would like a printable copy, you may purchase one from my Etsy and Ravelry Shops linked below:
CLICK HERE TO PURCHASE THE COTTAGE RUG CROCHET PATTERN ON ETSY
CLICK HERE TO PURCHASE THE COTTAGE RUG CROCHET PATTERN ON RAVELRY
Thank you so much for stopping by! Please don’t forget to sign up for my email newsletter so that you never miss a new free crochet pattern.
Happy Crocheting!
Sarah
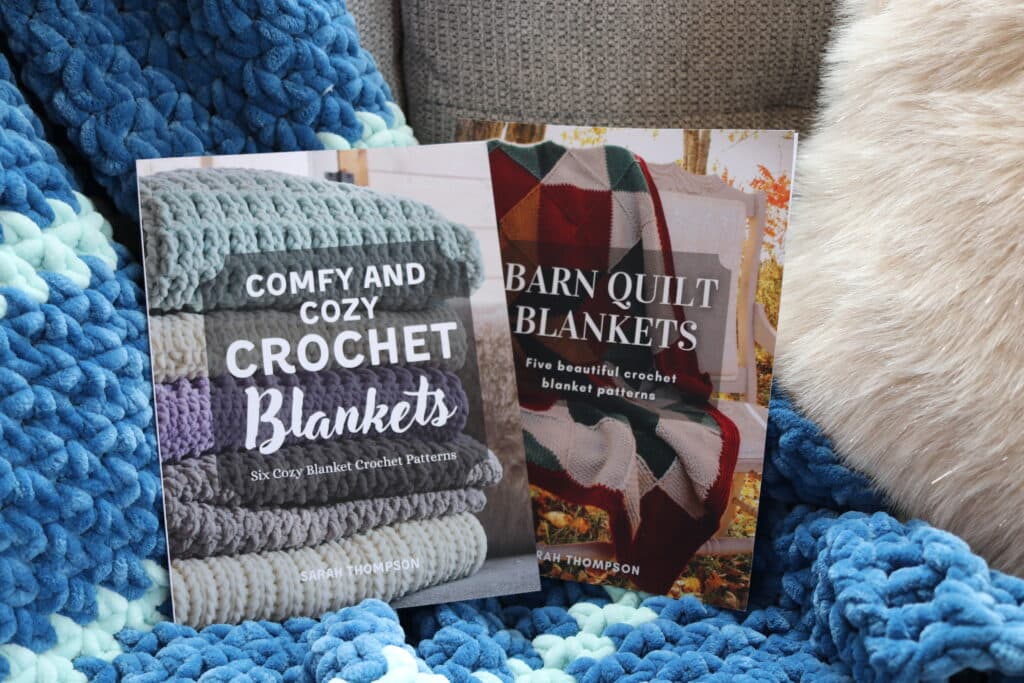
Check out my new books! I have three crochet books now available on Amazon in ebook and paperback format. These books include two books of blanket crochet patterns and one of my favourite crochet stitches. You can see them all by clicking HERE. Enjoy!
Cottage Rug Crochet Pattern:
Skill Level: Easy
Gauge: 6 sts x 5 rnds of hsc = 4 inches
Finished Size: 22 x 37 inches
Yarn: Bernat© Fab!™ (100% Polyester; 7oz/200g; 37yds/33m; Size 7/Jumbo Weight). You will need approximately 333 yards to make the rug or nine balls. Colour Shown: Garden Party.
Hook: Size P/Q (15 mm) hook.
Notions: Yarn Needle, 4 stitch markers (I used 3 stitch markers the same colour, and 1 a different colour. The odd coloured stitch marker was used to mark the 1st st in the round.)
Stitches and Abbreviations:
Ch – Chain
Hsc – Herringbone Single Crochet (Yarn over, insert your hook into the next stitch, yarn over and draw up a loop and draw through the 1st loop on your hook, yarn over and draw through the remaining two loops on your hook. Stitch made.)
Rpt – Repeat
Rsc – Reverse single crochet
Sk – Skip
Sl st – Slip stitch
Yo – Yarn over
Pattern Notes:
- Pattern is written in American English terms.
- Pattern is worked in rounds.
- Pattern is worked from the centre out.
- Ch 1 at beginning of round does not count as stitch.
- Weave in ends as needed.
- To change the size of your rug you may change the length of the foundation chain. You may also choose to work more or less rounds.
Free Crochet Pattern:
Ch 26
Rnd 1: 3 hsc in the 2nd ch from your hook, hsc in each of the next 23 sts, 3 hsc in the final st, turn your work and proceed along the opposite side of your foundation ch, hsc in each of the next 23 sts. Do not join but continue working continuous rounds using stitch markers to mark the stitches as indicated in the next round. (32 sts)
Rnd 2: 2 hsc in each of the next 3 sts (mark the 1st and the last st), hsc in each of the next 23 sts, 2 hsc in each of the next 3 sts (mark the 1st and the last st), hsc in each of the next 23 sts. Do not join but move your stitch markers as your work progresses. (38 sts)
Rnd 3: [2 hsc in the next st, 1 hsc in the next st] 3 times, hsc in each of the next 23 sts, [2 hsc in the next st, 1 hsc in the next st] 3 times, hsc in each of the next 23 sts. Do not join but move your stitch markers as your work progresses. (44 sts)
Rnd 4: [2 hsc in the next st, 1 hsc in each of the next 2 sts] 3 times, hsc in each of the next 23 sts, [2 hsc in the next st, 1 hsc in each of the next 2 sts] 3 times, hsc in each of the next 23 sts. Do not join but move your stitch markers as your work progresses. (50 sts)
Rnd 5: [2 hsc in the next st, 1 hsc in each of the next 3 sts] 3 times, hsc in each of the next 23 sts, [2 hsc in the next st, 1 hsc in each of the next 3 sts] 3 times, hsc in each of the next 23 sts. Do not join but move your stitch markers as your work progresses. (56 sts)
Rnd 6: [2 hsc in the next st, 1 hsc in each of the next 4 sts] 3 times, hsc in each of the next 23 sts, [2 hsc in the next st, 1 hsc in each of the next 4 sts] 3 times, hsc in each of the next 23 sts. Do not join but move your stitch markers as your work progresses. (62 sts)
Rnd 7: [2 hsc in the next st, 1 hsc in each of the next 5 sts] 3 times, hsc in each of the next 23 sts, [2 hsc in the next st, 1 hsc in each of the next 5 sts] 3 times, hsc in each of the next 23 sts. Do not join but move your stitch markers as your work progresses. (68 sts)
Rnd 8: [2 hsc in the next st, 1 hsc in each of the next 6 sts] 3 times, hsc in each of the next 23 sts, [2 hsc in the next st, 1 hsc in each of the next 6 sts] 3 times, hsc in each of the next 23 sts. Do not join but move your stitch markers as your work progresses. (74 sts)
Rnd 9: [2 hsc in the next st, 1 hsc in each of the next 7 sts] 3 times, hsc in each of the next 23 sts, [2 hsc in the next st, 1 hsc in each of the next 7 sts] 3 times, hsc in each of the next 23 sts. Do not join but move your stitch markers as your work progresses. (80 sts)
Rnd 10: [2 hsc in the next st, 1 hsc in each of the next 8 sts] 3 times, hsc in each of the next 23 sts, [2 hsc in the next st, 1 hsc in each of the next 8 sts] 3 times, hsc in each of the next 23 sts. Do not join but move your stitch markers as your work progresses. (86 sts)
Rnd 11: [2 hsc in the next st, 1 hsc in each of the next 9 sts] 3 times, hsc in each of the next 23 sts, [2 hsc in the next st, 1 hsc in each of the next 9 sts] 3 times, hsc in each of the next 23 sts. Do not join but move your stitch markers as your work progresses. (92 sts)
Rnd 12: [2 hsc in the next st, 1 hsc in each of the next 10 sts] 3 times, hsc in each of the next 23 sts, [2 hsc in the next st, 1 hsc in each of the next 10 sts] 3 times, hsc in each of the next 23 sts. Join with a sl st in the top of the 1st st. Do not turn. (98 sts)
You may now remove your stitch markers.
Rnd 13: Ch 1, rsc in the 1st st and in each st around. Join with a sl st in the top of the 1st st.
Fasten off, weave in your ends.