
This post contains affiliate links. This means that when you purchase through one of these links we will receive a small commission at no additional cost to you. Thank you for supporting Rich Texture Crochet!
Welcome to week three of the Spring Blossom Throw Crochet Along! This week we will learn how to crochet the Tulip Crochet Afghan Square.
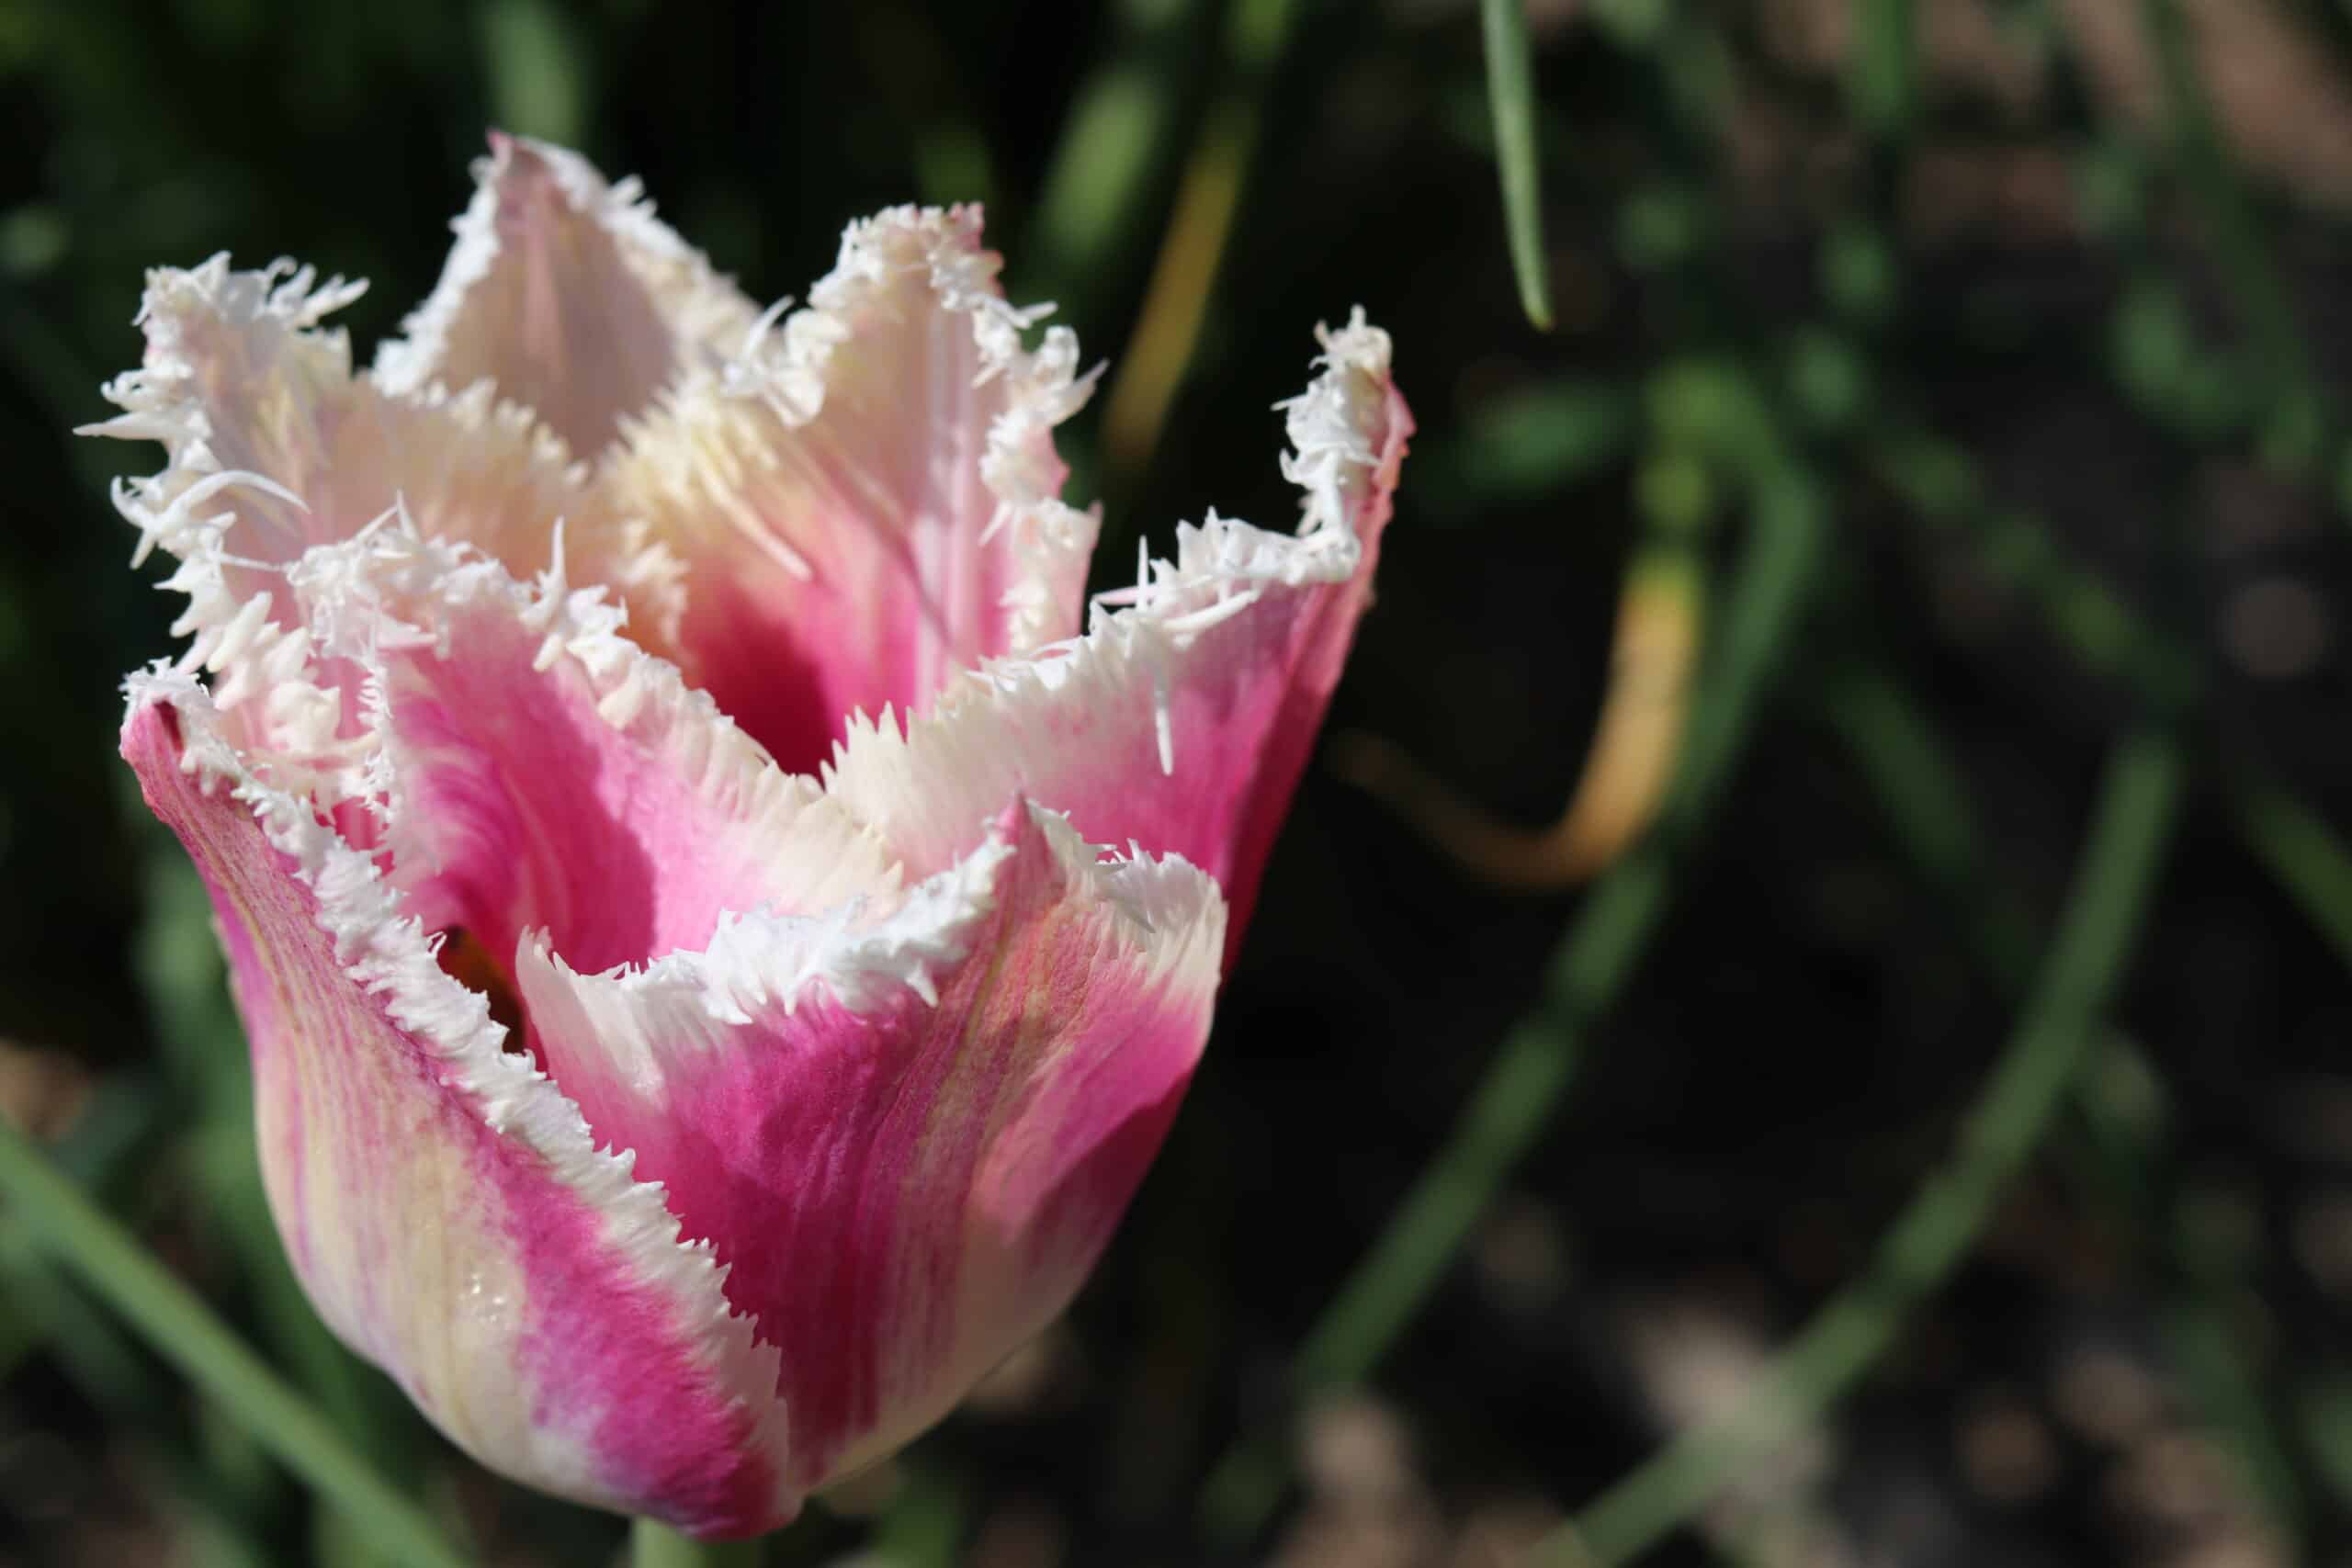
This year was the first year for tulips in my front garden! Over the years I have enjoyed the early tulip blossoms in my neighbours gardens but until last fall had yet to plant any in my own.
I was so happy when the tulips finally made their appearance!
This post contains affiliate links. This means that when you make a purchase through one of these links, I will earn a small commission at no additional cost to you. Thank you so much for supporting Rich Textures Crochet!
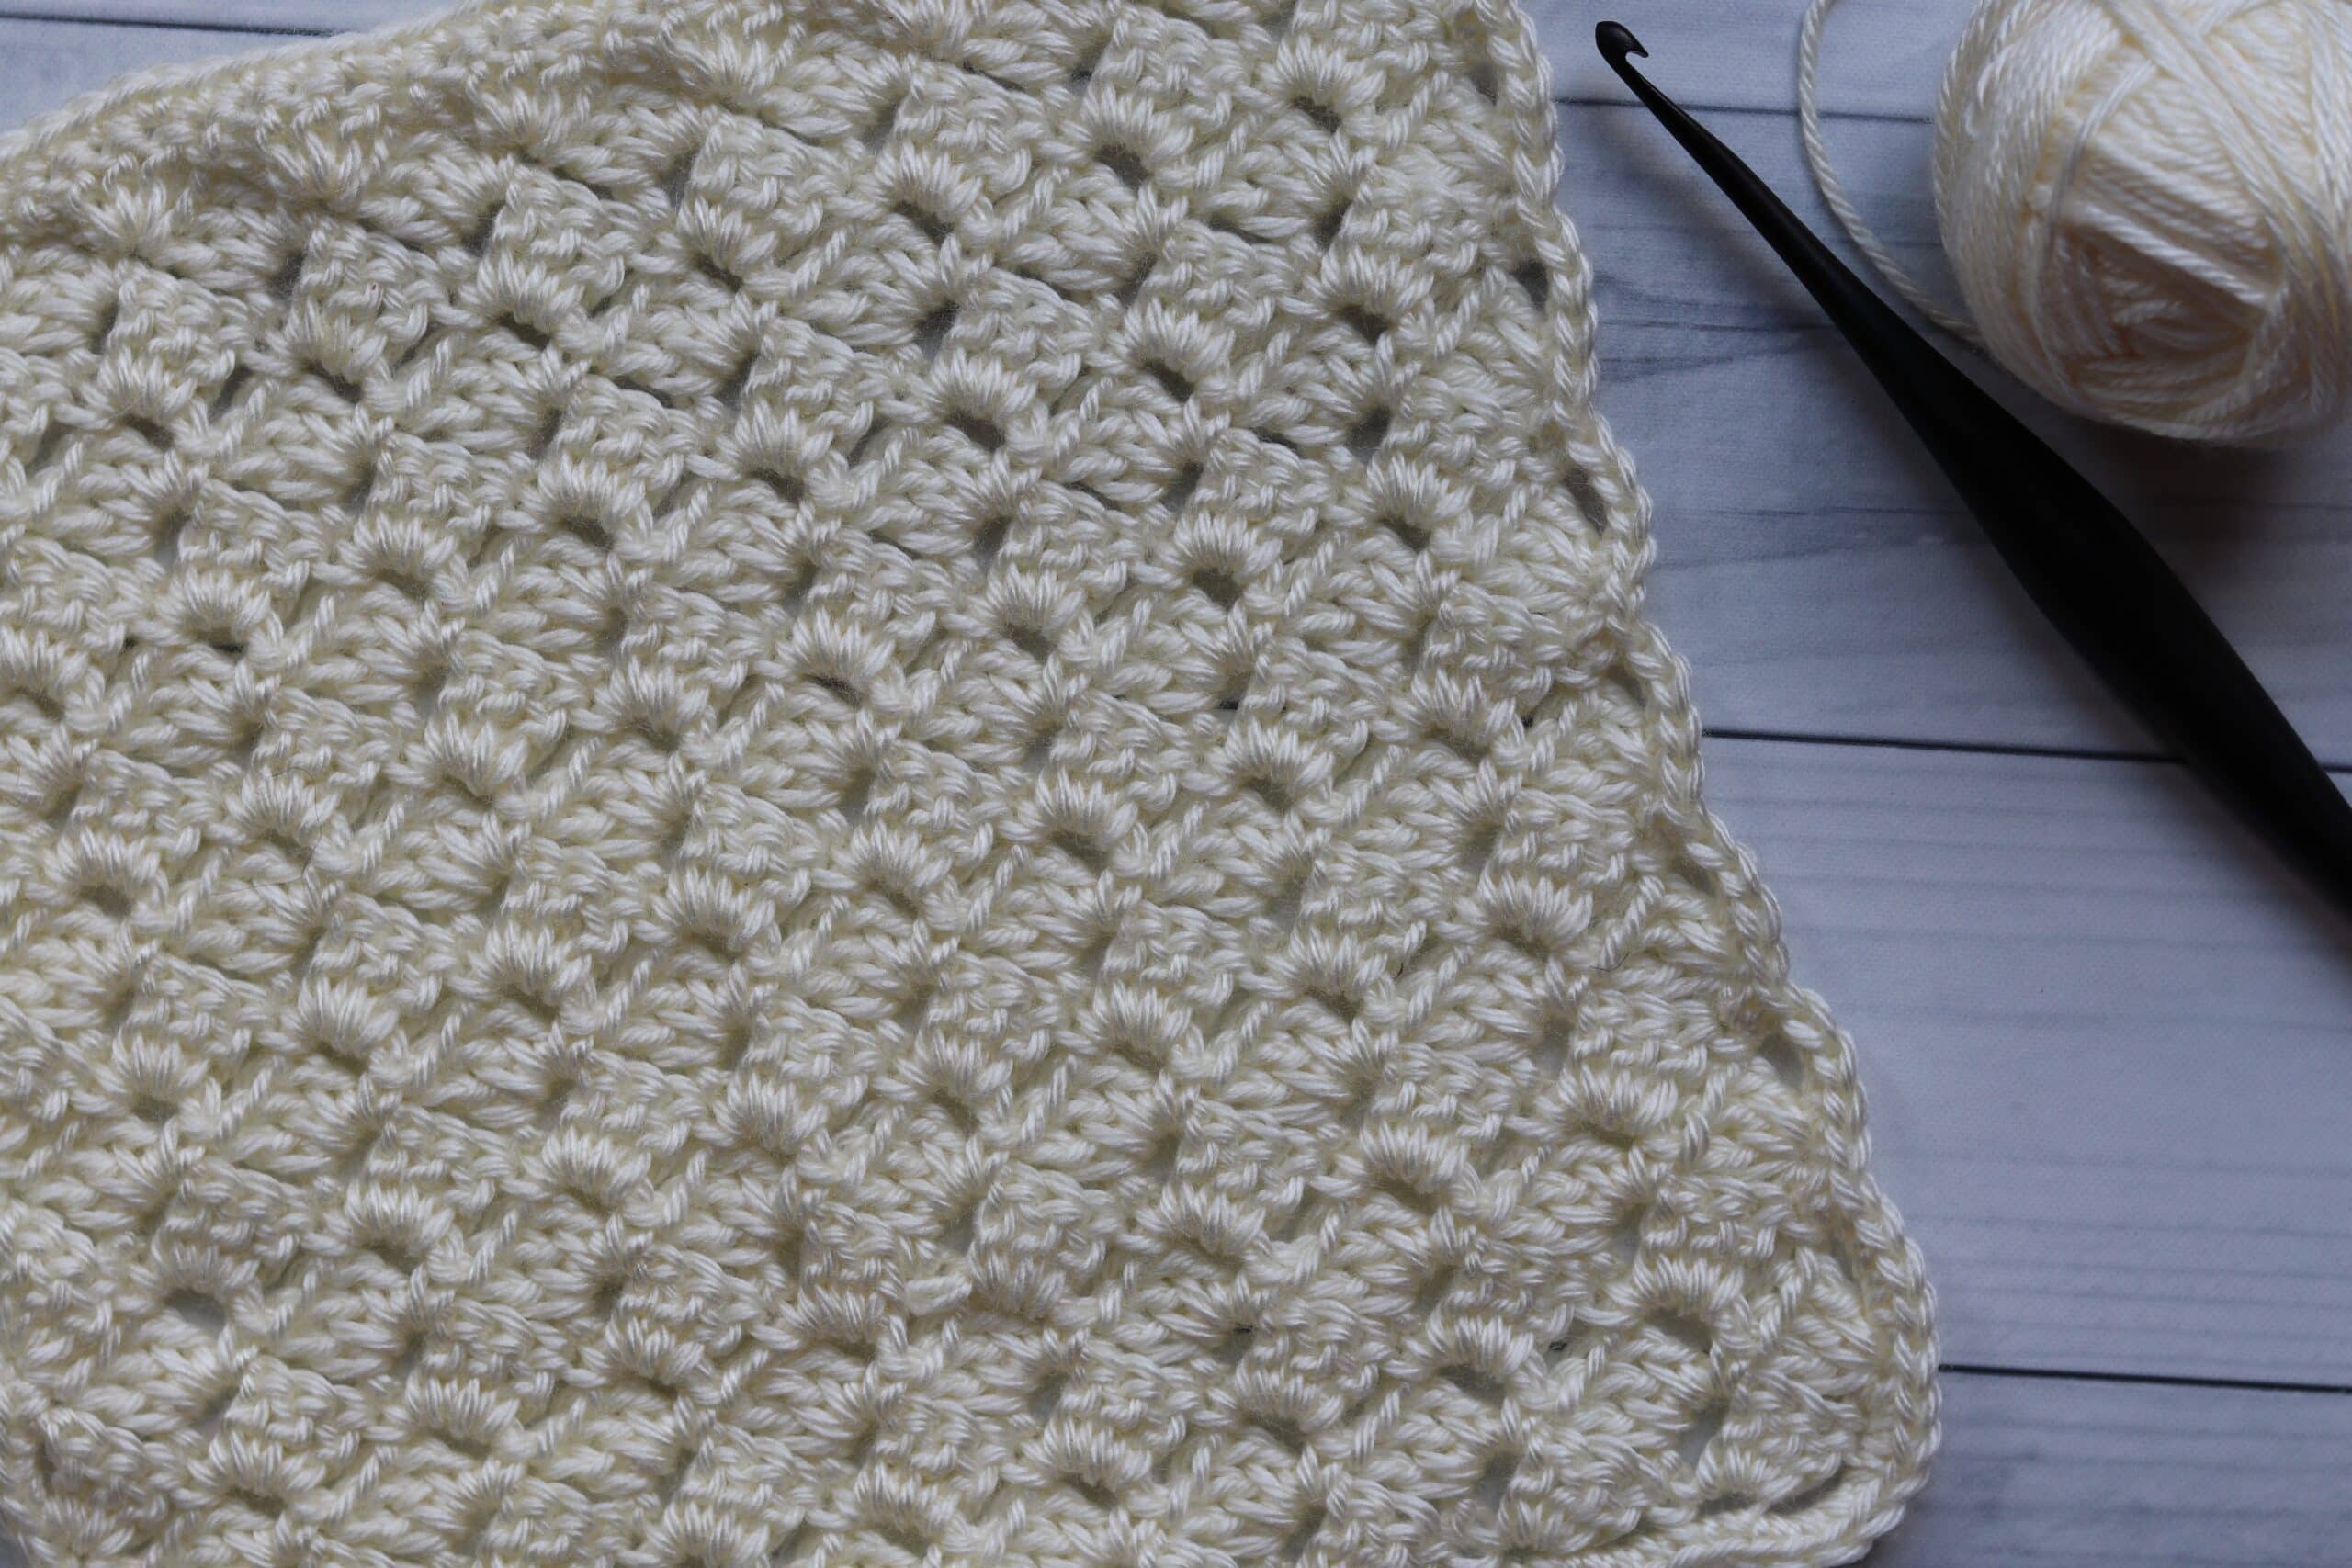
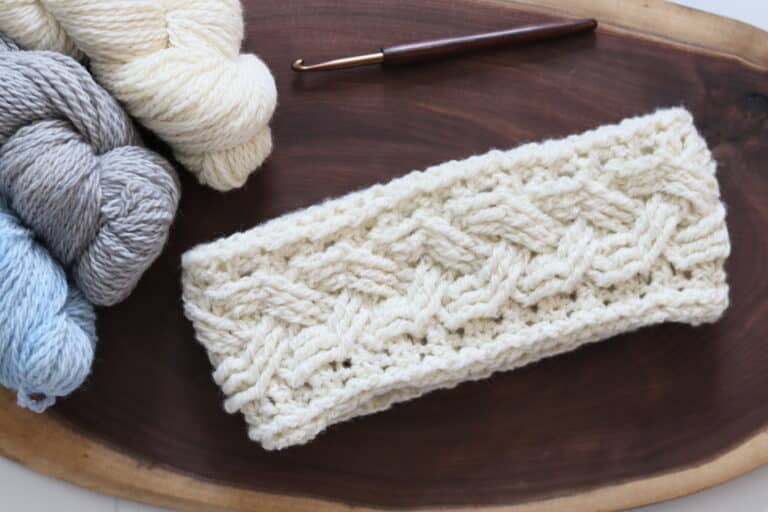
The afghan square we will be crocheting this week features a stitch called the Tulip stitch! The stitch is similar in appearance to that of a C2C however the tulip stitch is worked in rows. You can find a free video tutorial about this stitch here: How to Crochet the Tulip Stitch and a video tutorial for this afghan square can be found at the end of this post.
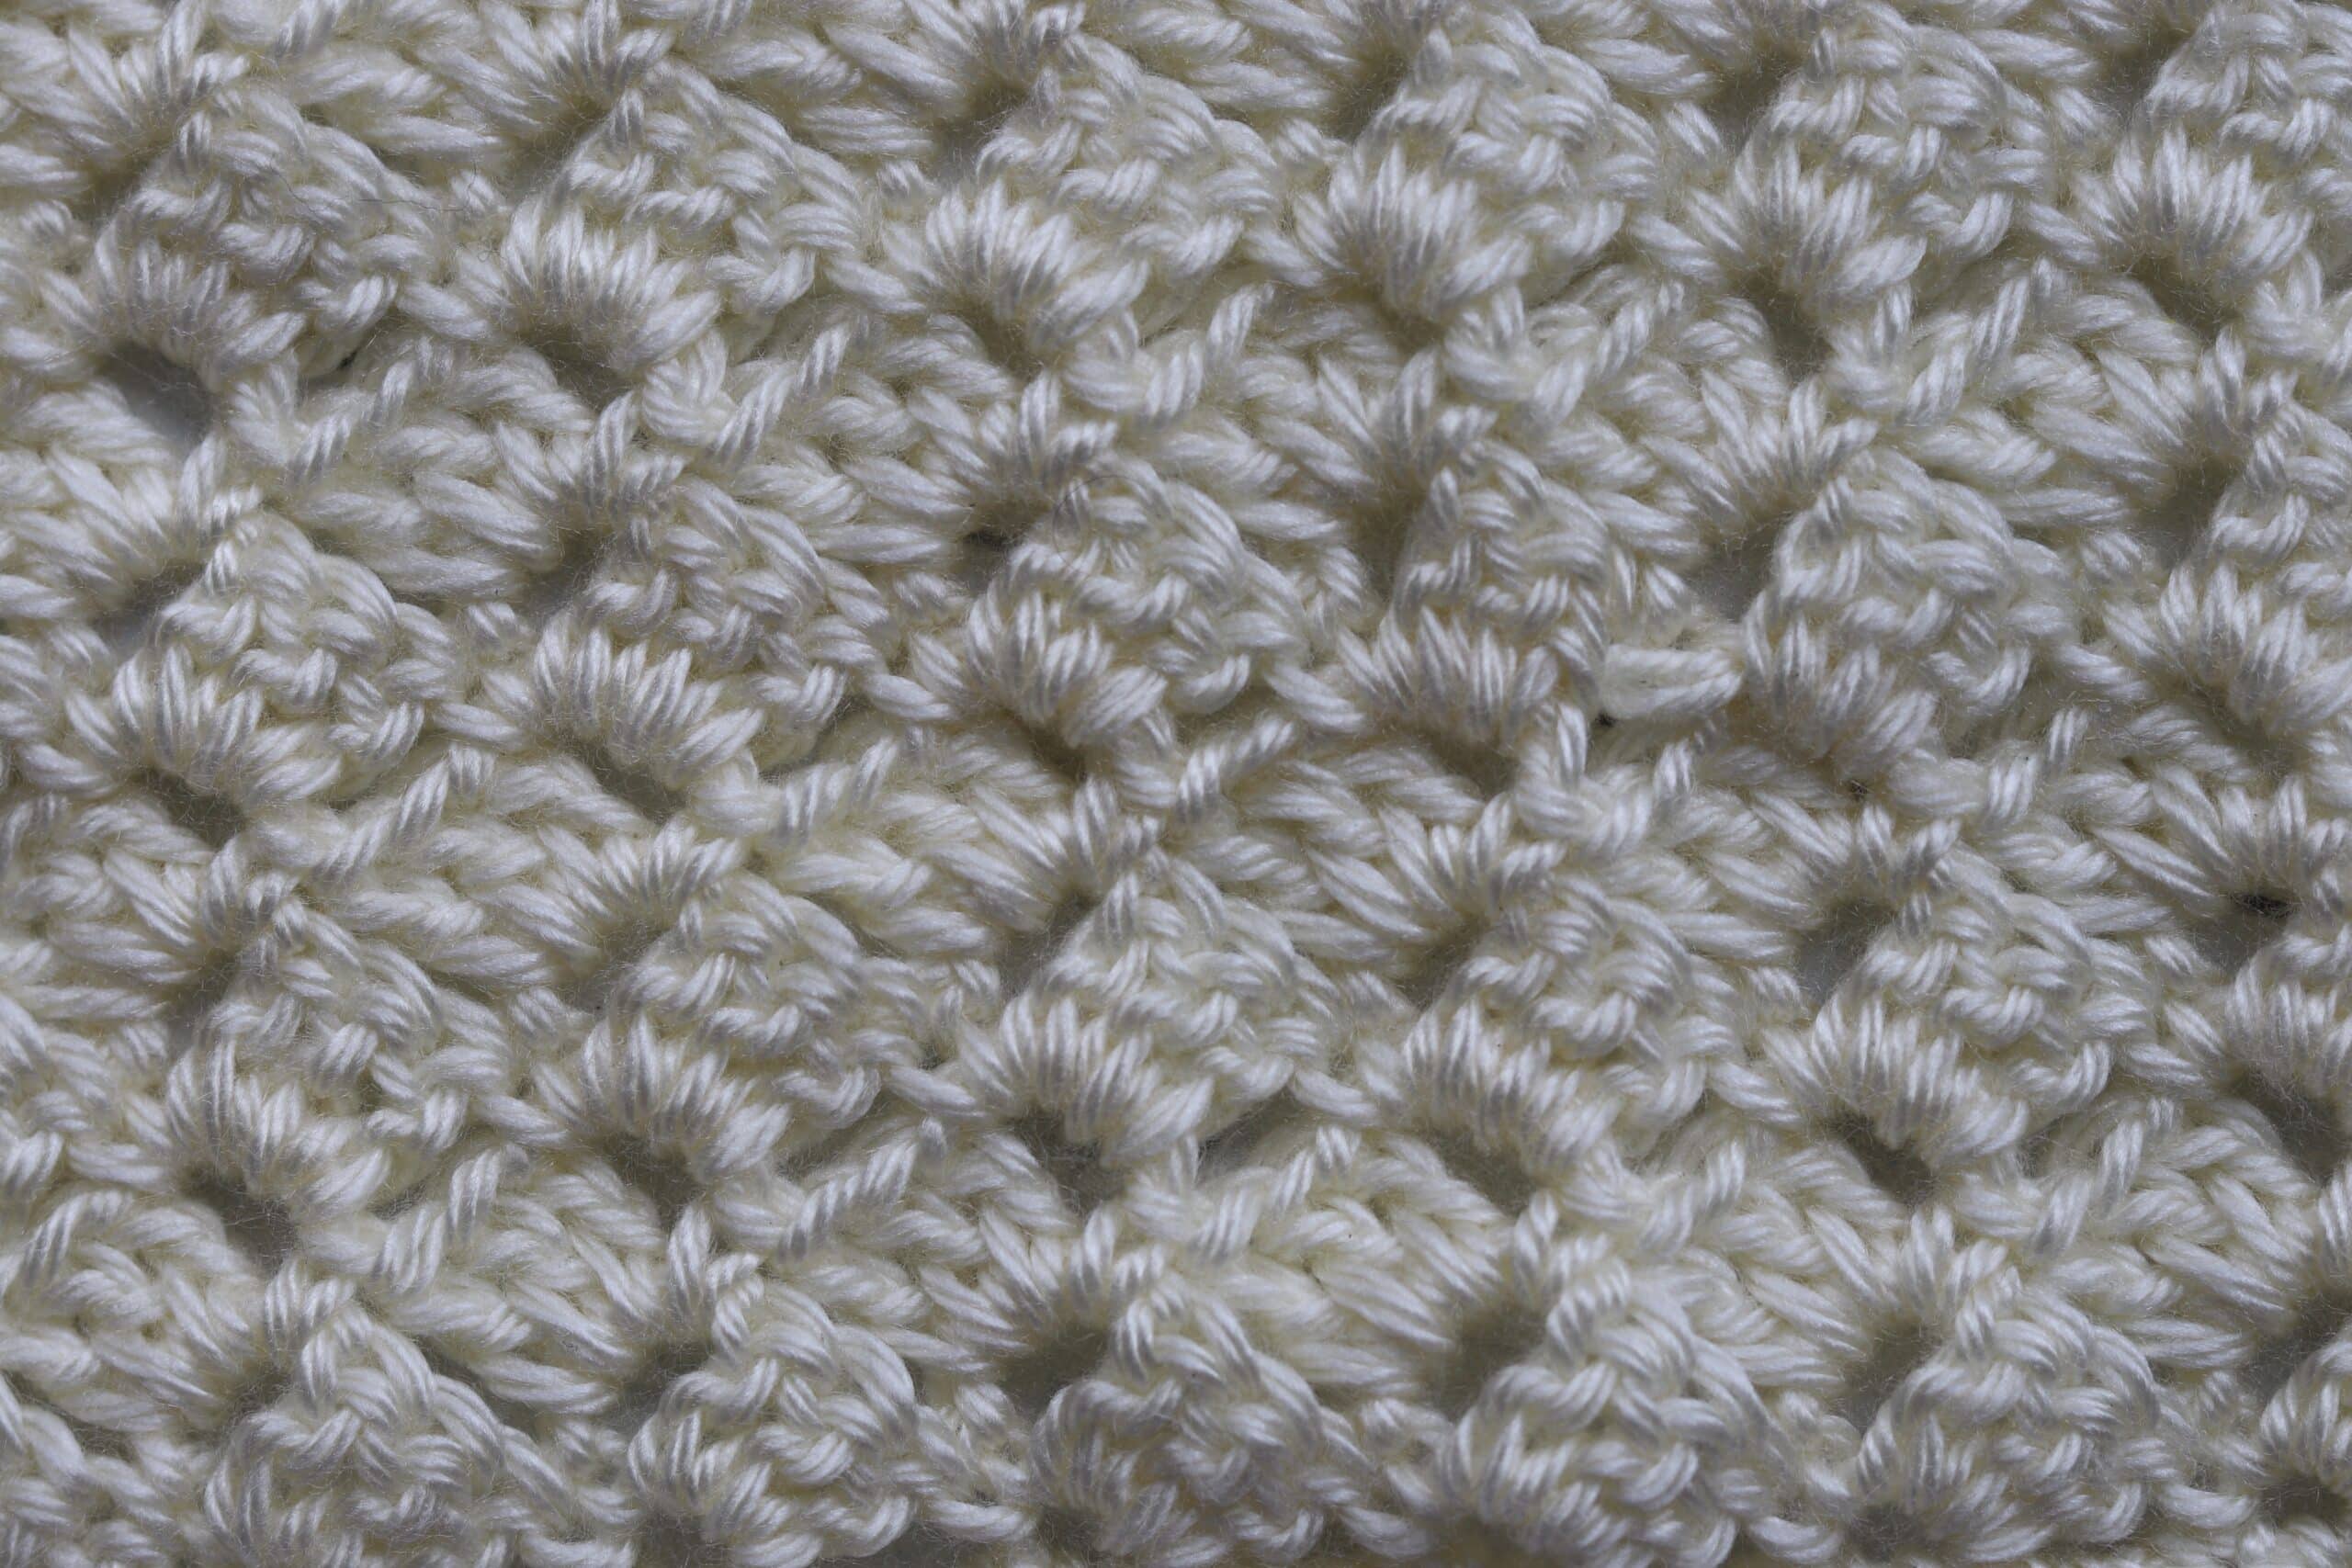
The Tulip Stitch
The tulip stitch is made up of double crochet stitch is comprised of double crochet and single crochet stitches. It is a one row repeat that works up fairly quickly. The square will be the same on both sides.
Spring Blossom Throw Crochet Along:
If this is your first time hearing about the Crochet Along that this crochet afghan square is a part of, welcome! This crochet along will be running until Wednesday, July 8th with a new portion of the Spring Blossom Throw pattern being revealed every Wednesday. You can find the full details about the crochet along, materials and how you can join here: Spring Blossom Throw Crochet Along.
Stay Connected!
Be sure to connect on social media! You can find me here:
Rich Textures Crochet Community Group on Facebook (The best place to share photos/ask questions!)
Rich Textures Crochet Facebook Page (Great to stay in the loop about upcoming posts and patterns)
Rich Textures Crochet on Instagram (Share your photos!)
Rich Textures Crochet on YouTube (Get notified about when the video tutorials are posted.)
These are the main platforms on which I will be sharing updates – of course you can also follow me on Pinterest, Twitter and TikTok! You can sign up for my e-newsletter by clicking on the link in the sidebar on the right ?
When sharing your work across social media, use the hashtag #springblossomcal so we can admire it!
The pattern will be written out in full followed by a video tutorial. A PDF of the full Spring Blossom Throw will be available following the Crochet Along on July 8th in my Etsy and Ravelry Shops:
Rich Textures Crochet on Etsy
Rich Textures Crochet on Ravelry
Let’s Crochet!
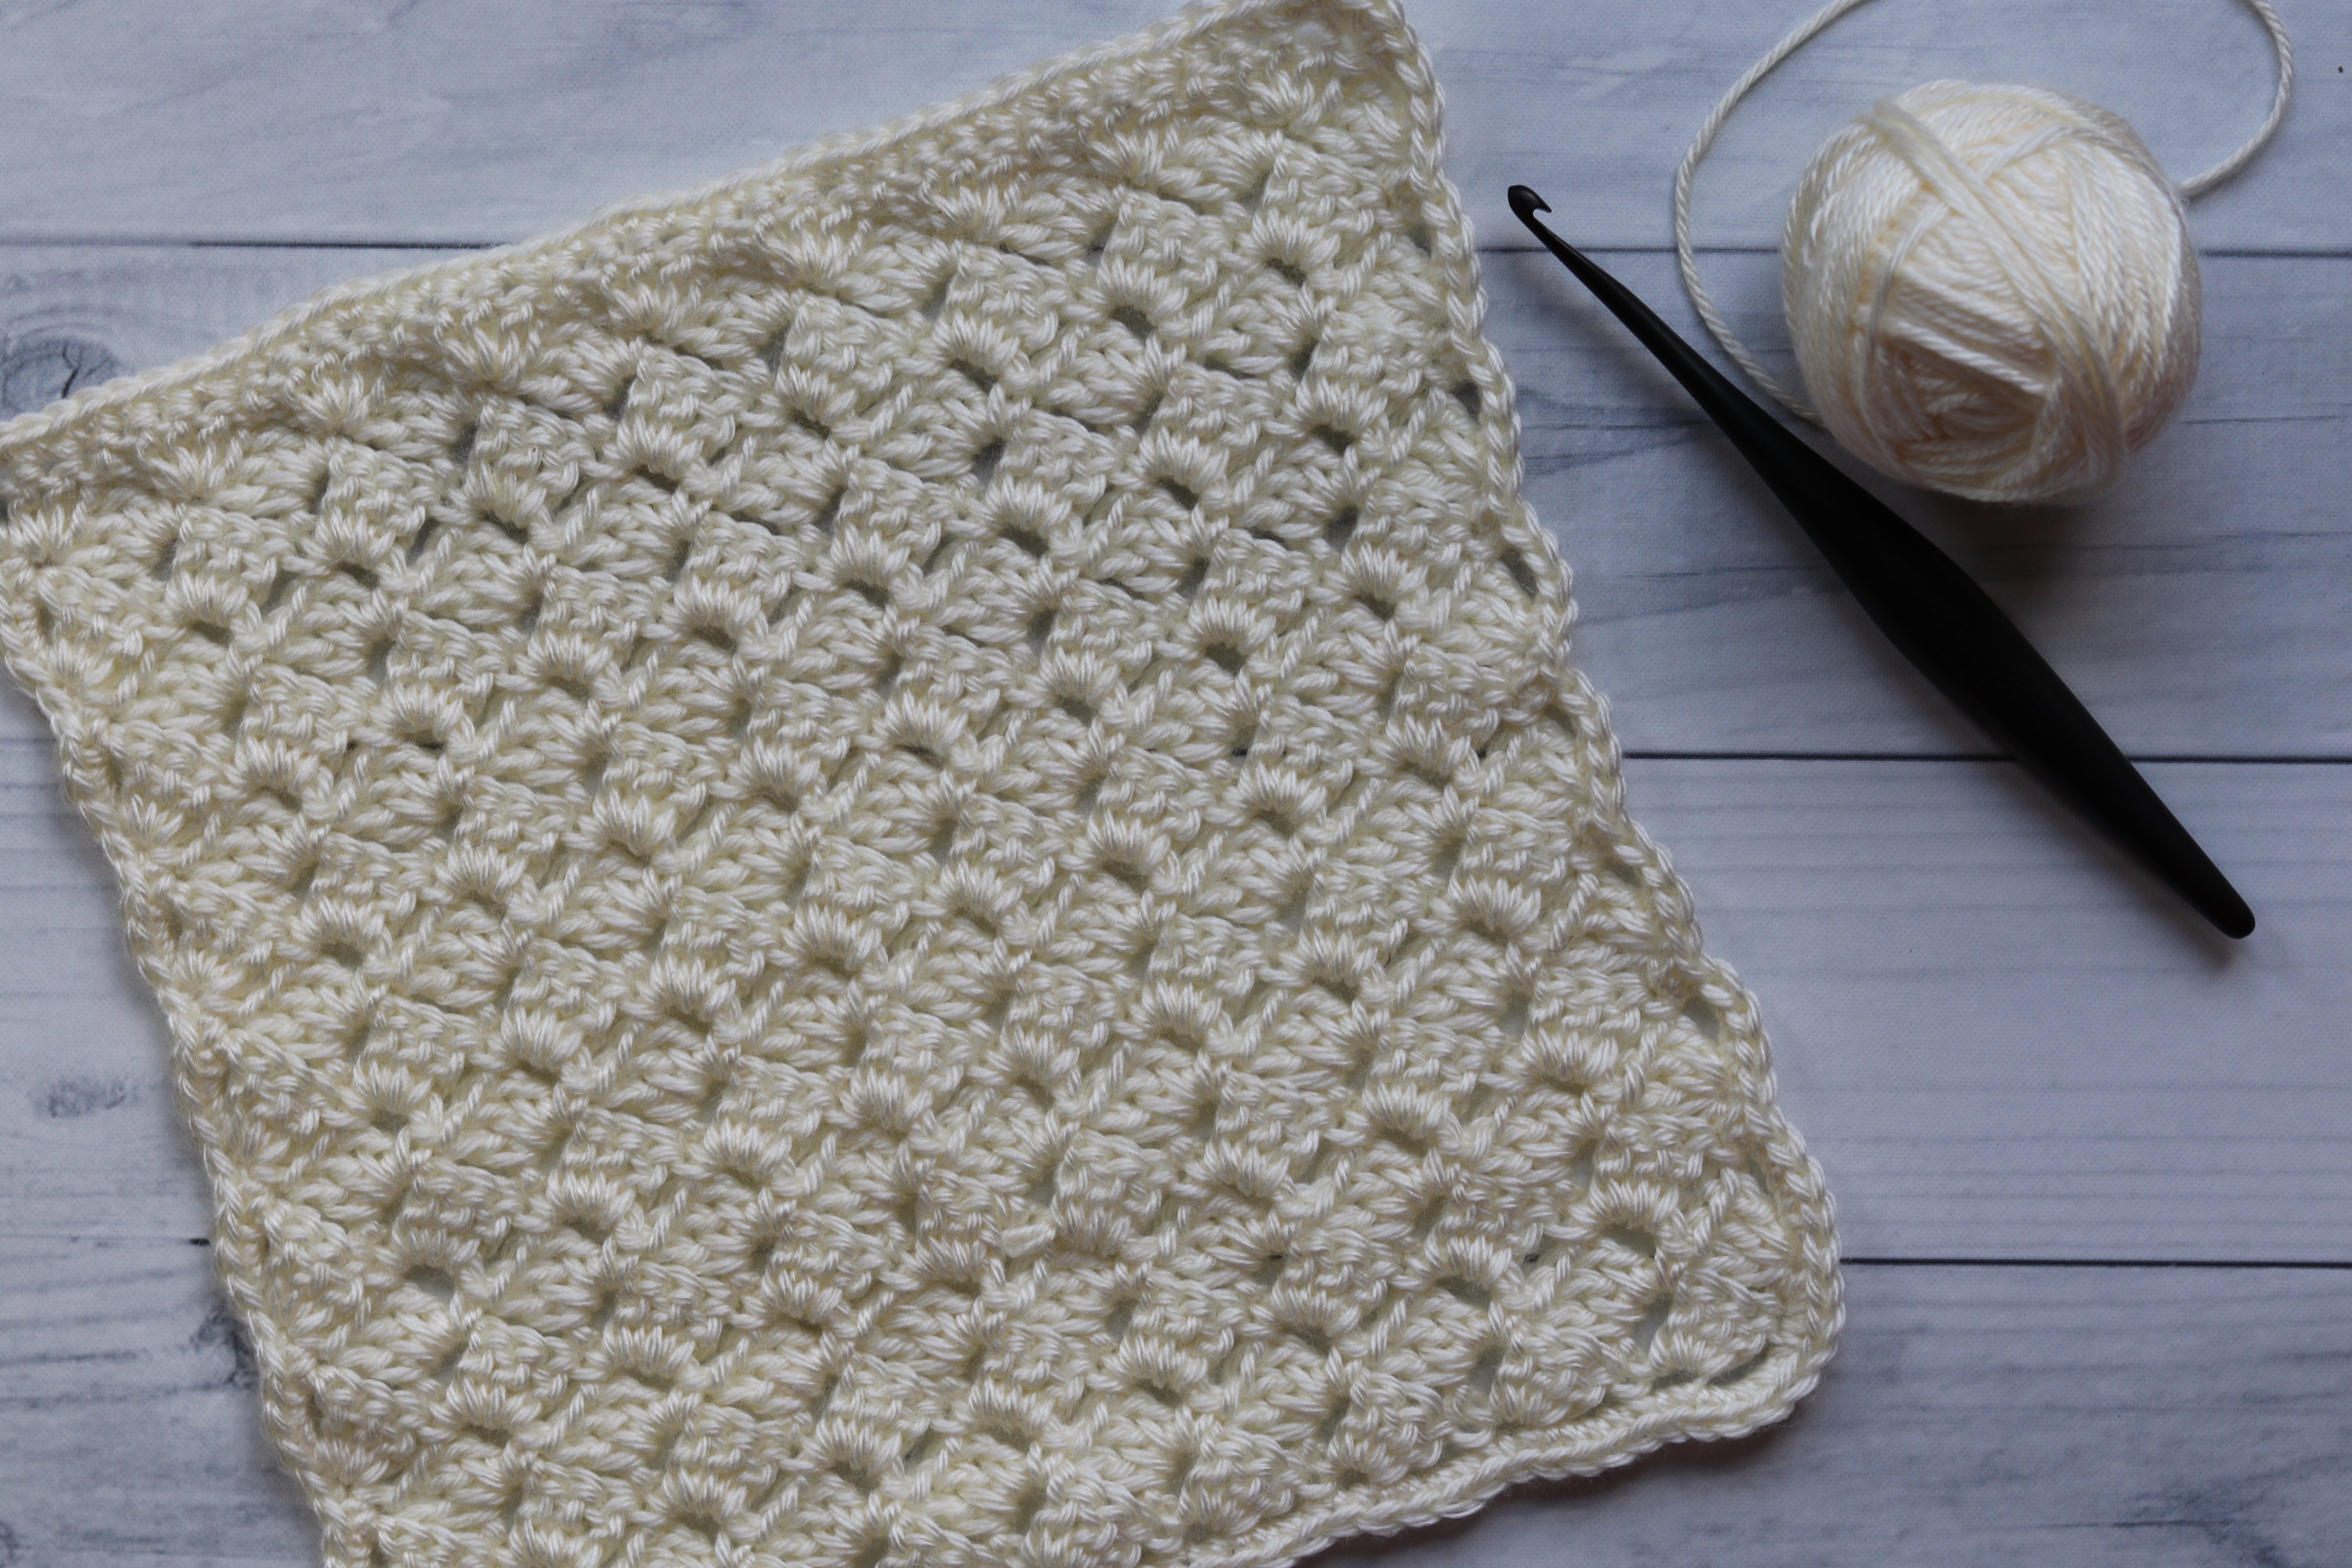
Tulip Crochet Afghan Square
Pattern Notes:
- This crochet afghan square will measure approximately 10 x 10 inches. To change the size of this square you will need a foundation chain with a multiple of 4 + 5 stitches.
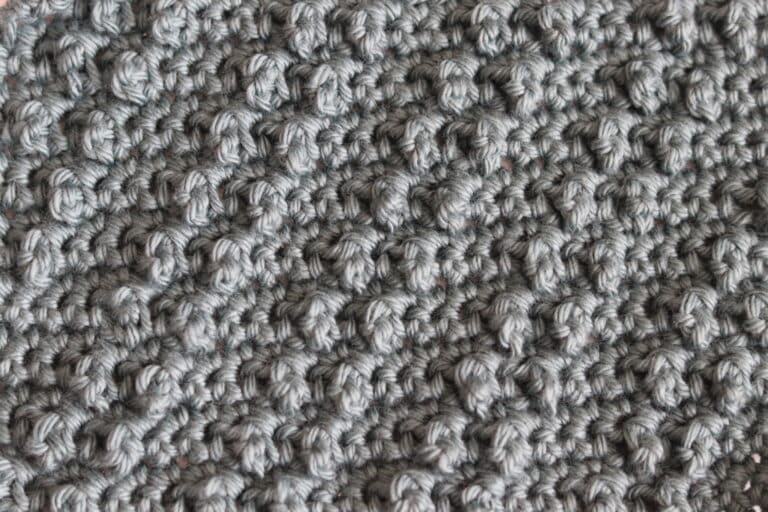
- You will make 3 squares in off white, 3 squares in grey heather.
- This pattern is worked in rows.
- Ch 1 at the beginning of a row does not count as a stitch
- Ch 3 at the beginning of a row counts as a double crochet stitch
Skill Level: Easy
Gauge: 18 Sts x 8 rows of pattern = 4 inches
Stitches and Abbreviations:
Ch – Chain
Dc – Double Crochet
Rpt – Repeat
Sc – Single Crochet
Sk – Skip
Sl St – Slip Stitch
Yo – Yarn Over
Free Crochet Pattern:
Ch 41
Row 1: 3 dc in the 5th ch from hook, sk the next 3 chs, sc in the next ch, * ch 3, 3 dc in the same ch as the last sc, sk the next 3 ch, sc in the next ch; rpt from * across. Turn.
Row 2: Ch 4, 3 dc in the 1st ch of the ch-4, sk [sc, 3 dc], sc in the next ch-3 sp, * ch 3, 3 dc in the came ch-sp as the last sc, sk [sc, 3 dc], sc in the next ch-3 sp; rpt from * across working the final sc in the ch-4 sp, turn.
Repeat row 2 until work from the beginning measures approximately 10 inches.
Next Row: Ch 3, 2 dc in the same st, * sc in the next ch-3 sp, 3 dc in the next sc; rpt from * across, sc in the final ch-4 sp.
Fasten off and weave in your ends.
Edging (worked in a round and is the same for each square!):
(NOTE: You may change the number of stitches that you have in your edging, just make sure that it is consistent with all squares. You will NOT necessarily work in each stitch, or for some of the squares you may need to work two stitches in a stitch.)
With right side facing, join yarn with a sl st in the top right corner.
Rnd 1: Ch 1, work 39 sc evenly across, 3 sc in the corner st, work 39 sc in across, 3 sc in the corner st, evenly work 39 sc across, 3 sc in the corner st, work 39 sc across, 3 sc in the final corner st, join with a sl st in the 1st st.
Fasten off, weave in ends. Block if desired.
Video Tutorial:
Remember to share your work using the hashtag #springblossomcal!


I think you meant Repeat Row 2 not Row 3???
Ah yes!!