
This post contains affiliate links. This means that when you purchase through one of these links we will receive a small commission at no additional cost to you. Thank you for supporting Rich Texture Crochet!
Hello and welcome to Rich Textures Crochet! Today we embark on week three of the Wedding Throw Crochet Along.
This week for the Wedding Throw we will be working the two outer most panels along with the middle one. If working on three panels this week sounds daunting, don’t worry! They are narrow in width and because the foundation stitch is a double crochet, it works up rather quickly.
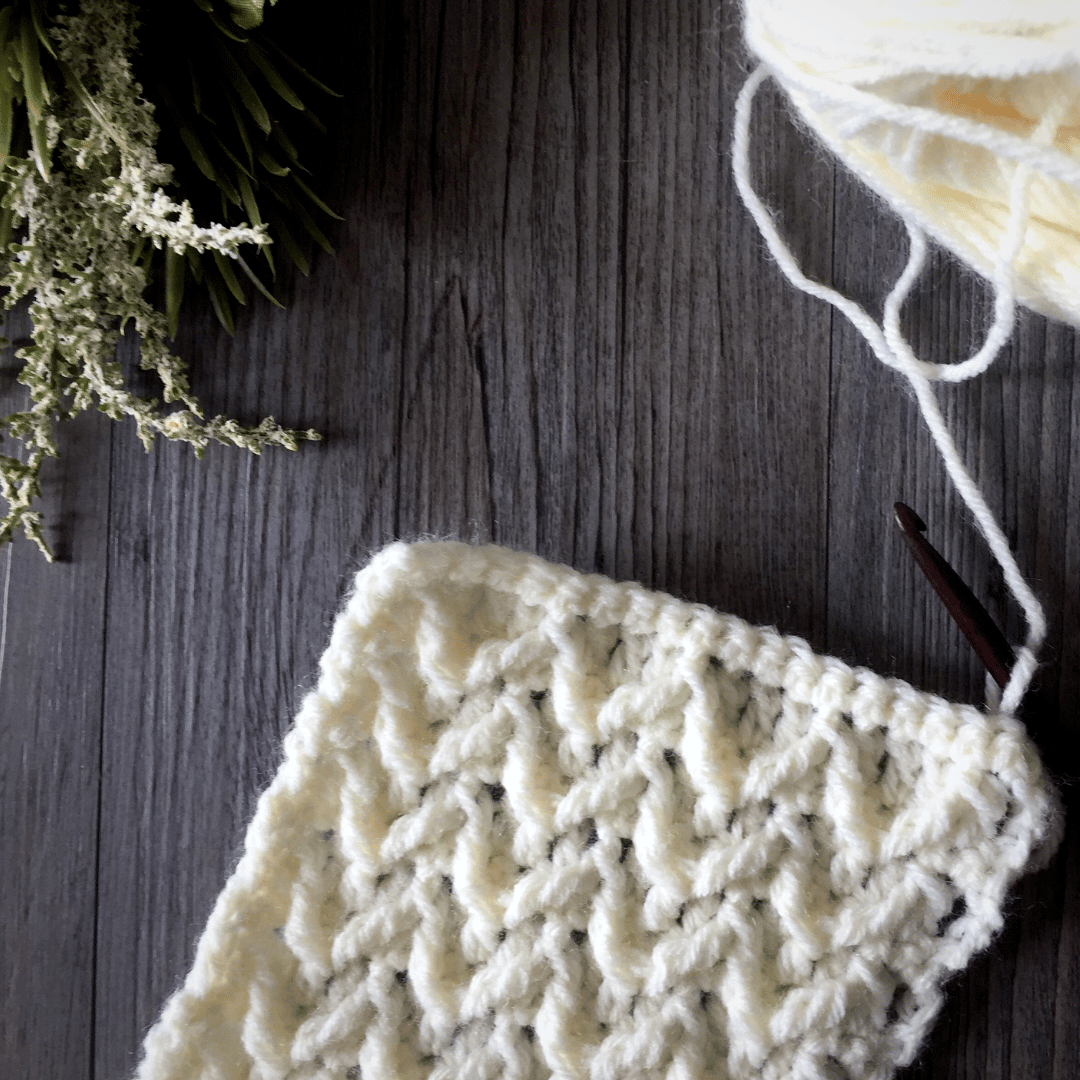
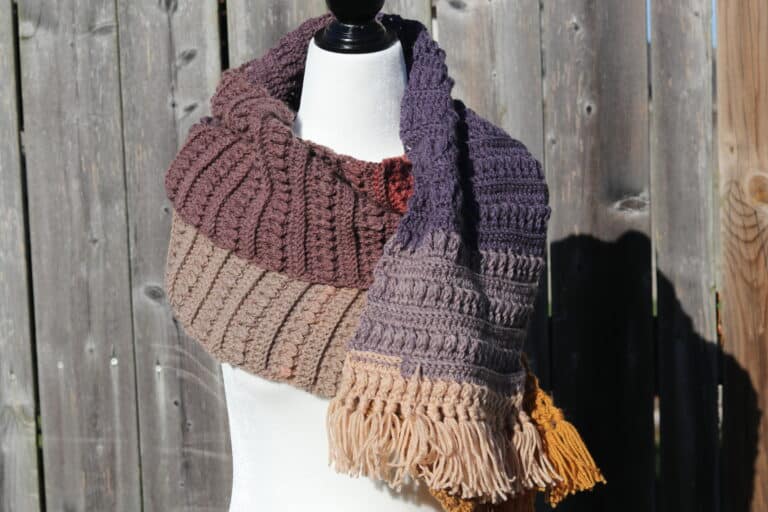
The stitches that we will be working today are the textured cabled V-stitches that you see in the photo above. They are running V’s, meaning that each is joined to the next giving it a great texture. I’ve simplified the stitches in their description as front post triple clusters and front post triple two togethers.
As always, there will be a video tutorial below following the written pattern should you need any further assistance.
This panel is one of seven panels in total that you will work over the next three weeks. If you missed the introduction and materials for this CAL, you will find it here: The Wedding Throw – Free Crochet Along
The instructions for Week Two, including the free video tutorial can be found here: The Wedding CAL: Week Two
Once the final week of the pattern has been released for free on my blog, I will create a downloadable PDF that will be available in my Ravelry and Etsy shops. Don’t worry, though, the pattern will remain also on my blog for free including the links to the free video tutorials.
Remember to work three of the panels below!
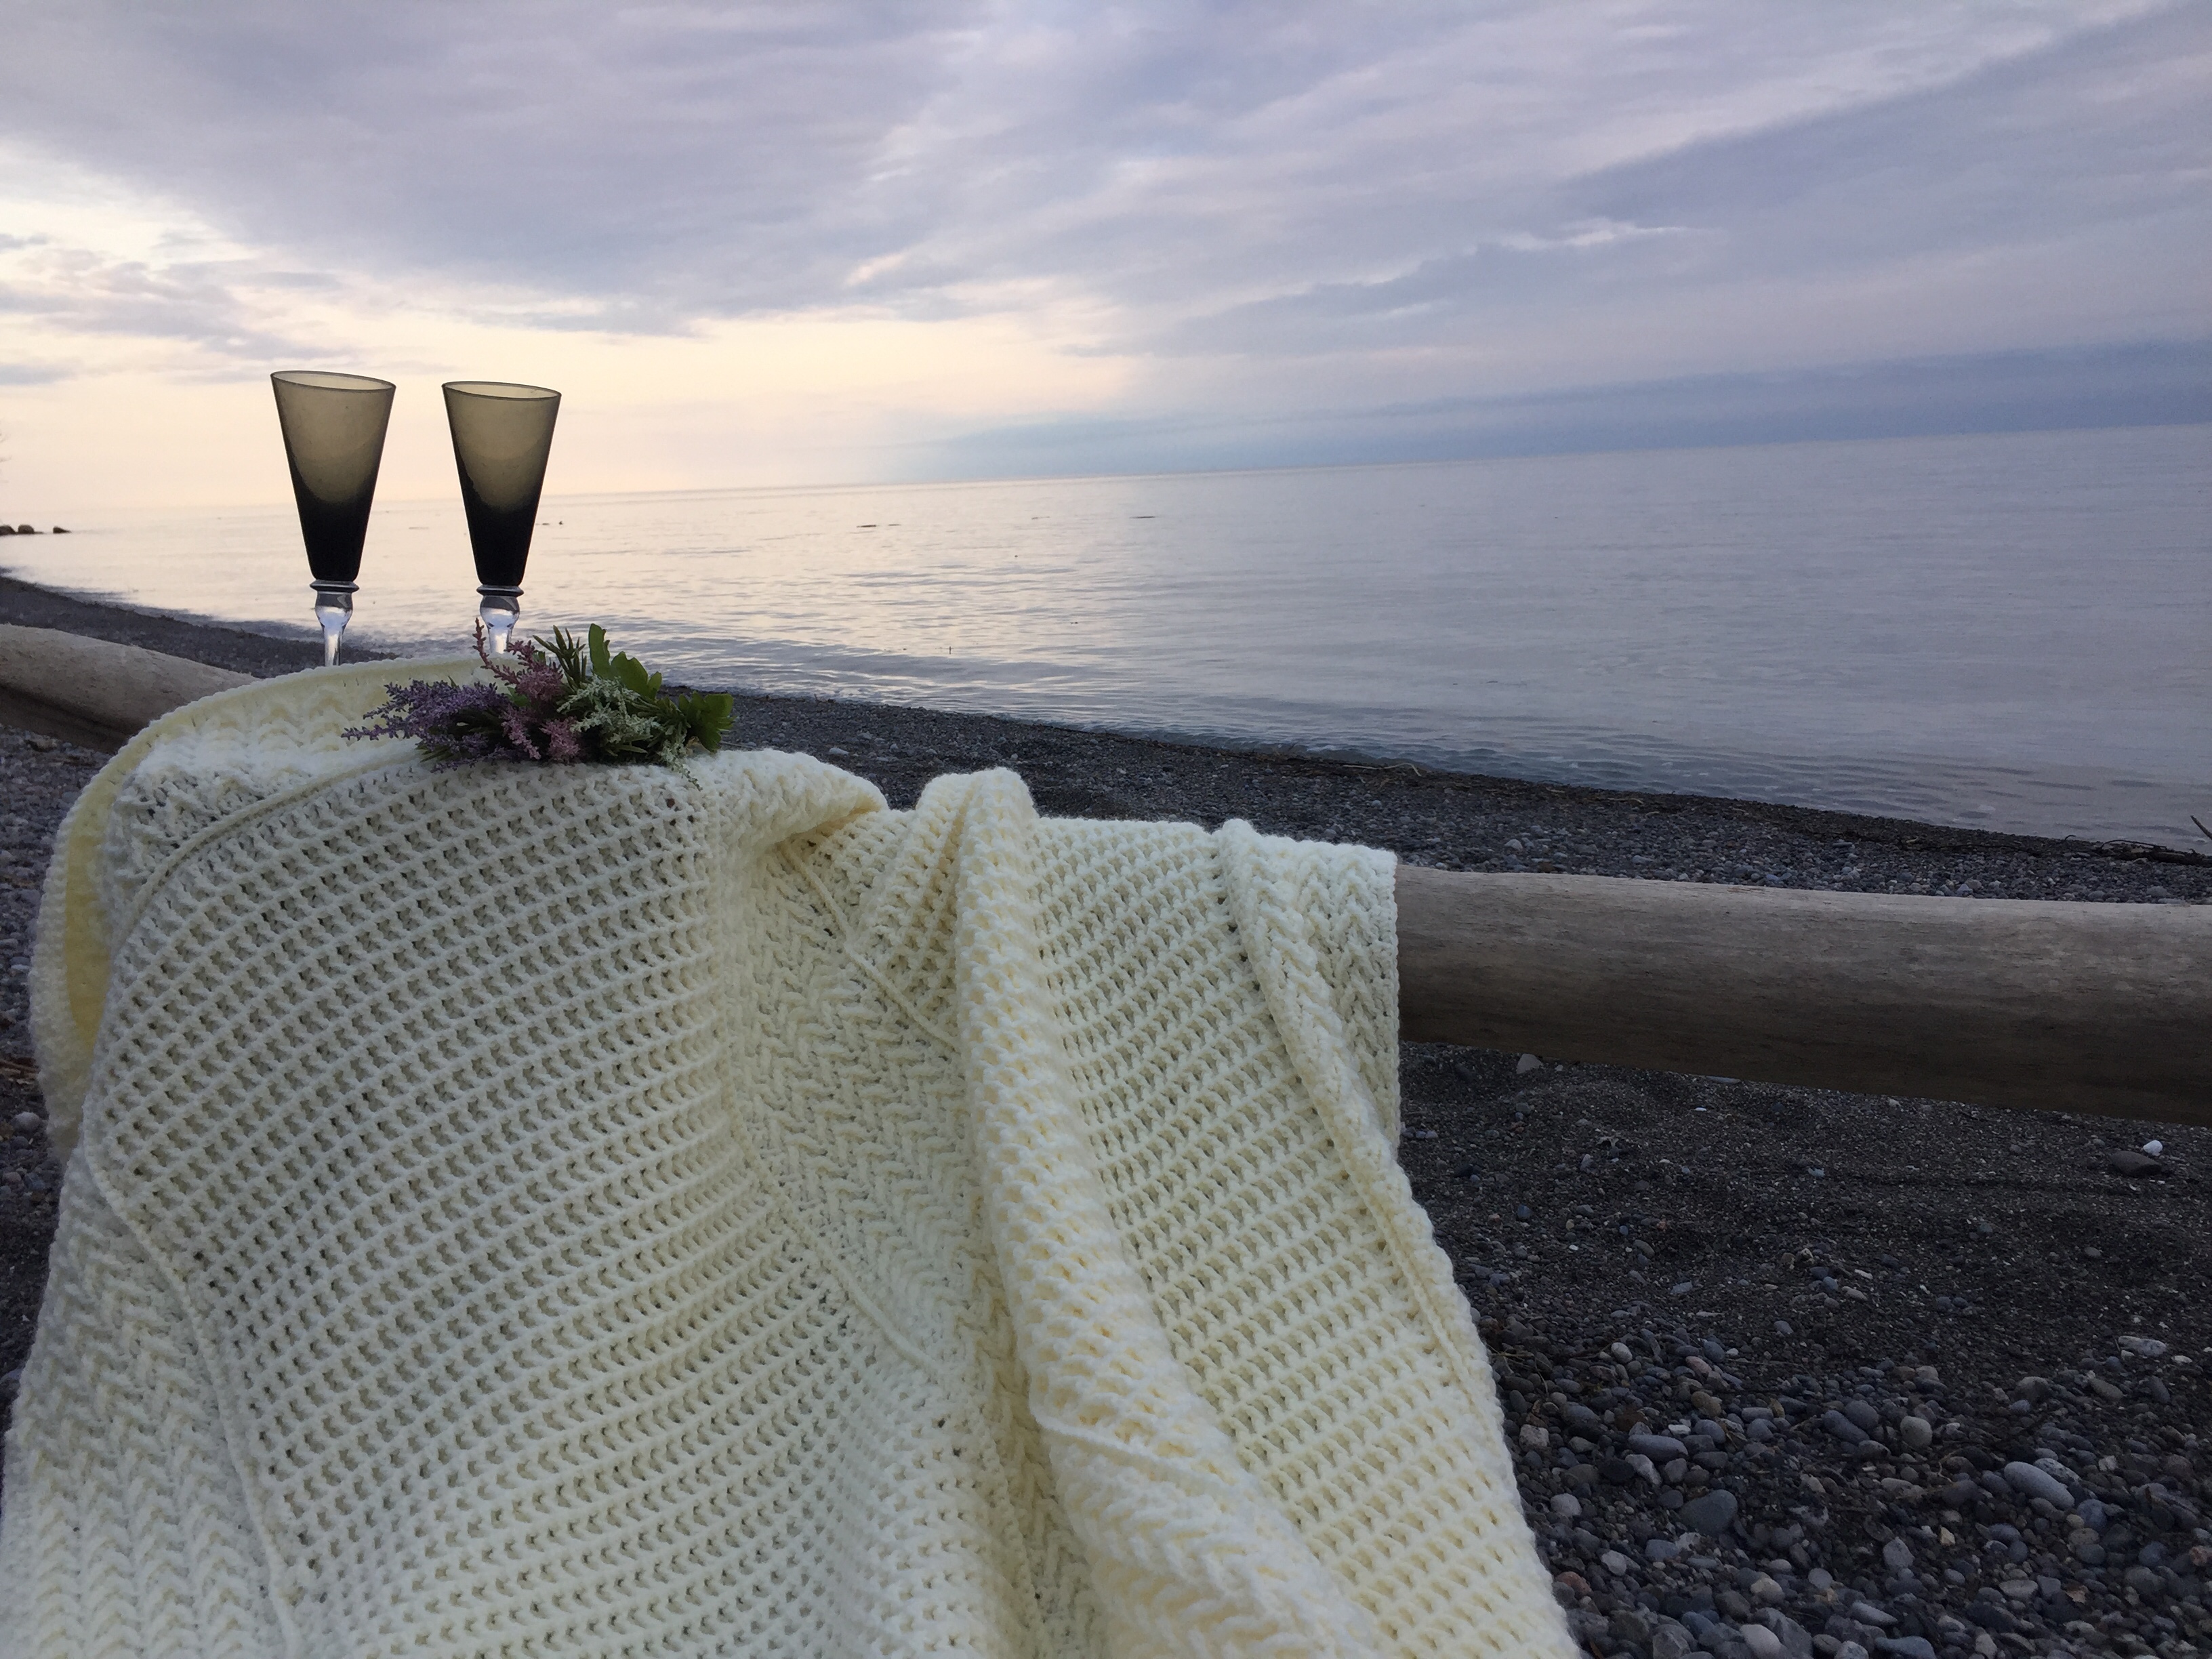
The Wedding Throw:
Skill Level: Intermediate
Gauge: 15 sts x 10 rows = 4 inches.
Finished Size of Panel: Approximately 5.5 x 55 inches.
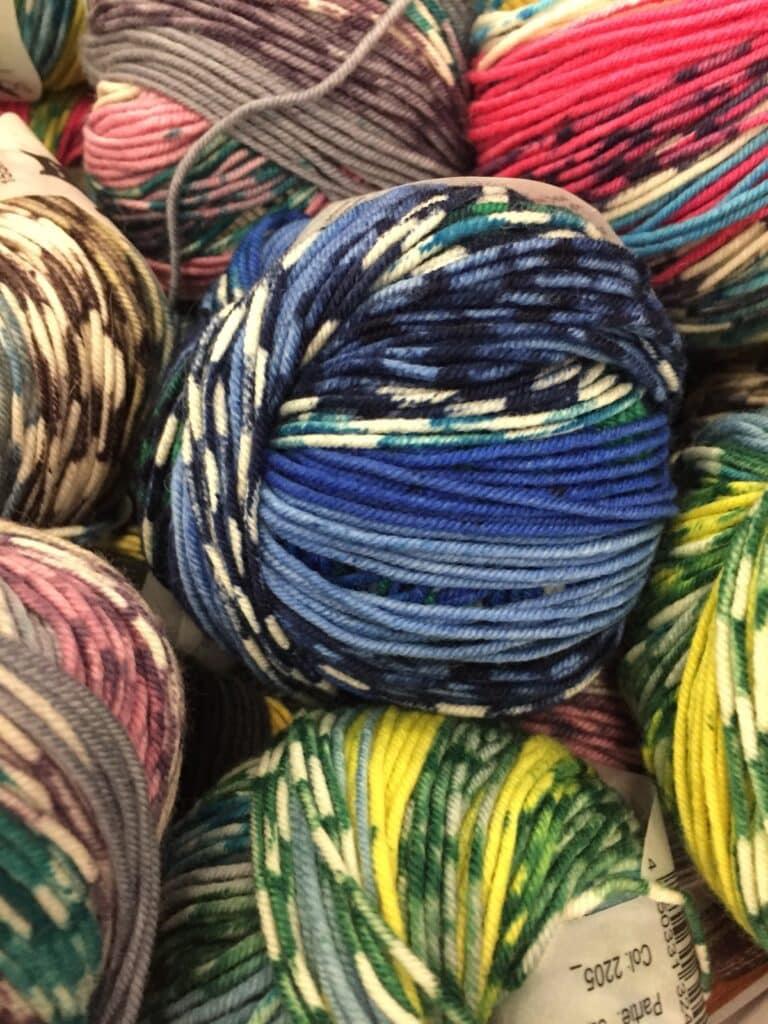
Yarn: Approximately 1, 200 yards Pound of Love® by Lion Brand® (%100 Acrylic; 16 oz/454 g; 1, 020 yd/932 m; #4 Worsted Weight). Colour: Antique White
Hook: Size J/10 (6.0 mm). Adjust hook size if necessary to obtain correct gauge.
Notions: Yarn Needle.
Stitches and Abbreviations:
Beg fptrcl – Beginning Front Post Triple (yarn over, insert hook in the first specified st, yarn over and draw up a loop, yarn over and draw through 2 loops on your hook. Yarn over twice, insert your hook from right to left around the post of the stitch indicated, yarn over and draw through two loops on your hook twice, yarn over and draw through the remaining loops on your hook.
Ch – Chain
Dc – Double Crochet
End fptrcl – End front post triple (Yarn over twice, insert your hook from right to left around the post of the stitch indicated, yarn over and draw through two loops on your hook twice, insert your hook into the top of the first beg fptrcl and join with a sl st.
Fptr2tog – Front Post Triple two stitches together (Yarn over twice, insert your hook from right to left around the post of the stitch indicated, yarn over and draw through two loops on your hook twice. Yarn over twice, insert hook around the post of the next specified st, yarn over and draw up a loop, yarn over and draw through 2 loops on your hook twice. Yarn over and draw through the remaining loops on your hook.
Rpt – Repeat
Sc – Single Crochet
Sk – Skip
Sl St – Slip Stitch
Yo – Yarn Over
Pattern Notes:
- Pattern is written in American English terms.
- Pattern is worked in rows.
- Ch 1 at the beginning of a row does not count as a stitch.
- Ch 3 at the beginning of a row counts as a dc.
- You will need to work three of these panels to complete the throw.
The Pattern:
Ch 21.
Row 1: Dc in the 4th ch from hook and in each st across. Turn. (19 sts)
Row 2: Ch 1, sc in each st across. Turn.
Row 3: Ch 3, beg fptrcl working the first part of the st in the first st and the second part of the st around the post of the third dc in the rnd below, dc in each of the next 3 sts, *fptr2tog with the first part of the st worked around the same post as the previous fptr below, sk 3 dc and work the second part of the st around the post of the next st, dc in each of the next 3 sts (Note: You will start the first of these dc sts in the next st after skipping the st behind the fptr2tog); rpt from * around to the final st, end fptrcl around the same post as the previous fptr and completing the st in the top of the next st, dc in the final st. Turn.
Row 4: Ch 1, sc in each st all the way across. Turn.
Row 5: Ch 3, beg fptrcl working the first part of the st in the next sc and the second part of the st around the post of the 2nd dc in group of 3 dc 2 rnds below, dc in each of the next 3 sts, *fptr2tog with the first part of the st worked around the same post as the previous fptr below, sk 3 sts and work the second part of the st around the post of the next st, dc in each of the next 3 sts; rpt from * around to the final st, end fptrcl around the same post as the previous fptr and completing the st in the top of the first st, dc in the final st. Turn.
Repeat rows 4 and 5 until work from the beginning measures approximately 55 inches. Fasten off, weave in ends.
Edging (Worked in a round):
With the right side facing, join yarn with a sl st in the top right corner.
Rnd 1: Sc in the same st as joining and in each st across, work 3 sc in the corner st. Working along the side of the square, evenly work 197 sc across, work 3 sc in the corner st, sc in each st across, 3 sc in the corner st, work 197 sc evenly across, work 2 sc in final corner. Join with a sl st in first sc. (NOTE: You may add more or less sts along the long edges, however make note of any changes. Going forward you will want to have the same number of stitch along the long edges of the panels to make for easier joining.)
Fasten off, weave in ends. Set Panel aside, Repeat these steps twice more.
Video Tutorial:
A free video tutorial for this pattern can be found on my YouTube Channel: https://www.youtube.com/c/RichTexturesCrochet/


One Comment