
This post contains affiliate links. This means that when you purchase through one of these links we will receive a small commission at no additional cost to you. Thank you for supporting Rich Texture Crochet!
Hello and welcome to week six of the Erie Waters Crochet Along with Rich Textures Crochet! Can you believe it? You’ve reached the home stretch!
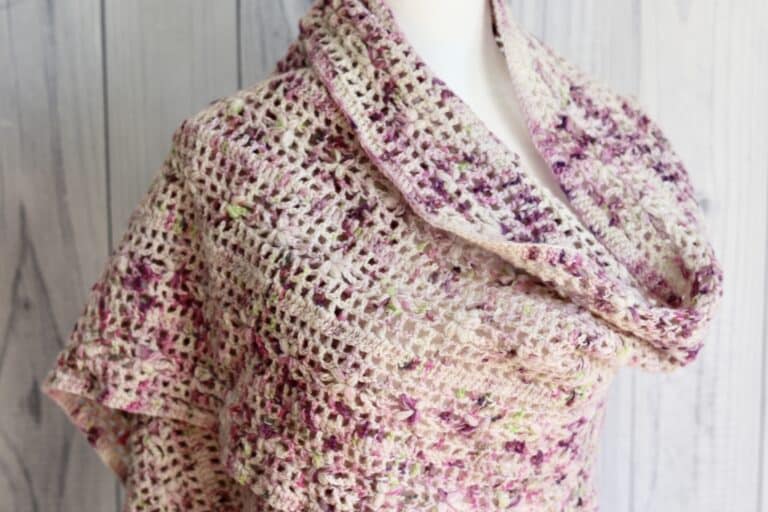
Once again, I hope that you have been enjoying this crochet along and the experience of Lake Erie!
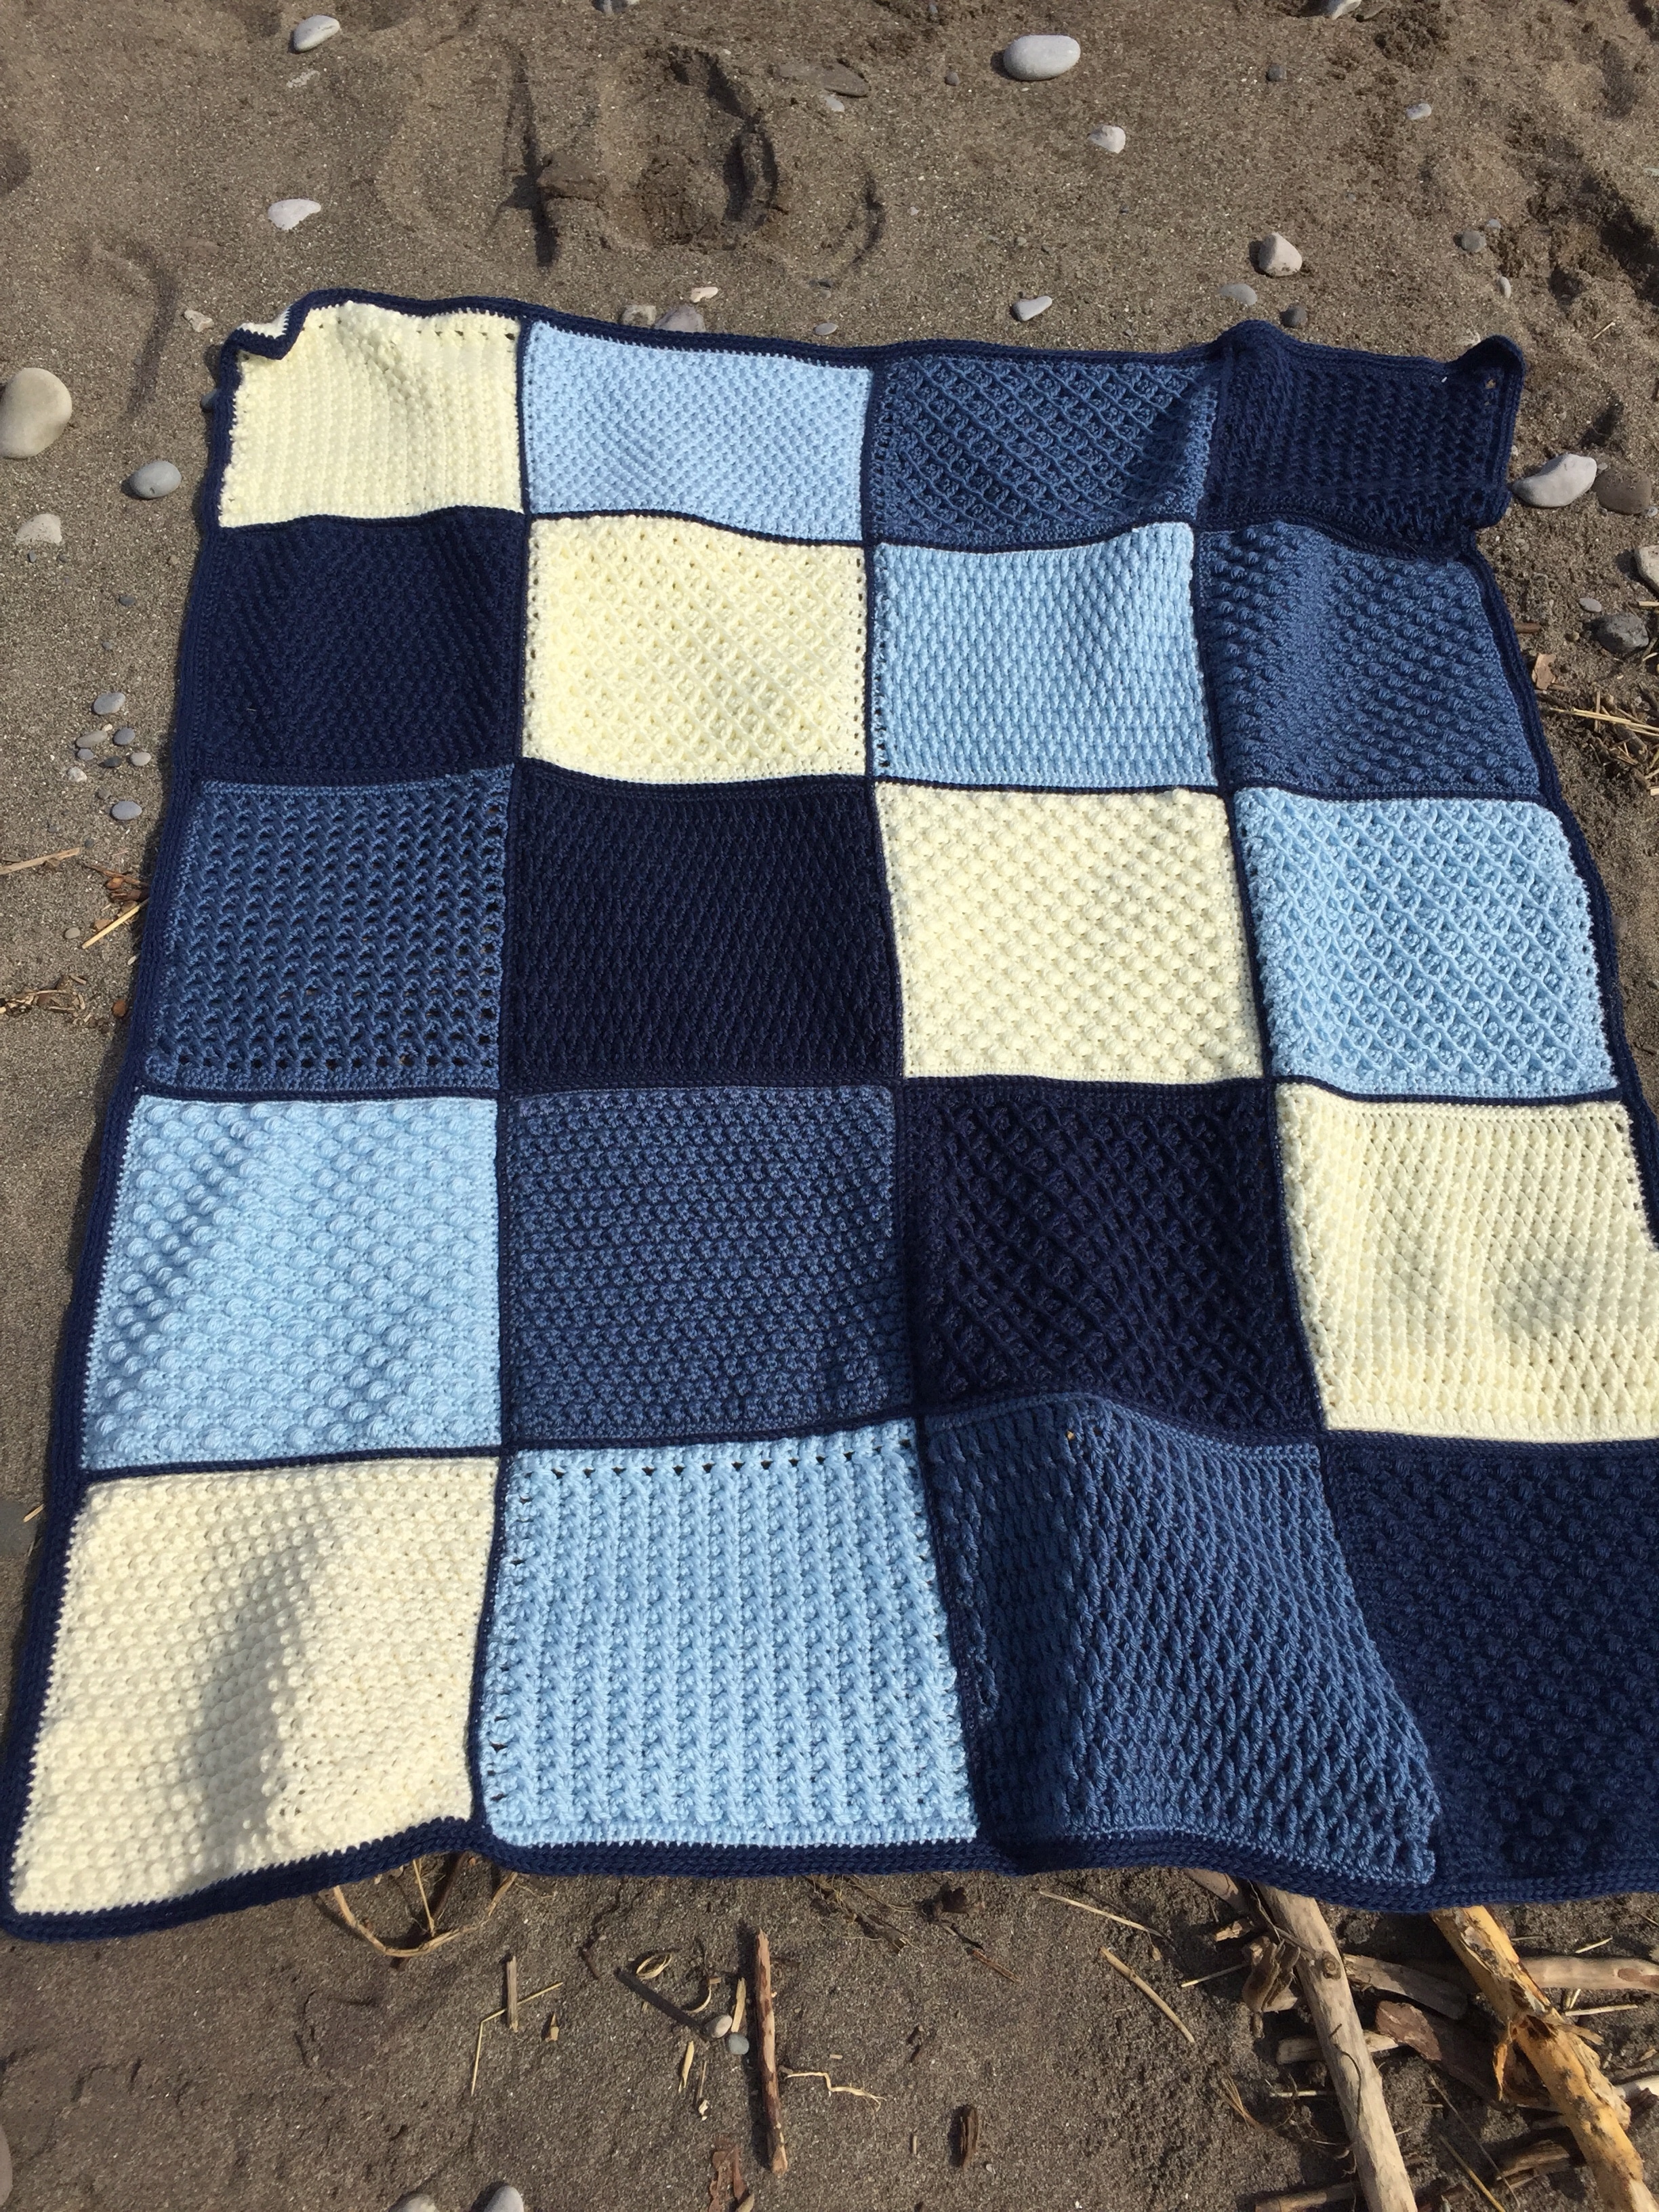
Today we are going to take all of our hard work – the squares from the first five weeks of this crochet along, crochet them together and add a simple border.
By now, if you have chosen to work your blanket as according to my pattern (I know there are a few of you who are making it larger/smaller), you will have now worked 20 squares. Did you miss a couple of the weeks? I’ll link them below:
Erie Waters Throw CAL – Introduction and Materials
The Erie Waters CAL – Week One
The Erie Waters CAL – Week Two
The Erie Waters CAL – Week Three
The Erie Waters CAL – Week Four
The Erie Waters CAL – Week Five
This pattern is now also available as a single PDF which can be purchased (and added to your library!) for $2.50 CAD from my Ravelry and Etsy Shops:
Rich Textures Crochet on Ravelry
Each of your 20 squares should be roughly the same size and be finished with a single crochet edging.
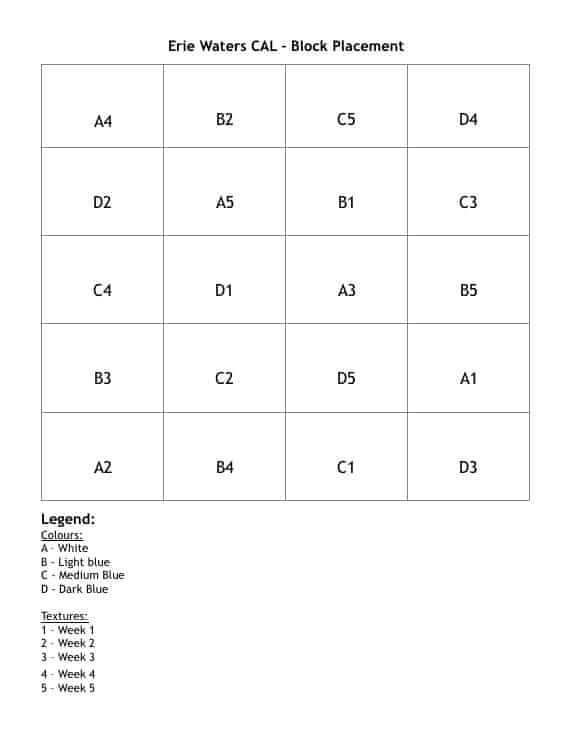
Before joining my squares together I took some time to lay them out and decide on the layout of the colours and textures.
In my layout I focused more on the colour placement than that of the textures – so the textures are not really in any particular order. I have created a chart below that may help guide you in your placement, but ultimately it is up to you and your own artistic eye!
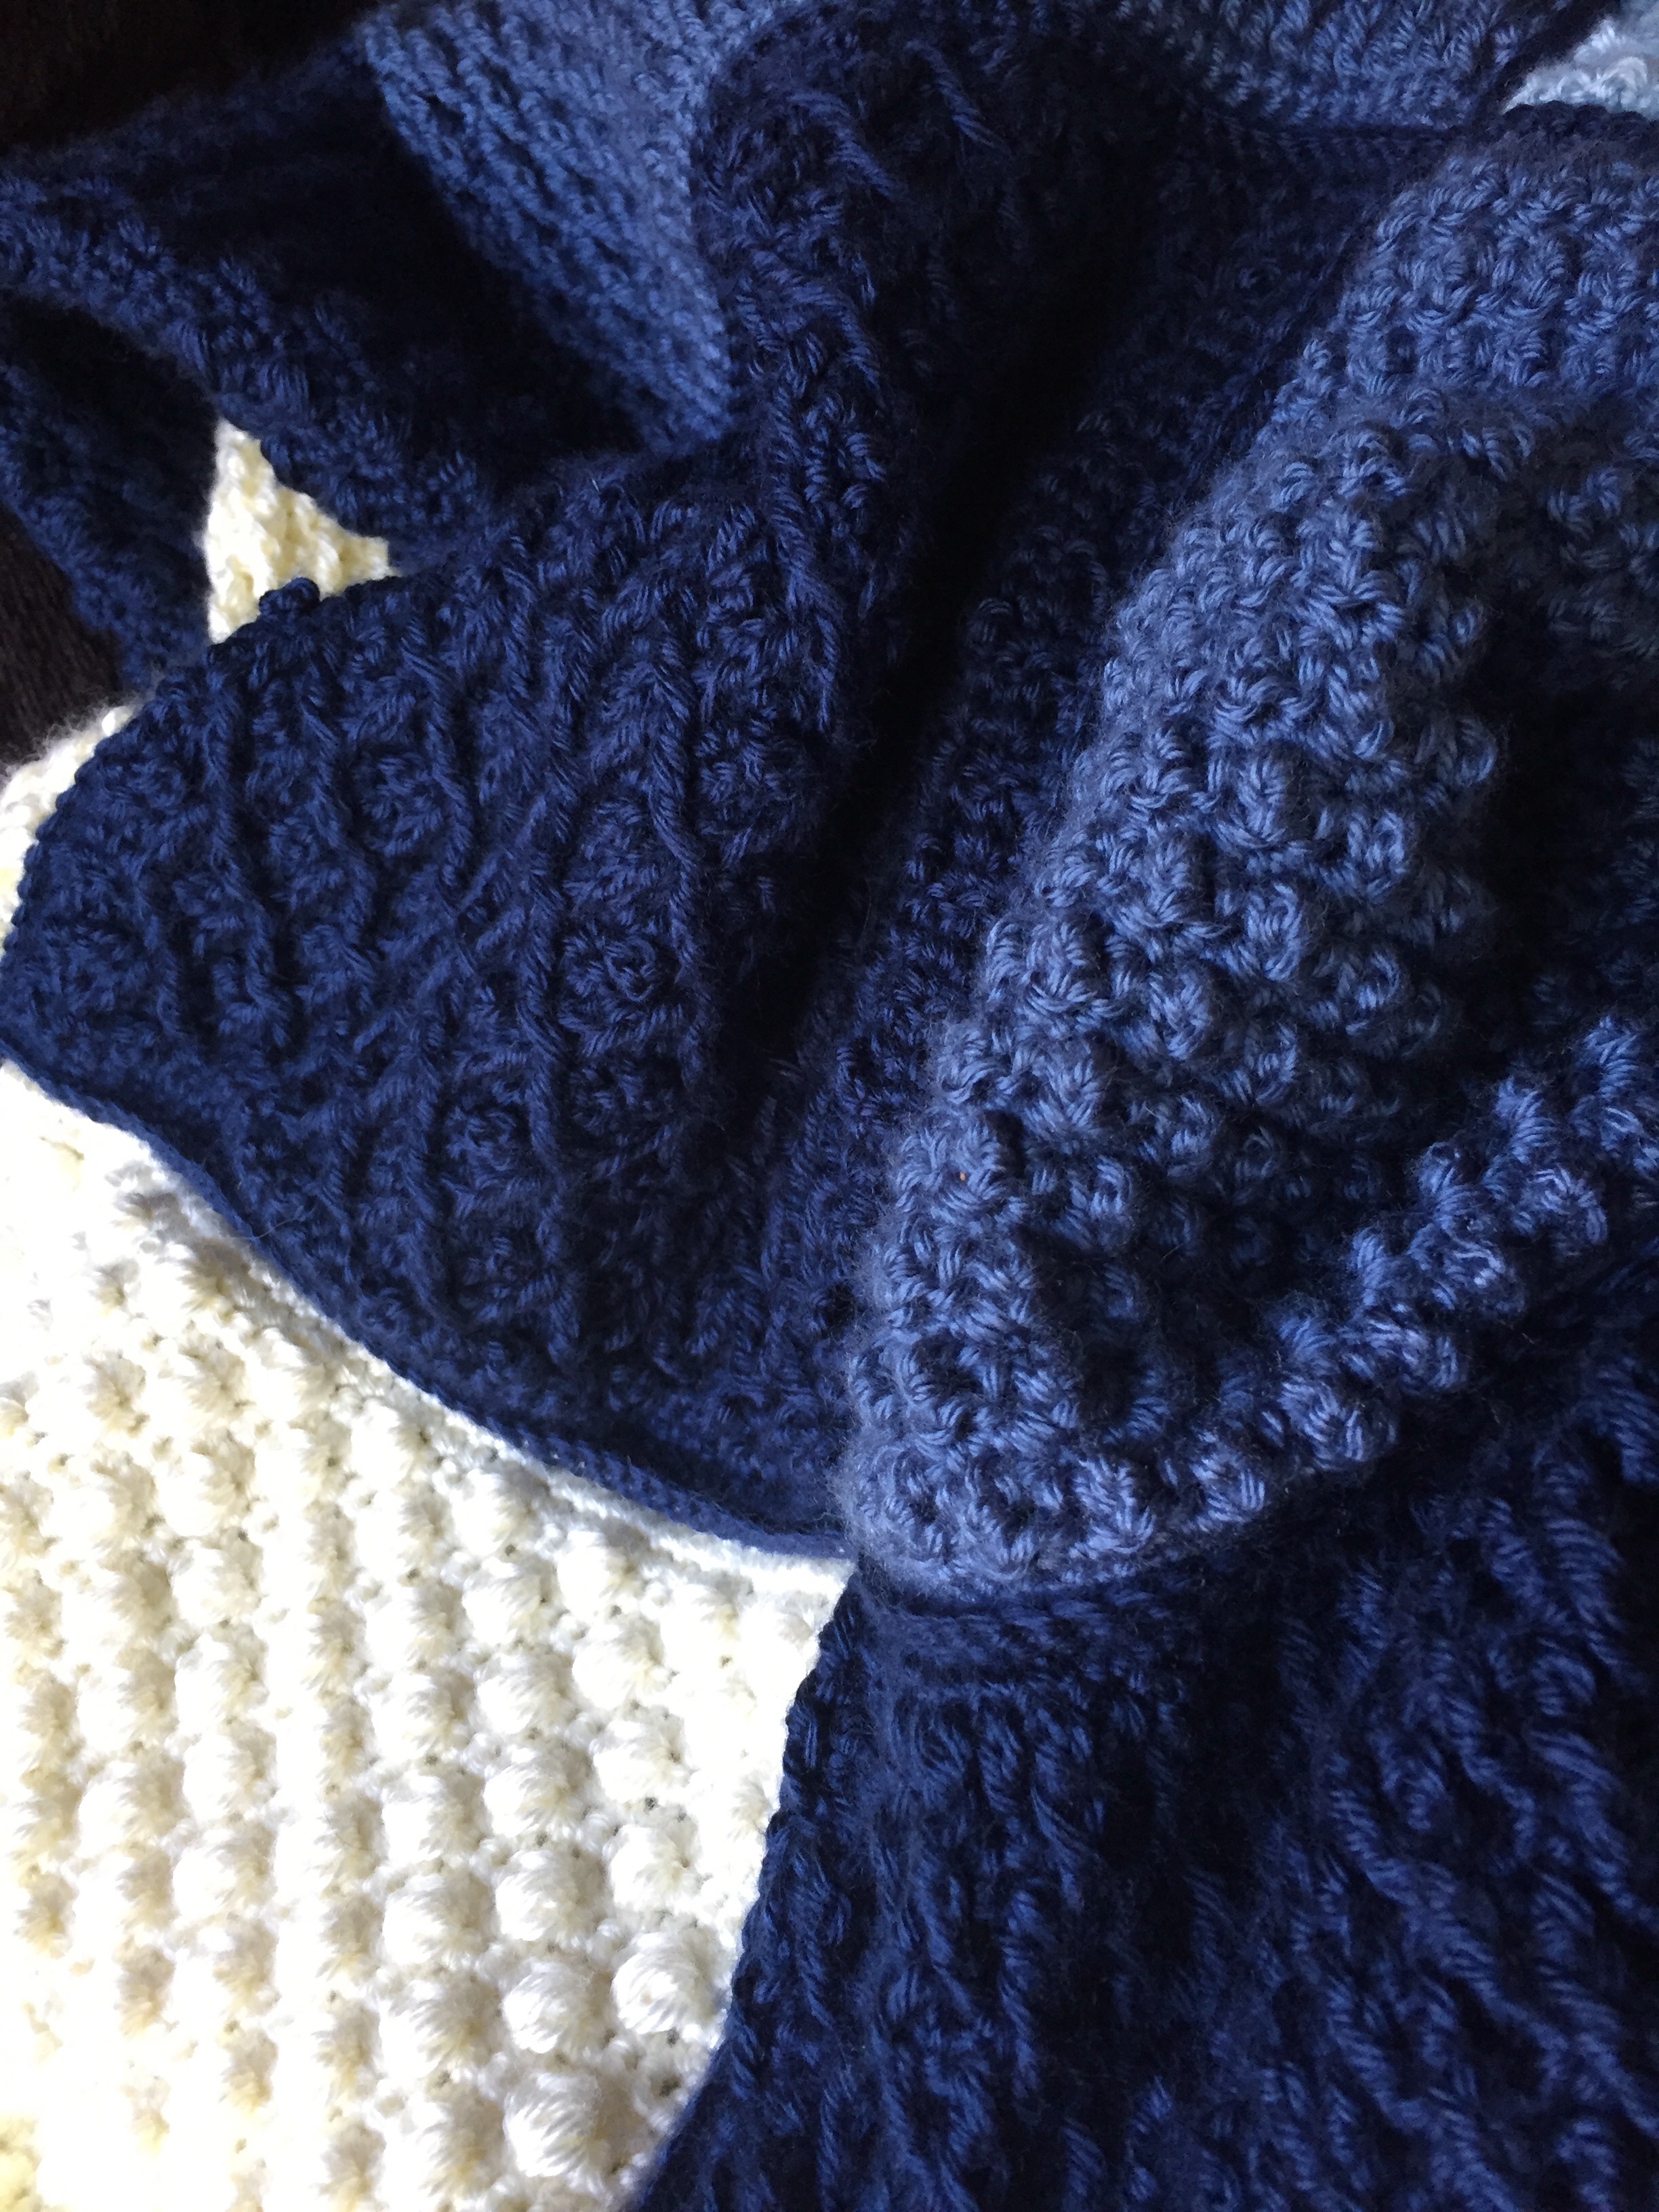
Once I had decided on the placement of the blocks, I began to crochet them together. To crochet them together, I proceeded as follows:
First, with the dark blue colour, working along the vertical rows with the right side facing, join your yarn with a sl st in the top left corner of block B2.
Working through the front loop only of block B2 and the front loop only of A4 begin to place one sc in each stitch across (you will always only work in the front loops). Fasten off. Repeat this for each of the vertical rows.
Once the vertical rows have been crocheted together, it is time to move on to the horizontal rows.
Again, with the dark blue colour and with the right side facing, join your yarn with a sl st in the top right corner of block C3.
Working through the front loop only of C3 and the front loop only of D4 begin to place one sc in each stitch across (you will always work in the front loops). Fasten off. Repeat this for each of the horizontal rows.
Fasten off and weave in ends.
Now for the edging which is worked in a round!
Edging:
With right side facing and dark blue colour, join yarn with a sl st in the top right corner.
Rnd 1: Ch 1, work one hdc in each st around working 3 hdc in each of the corners; join yarn with a sl st in the first st. Do not turn.
Rnd 2: Ch 1, working in the 3rd loop (See video), hdc in each st around working 3 hdc (also in the 3rd loop) in each corner st; join yarn with a sl st in the first st. Fasten off, weave in ends.
Congratulations!!! You did it! This has been so much fun!
Have you been taking photos of your Work In Progress? Feel free to join the Rich Textures Crochet Community on Facebook and share (it’s also a great place to meet new crochet friends, chat and be inspired)! You’ll find the Facebook Group here: https://www.facebook.com/groups/richtexturescrochetcommunity/
Don’t forget to like/follow the Rich Textures Crochet Facebook Page where you’ll see updates of new free crochet patterns! (http://www.facebook.com/richtextures/)
Thank you so much again for joining me on this crochet journey! I do hope you’ll come back soon!
Happy crocheting!
Sarah


Thank you for such a fun and great CAL!
You’re welcome!
If I am supposed to start connecting squares Vertically first, then shouldn’t I connect A4 and D2, the C4 to D2 and so on