
This post contains affiliate links. This means that when you purchase through one of these links we will receive a small commission at no additional cost to you. Thank you for supporting Rich Texture Crochet!
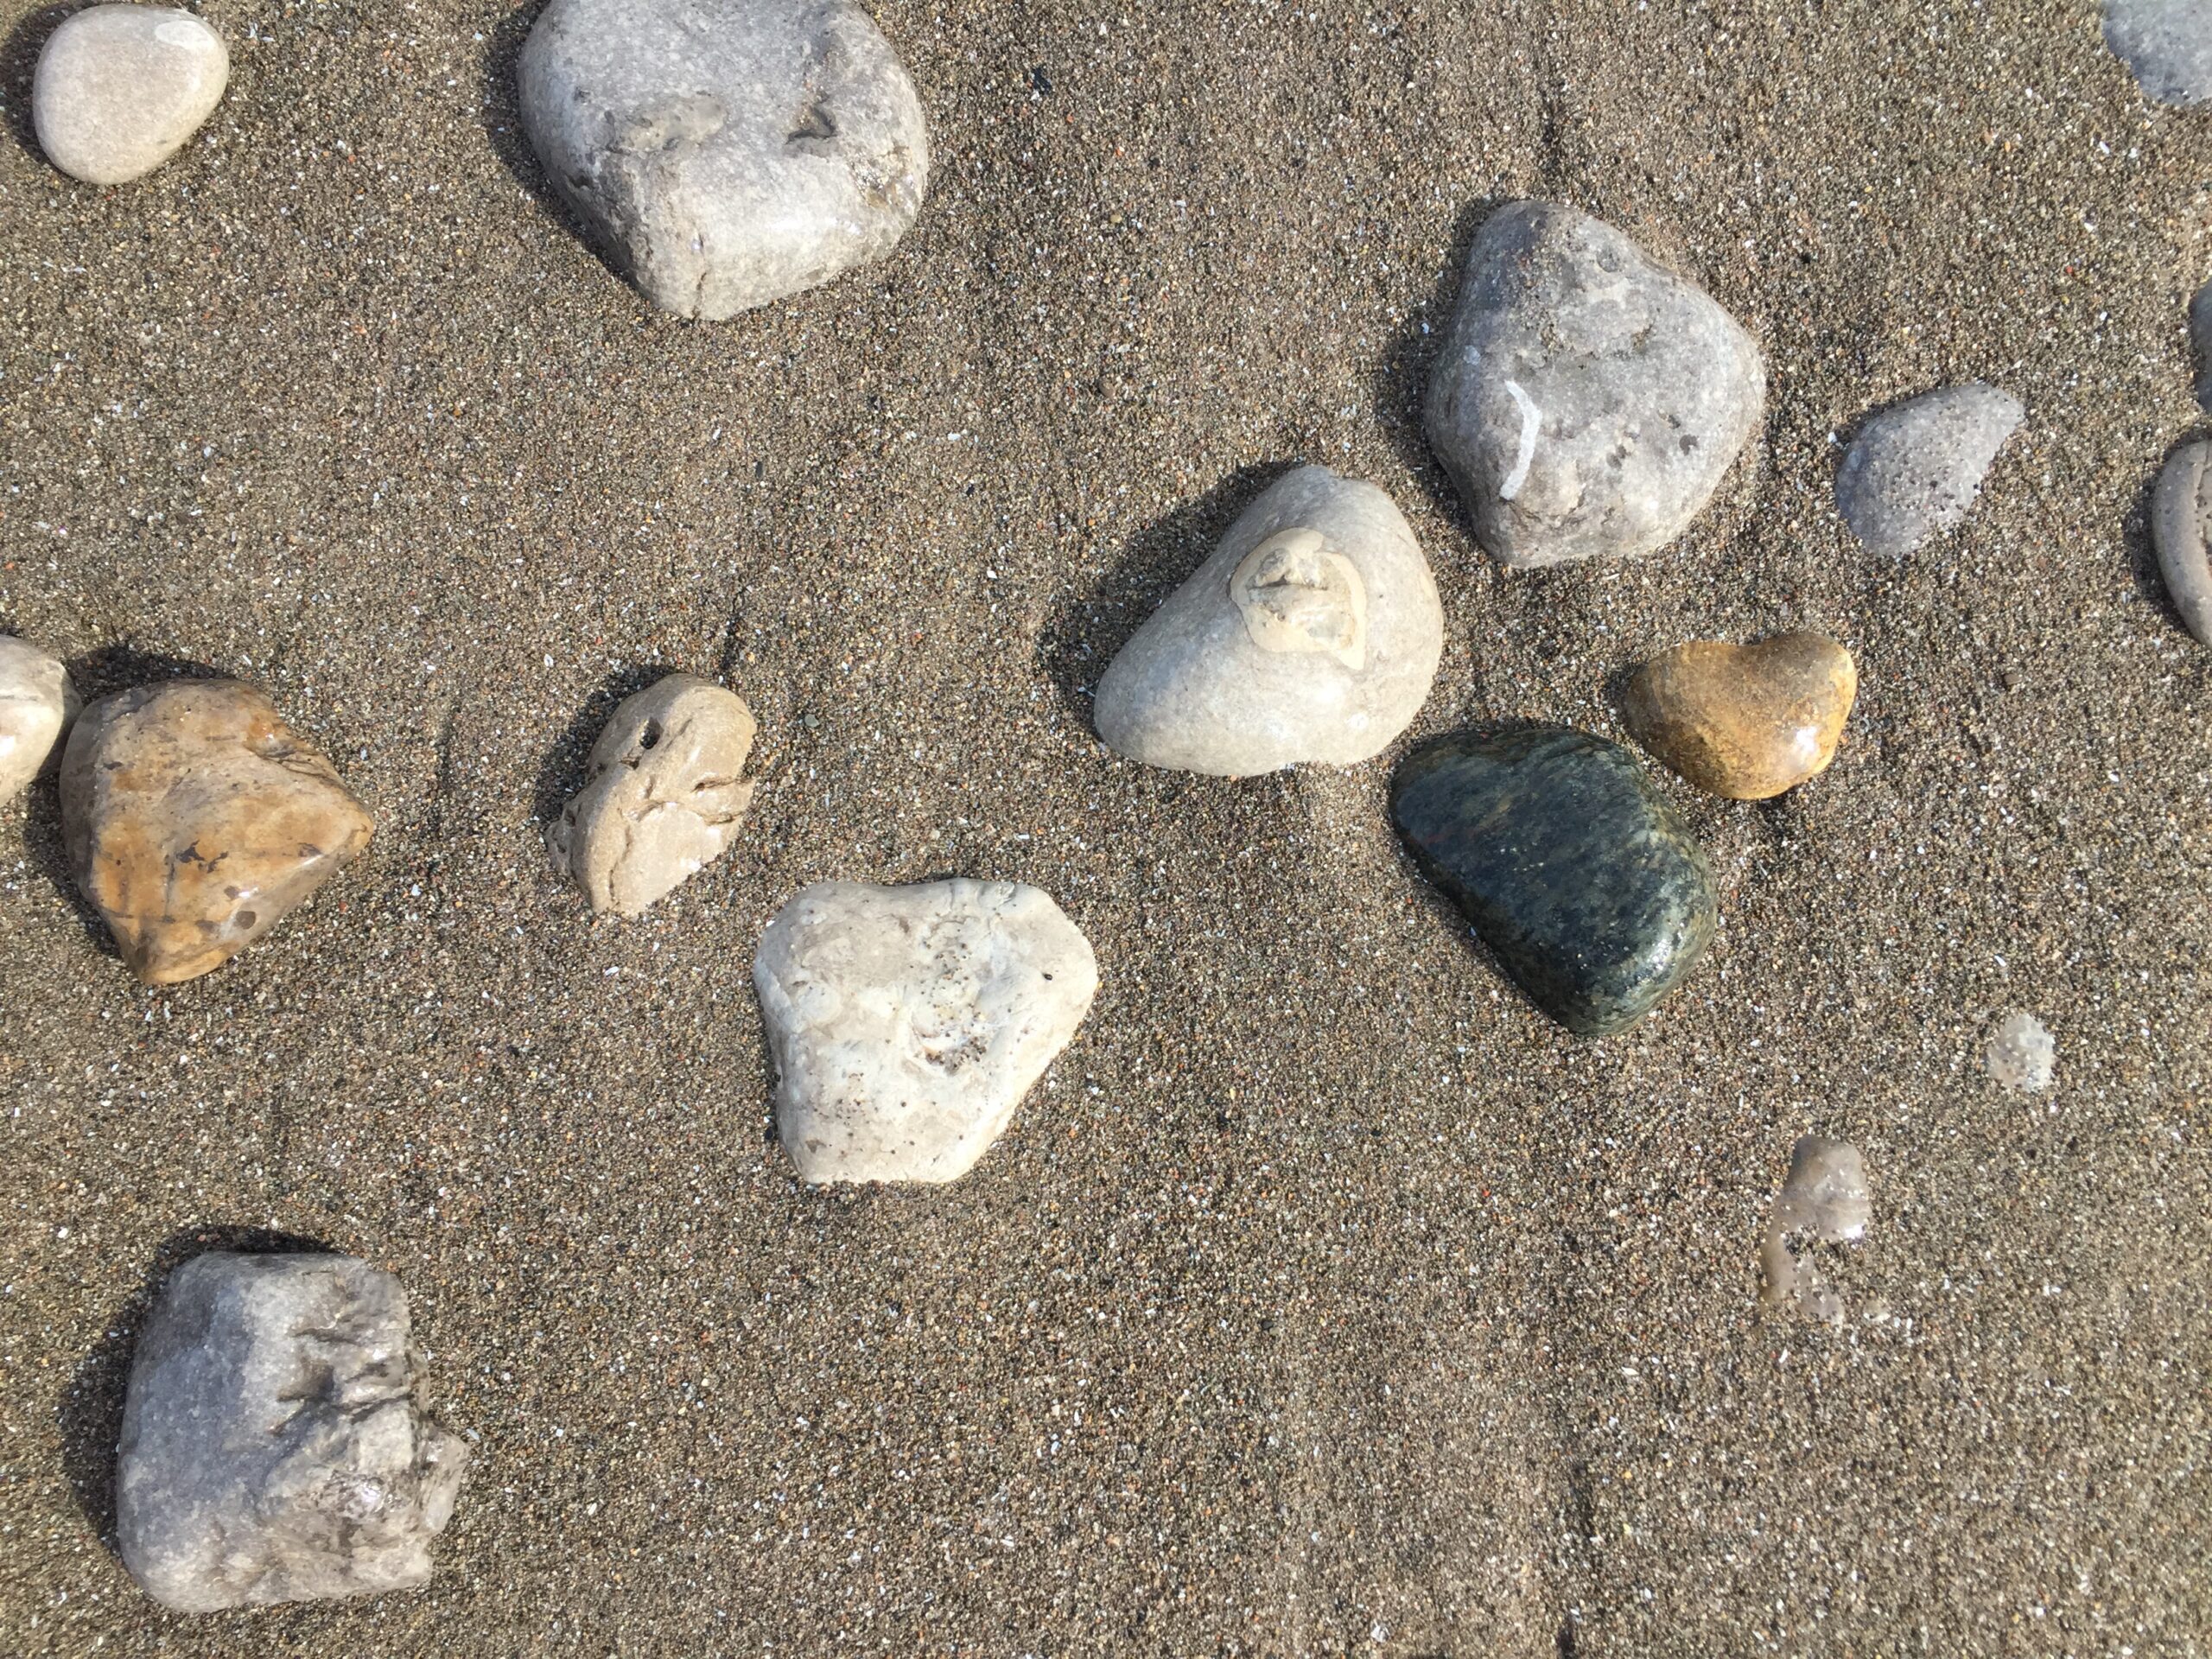
Hi and welcome to week three of the Erie Waters Crochet Along with Rich Textures Crochet! What would a natural beach be without stones?
I love walking along beaches, and most often as I walk along the shores I am drawn to the stones that dot the shoreline. They vary in sizes, but most have been worn smooth by the sand and the waves.

I will often pocket a few – the ones that catch my eye because of their shape, size or colour. These lucky ones are added to my slowly growing collection.
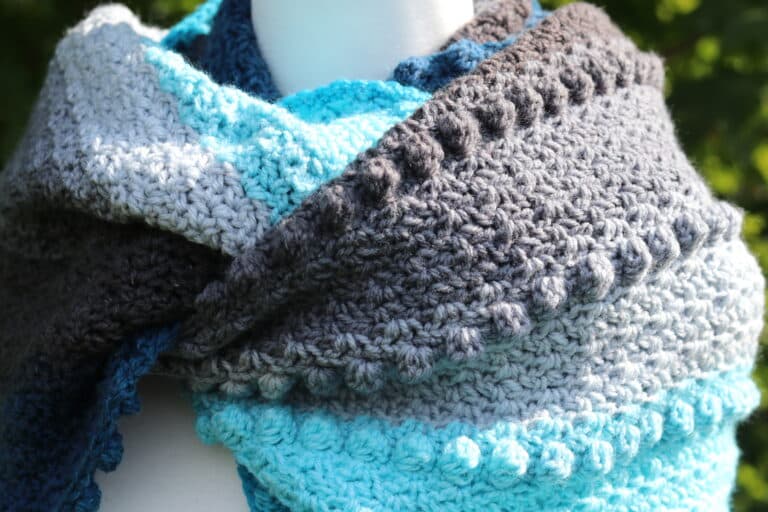
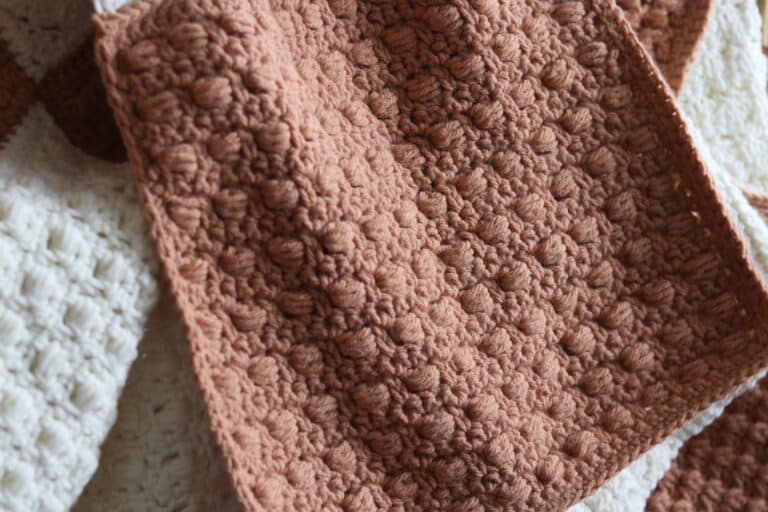
The block this week reminds me of these beach stones. It also happens to be comprised of one of my favourite stitches: the puff stitch.
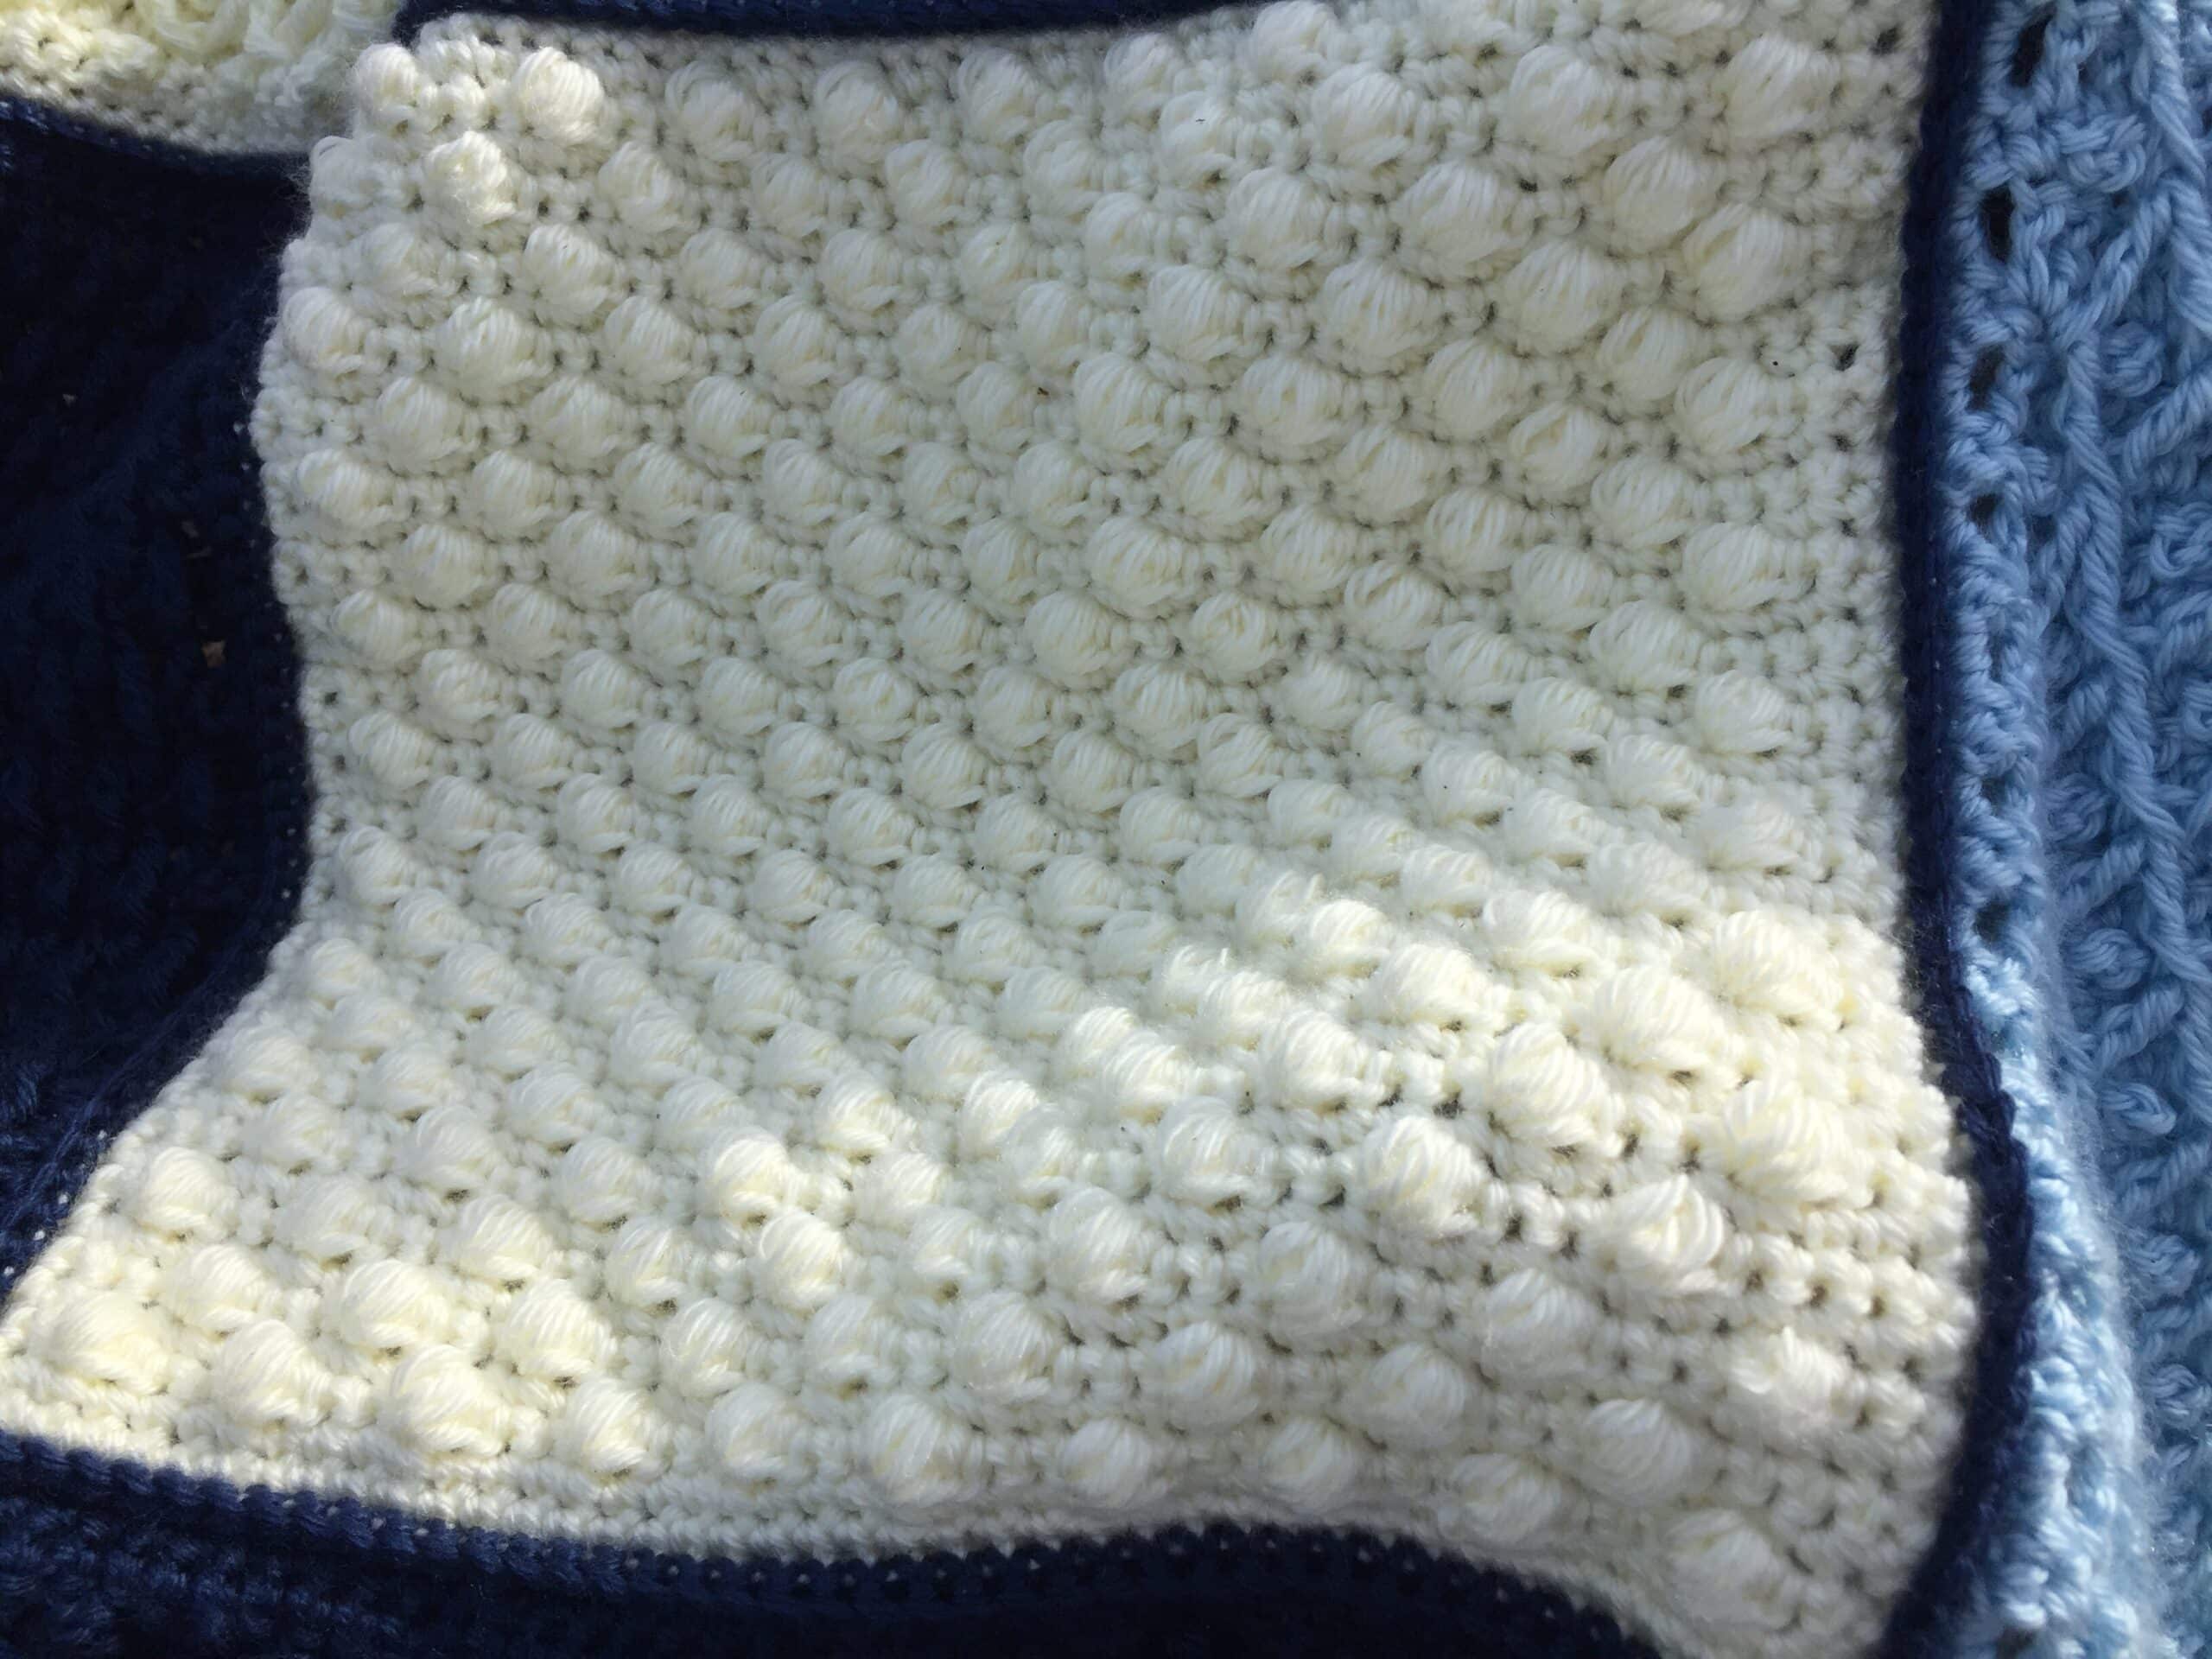
The puff stitch is beautiful in texture. It provides a great contrast against the single crochet stitches. They are solid and smooth.
Did you miss the first couple of weeks of the Erie Waters Crochet Along? No worries, you’ll find each of the patterns below:
Erie Waters Throw CAL – Introduction and Materials
The Erie Waters CAL – Week One
The Erie Waters CAL – Week Two
This pattern is now also available as a single PDF which can be purchased (and added to your library!) for $2.50 CAD from my Ravelry and Etsy Shops:
Rich Textures Crochet on Ravelry
The instructions for this week’s block will be found in full below. Following the written instructions you will also find the link for a free video tutorial.
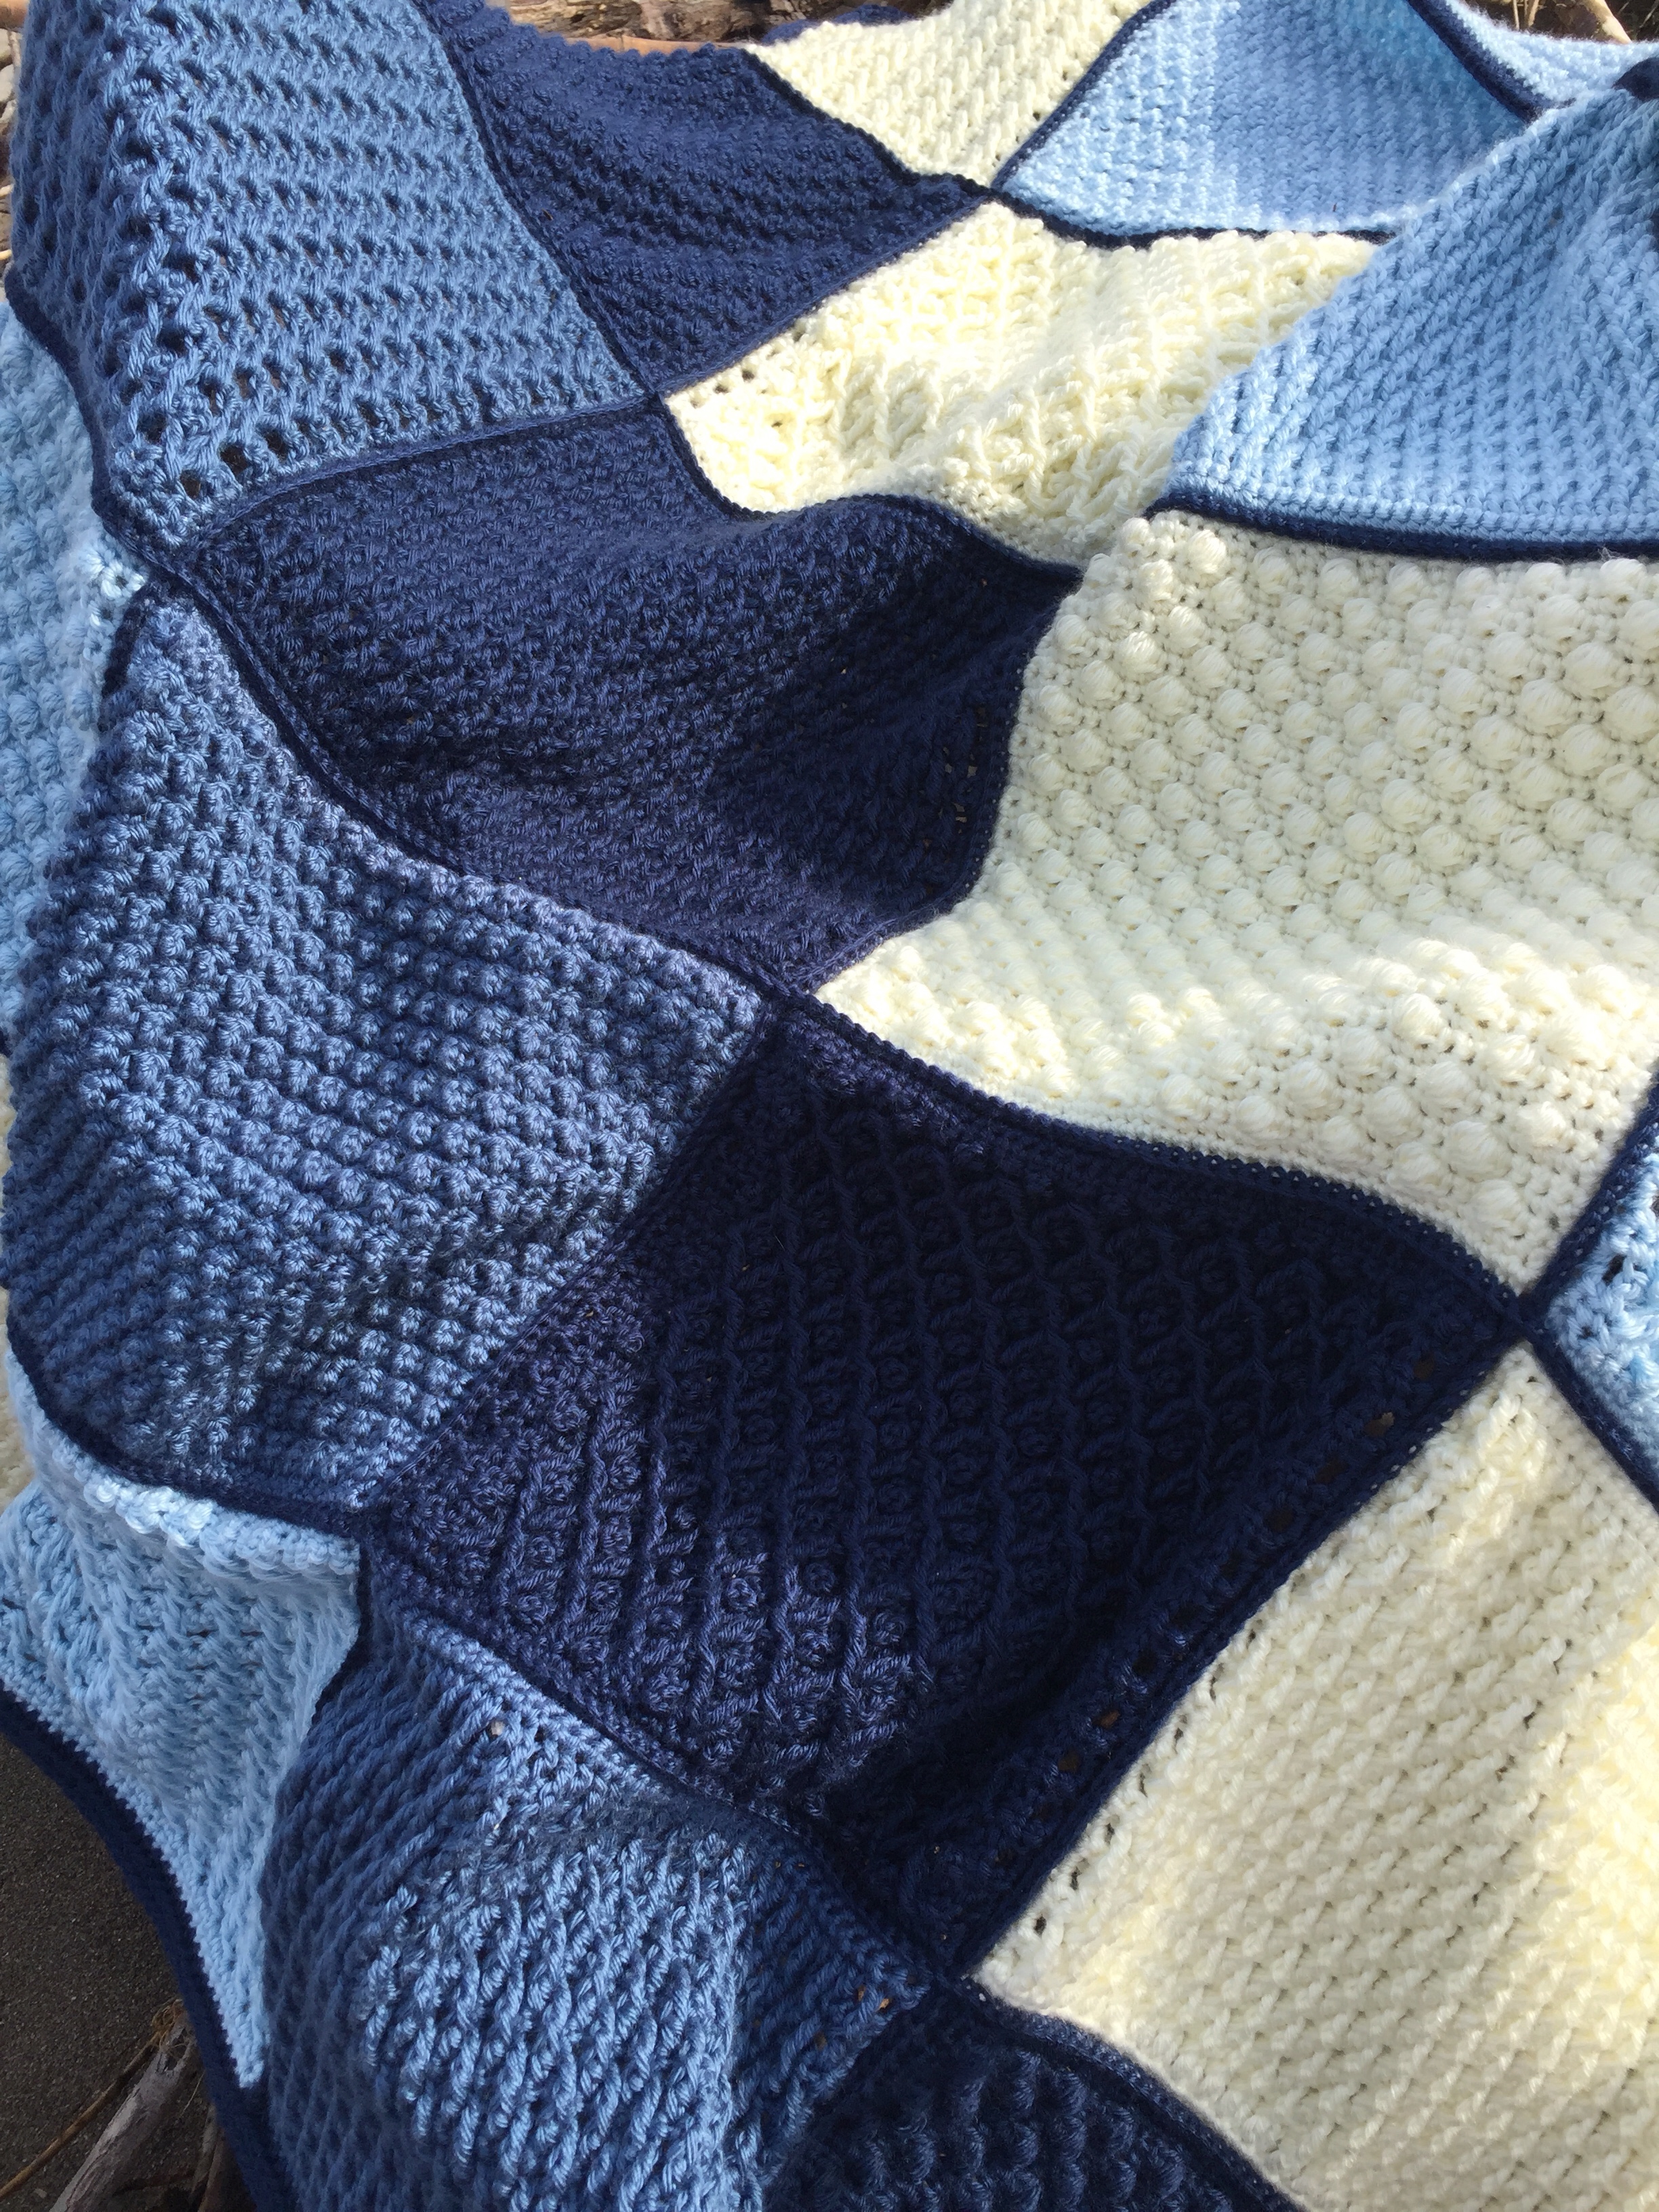
To complete the blanket to the size shown, you will need to make four of this block. If you have chosen four different colours/shades as I have, you will make one of these blocks in each colour.
Stitches and Abbreviations:
Ch – Chain
Lp – Loop
Lps – Loops
Puff – Puff Stitch ([Yarn over, insert the hook in the stitch indicated, yarn over and draw up a loop] four times. You’ll have nine loops on your hook. Yarn over and draw through all loops on your hook.)
Rpt – Repeat
Sc – Single Crochet
Sk – Skip
Sl st – Slip stitch
Yo – Yarn over
Pattern Notes:
– Pattern is written in American English
– Weave in ends as needed.
Square Measurements: 11 inches x 9.5 inches (NOTE: If your blocks are turning out slightly smaller or larger, don’t worry! It may be simply that we differ in how tightly we make our stitches, or in the type of yarn used. Going forward, simply make sure that all of your blocks are roughly the same size.)
*Note: if you would like to change the multiple of your square (make it larger or smaller) chain and odd number of chains, plus one.
Pattern:
Ch 42.
Row 1: Sc in the 2nd chain from hook and each each ch st to the end. Turn. (41 sts)
Row 2: Ch 1, Sc in the first 4 sts, puff in the next st, * sc in the next 3 sts, puff in the next; rpt from * across to the last 4 sts, sc in each of the last 4 sts. Turn. (41 sts)
Row 3: Ch 1, sc in each st across. Turn. (41 sts)
Row 4: Ch 1, sc in the first 2 sts, puff in the next st, * sc in the next 3 sts, puff in the next; rpt from * across to the last 2 sts, sc in each of the last 2 sts. Turn. (41 sts)
Row 5: Ch 1, sc in each st across. Turn. (41 sts)
Rows 6-41: Rpt rows 2-5 until a total of 41 rows OR until block measures 9.5 inches.
Fasten off and weave in ends.
Edging (Worked in rnds):
(NOTE: If you needed to add or subtract stitches around your edging due to the size of your square, make sure on the squares going forward that you have the same number of stitches around each – You will want them to be the same in order to make joining them easier.)
With the right side facing, join yarn with a sl st in the top right corner.
Rnd 1: Sc in the same st as joining and in each st across the next 39 sts, work 3 sts in the corner st. Working along the side of the square, evenly work 35 sc across, work 3 sc in the corner st, sc 39 across, 3 sc in the corner st, work 35 sc evenly across, work 2 sc in final corner. Join with a sl st in first sc.
Fasten off, weave in ends.
Repeat the above steps three more times so that you have a total of four squares.
Congratulations! You have now completed the third square for the Erie Waters Throw! Stay tuned for the next piece to be revealed ?
**Week Four of the CAL is now available and can be found here: The Erie Waters CAL – Week Four
Be sure to join the event on Facebook at http://www.facebook.com/richtextures/. There you will be able to share updates and post photos.
Sharing on social media? Be sure to tag #eriewaterscal
Happy Crocheting!
Sarah


love this cal and already started with block 1. my progress is slow since I have many other projects going.