
This post contains affiliate links. This means that when you purchase through one of these links we will receive a small commission at no additional cost to you. Thank you for supporting Rich Texture Crochet!
I, like so many others, really enjoy using Caron Cakes Yarn. For these two patterns you’ll only need one!
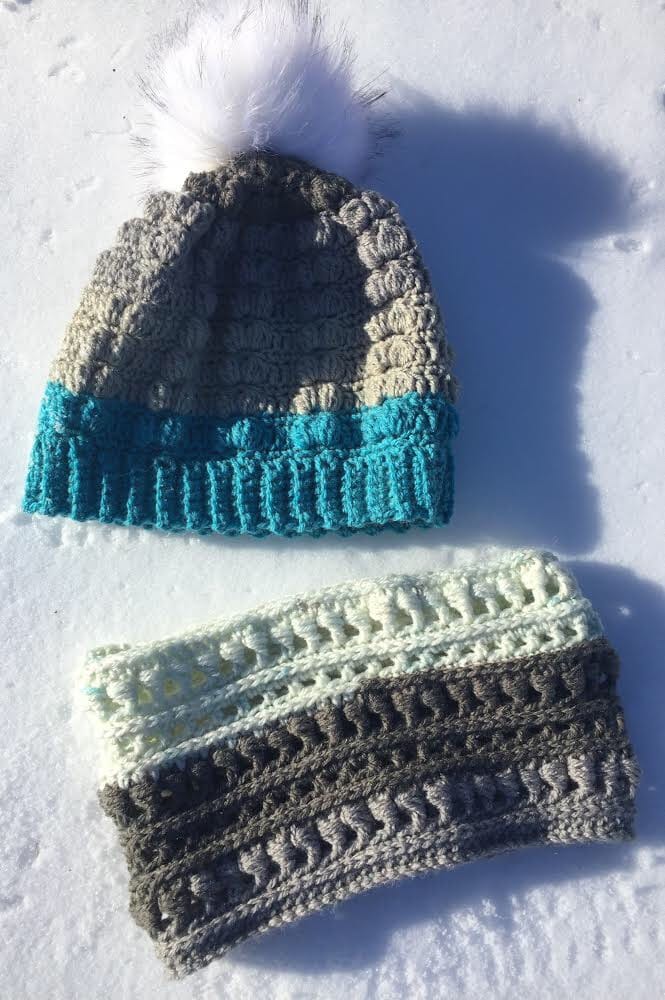
Shortly after the first ones came out, I designed a messy Bun hat. I called it the paired up messy Bun hat because of the stitches it used and the fact that you could make two hats from the one Cake.
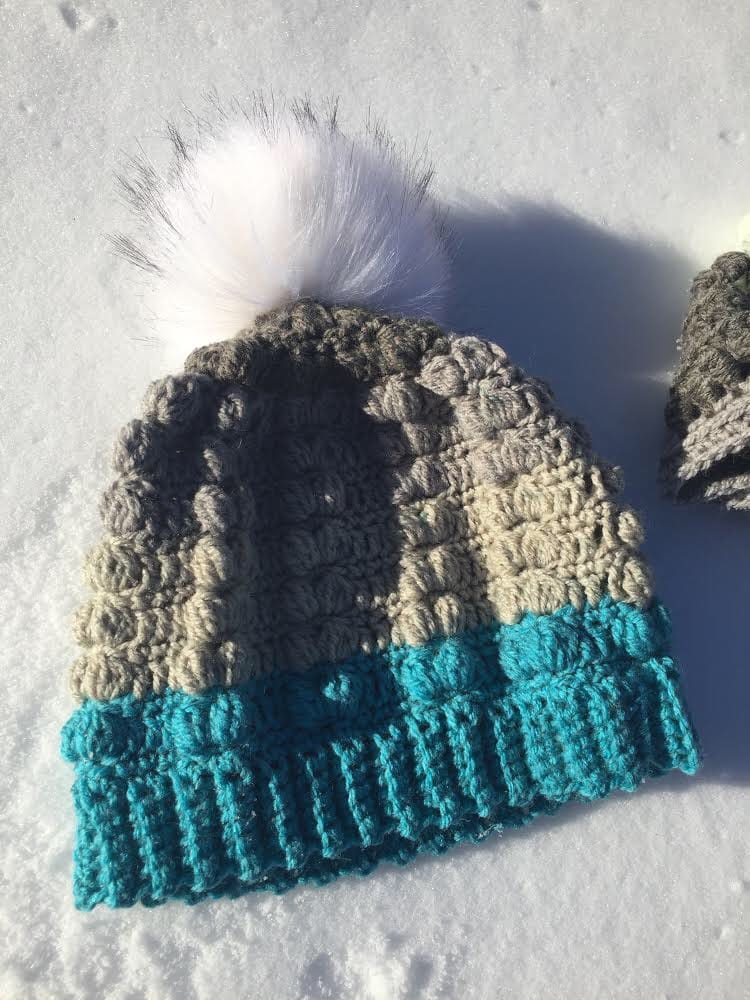
This year I decided to update the pattern, making it a full Toque instead!

I have used a faux fur Pom-Pom (purchased from Northern Bay Fibres on Etsy), but you may add your own handmade one, or leave it without.
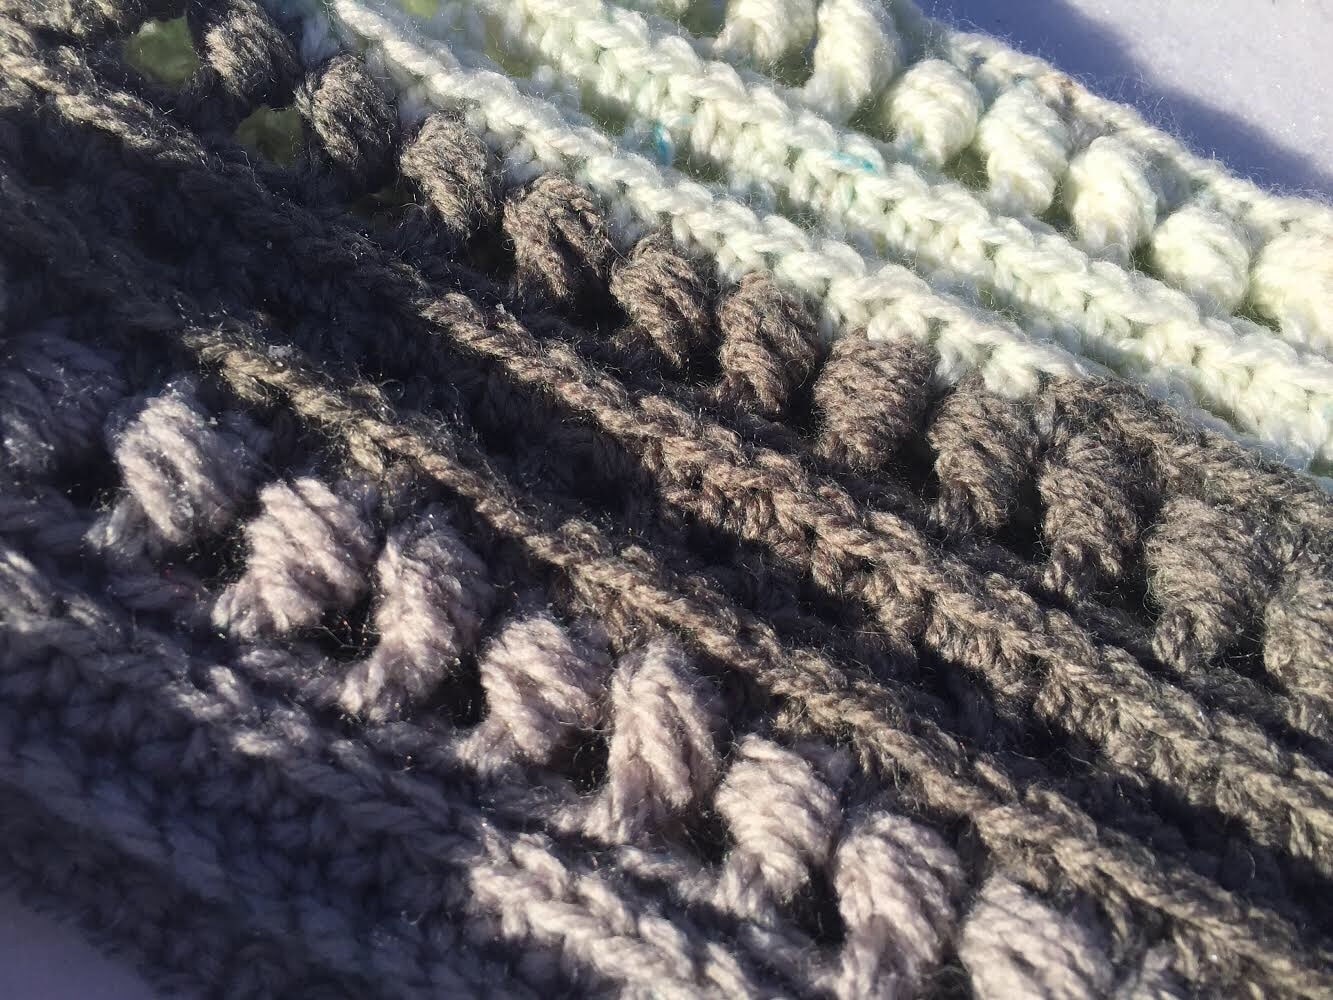
I have paired up this hat with an updated version on my Island Cowl. When made using this pattern, it ends up being slightly smaller, more in the style of a neck warmer. Because of this it is possible to make the hat and neck warmer from one Cake! How great is that? Both patterns feature stitches with great versatility and texture. I am sure they will be a set that you love.
You will find the patterns for the hat and neck warmer written out in full below. But if you would like a convenient, downloadable copy you may purchase one FROM RAVELRY HERE or FROM ETSY HERE. You may also use those links to save it to your favourites!
Thank you so much for stopping by, be sure to come back soon! And don’t forget to follow me on Facebook HERE.
In the mean time, happy Crocheting!
Sarah
Patterns:
Skill Level: Easy
Gauge: 16 Sc x 16 rows = 4 inches
Finished Size: Hat: 21 inches circumference, 9 inches tall laid flat, excluding Pom-Pom
Neck Warmer: 24 inches circumference, 6.5 inches tall.
Yarn: Caron Cakes™ by Yarnspirations™ (80% acrylic/20%; 383yds/7.1 oz/350 m/200 g); Medium weight; colour: Cake Pop, 1 skein.
Hook: H/8 (5.0mm). Adjust hook size if necessary to obtain correct gauge.
Notions: Yarn Needle.
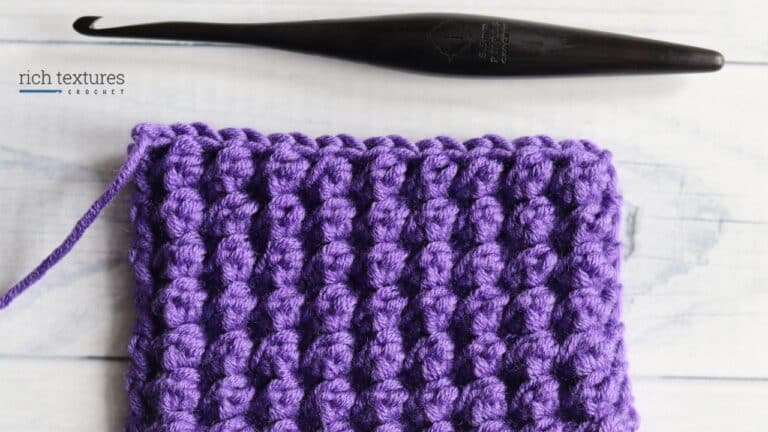
Stitches and Abbreviations:
BeadStitch – 1 dc in next st [yo, insert hook around stem of previous dc from right to left, yo, pull loop through] three times in same place, yo, pull through first 6 loops on hook, yo pull though both loops on hook. Bead Stitch made.
Beginning Bead Stitch – Chain 3 then proceed to work bead over same ch 3 by [yo, insert hook around ch 3 from right to left, yo, pull loop through] three times in same place, yo, pull through first 6 loops on hook, yo pull though both loops on hook. Beginning Bead stitch made.
Beg dc cl(beginning double Crochet cluster) – ch 2, yo, insert hook in next st, yo pull up loop, yo pull through two loops on hook, yo, insert hook in next st, yo, pull through, yo, pull through 2 loops on hook (4 loops rem on hook), yo, pull through rem loops. Beg dc cl made.
Beg pc (Beginning popcorn) – ch 2, [yo, insert hook in same stitch, yo and pull up loop, yo, pull through 2 loops on hook (4 times – 5 loops on hook)], yo and pull through rem 5 loops. Beg Pc made.
Ch – chain
Dc – Double crochet
Dc cl(double Crochet cluster) – Yo, insert hook in st indicated, yo pull up loop, yo, pull through 2 loops on hook, yo, insert hook in next st, yo and pull up loop, yo, pull through 2 loops on hook, yo, insert hook in next st, yo and pull up loop, yo pull through 2 loops (3 loops rem on hook), yo and pull through rem loops. Dc cl made.
Hdc – Half double crochet
Pc (popcorn) – yo, insert hook in indicated st and pull up loop, yo, pull through 2 loops, [yo, insert hook in same space and draw up loop, yo and draw through 2 loops (4 times – 6 loops on hook)], yo, pull through rem loops on hook. Pc made.
Rpt – Repeat
Sc – Single Crochet
Sl st – Slip stitch
Yo – Yarn Over
Pattern Notes:
– Pattern is written in American English terms.
– Pattern is worked in rows for the cuff, while the body of the hat is worked in rounds. The neck warmer is worked in rounds.
– Ch 3 at beg of rnd counts as dc unless stated otherwise.
Toque Pattern:
(Pattern is in American English Terms)
Cuff:
Ch 7.
Row 1: Sc in the second ch from hook and in each sc across, turn. (6 sc)
Rows 2 – 65: Ch 1, working in back loop only sc in each st across, turn. (6 sc)
Folding work in half, hold first and last rows together, work a sl st through both thicknesses in each sc across. Do not fasten off. Turn work so that you are now working along the edge of the hat cuff. Do not Fasten off.
Body:
(The rest of the pattern is worked in rounds.)
Rnd 1: Work 66 sc evenly around the edge of hat cuff. Sl st in the first sc to join. (66 sc)
Rnd 2: Ch 1, sc in same st and in next 2 sts, *ch 1, skip next st, 2 sc in next st, ch 1, skip next st, 1 sc in each of the next 3 sts, rpt from * around to last 3 sc, ch 1, skip next st, 2 sc in next st, ch 1, skip next st, sl st in first sc to join. (55 sc, 22 ch sps)
Rnd 3: Ch 3, dc in next 2 sc, skip 1 ch, 1 pc in next sc, ch 1, 1 pc in next sc, skip 1 ch, *dc in each of next 3 sc, skip 1 ch, 1 pc in next sc, ch 1, 1 pc in next sc, skip 1 ch; rpt from * to last ch 1, sl st in 3rd chain to join. (22 pc sts)
Rnd 4: Ch 1, sc in the same st and in next 2 dc, ch 1, skip 1 pc, 2 sc in next ch-1 sp, ch 1, skip 1 pc, * 1 sc in each of the next 3 dc, ch 1, skip 1 pc, 2 sc in next ch-1 sp, ch 1, skip next pc; rpt from * to last pc, sl st in first sc to join. (55 Sc, 22 ch sps)
Rnds 5 – 14: Repeat rnds 3 and 4 a total of five times.
Rnd 15: Beg dc cl over the next 3 sts, * skip next ch 1 sp, pc in next sc, ch 1, pc in next sc, dc cl over next 3 sts; rtp from * around to last 4 sts, skip ch-1 sp, pc in next sc, ch 1, pc in next sc, skip last ch-1 sp, sl st in beg dc cl to join. (22 pc, 11 clusters)
Rnd 16: Ch 1, sc in same st, skip next pc, 2 sc in ch-1 sp, skip next pc, * sc in top of dc cl, skip next pc, 2 sc in ch-1 sp, skip next pc; rpt from * around, sl st in first sc to join. (32 Sc)
Rnd 17: Beg pc in first sc, pc in each st around, sl st in first pc to join. (32 pc sts)
Rnd 18: Ch 1, sc in each st around, sl st in first sc to join. (32 Sc)
Rnd 19: Beg pc in first Sc, * dc cl over next 2 sts, pc in next Sc. Rpt from * around. Join with a sl st in first st. (11 pc, 11 cl)
Rnd 20: Ch 1, Sc in each st around, sl st in the first Sc to join. (22 Sc)
Rnd 21: Beg pc in the first st, * sk 2 sts, pc in the next st. Rpt from * around. Join with a sl st in first pc. (7 pc)
Fasten off leaving a long tail. Sew the top of the hat closed.
Optional: Add a Pom-Pom to the top.
Neck Warmer Pattern:
Ch 80. Being careful not to twist ch, join with a sl st in first chain to make a round.
Rnd 1: Ch 1, sc in 2nd chain from hook and in each ch around. Join with a sl st in first sc. (80 sc).
Rnd 2: ch 1, hdc in each sc around. Join with a sl st in the 3rd loop of first hdc. (80 hdc).
Rnd 3: Working in the 3rd loop only, ch 1, sc in each hdc around. Join with a sl st in both loops of first sc. (80 Sc)
Rnd 4: Beginning Bead stitch in the same st as joining, *sk sc, bead stitch in the next sc, rpt from * to last sc, sk this sc and join with a sl st in the top of first beginning Bead stitch. (40 Bead stitches).
Rnd 5: Ch 1, hdc in the top of each bead stitch and in each ch space around (the ch formed when in bead stitch you drew a loop through the last two loops on hook). Join with a sl st in the 3rd loop of first hdc. (80 hdc).
Rnd 6: Working in the 3rd loop only, ch 1, sc in each hdc around. Join with a sl st in both loops of first sc.
Rnd 7: Ch 1, hdc in same st, *ch 1, sk next sc, hdc in the next sc, rpt around to last sc, ch 1, sk next sc and join with a sl st in first hdc.
Rnd 8: Ch 1, hdc in first hdc and in each ch sp and hdc around. Join with a sl st in 3rd loop of first hdc. (80 hdc).
Rnds 9 – 14: Repeat rnds 3 – 8 one more time.
Rnd 15: Working in the 3rd loop only, ch 1, sc in each hdc around. Join with a sl st in both loops of first sc.
Rnd 16: Beginning Bead stitch in the same st as joining, *sk sc, bead stitch in the next sc, rpt from * to last sc, sk this sc and join with a sl st in the top of first beginning Bead stitch. (40 Bead stitches).
Rnd 17: Ch 1, hdc in the top of each bead stitch and in each ch space around. Join with a sl st in the 3rd loop of first hdc. (80 hdc).
Rnd 18: Working in the 3rd loop only, ch 1, sc in each hdc around. Join with a sl st in both loops of first sc.
Fasten off. Weave in ends.
The photographs and pattern contained in this document are the property of Rich Textures Crochet.
This pattern is for personal use only.
No unauthorized reproduction, in whole or in part, or distribution of this pattern or content is permitted. ALL FINISHED PRODUCTS from this pattern can be used for local sales and sold online.
Thank you so much for supporting Rich Textures Crochet! To stay in touch or see more great products, be sure to visit me on Facebook and Instagram (Rich Textures Crochet) or at www.richtexturescrochet.com. Thanks again! Happy Crocheting!


I am using a thinner yarn and need to increase the number of stitches compared to your pattern. What is the “multiple of” number for the pattern?
TY 🙂