
This post contains affiliate links. This means that when you purchase through one of these links we will receive a small commission at no additional cost to you. Thank you for supporting Rich Texture Crochet!
**Scroll down to end for a fun announcement!**
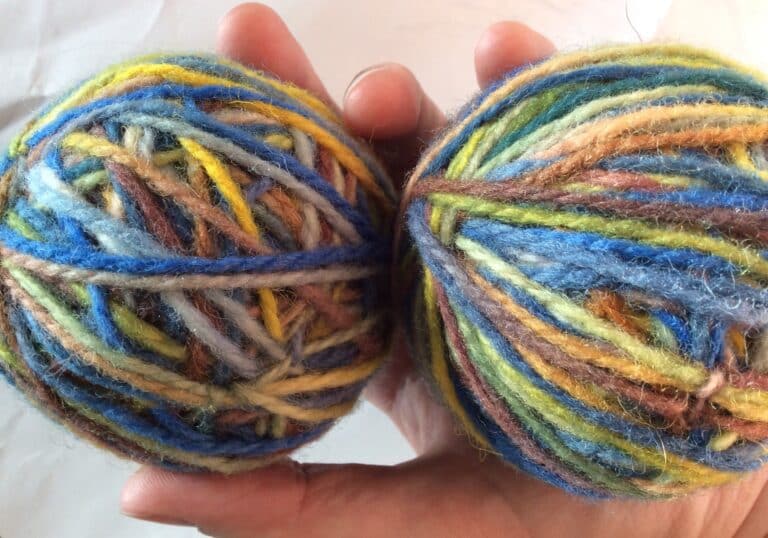
I am in love with the Caron Tea Cakes! I love their colours, their super chunky weight and the acrylic/wool blend.
After designing the Ginger Spice Hat and Cowl set,
richtexturescrochet.com/2017/10/25/ginger-spice-slouch-hat-and-cowl-set-a-free-pattern/ (You can find the free pattern here!)
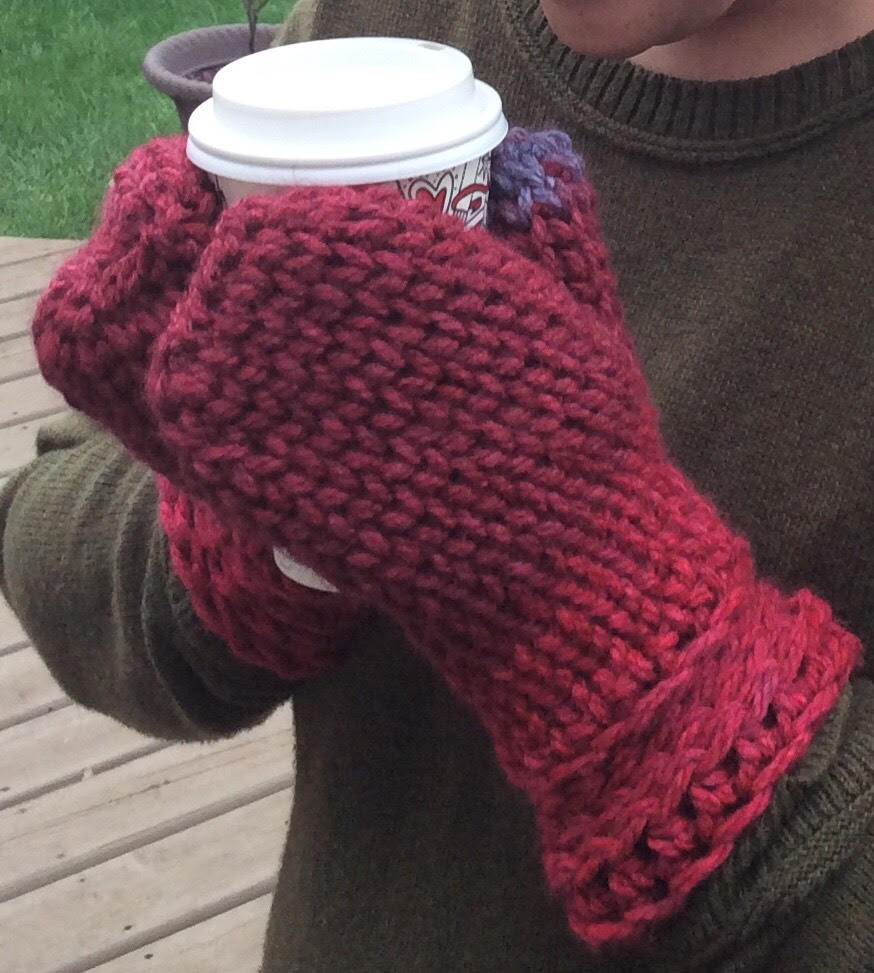
I immediately picked up a few more cakes and started to work on this beautiful headband and mitts set.
A pair of mittens just always seem so super cozy on a cold winters day. And I totally picture this set made in the Hibiscus colour tea cake in a snowy pine/Spruce forest. I fully intend on taking them Christmas tree hunting!
Due to the nature of the colourway of the Tea Cake, no two sets will be exactly the same. To get the mittens to match, I played with the colour placement a bit, making sure I started the second mitten at the same point in the colourway as the first.
The headband is double thick! Adds a little bit of extra warmth, which those of us in the colder, snowy climate of this time off year will appreciate.
I have included one size for the mitten pattern. I love the way that they fit on myself (small to medium size hand), and then handed them over to my 6’6″ husband with “giant” hands, and he liked the fit too! So I have concluded that they have quite a bit of stretch to them!
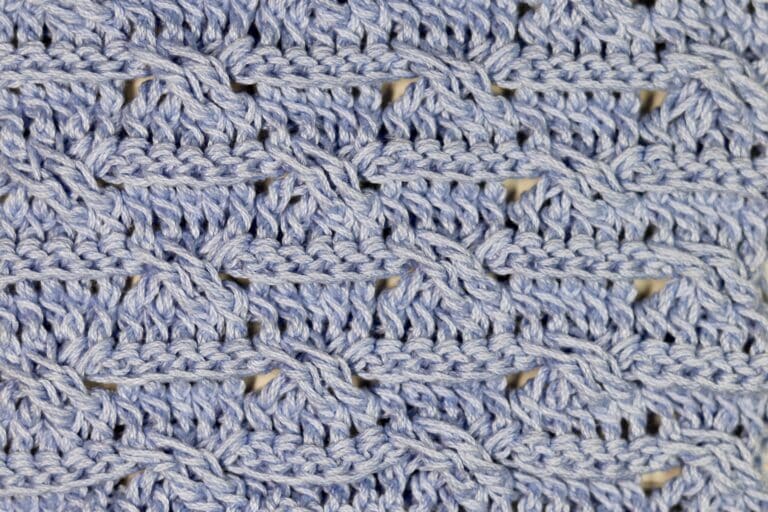
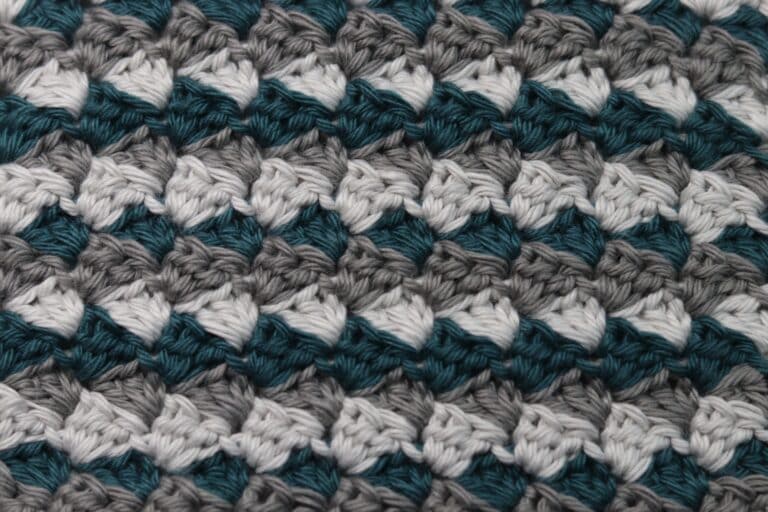
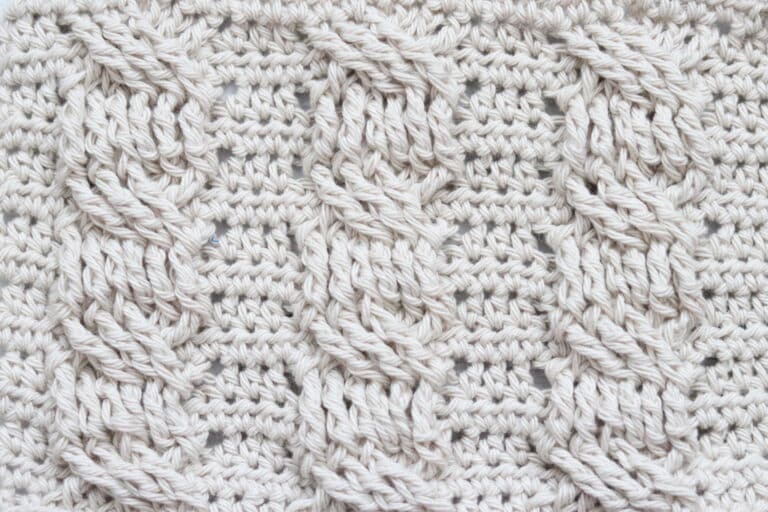
If you have been following me for a little while now, you will right away recognize the knit stitch and half double crochet working in the third loop. I am in love with the knit look, and because I am a terrible knitter, this is as close to knit as I am going to get. There are lots of great youtube tutorials out there to help along the way – just search for the “waistcoat stitch.”
So grab your coffee, an 8 mm hook, two of your favourite Caron Tea Cakes (Or substitute for any super bulky weight yarn), and cozy up by the fire! I hope you’ll fall in love with this set as much as I have. Be sure to pin and share!
This website is supported by ads which allows me to offer this pattern for free on my blog. If you would like a convenient ad free, download and go PDF, you may purchase one for $2.00 CAD in my shops:
Etsy:
https://www.etsy.com/ca/listing/572822367/winter-cranberry-headband-and-mitts-set
Ravelry:
https://www.ravelry.com/patterns/library/winter-cranberry-set
Thank you for your feedback and support! Happy Crocheting!


Skill Level: Easy
Gauge: 2 ks x 2 ks = 1 inch
Finished Size:
Headband: 22 inch circumference, 4.5 inches wide.
Mittens (One Size – they have a bit of stretch): 10.5 inches tall, 5 inches across at widest point, 9 inch circumference at wrist opening.
Yarn: 2 Cake of Caron Tea Cakes by Yarnspirations™ (%80 acrylic/%20 wool, 8.5 oz. skein, 204 yds). Super Bulky Weight. Colour: Hibiscus.
**alternative yarn: Bernat Softee Chunky by Yarnspirations™. 1 Ball or about 108 yards. (%100 Acrylic, 108 yds/99 m, 3.5 oz/100g)
Hook: Size L-11 (8 mm) Hook. Adjust hook size if necessary to obtain correct gauge.
Notions: Yarn Needle, stitch markers.
Stitches and Abbreviations:
Beg Cbl – Ch 3 (Counts as dc), 1 dc in each of the next 2 sts, work 1 dc over the 3 dc just made by inserting the hook 4 sts to the right and in the st just before your ch 3.
Ch – Chain
Cbl – Cable Stitch – work 1 dc over the 3 dc just made by inserting the hook 4 sts to the right and in the hdc just skipped.
Hdc – Half double crochet
Knit Stitch (ks) – Also called the “waistcoat stitch,” the knit stitch is a single crochet worked through the middle of the single crochet or knit stitch of the previous round. Because you are working your stitch through the middle of the stitch in the previous round and pulling your loop up through the center, a knit look is created.
Knit Stitch 2 together (ks2tog) – Work the ks2tog as you would the sc2tog, but working through the space in the stitch of the previous round that you would typically work a knit stitch.
Rpt – Repeat
Sc – Single Crochet
Sk – Skip
Sl st – Slip stitch
Pattern Notes:
- Pattern is written in American English terms.
- Headband is worked in rounds and comprised of two pieces (Outside and Inside) that are held together and sewn together at the end using a sc.
- Ch 1 at beg of rnd does not count as sc or hdc.
- Weave in ends as needed.
- I find the knit stitch works best when your tension is kept quite loose. Loose stitches allow for you to insert the hook in the proper space more easily.
- To work in the 3rd loop: In the hdc stitch, the “third loop” is found at the back of the stitch, below the top two loops that you would normally complete your stitch in. When you crochet in this back loop, it should push the top of the stitch from the previous round to the front of your work creating a sideways “knit” look.
Pattern:
Headband (Outside):
Ch 40. Being careful not to twist ch, join with a sl st in first chain to make a round.
Rnd 1: Ch 1, hdc in each ch around. Join with a sl st in first sc. (40 hdc).
Rnd 2: Ch 1, working in the 3rd loop, hdc in each st around. Join with a sl st in the first hdc. (40 hdc).
Rnd 3: Beg cbl st (See Stitches and Abbreviations), * sk next hdc, 1 dc in next 3 hdc, Cbl (See stitches and Abbreviations). Rpt from * around. Join with a sl st in top of first ch 3. (10 Cbl sts)
Rnd 4: Ch 1, hdc in each dc and cbl st around. Join with a sl st in first hdc. (40 hdc)
Rnd 5: Ch 1, working in the 3rd loop, hdc in each st around. Join with a sl st in the first hdc. (40 hdc).
Fasten off. Weave in Ends.
Headband (Inside):
Ch 40. Being careful not to twist ch, join with a sl st in first chain to make a round.
Rnd 1: Ch 1, hdc in each ch around. Join with a sl st in first sc. (40 hdc).
Rnds 2-5: Rpt Rnd 1.
Fasten off. Weave in Ends.
To join sides together: Holding wrong sides together, place the inside piece on the underside of the outside piece. Working through both thicknesses, join yarn with a sl st in any hdc. Ch 1, sc in each st around. Fasten off and weave in ends. Repeat this for the other side of the band. Fasten off and weave in ends.

Mittens (Make 2):
Ch 16. Being careful not to twist ch, join with a sl st in first chain to make a round.
Rnd 1: Ch 1, hdc in each ch around. Join with a sl st in first sc. (16 hdc).
Rnd 2: Ch 1, working in the 3rd loop, hdc in each st around. Join with a sl st in the first hdc. (16 hdc).
Rnds 3-5: Repeat Rnd 2 (16 hdc).
Rnd 6: Ch 1, working in the 3rd loop, loosely sc in in each st around. Join with a sl st. (16 sc).
Rnds 7-11: Ch 1, ks in each st around. Join with a sl st. (16 ks)
Rnd 12: Ch 1, 2 ks in first st, 1 ks in each st around. Join with a sl st. (17 ks)
Rnd 13: Ch 1, 1 ks in the next 14 sts, ch 2. Sk remaining sts, join with a sl st in the first ks. Thumb opening made. (14 ks)
Rnd 14: Ch 1, 1 ks in each ks around, 2 ks in each ch. With stitch marker, mark the first ks of the 2 ks in the first ch. Join with a sl st in first ks. Move stitch marker as work progresses. (18 ks)
Rnds 15-21: Ch 1, ks in each st around. Do not join but continue working being sure to move stitch marker up as work progresses.
Rnd 22: Ch 1, at marked stitch, ks2tog, 1 ks in the next 7 sts, ks2tog, 1 ks in last 7 sts. Join with a sl st in first st. (16 sts)
Rnd 23: Ch 1, ks2tog, 1 ks in the next 6 sts, ks2tog, 1 ks in each of the last 6 sts. Join with a sl st in first st. (14 sts)
Rnd 24: Ch 1, ks2tog, 1 ks in each of the next 5 sts, ks2tog, 1 ks in each of the last 5 sts. Join with a sl st in the first st. (12 sts)
Fasten off leaving a long tail. Sew the top of mitten together.
Mitten Thumb:
Rnd 1: Join yarn with a sl st in the corner st on the right side of thumb opening. Work 10 ks evenly around thumb opening. Mark the first st with a stitch marker and move up as work progresses.
Rnds 2-7: 1 ks in each st around.
Rnd 8: At stitch marker, ks2tog twice over the next 4 sts, 1 ks in each of the next 5 sts. Join with a sl st in first sts. Fasten off leaving a long tail for sewing. Sew top of thumb together. Weave in ends.
Announcement Time!
Who doesn’t love some free stuff?? Very soon, as in as early as next week, stay tuned for a fun yarn-y giveaway!! I have gathered up the materials for a kit to make this pattern! The kit will include the yarn, hook and a gift! It will be open to residents of Canada and the United States. Pictures coming soon! So stay tuned! Keep and eye on the blog, follow me on Facebook and Instagram to be the first to know and find out how to enter!


3 Comments