
This post contains affiliate links. This means that when you purchase through one of these links we will receive a small commission at no additional cost to you. Thank you for supporting Rich Texture Crochet!
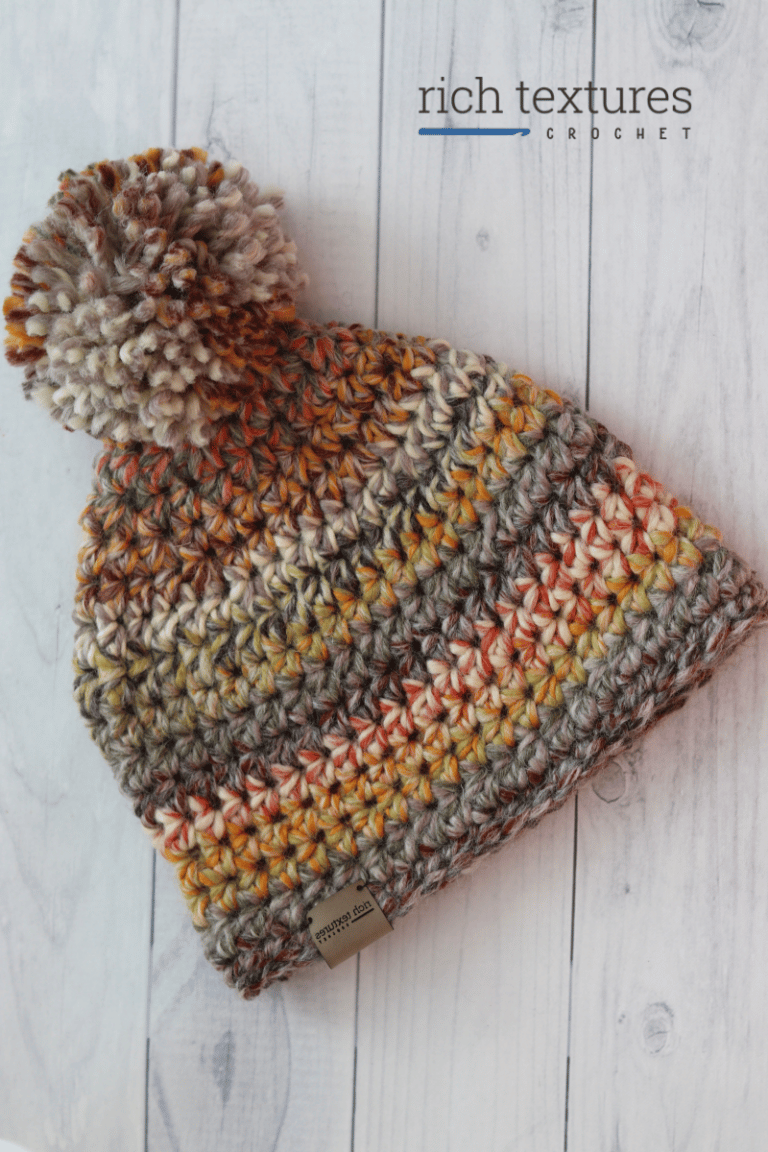
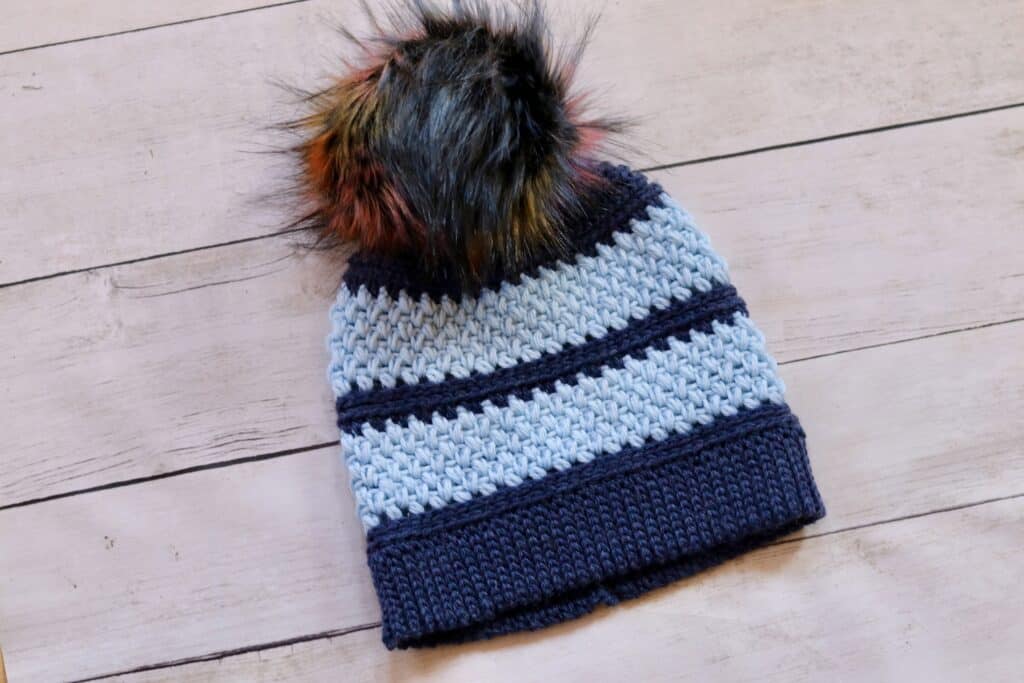
Welcome to week two of the Wonderful Hats Crochet Along! Today we will begin a new crochet hat and scarf set with the Robin Beanie Crochet Pattern.
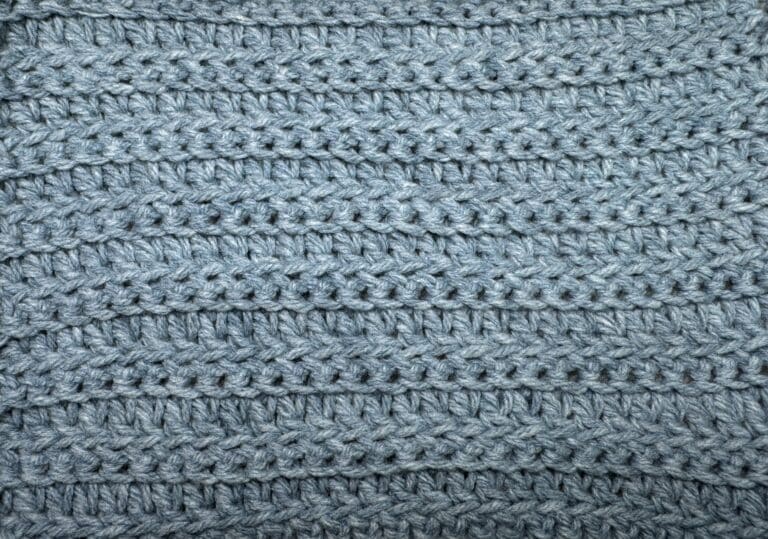
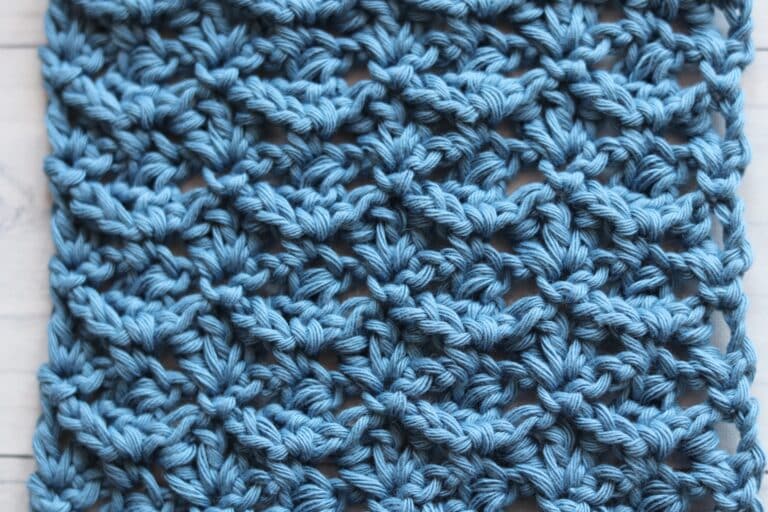
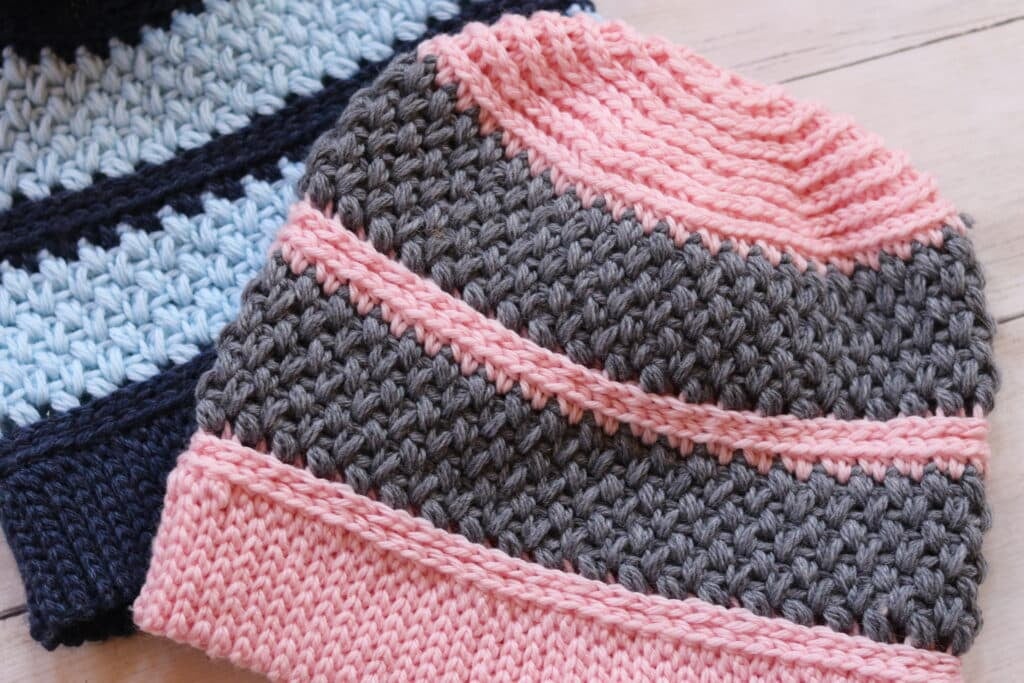
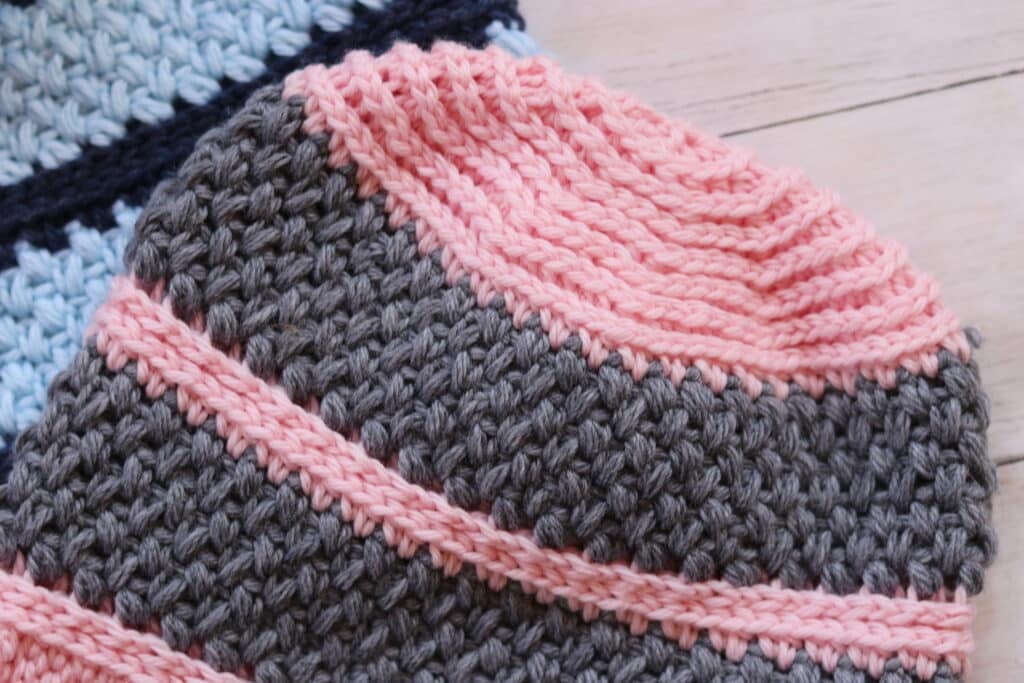
The Elizabeth Stitch (also known as the “mini bean stitch”) is one of those favourite, classic crochet stitches. The double sided texture is squishy and irresistible. I love the look of it and it is quite simple to work with an easy rhythm. Best of all, it makes for a very cozy crochet hat and scarf!
The Wonderful Hats Crochet Along:
This is the seventh year for the Wonderful Hats crochet along and the patterns this year a full of texture and colour variations. If this is your first time hearing about the crochet along, don’t worry! All of the crochet patterns will remain free here on Rich Textures Crochet long after the event has finished.
If you missed the introduction post with all of the details, you can find it here: Introduction to the 2026 Wonderful Hats Crochet Along.
Thus far we have worked the Jordan Beanie crochet pattern and the Jordan Scarf Crochet Pattern. This week we will be introduced to the Robin set and then there are still two weeks to come!
How to crochet the Robin Beanie:
For the hat, you will need about 270 yards of a medium/worsted weight yarn as well as a 5mm (H/8) crochet hook. I will provide the details about the specific yarn I used in the photos down below.
The hat is worked from the brim up and is sized to fit an adult head with a 20-22 inch circumference. When worn the hat is fairly fitted. If you wish to have a hat that is more slouchy, I recommend working a few more rounds of the repeat.
PDF Copies are available:
The crochet pattern for the Robin Beanie will be written out in full below followed by a free video tutorial. The pattern is free to follow on my site and will always be free! If, however, you would like a printable copy, you may purchase one from my Etsy and Ravelry Shops linked below:
CLICK HERE TO PURCHASE THE CROCHET PATTERN FOR THE ROBIN BEANIE ON ETSY
CLICK HERE TO PURCHASE THE CROCHET PATTERN FOR THE ROBIN BEANIE ON RAVELRY
Thank you so much for stopping by! Please don’t forget to sign up for my email newsletter so that you never miss a new free crochet pattern. And stay tuned, the matching scarf pattern will be available on Friday!
Happy Crocheting!
Sarah
Did you know? I now have four crochet pattern books available on Amazon in paperback and ebook format! You can check them all out on my storefront here: Sarah Thompson Author Profile
Robin Beanie Crochet Pattern:
Skill Level: Easy
Gauge: 22 sts x 16 rows of cl sts = 4 inches
Finished Size: Approximately 8.5 x 9 inches laid flat; 20-22 inch circumference.
Yarn: Swish Worsted Weight by KnitPicks® (110 yds; 50g; 100% Fine Superwash Merino Wool; (4) worsted weight). You will need approximately 160 yards (1.5 balls) of colour A and 1 ball of colour B. Colours Shown: Colour A: Marine Heather, Colour B: Stonewash
Hook: Size H/8 (5 mm) hook.
Notions: Yarn Needle
Stitches and Abbreviations:
3rd Lp – Third Loop (To find the “3rd loop,” looking at your hdc st below, you will see a loop running horizontally below the front loop. This is your 3rd loop and you will work the stitch into it only as directed.)
Bpdc – Back Post Double Crochet
Ch – Chain
Cl – Cluster Stitch (Insert your hook into the indicated st, yo and draw up a loop, yo and insert your hook into the same st, yo and draw up a loop, yo and draw through all the loops on your hook. Cluster Stitch made.)
Dc – Double Crochet
Fpdc – Front Post Double Crochet
Hdc – Half Double Crochet
Lp – Loop
Rpt – Repeat
Sc – Single Crochet
Sk – Skip
Sl st – Slip stitch
Yo – Yarn over
Pattern Notes:
- Pattern is written in American English terms.
- Pattern is worked in rounds, as one piece, from the bottom up to the top. Brim of the hat is worked in rows.
- Ch 1 at beginning of row does not count as stitch.
- Turn your work as directed.
- To change the size of your hat, you will need a multiple of 2 stitches for the first hdc round of your hat.
- You may adjust the thickness of your brim by working a longer or shorter foundation chain. To adjust the circumference, simply work more or less rows or ribbing.
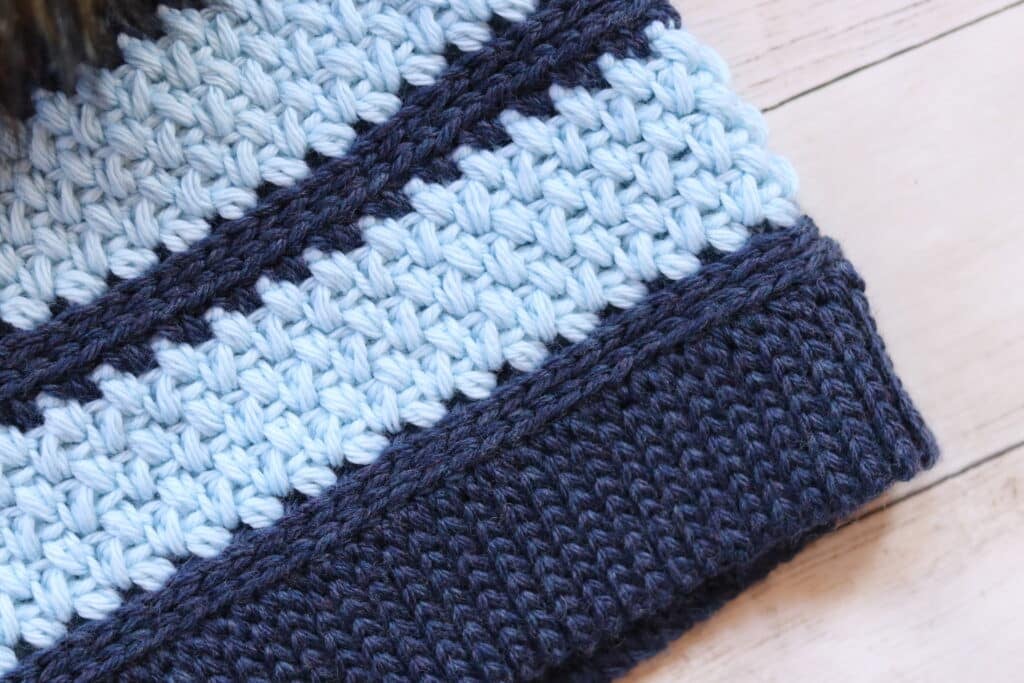
Free Crochet Pattern:
Brim (Worked in rows):
With colour A, ch 10.
Row 1: Sl st in the 2nd ch from hook and in each ch across. Ch 1, turn. (9 sl sts)
Row 2: Working in the blo, sl st in each st across. Ch 1, turn. (9 sl sts)
Continue to repeat row 2 until work from the beginning measures approximately 16-17 inches.
Do not fasten off, but fold brim of hat so that two shorter ends meet. Now working through both thicknesses, sl st across working through the blo on each side. Do not fasten off, turn work so that the right side is facing you.
Now working around the edge of the brim, continue working in rounds as follows:
Hat Body (Worked in rounds):
Rnd 1: Ch 1, evenly work 80 hdc round the rough edge of your beanie brim. Join with a sl st in the 1st st. Do not turn.
Rnd 2: Working in the 3rd loop all the way around, hdc in the 1st st and in each st around. Join with a sl st in the top of the 1st st. Ch 1, do not turn. Switch to colour B.
Rnd 3: With colour B and working in the 3rd loop all the way around, CL in the 1st st, ch 1, sk the next st, *CL in the next st, ch 1, sk the next st; Rpt from * around, join with a sl st in the 1st st. Ch 1, turn.
Rnds 4-9: *CL in the next ch-1 sp, ch 1, sk the next CL; Rpt from * around. Join with a sl st in the 1st st. Turn.
At the end of rnd 9, do not turn, switch to colour A.
Rnd 10: With colour A, hdc in each st and each ch-1 sp around. Join with a sl st in the 1st st. Do not turn.
Rnds 11-19: Repeat rnds 2-10 once more.
Rnds 20: Ch 1, working in the 3rd loop all the way around, hdc in each of the 1st 6 sts, hdc2tog, *hdc in each of the next 6 sts, hdc2tog; Rpt from * around. Join with a sl st in the top of the starting ch. Do not turn. (70 sts)
Rnd 21: Ch 1, working in the 3rd loop all the way around, hdc in each of the 1st 5 sts, hdc2tog, *hdc in each of the next 5 sts, hdc2tog; Rpt from * around. Join with a sl st in the 1st st. Do not turn. (60 sts)
Rnd 22: Ch 1, working in the 3rd loop all the way around, hdc in each of the 1st 4 sts, hdc2tog, *hdc in each of the next 4 sts, hdc2tog; Rpt from * around. Join with a sl st in the 1st st. Do not turn. (50 sts)
Rnd 23: Ch 1, working in the 3rd loop all the way around, hdc in each of the 1st 3 sts, hdc2tog, *hdc in each of the next 3 sts, hdc2tog; Rpt from * around. Join with a sl st in the 1st st. Do not turn. (40 sts)
Rnd 24: Ch 1, working in the 3rd loop all the way around, hdc in each of the 1st 2 sts, hdc2tog, *hdc in each of the next 2 sts, hdc2tog; Rpt from * around. Join with a sl st in the 1st st. Do not turn. (30 sts)
Rnd 25: Ch 1, working in the 3rd loop all the way around, hdc in the 1st st, hdc2tog, *hdc in the next st, hdc2tog; Rpt from * around. Join with a sl st in the 1st st. Do not turn. (20 sts)
Rnd 26: Ch 1, working in the 3rd loop all the way around, hdc2tog around. Join with a sl st in the 1st st. (10 sts)
Fasten off, leaving a long tail. Use the long tail to sew the top of your hat closed. Add a pompom if desired.